How to make a paper angel ornament
Paper Angel Ornament: try all 21 steps in the 3D player. Turn and replay every move. Print the complete diagram sheet or save it as PDF.
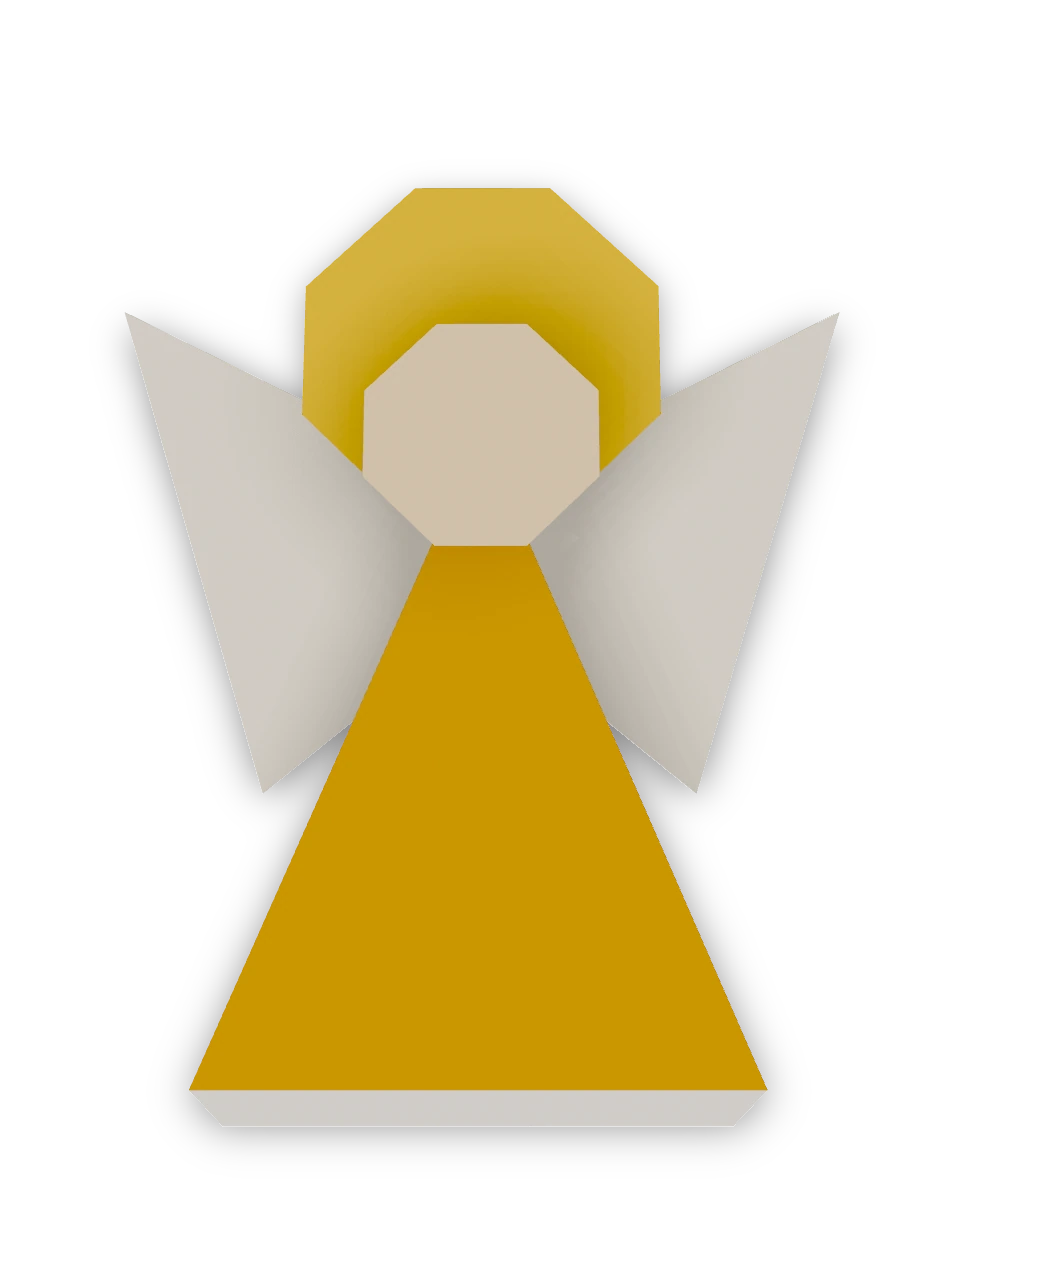
An Origami Tutor Christmas angel from five squares: a tall gold gown with a white hem, two white wings behind the shoulders, a round head and a gold halo. Hang it on the tree or top a card.
- You need
- One 6 × 6 in square of gold paper that is white on the front, two 4.5 × 4.5 in squares of white paper, one 2 × 2 in cream square, one 3.5 × 3.5 in gold square, glue, thread and tape.
- Start
- Use a big gold square for the gown, two white squares about three quarters as wide for the wings, a small cream square for the head and a gold square a little over half as wide as the gown for the halo. Start the gown and the wings white side up, with a corner pointing up. Paper that is gold on the back and white on the front works for the gown.
- Tips
- Glue the wings to the back of the gown so they stay spread.
- Fold the two wings the same way so they match.
Your model is ready
Glue the pieces together. Draw a face on the head. Tape a loop of thread behind the halo to hang the angel on the tree. The finished angel, with her wings out at her shoulders and her halo behind her head.

Step-by-step diagrams
Steps 1–6
- 1
Fold the gown's left edge in
Fold the upper left edge of the big gold square to the middle line. The gold back shows.
- 2
Fold the gown's right edge in
Fold the upper right edge to the middle line too. You have a tall gold cone.
- 3
Fold the hem behind
Fold the white bottom point behind, just below the gold, so a thin white hem shows under the gown.
- 4
Fold the head's top corner behind
Fold the top corner of the small square behind, a little way in, so its point is cut off and the head is round.
- 5
Fold the head's right corner behind
Fold the next corner behind the same way.
- 6
Fold the head's bottom corner behind
Fold the next corner behind the same way.
Steps 7–12
- 7
Fold the head's left corner behind
Fold the next corner behind the same way.
- 8
Fold the halo's top corner behind
Fold the top corner of the small square behind, a little way in, so its point is cut off and the halo is round.
- 9
Fold the halo's right corner behind
Fold the next corner behind the same way.
- 10
Fold the halo's bottom corner behind
Fold the next corner behind the same way.
- 11
Fold the halo's left corner behind
Fold the next corner behind the same way.
- 12
Fold the left wing's left edge in
Take the small white square with a corner pointing up. Fold its upper left edge to the middle line.
Steps 13–18
- 13
Fold the left wing's right edge in
Fold the upper right edge to the middle line too.
- 14
Square off the left wing's end
Fold the bottom corner behind, along the line where the two folded edges end. The wing is a triangle with a square end.
- 15
Fold the right wing's left edge in
Take the small white square with a corner pointing up. Fold its upper left edge to the middle line.
- 16
Fold the right wing's right edge in
Fold the upper right edge to the middle line too.
- 17
Square off the right wing's end
Fold the bottom corner behind, along the line where the two folded edges end. The wing is a triangle with a square end.
- 18
Put the halo behind the gown's point
Set the gold halo behind the top of the gown, its middle a little above the gown's point.
Steps 19–21
- 19
Tuck the left wing behind
Set the left wing behind the gown at the shoulder, its square end under the gold and its point out and up.
- 20
Tuck the right wing behind
Set the right wing behind the other shoulder the same way, so the two wings spread like a V.
- 21
Put the head on the gown
Set the round head on the point of the gown, in front of the halo.
- ✓
Finish
Glue the pieces together. Draw a face on the head. Tape a loop of thread behind the halo to hang the angel on the tree. The finished angel, with her wings out at her shoulders and her halo behind her head.
Fold next

Star ↗
An Origami Tutor eight-pointed star made from eight equal folded triangles. Every gold point is long and sharp, with a deep notch between its neighbours. Three folds make each ray; a little glue holds their overlapping bases together.
Paper Christmas tree ↗
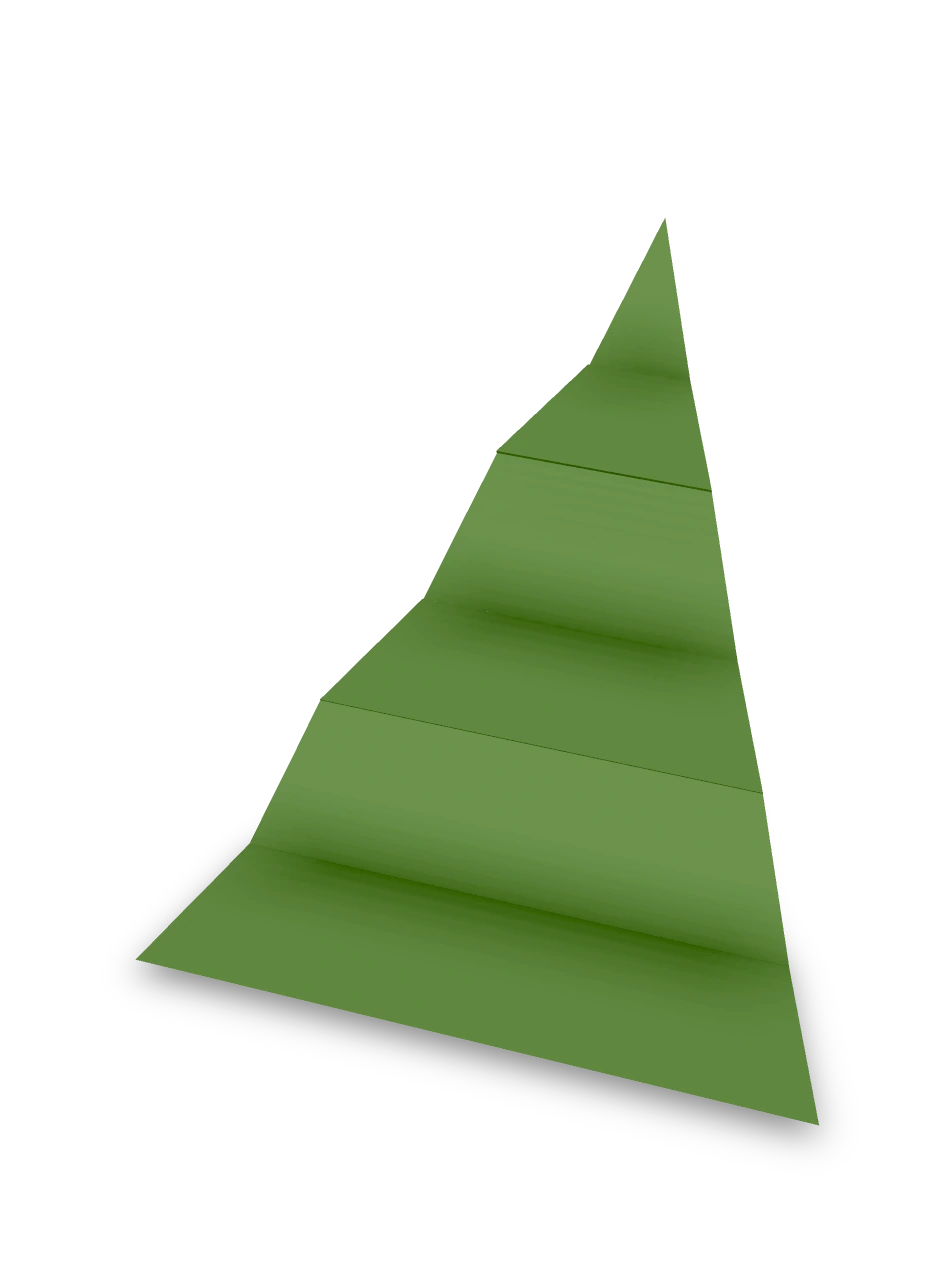
An accordion Christmas tree with a pointed top, broad base and six pleated panels. Cut a triangle from a green rectangle, fold the pleats and open them into a zigzag decoration.

Christmas tree ↗
An Origami Tutor Christmas tree with three stepped tiers and a short trunk. Folded from one square of green paper with a kite fold and two pleats; no cuts or glue.
Bell ↗
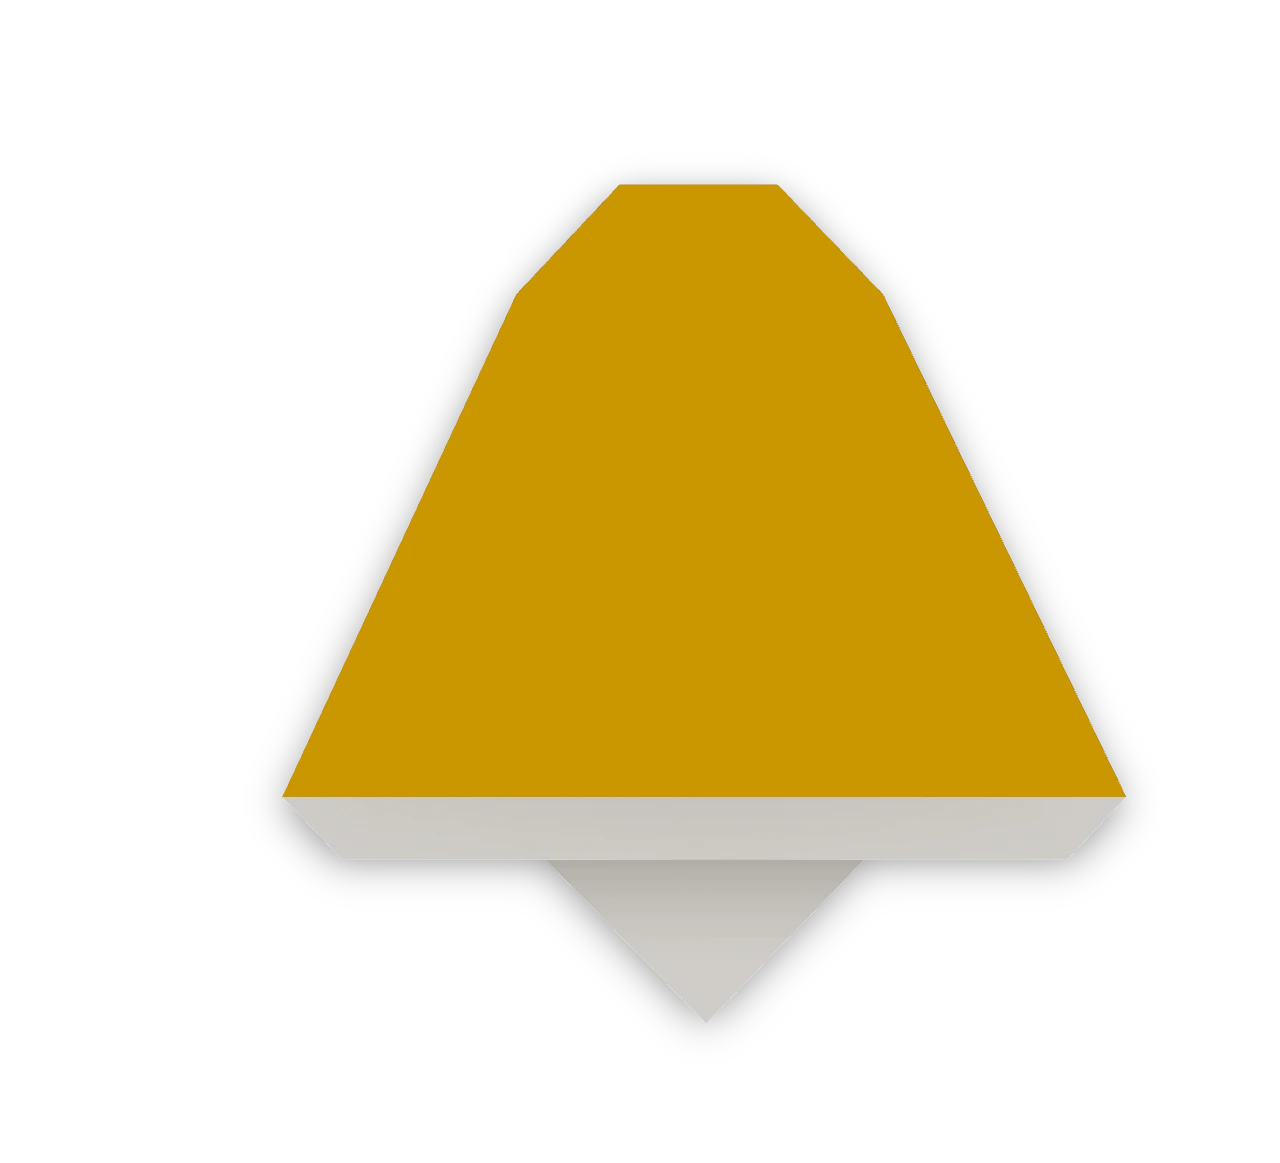
An Origami Tutor Christmas bell: a gold or red bell with a flat crown, a flared lip, a white rim and a clapper hanging below. Folded flat from one square; a quick ornament for the tree or a card.