How to make a paper daisy: fringed flower
Paper Daisy (Fringed Flower): try all 3 steps in the 3D player. Turn and replay every move. Print the complete diagram sheet or save it as PDF.
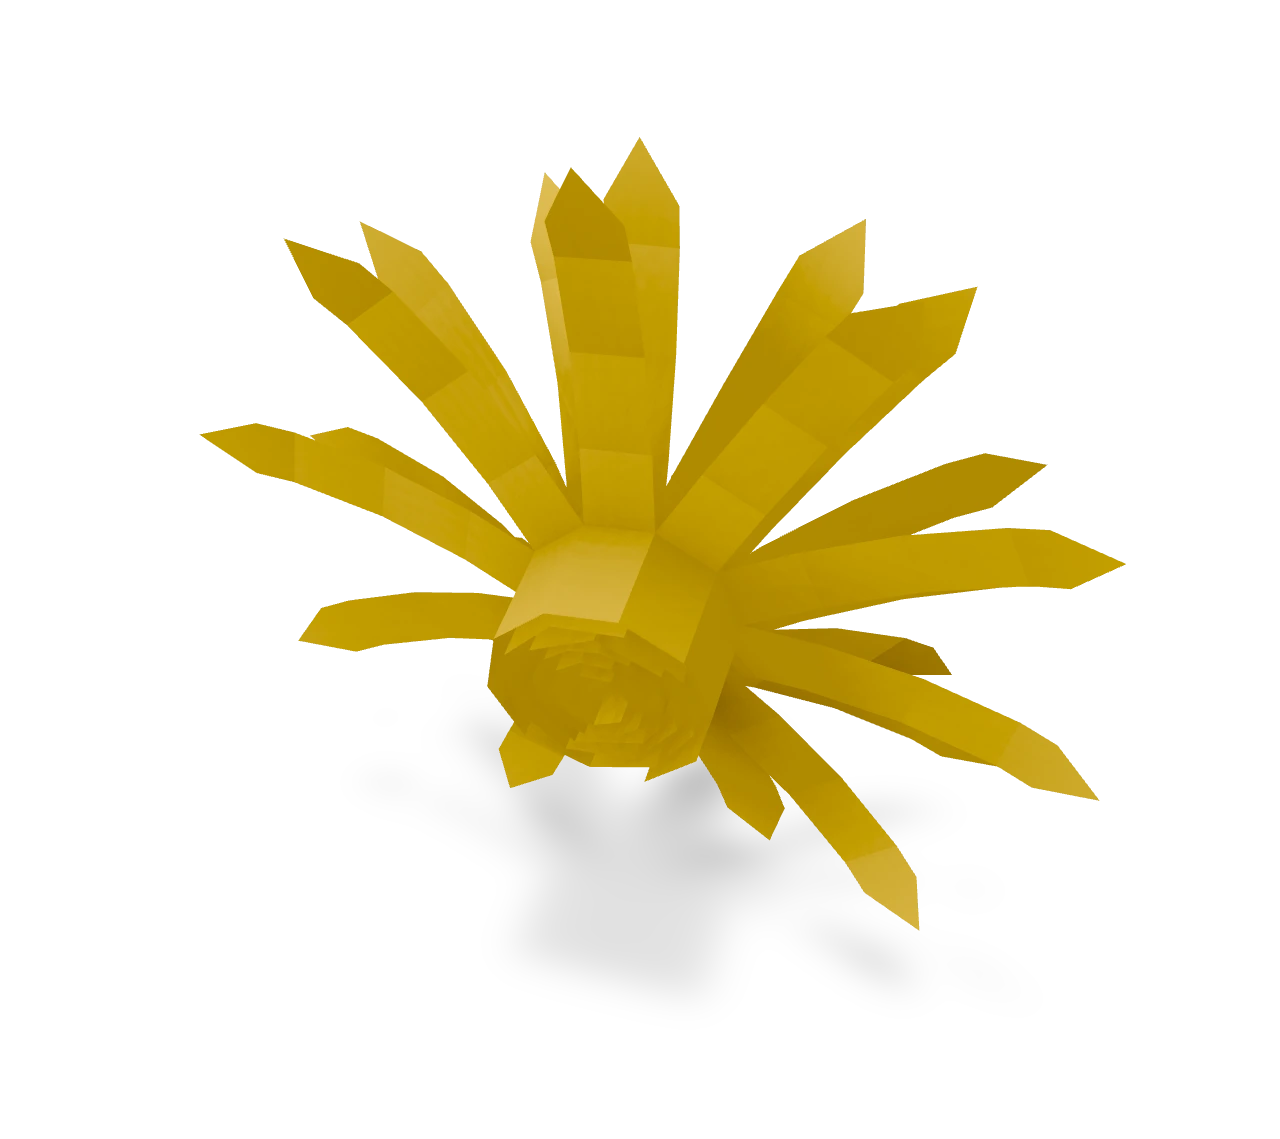
Fringe a long strip, short at one end for the middle and pointed petals for the rest, roll it up tightly on its plain band, then open the petals out.
- You need
- A strip of paper, a pencil, a ruler, scissors and a little paper glue.
- Start
- Begin with a 25 × 5 cm strip of paper, colored on both sides, its long edges at the top and bottom.
Your model is ready
Hold the daisy by its band and ease the petals into an even ring around the middle. Look down into the daisy, then turn it to see the petals opening out turn by turn.

Step-by-step diagrams
- 1
Cut the fringe
Starting at the left end, cut along the top of the short tongues, snipping down to the ruled line and back between each two. Where the petals begin, cut up the side of the first petal, then round each pointed end and down between the petals to the line. Keep the bottom band whole.
- 2
Roll the strip up
Starting at the short-fringe end, roll the strip tightly on its plain band, keeping the bottom edge level. The short tongues make the middle and the petals wrap round them. Glue the end of the band so the roll stays closed.
- 3
Open the petals
Hold the roll by its band and bend the petals out, a turn at a time: the outside ones almost flat, the inner ones less. Curl each petal out a little along its length, and fluff up the short tongues in the middle.
- ✓
Finish
Hold the daisy by its band and ease the petals into an even ring around the middle. Look down into the daisy, then turn it to see the petals opening out turn by turn.
Fold next
Tissue flower ↗
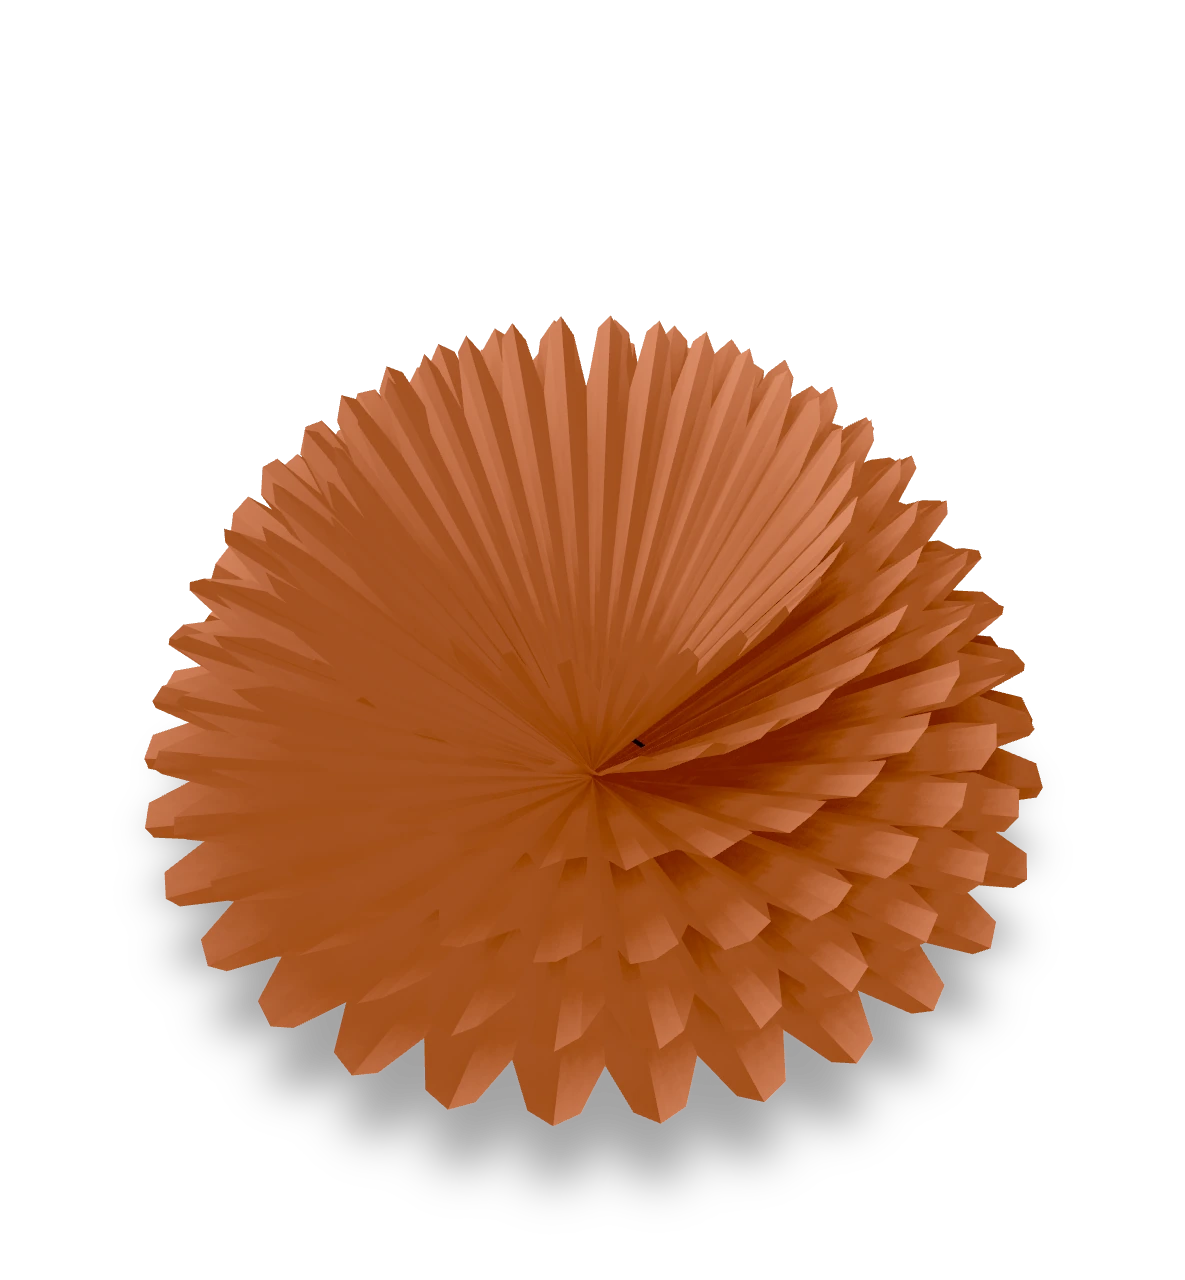
Pleat six tissue sheets, tie the center and lift the layers into a soft bloom.
Spiral rose ↗
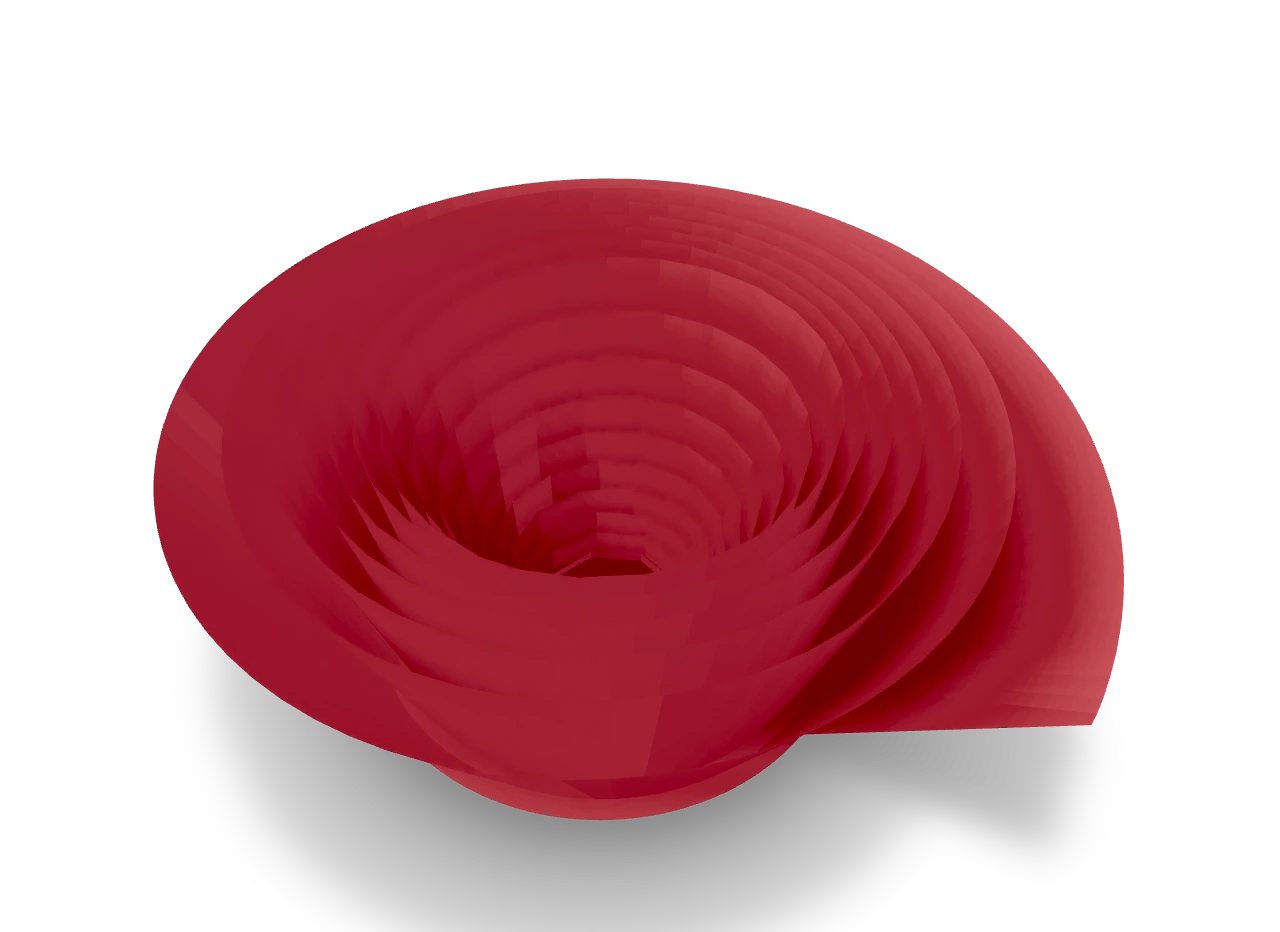
Cut a 14.4 cm circle and an 18 mm spiral. Roll from its outside tip, let the coil relax, then secure it to the centre tab.
Five-petal flower ↗
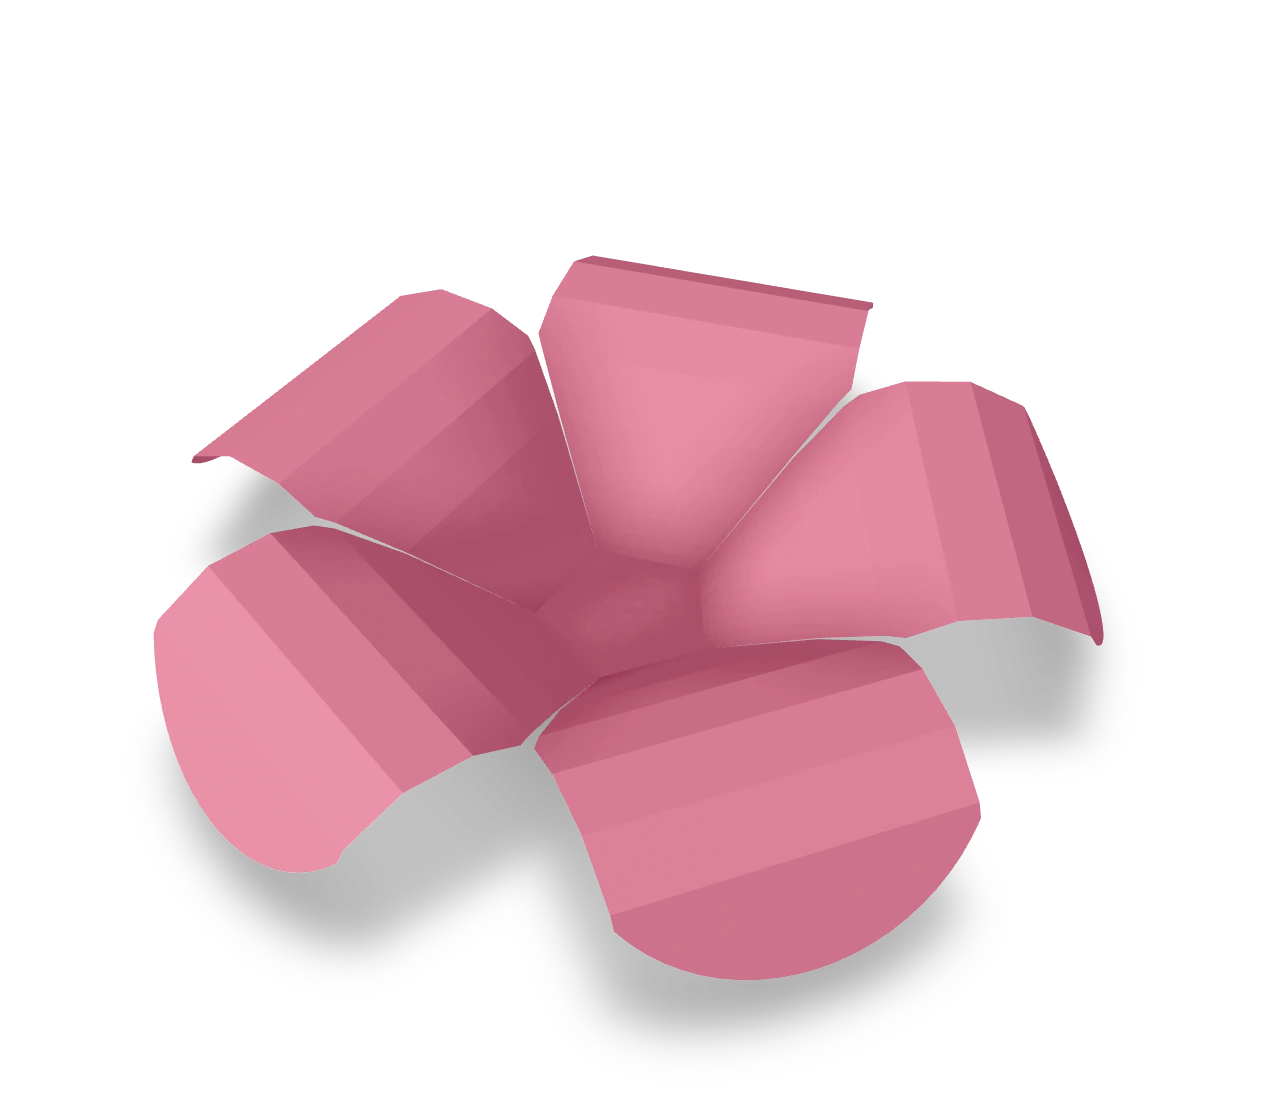
Draw five round petals around a small pentagon, cut the flower out in one piece, then cup the petals up and roll their ends back.

Tulip ↗
Cut six pointed petals and a long stem in one piece, cup the petals into a tulip, then fold the stem under the flower and glue it in place.