How to make a paper iris from cut paper
Paper Iris (Cut Paper): try all 3 steps in the 3D player. Turn and replay every move. Print the complete diagram sheet or save it as PDF.
Cut six oval petals round a small hexagon in one piece. Curl three standards inward into an upright crown, then bend the three falls outward and down between them.
- You need
- Light card or thick paper, a pencil, scissors and a round pencil for curling.
- Start
- Begin with a 15 × 15 cm square of purple or blue card or thick paper, colored on both sides.
Your model is ready
Hold the iris by its small hexagonal middle. Its three oval standards curve inward above the centre, with three falls arching outward and down between them.


Step-by-step diagrams
- 1
Cut out the iris
Draw a small hexagon in the middle of the square and an oval petal on each of its six sides, widening gently from its base to a broad shoulder before narrowing to the tip. Cut in from the top edge to the tip of the top petal, then all the way round the outline. Cut right into each corner where two petals meet, but never past it into the hexagon.
- 2
Curl the three standards inward
Hold the hexagon still. Lift every other petal almost upright. Ease each over a pencil so its upper half curves inward, making a three-petal crown. Leave the alternating petals flat for now.
- 3
Spread and lower the three falls
Keep the upright crown in place. Lift each remaining petal only slightly at its base, then draw its outer half over the pencil so it bends outward and down. Space these three falls between the standards.
- ✓
Finish
Hold the iris by its small hexagonal middle. Its three oval standards curve inward above the centre, with three falls arching outward and down between them.
Fold next
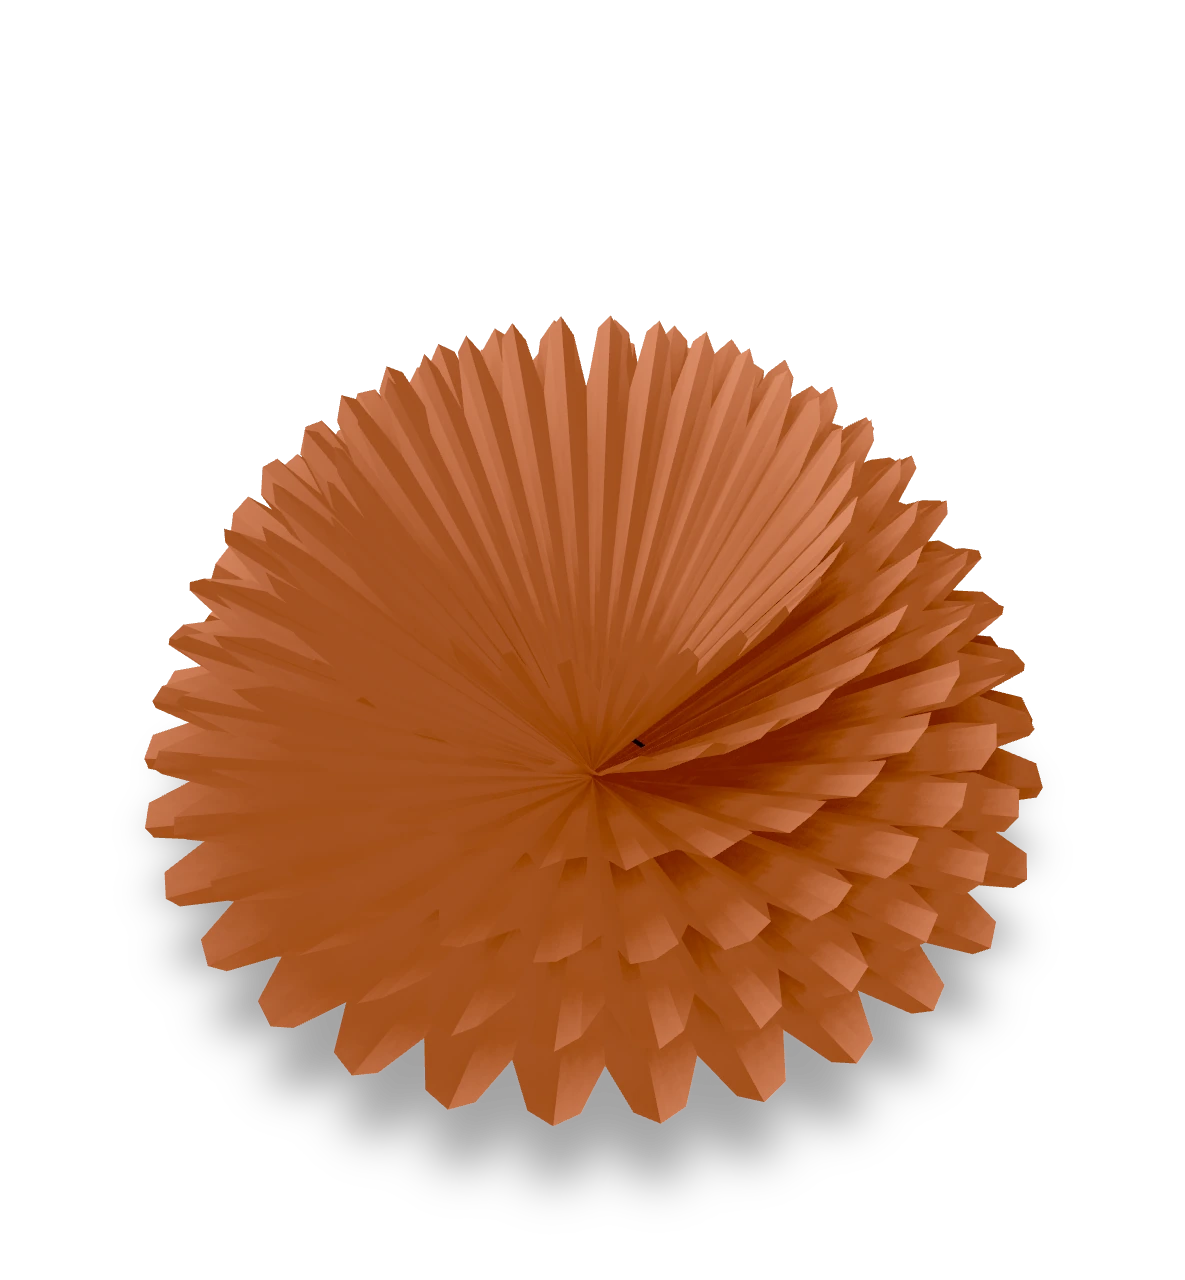
Tissue flower ↗
Pleat six tissue sheets, tie the center and lift the layers into a soft bloom.
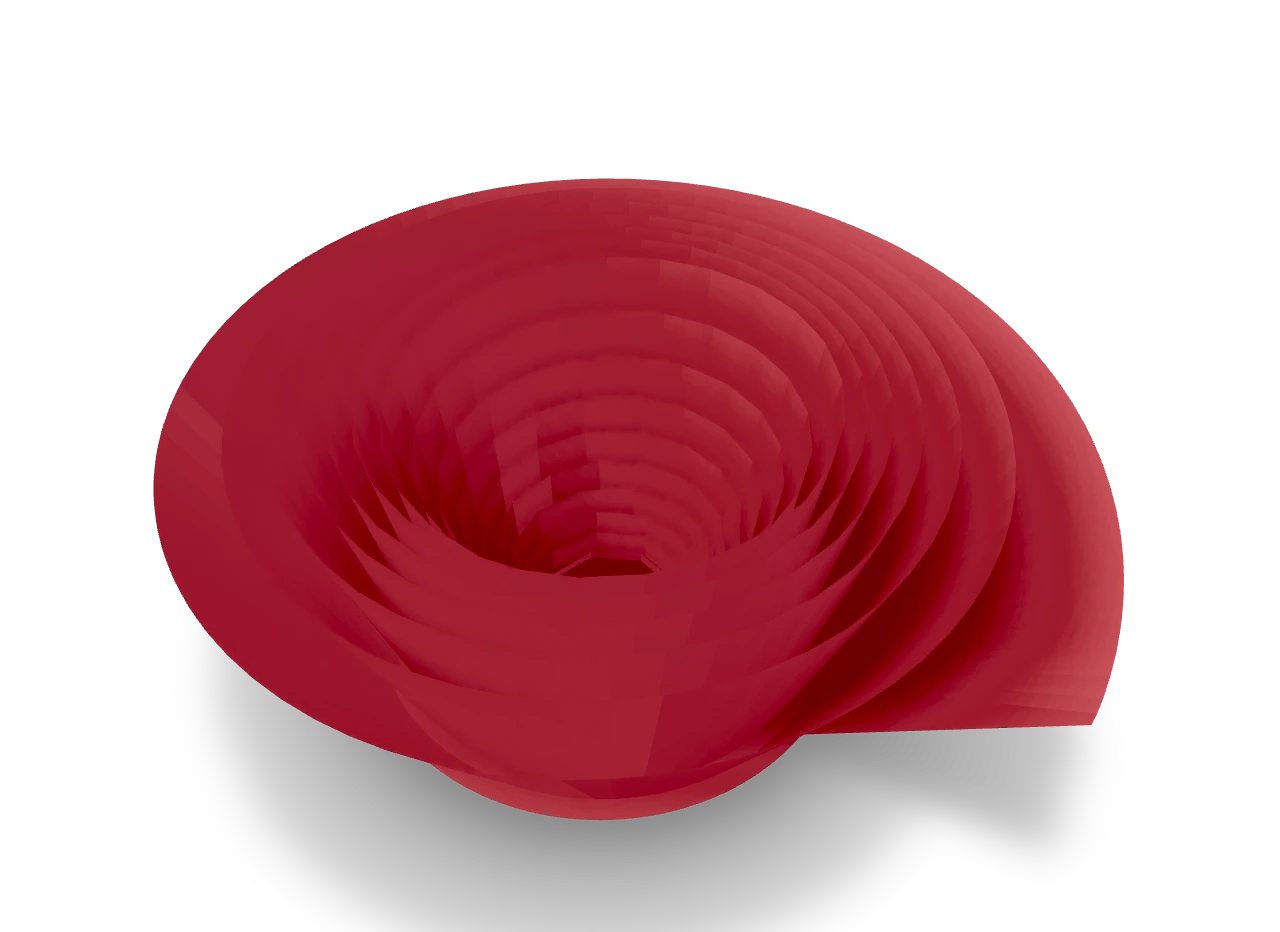
Spiral rose ↗
Cut a 14.4 cm circle and an 18 mm spiral. Roll from its outside tip, let the coil relax, then secure it to the centre tab.
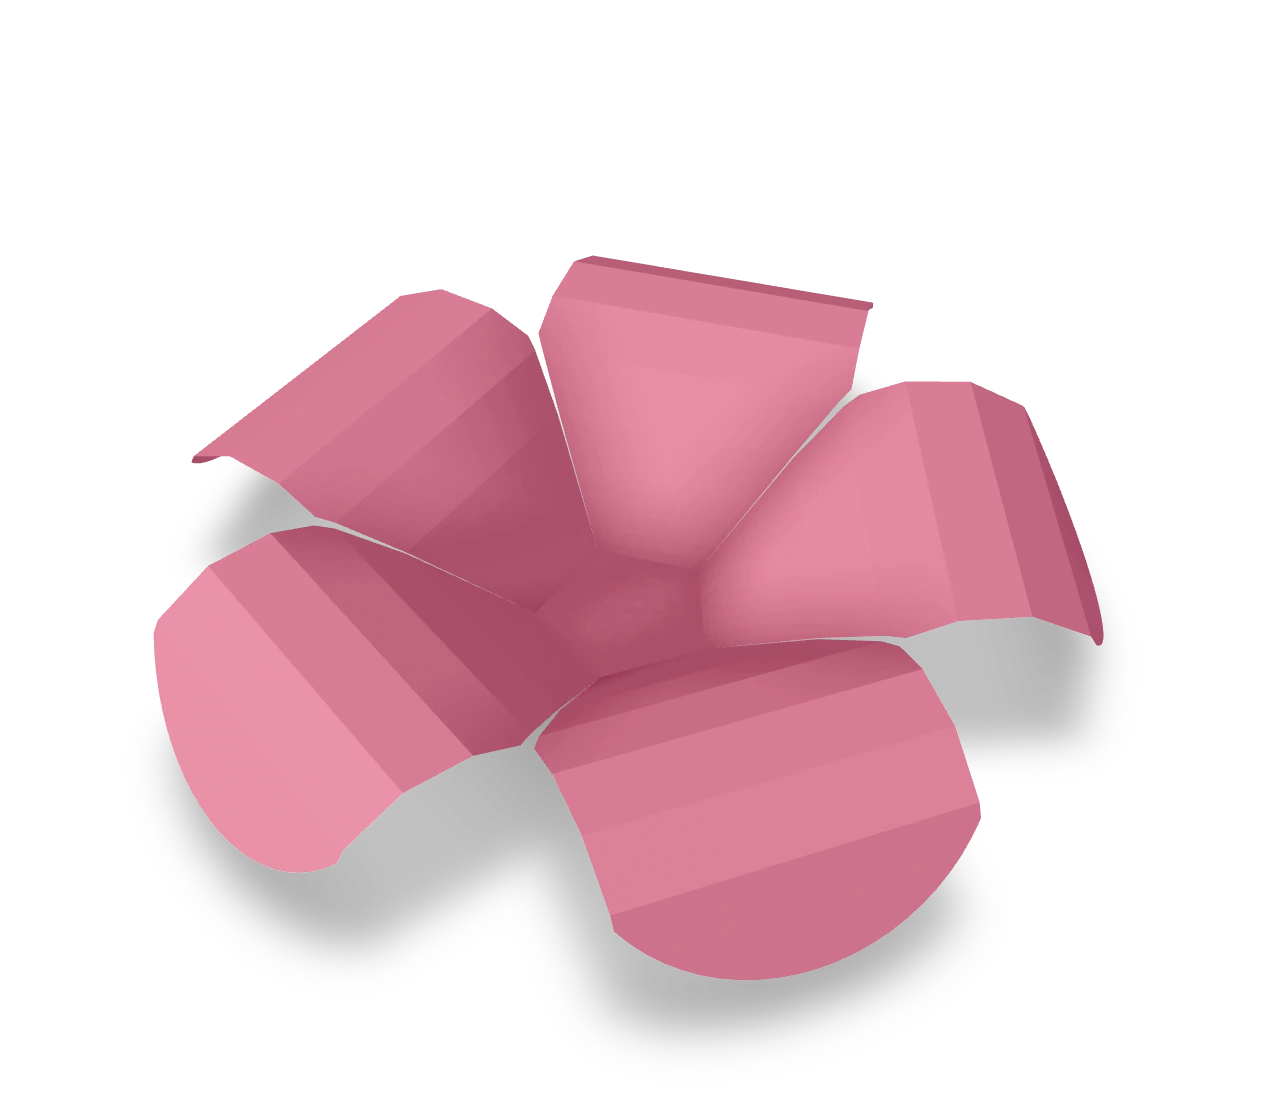
Five-petal flower ↗
Draw five round petals around a small pentagon, cut the flower out in one piece, then cup the petals up and roll their ends back.

Tulip ↗
Cut six pointed petals and a long stem in one piece, cup the petals into a tulip, then fold the stem under the flower and glue it in place.