How to make a quilling square
Quilling Square: try all 6 steps in the 3D player. Turn and replay every move. Print the complete diagram sheet or save it as PDF.
Roll a loose coil, pinch it into an eye, then turn it and pinch the other two sides: a square for tiles, borders and mosaics.
- You need
- A 3 mm × 30 cm quilling strip, a slotted quilling tool, craft glue and a toothpick to apply it.
- Start
- Begin with one quilling strip, 3 mm wide and 30 cm long, lying flat with its long edges at the top and bottom.
- Tips
- Pinch the second pair of corners exactly halfway between the first two, so the sides come out equal.
- Press the square gently between finger and thumb on each pair of sides to even it out.
Your model is ready
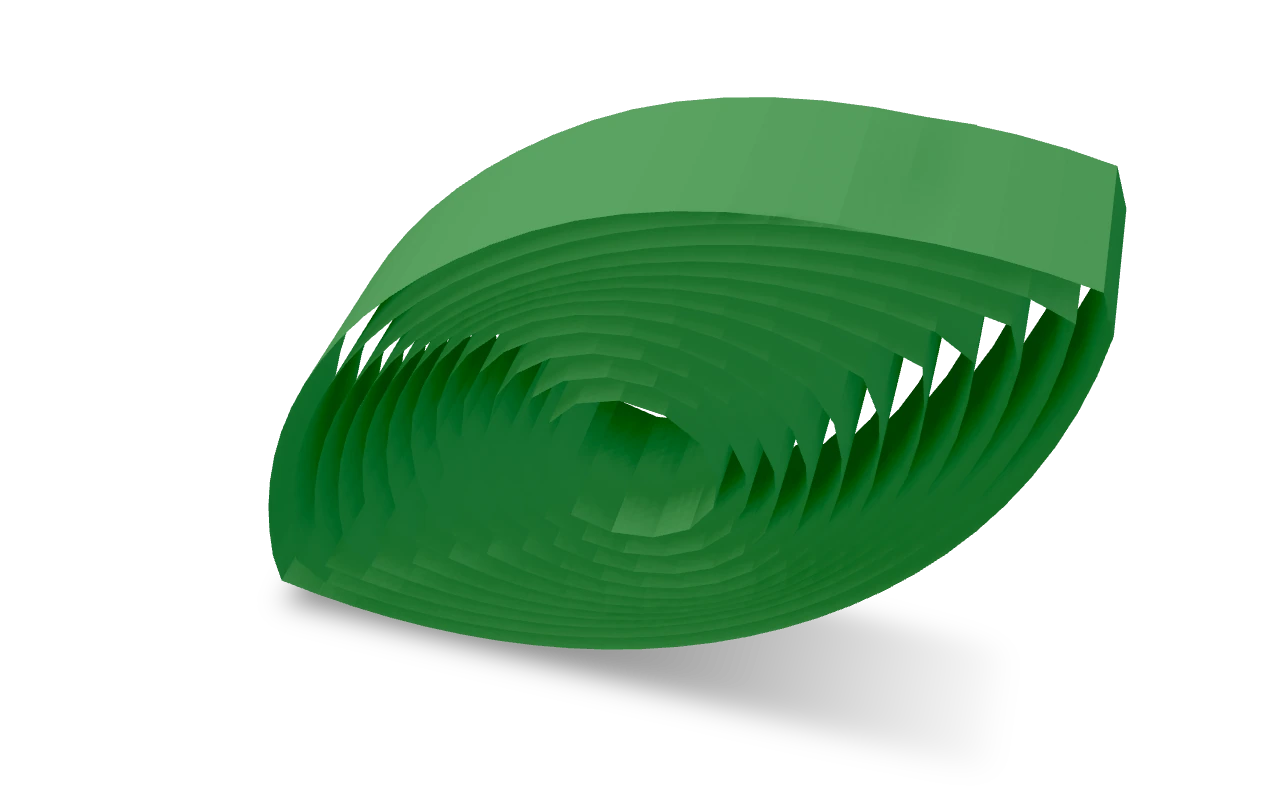
Your square is done. Fit several side by side for a mosaic, or squeeze it on two corners for a diamond. Turn the square to see its spiral, round in the middle and square outside.

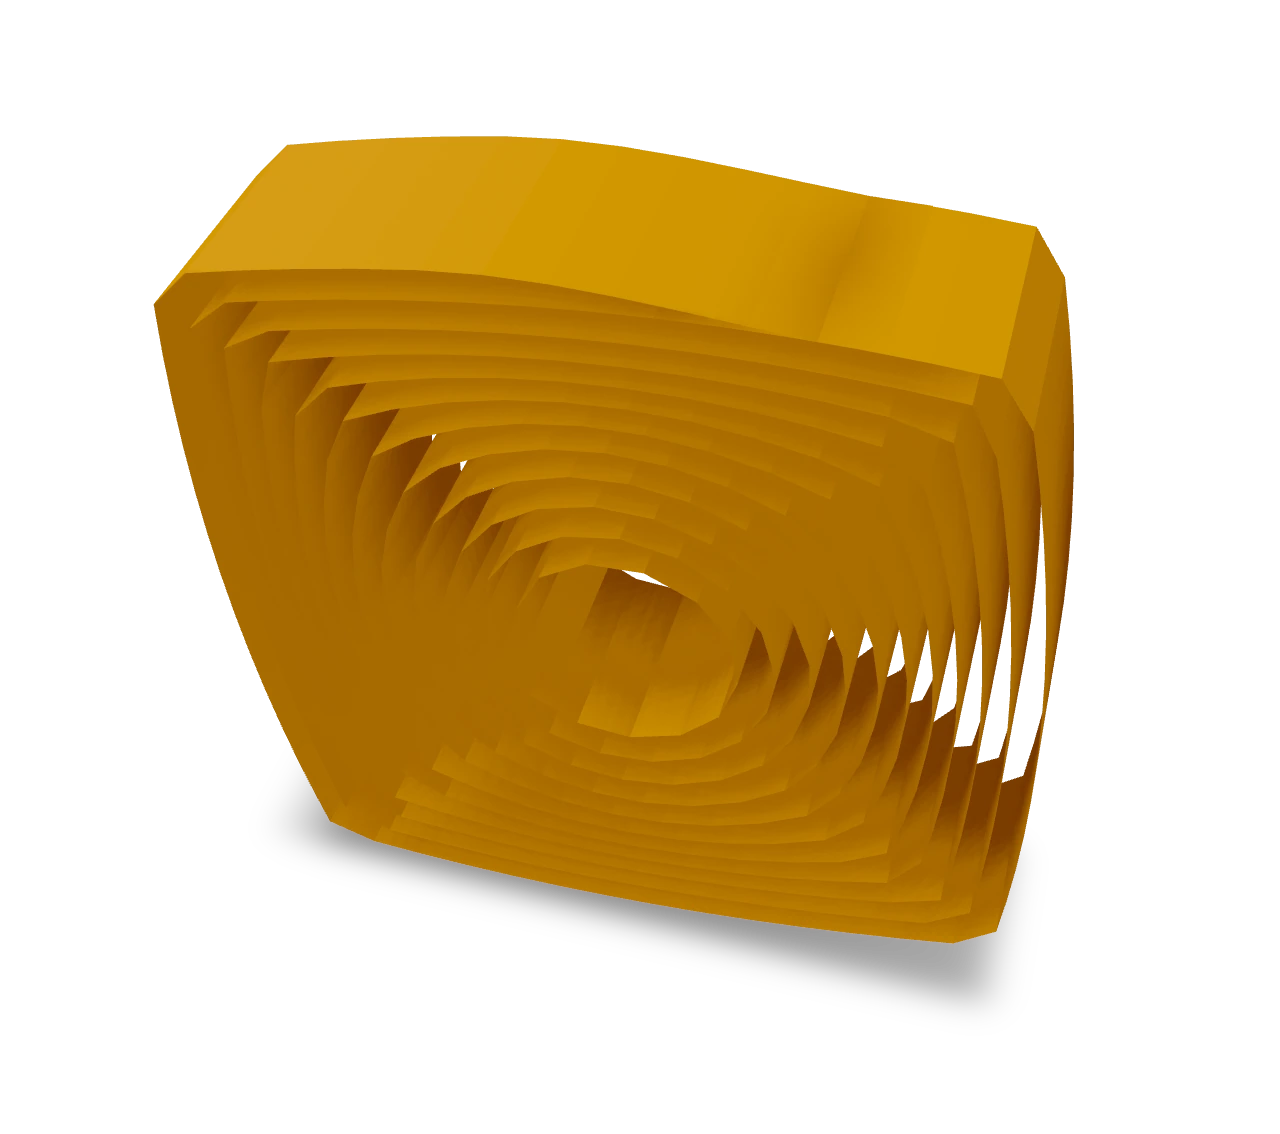
Step-by-step diagrams
- 1
Roll the strip on the tool
Slide the left end of the strip into the slot of the quilling tool. Turn the tool, guiding the strip so each turn lies snug on the one before, until the whole strip is wound on.
- 2
Let the coil open
Slide the coil off the tool and let go. The turns spring apart into an even spiral about 14 mm across. Hold the loose end against the coil from now on.
- 3
Pinch an eye
Pinch two opposite sides of the coil into points at the same time, flattening it into an eye.
- 4
Pinch the other two corners
Turn the eye a quarter turn. Press its two points toward each other and pinch the two sides that bulge out into corners, so the coil becomes a square.
- 5
Lay the end on the coil
Press the last few millimetres of the strip down flat against the turn beneath it.
- 6
Glue the end
Put a tiny dab of glue under the end with a toothpick and hold it against the coil until it holds.
- ✓
Finish
Your square is done. Fit several side by side for a mosaic, or squeeze it on two corners for a diamond. Turn the square to see its spiral, round in the middle and square outside.
Fold next
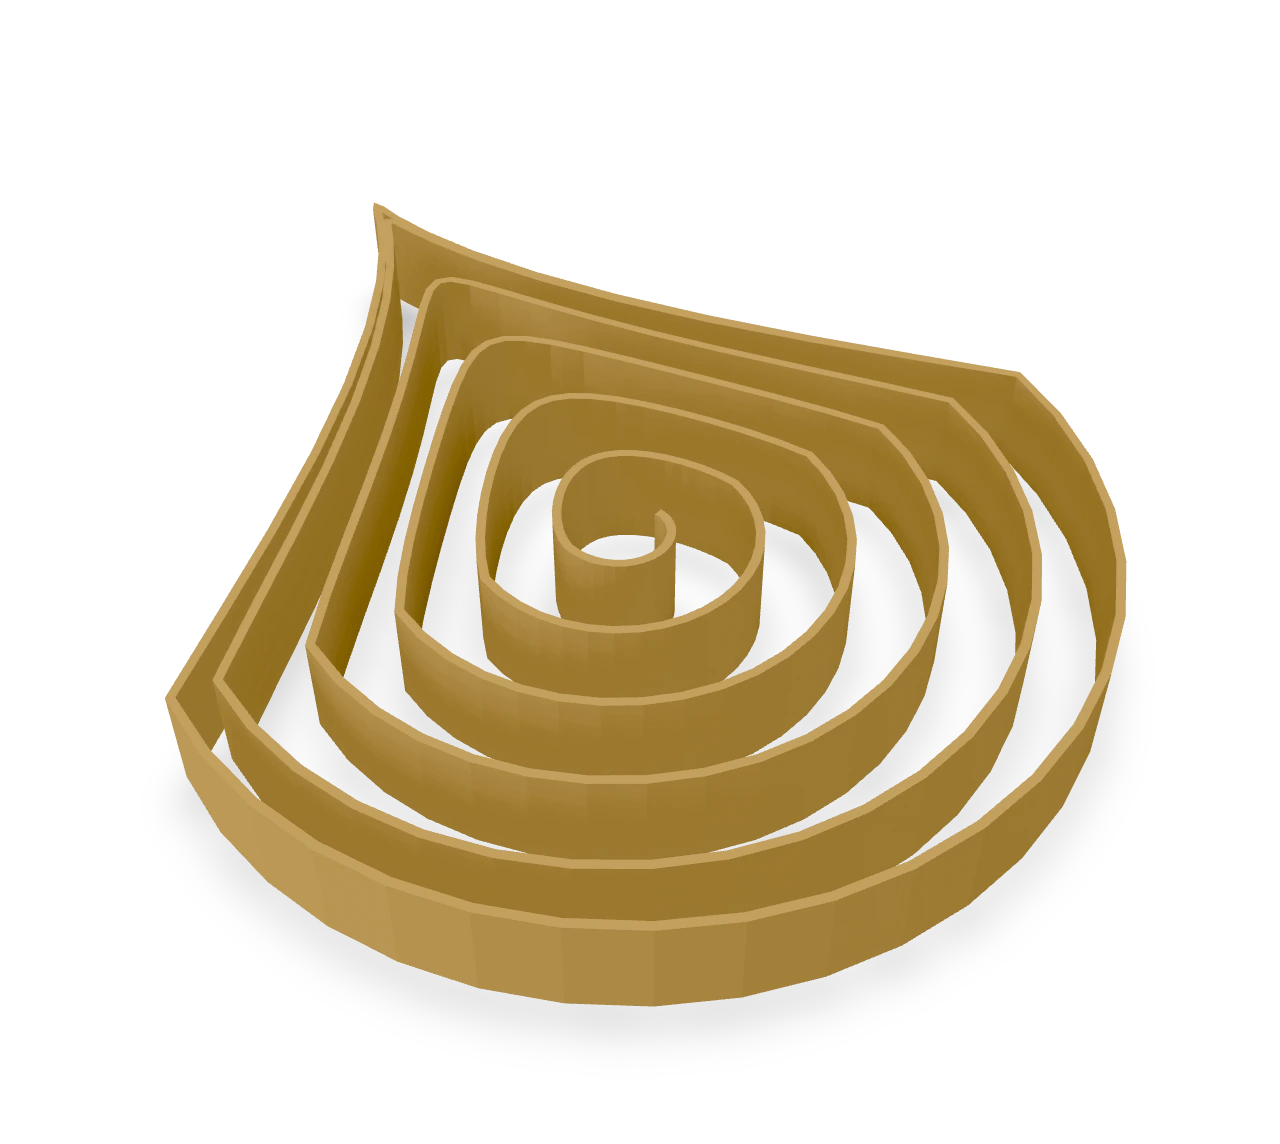
Quilled teardrop ↗
Roll one paper strip into a loose coil and pinch a point to make a petal shape.
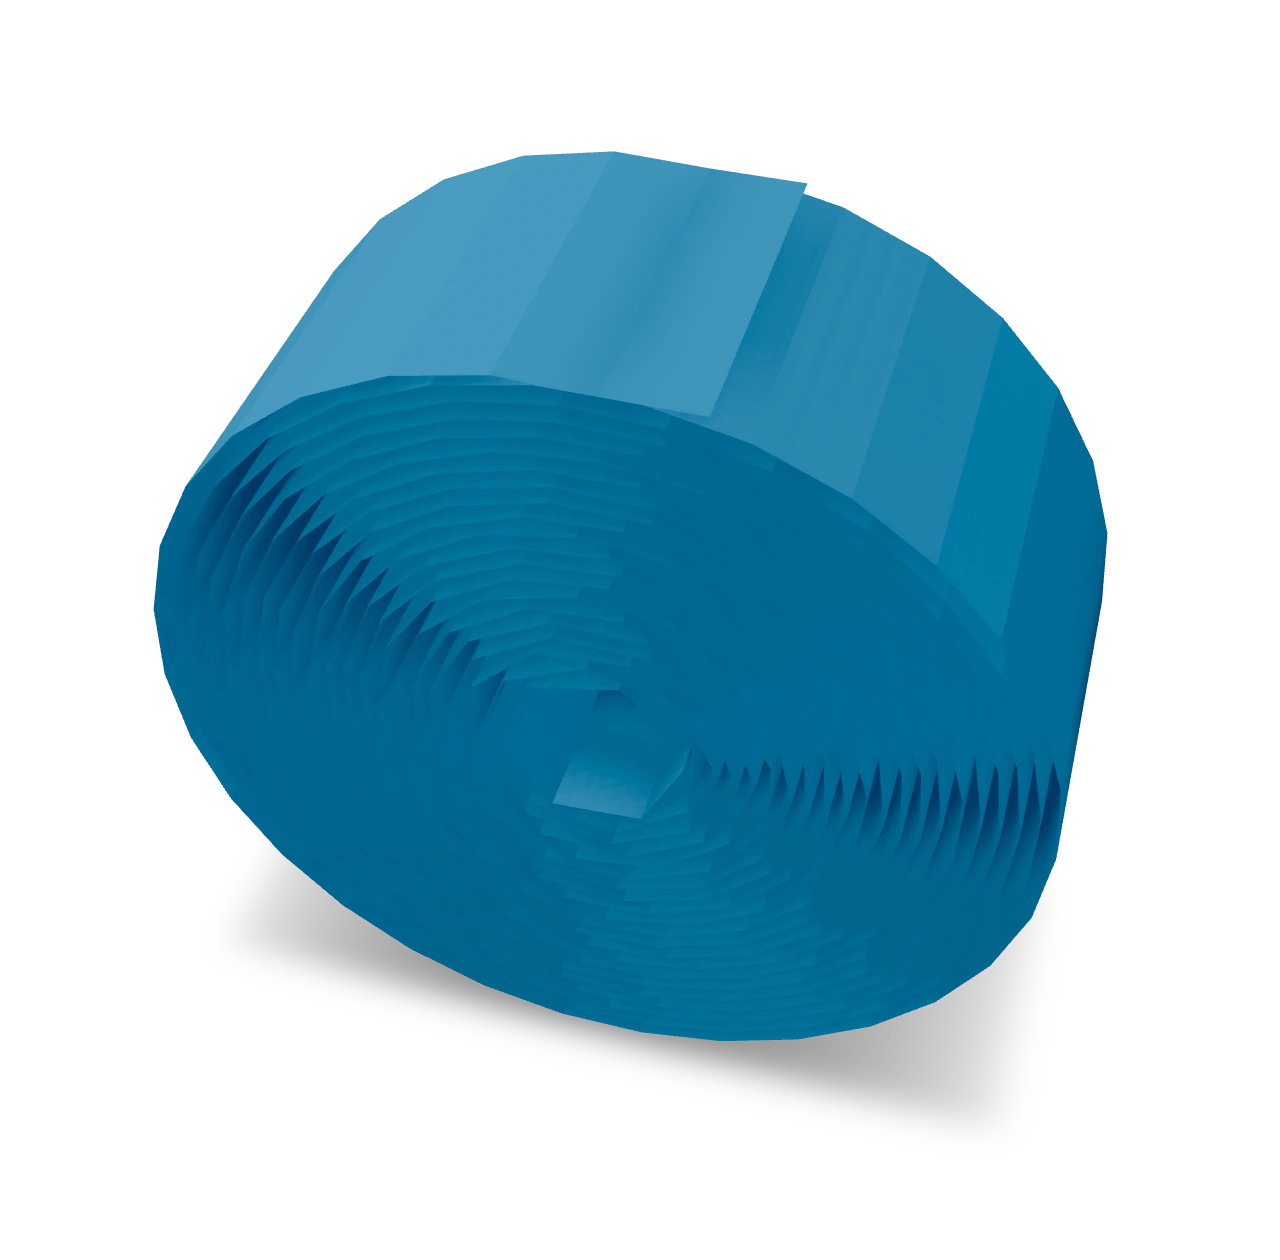
Tight coil ↗
Wind a whole quilling strip round the tool with no gaps, then glue its end: the solid little disc that makes flower centres, wheels and eyes.
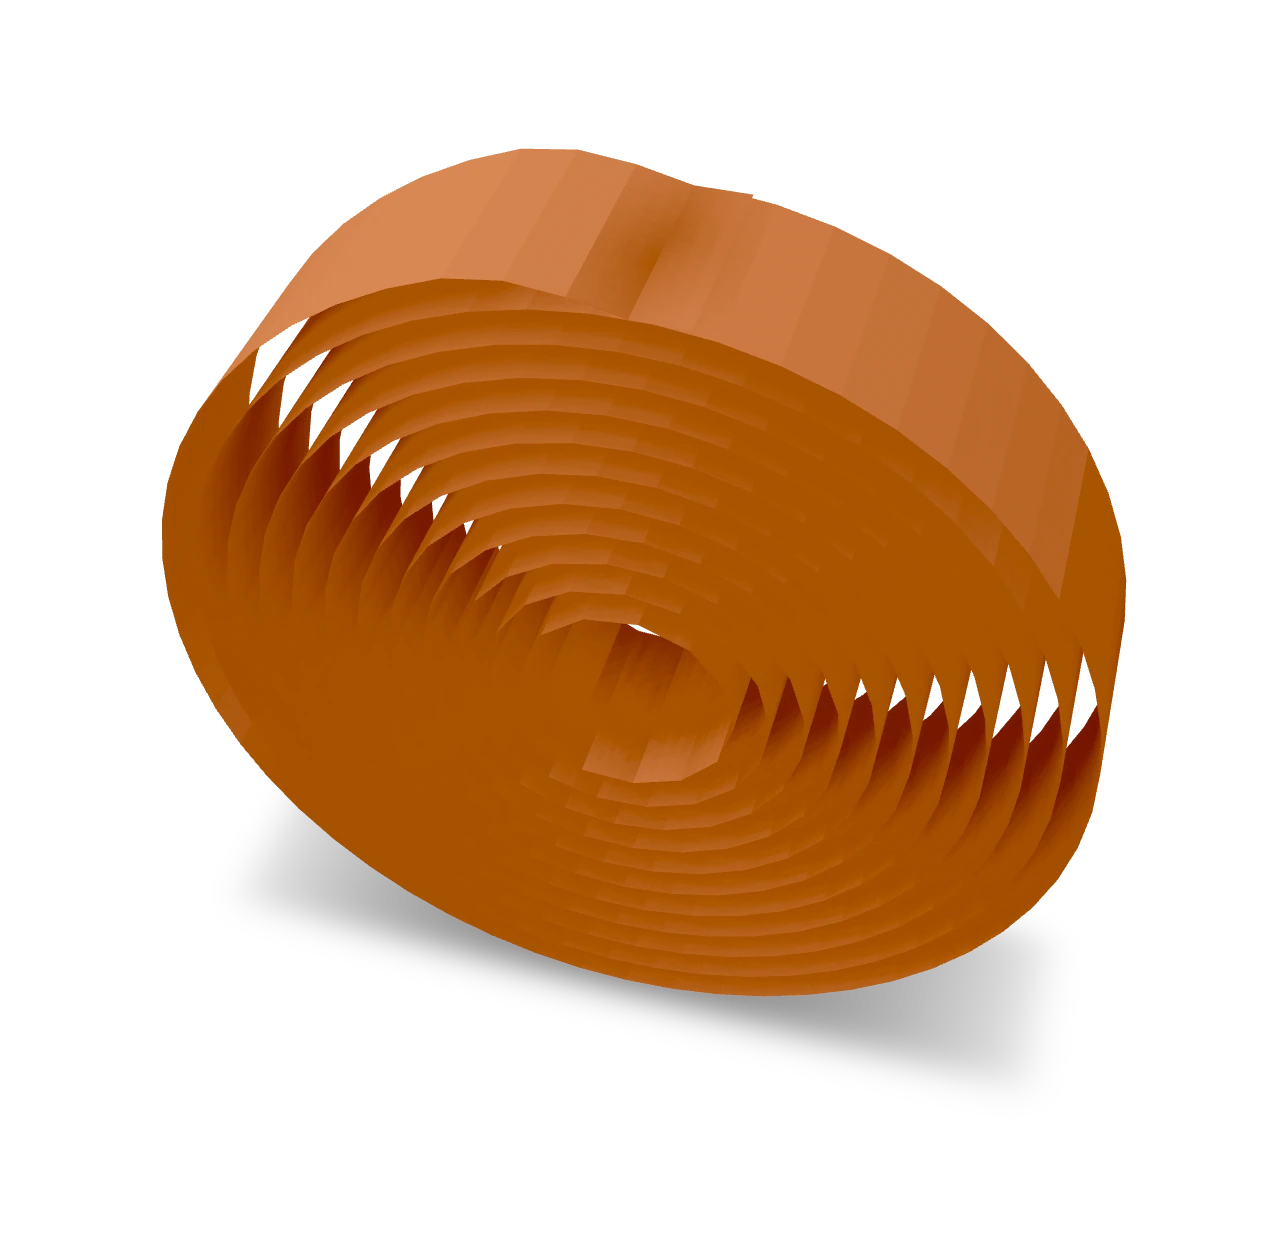
Loose coil ↗
Roll a quilling strip tightly, let it spring open to an even spiral and glue its end: the open coil that every teardrop, eye and petal is pinched from.
Marquise ↗
Roll a quilling strip, let it open into a loose coil, then pinch it at two opposite points: the eye shape used for leaves, petals and wings.