How to make a paper lantern: cut-and-glue craft
Paper Lantern DIY: try all 21 steps in the 3D player. Turn and replay every move. Print the complete diagram sheet or save it as PDF.
Fold a sheet in half, cut eight slits from the fold, open it, roll it into a tube and push the ends together so the strips bow out, then glue the seam and a strip handle across the top of the paper lantern.
- You need
- Two colours of paper, scissors, a ruler and pencil, and a glue stick.
- Start
- Begin with a 23.4 × 15 cm sheet of coloured paper, the long edges at the top and bottom, and a 15 mm × 11 cm strip of another colour for the handle.
- Tips
- Measure the slits from the left edge, 26 mm apart, and stop each one at the same line near the open edge.
- Press the folded paper firmly along the two crease lines so the strips bend where you want them.
- Glue the handle ends on the inside of the rim, straight across from each other.
Your model is ready
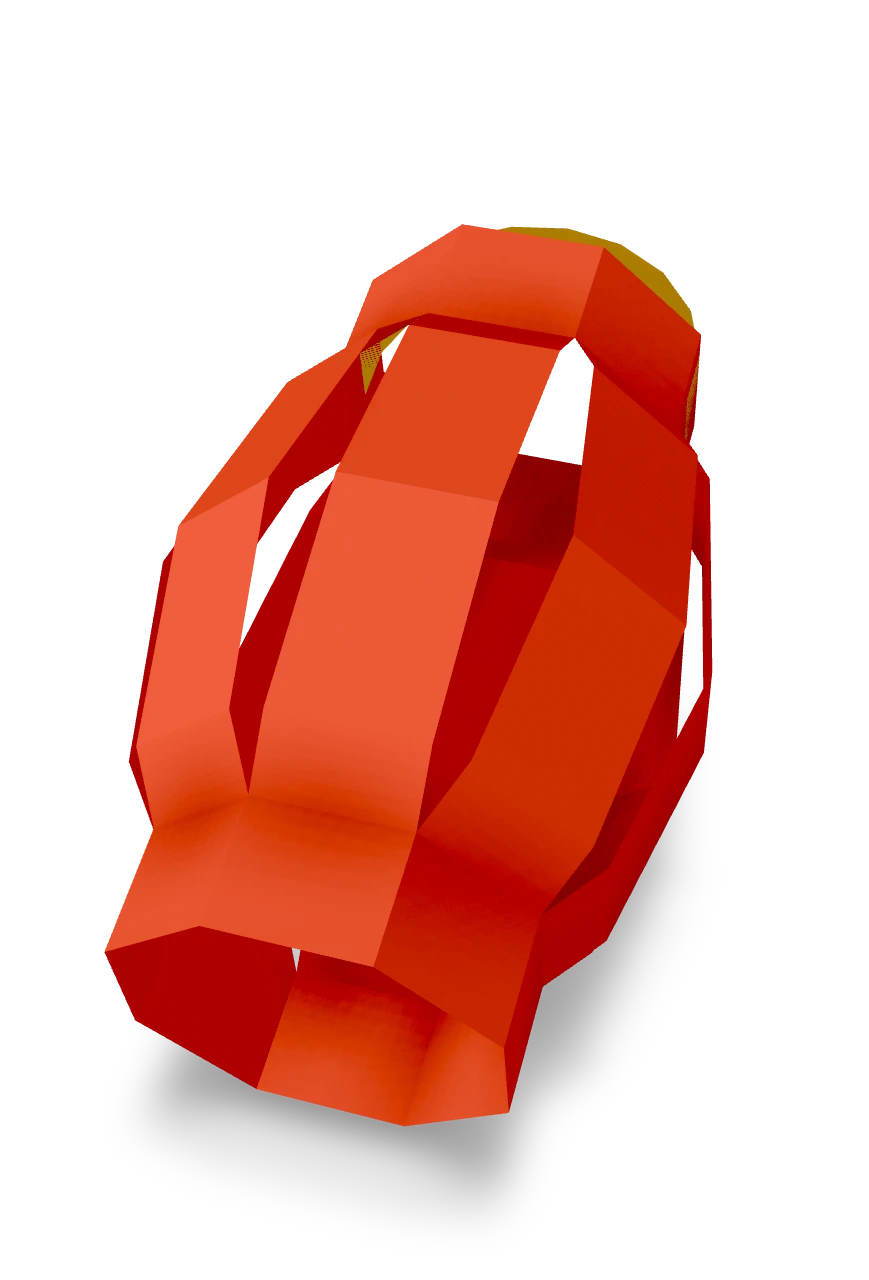
Your paper lantern is done: eight strips bowed out between two round rims, with a handle arching over the top. Hang it from the handle. Look at the finished lantern from the side: the handle arches over the top and the strips bow out in the middle.

Step-by-step diagrams
Steps 1–6
- 1
Fold the sheet in half
Fold the sheet in half from the bottom up, so the two long edges meet and the fold is at the bottom.
- 2
Cut the first slit
Start at the fold, 26 mm in from the left, and cut straight up towards the open edge. Stop 22 mm short of it.
- 3
Cut the second slit
Cut the next slit the same way, 26 mm further along, stopping at the same distance from the open edge.
- 4
Cut the third slit
Cut the next slit the same way, 26 mm further along, stopping at the same distance from the open edge.
- 5
Cut the fourth slit
Cut the next slit the same way, 26 mm further along, stopping at the same distance from the open edge.
- 6
Cut the fifth slit
Cut the next slit the same way, 26 mm further along, stopping at the same distance from the open edge.
Steps 7–12
- 7
Cut the sixth slit
Cut the next slit the same way, 26 mm further along, stopping at the same distance from the open edge.
- 8
Cut the seventh slit
Cut the next slit the same way, 26 mm further along, stopping at the same distance from the open edge.
- 9
Cut the eighth slit
Cut the next slit the same way, 26 mm further along, stopping at the same distance from the open edge.
- 10
Crease across the slit ends
Press a crease across both layers through the ends of the slits, about 2 cm from the open edge.
- 11
Crease again, a quarter further
Press a second crease across both layers, a quarter of the way along the slits from the first crease.
- 12
Open the sheet
Open the sheet flat. The slits are one long cut across the middle.
Steps 13–18
- 13
Roll it into a tube
Curl the sheet round so the two short edges come towards each other, the slits running along the tube.
- 14
Round the tube
Bring the edges round until the tube is round and the two edges meet.
- 15
Overlap the edges
Lay the last strip over the first, edge to edge.
- 16
Push the ends together
Hold the tube by its two rims and gently push them towards each other. The strips between the slits bow outwards into a lantern shape.
- 17
Glue the seam
Run a line of glue along the overlapped edge and hold the rim together until it sets.
- 18
Bend the handle
Take the narrow strip and curl it evenly into an arch, a half circle, with its two ends pointing the same way.
Steps 19–21
- 19
Set the handle in the lantern
Slide one end of the arch down inside the rim, flat against the inside of a strip.
- 20
Glue the handle's first end
Put a dab of glue on the end of the handle and press it against the inside of the rim.
- 21
Glue the handle's other end
Glue the other end of the handle to the inside of the rim, straight across from the first.
- ✓
Finish
Your paper lantern is done: eight strips bowed out between two round rims, with a handle arching over the top. Hang it from the handle. Look at the finished lantern from the side: the handle arches over the top and the strips bow out in the middle.
Fold next
Paper chain ↗
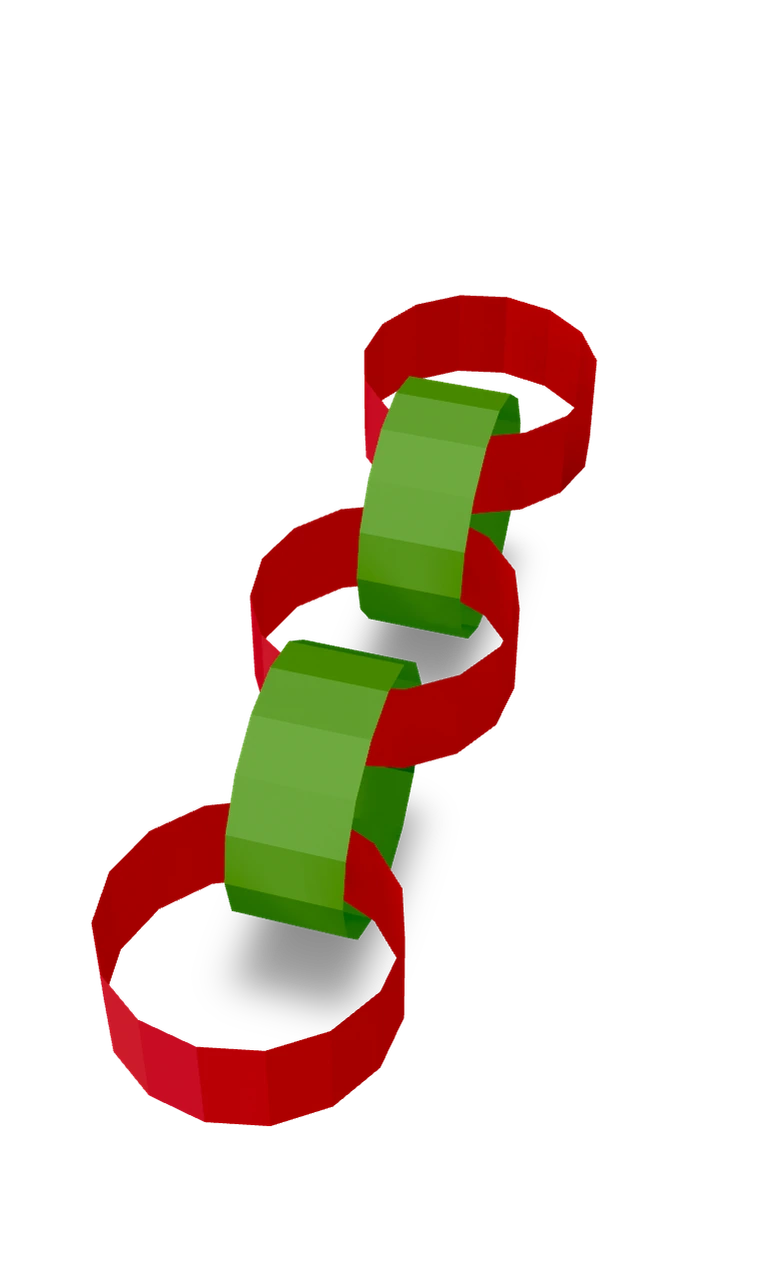
Glue a strip into a ring, thread the next strip through it and glue that into a ring too, and carry on: a five-link paper chain in two colours, ready to hang up.
Open box ↗
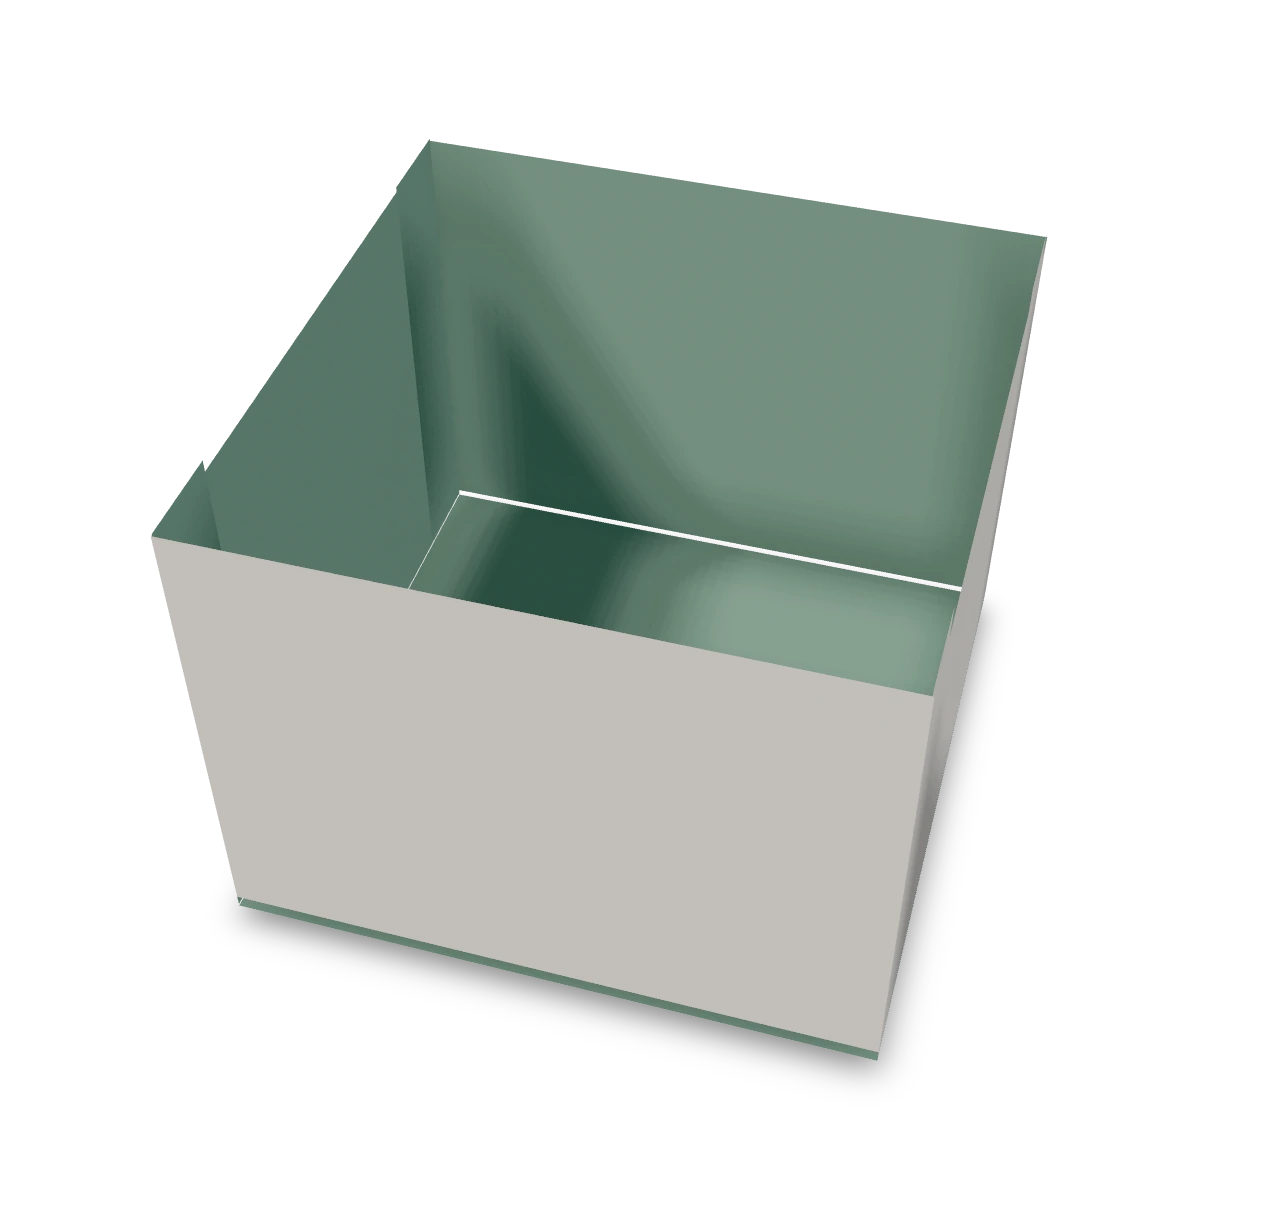
Cut and fold a small open box with a 4 × 4 cm base and 3 cm walls.
Tissue flower ↗
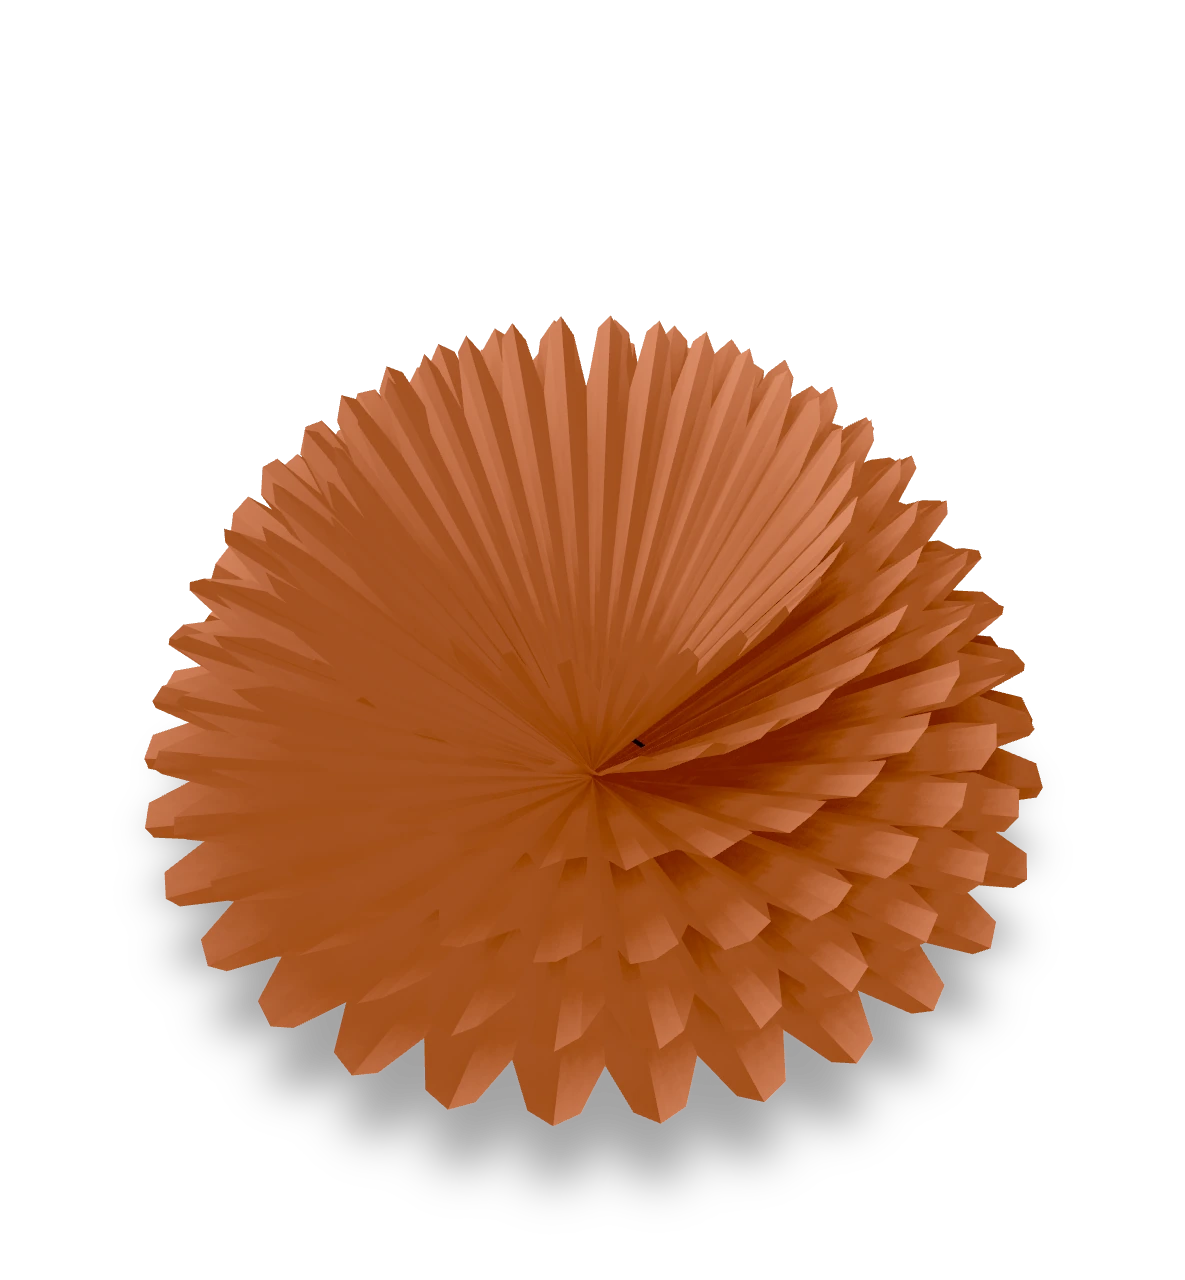
Pleat six tissue sheets, tie the center and lift the layers into a soft bloom.
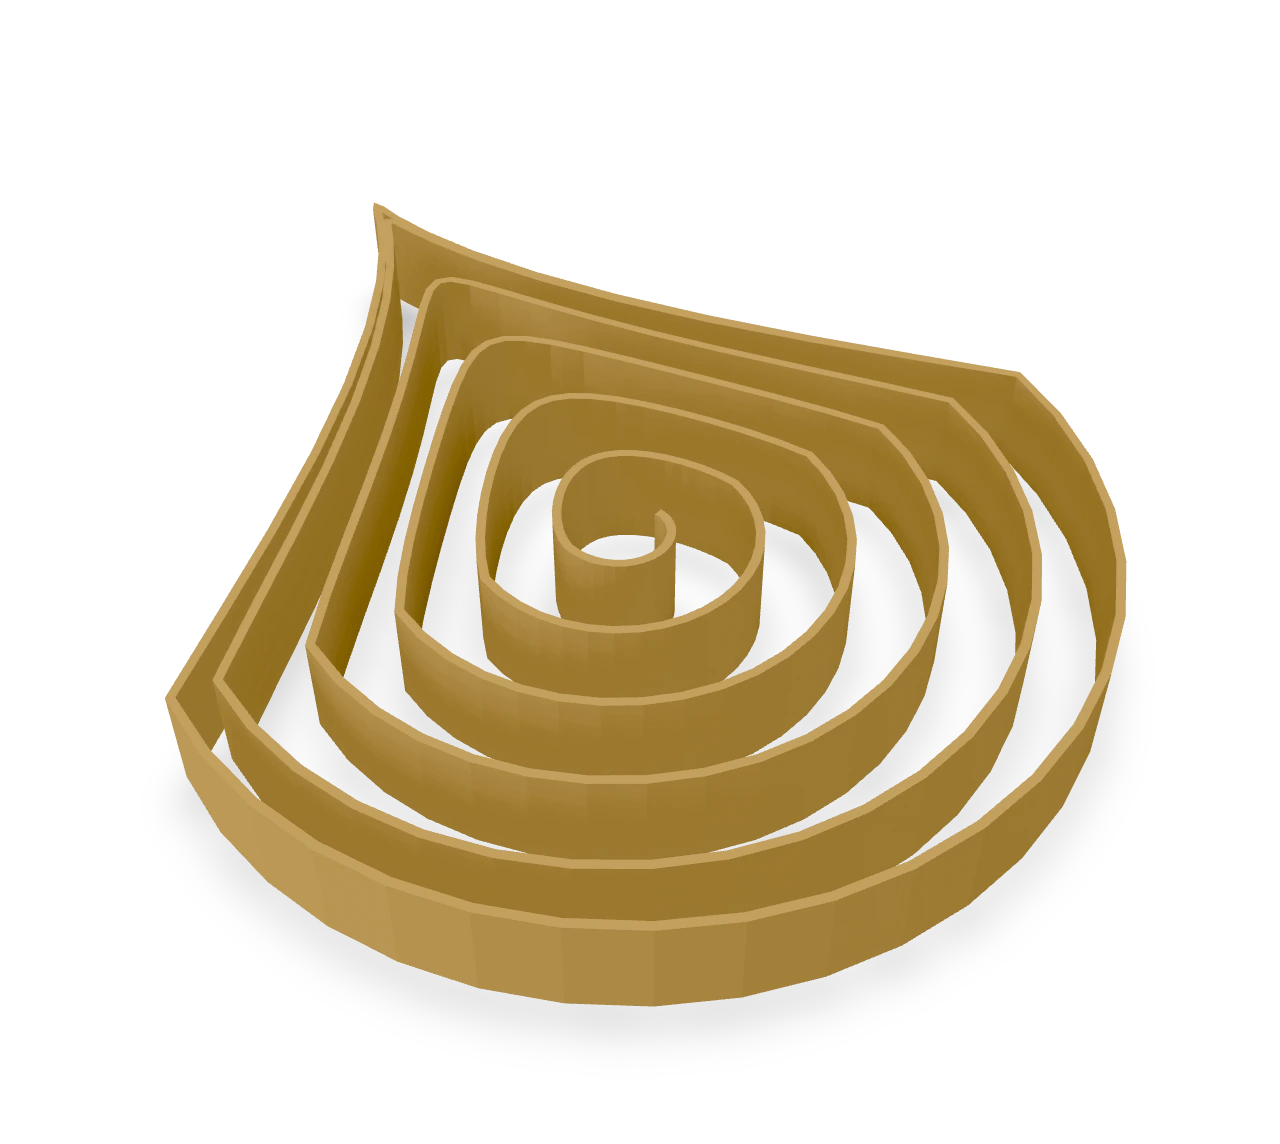
Quilled teardrop ↗
Roll one paper strip into a loose coil and pinch a point to make a petal shape.