How to make a quilling flower
Quilling Flowers: try all 29 steps in the 3D player. Turn and replay every move. Print the complete diagram sheet or save it as PDF.
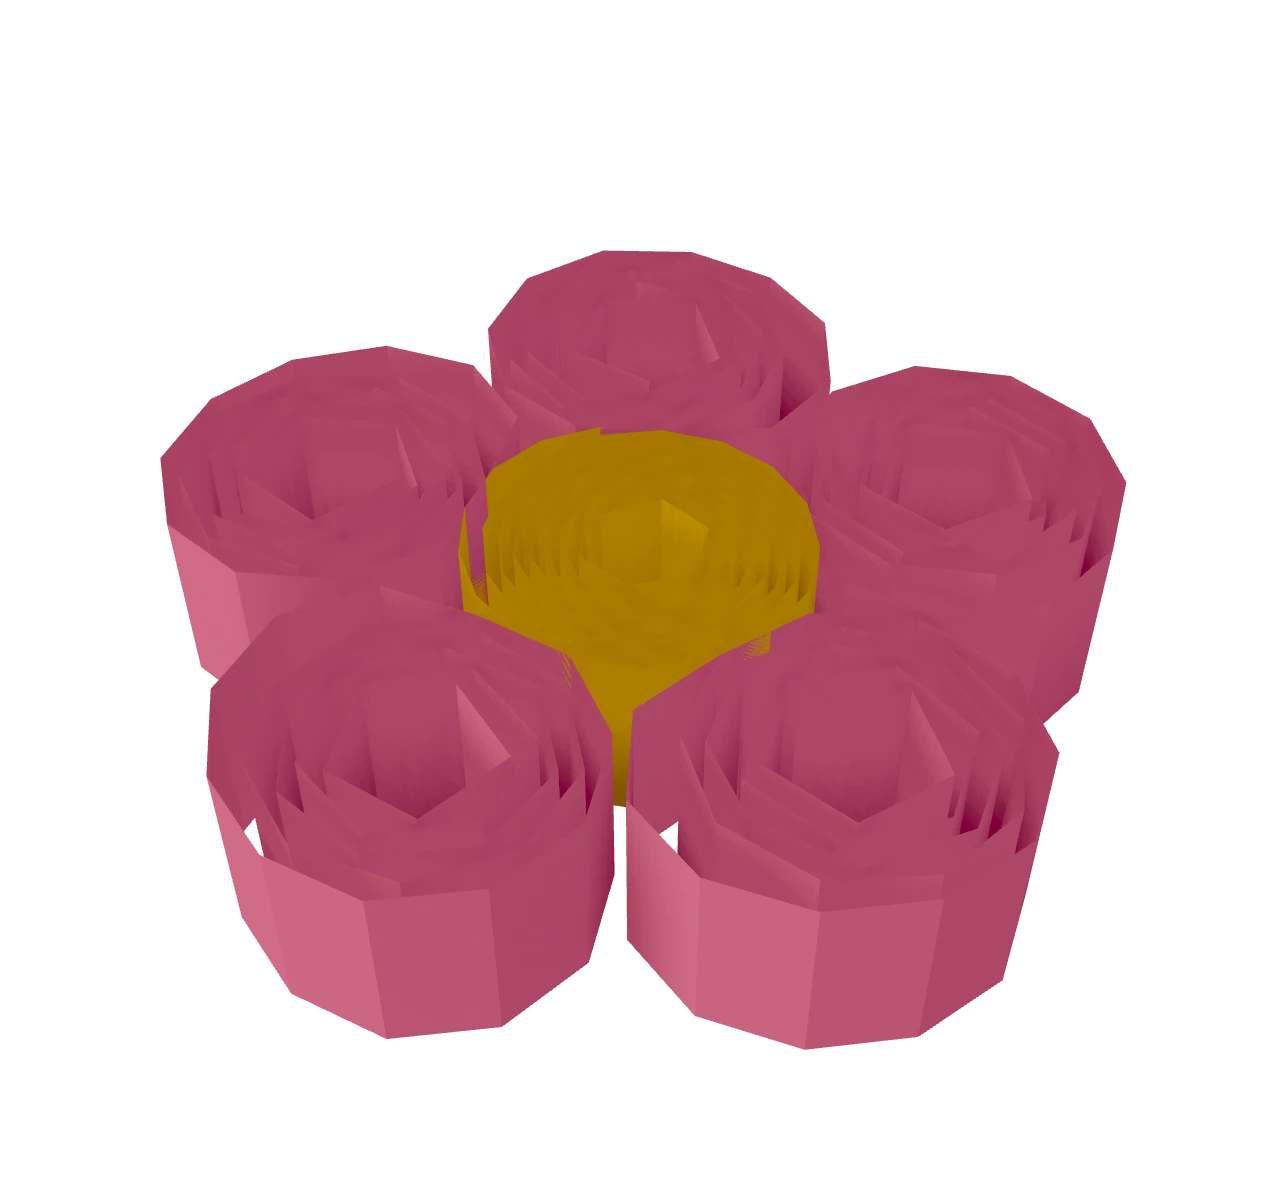
Roll a yellow coil for the centre and five pink loose coils for the petals, glue each coil's end, then glue the petals round the centre: a small quilled flower about 2 cm across.
- You need
- 3 mm quilling strips in yellow and pink, a slotted quilling tool, craft glue and a toothpick to apply it.
- Start
- Cut a 9 cm length of yellow quilling strip for the centre and five 6 cm lengths of pink for the petals, all 3 mm wide. Lay them flat, long edges at the top and bottom.
- Tips
- Roll every petal with the same light pressure so the five come out the same size.
- Use only a tiny dab of glue where a petal touches the centre; too much shows on the face of the flower.
Your model is ready
Your quilled flower is done: five pink coils round a yellow centre. Glue it onto a card, or make several in different colours for a bunch. Look down on the flower: the spirals of its coils, the five petals evenly round the centre.

Step-by-step diagrams
Steps 1–6
- 1
Roll the centre
Slide the left end of the yellow strip into the slot of the quilling tool and turn the tool, guiding the strip so each turn lies close on the one before, until the whole strip is wound on.
- 2
Lay the centre's end down
Slide the coil off the tool and hold it so it stays round. Press the last few millimetres of the strip down gently onto the turn beneath it.
- 3
Glue the centre's end
Put a tiny dab of glue under the end with a toothpick and hold it against the coil until it holds.
- 4
Lay the centre on its side
Turn the yellow coil onto its side so the spiral of its edge faces up, and set it down where the flower will be.
- 5
Roll the first petal
Wind a pink strip on the tool more loosely than the centre, so a little air stays between its turns.
- 6
Lay the first petal's end down
Take the coil off the tool and press its last few millimetres gently onto the turn beneath, keeping the coil round.
Steps 7–12
- 7
Glue the first petal's end
Glue the end down with a tiny dab and hold it until it holds.
- 8
Set the first petal against the centre
Lay the petal on its side against the yellow centre, its outer turn touching the centre's outer turn.
- 9
Glue the first petal on
Touch a dab of glue where the petal meets the centre and hold the two together for a few seconds.
- 10
Roll the second petal
Roll the next pink strip the same way, with the same light hand, and let it open a little on the tool.
- 11
Lay the second petal's end down
Take the coil off the tool and press its last few millimetres gently onto the turn beneath, keeping the coil round.
- 12
Glue the second petal's end
Glue the end down with a tiny dab and hold it until it holds.
Steps 13–18
- 13
Set the second petal against the centre
Lay the next petal on its side against the centre, a fifth of the way round from the last, so it touches the centre but not its neighbour.
- 14
Glue the second petal on
Touch a dab of glue where the petal meets the centre and hold the two together for a few seconds.
- 15
Roll the third petal
Roll the next pink strip the same way, with the same light hand, and let it open a little on the tool.
- 16
Lay the third petal's end down
Take the coil off the tool and press its last few millimetres gently onto the turn beneath, keeping the coil round.
- 17
Glue the third petal's end
Glue the end down with a tiny dab and hold it until it holds.
- 18
Set the third petal against the centre
Lay the next petal on its side against the centre, a fifth of the way round from the last, so it touches the centre but not its neighbour.
Steps 19–24
- 19
Glue the third petal on
Touch a dab of glue where the petal meets the centre and hold the two together for a few seconds.
- 20
Roll the fourth petal
Roll the next pink strip the same way, with the same light hand, and let it open a little on the tool.
- 21
Lay the fourth petal's end down
Take the coil off the tool and press its last few millimetres gently onto the turn beneath, keeping the coil round.
- 22
Glue the fourth petal's end
Glue the end down with a tiny dab and hold it until it holds.
- 23
Set the fourth petal against the centre
Lay the next petal on its side against the centre, a fifth of the way round from the last, so it touches the centre but not its neighbour.
- 24
Glue the fourth petal on
Touch a dab of glue where the petal meets the centre and hold the two together for a few seconds.
Steps 25–29
- 25
Roll the fifth petal
Roll the next pink strip the same way, with the same light hand, and let it open a little on the tool.
- 26
Lay the fifth petal's end down
Take the coil off the tool and press its last few millimetres gently onto the turn beneath, keeping the coil round.
- 27
Glue the fifth petal's end
Glue the end down with a tiny dab and hold it until it holds.
- 28
Set the fifth petal against the centre
Lay the next petal on its side against the centre, a fifth of the way round from the last, so it touches the centre but not its neighbour.
- 29
Glue the fifth petal on
Touch a dab of glue where the petal meets the centre and hold the two together for a few seconds.
- ✓
Finish
Your quilled flower is done: five pink coils round a yellow centre. Glue it onto a card, or make several in different colours for a bunch. Look down on the flower: the spirals of its coils, the five petals evenly round the centre.
Fold next
Tissue flower ↗
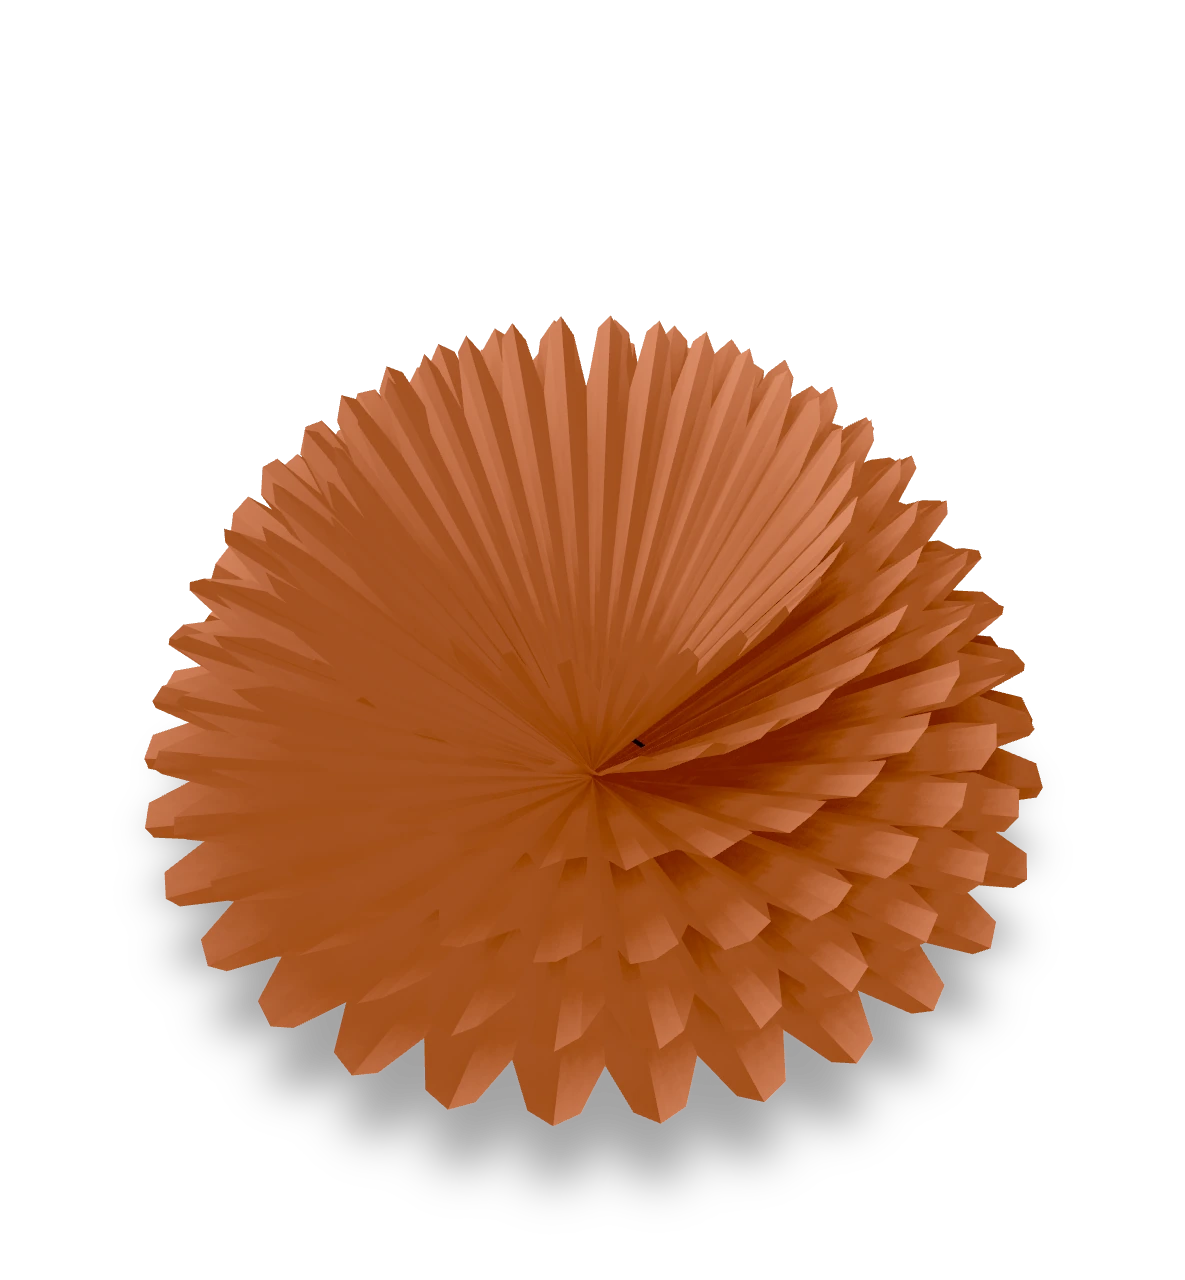
Pleat six tissue sheets, tie the center and lift the layers into a soft bloom.
Spiral rose ↗
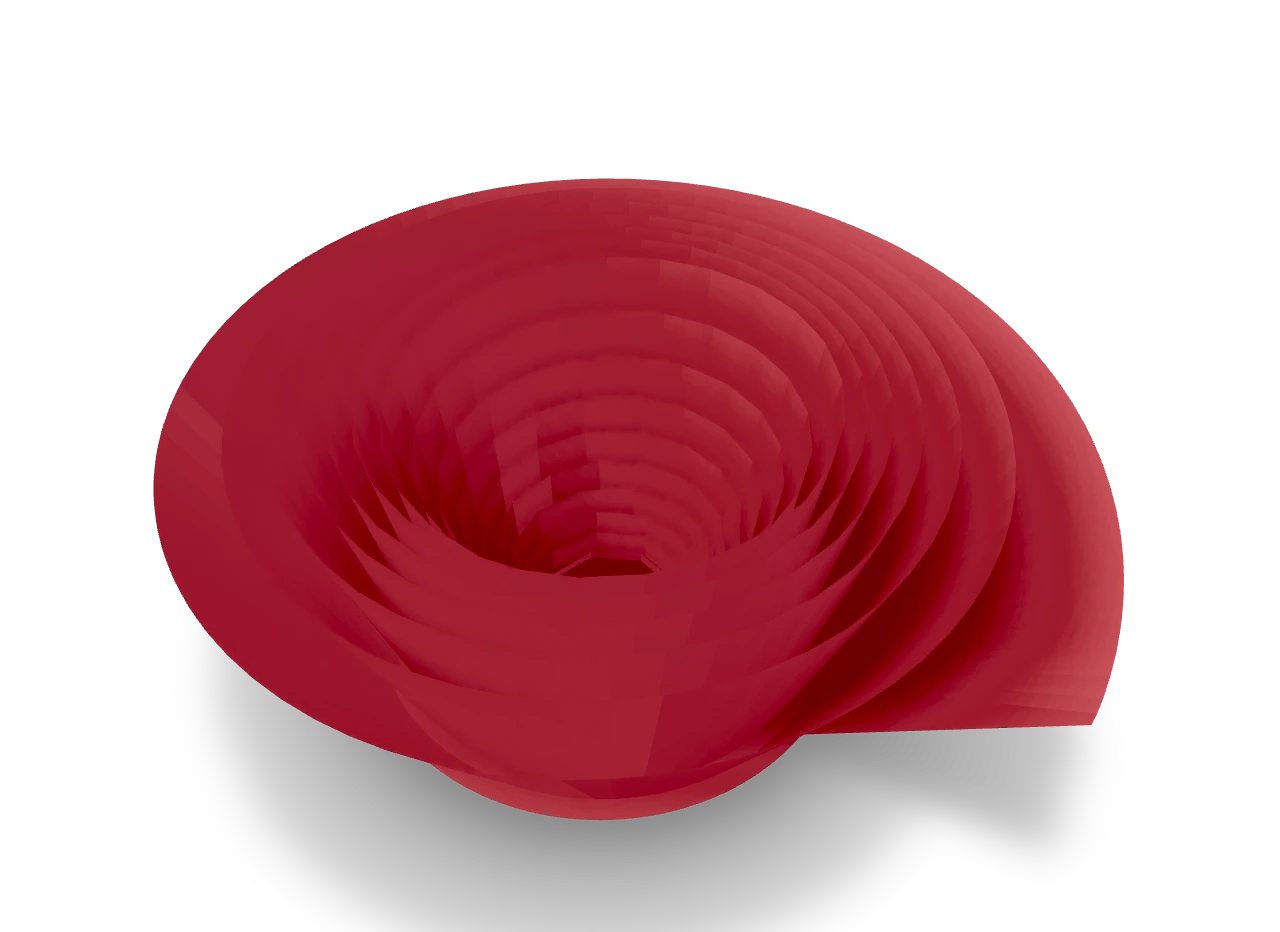
Cut a 14.4 cm circle and an 18 mm spiral. Roll from its outside tip, let the coil relax, then secure it to the centre tab.
Five-petal flower ↗
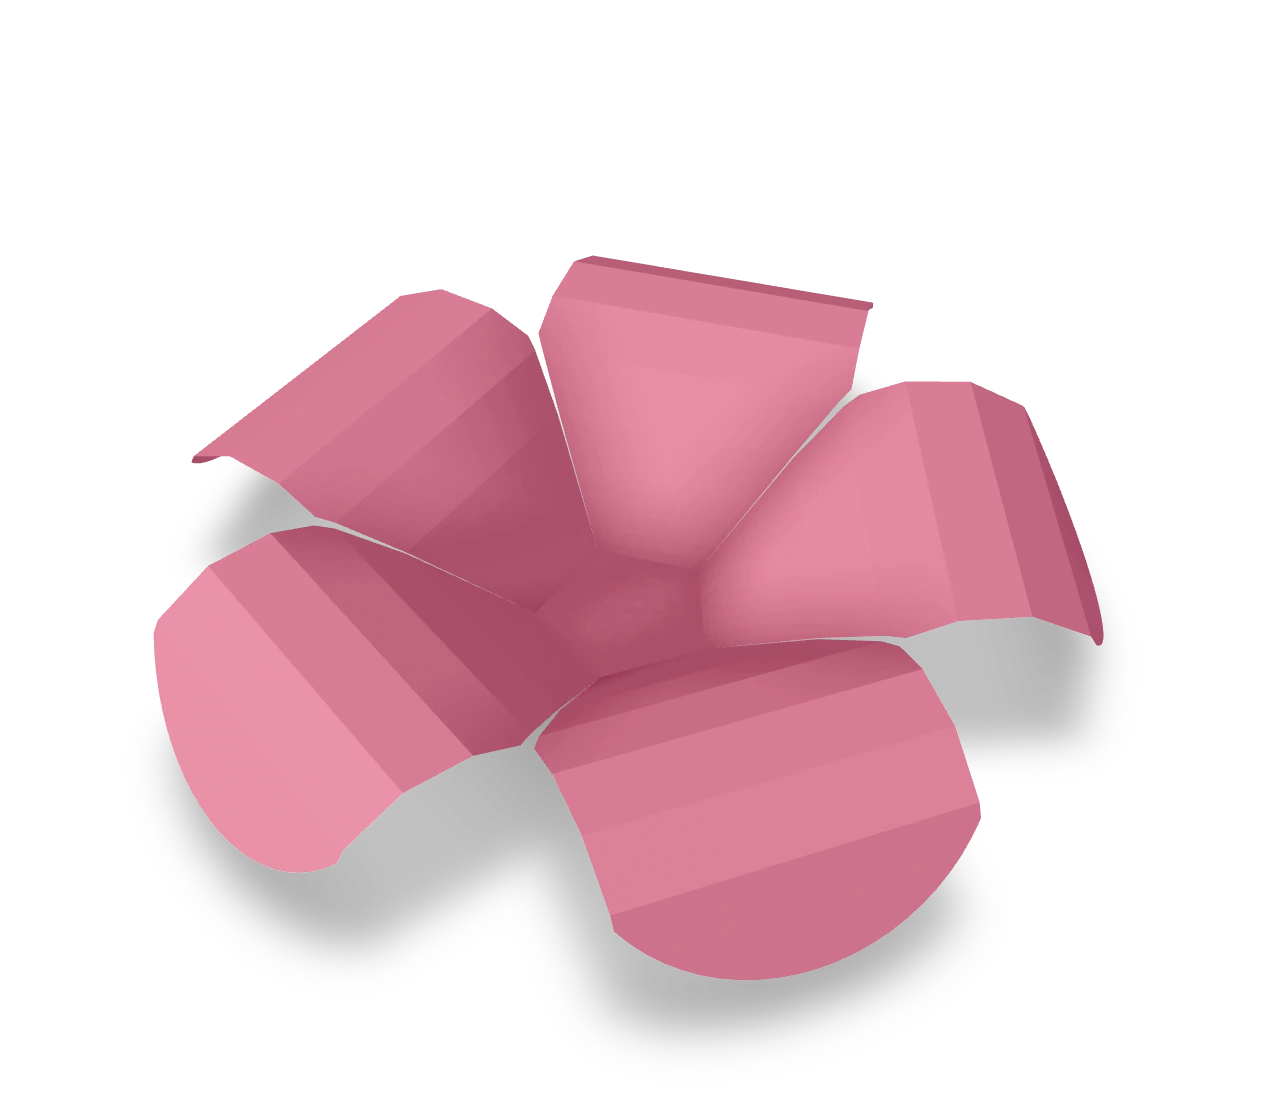
Draw five round petals around a small pentagon, cut the flower out in one piece, then cup the petals up and roll their ends back.

Tulip ↗
Cut six pointed petals and a long stem in one piece, cup the petals into a tulip, then fold the stem under the flower and glue it in place.