How to make a paper rose: spiral method
Make a Paper Rose (Spiral): try all 8 steps in the 3D player. Turn and replay every move. Print the complete diagram sheet or save it as PDF.
Cut a 14.4 cm circle and an 18 mm spiral. Roll from its outside tip, let the coil relax, then secure it to the centre tab.
- You need
- Light paper, a pencil, scissors, a ruler and a small amount of paper glue.
- Start
- Begin with a 15 × 15 cm square of light paper, colored on both sides.
Your model is ready
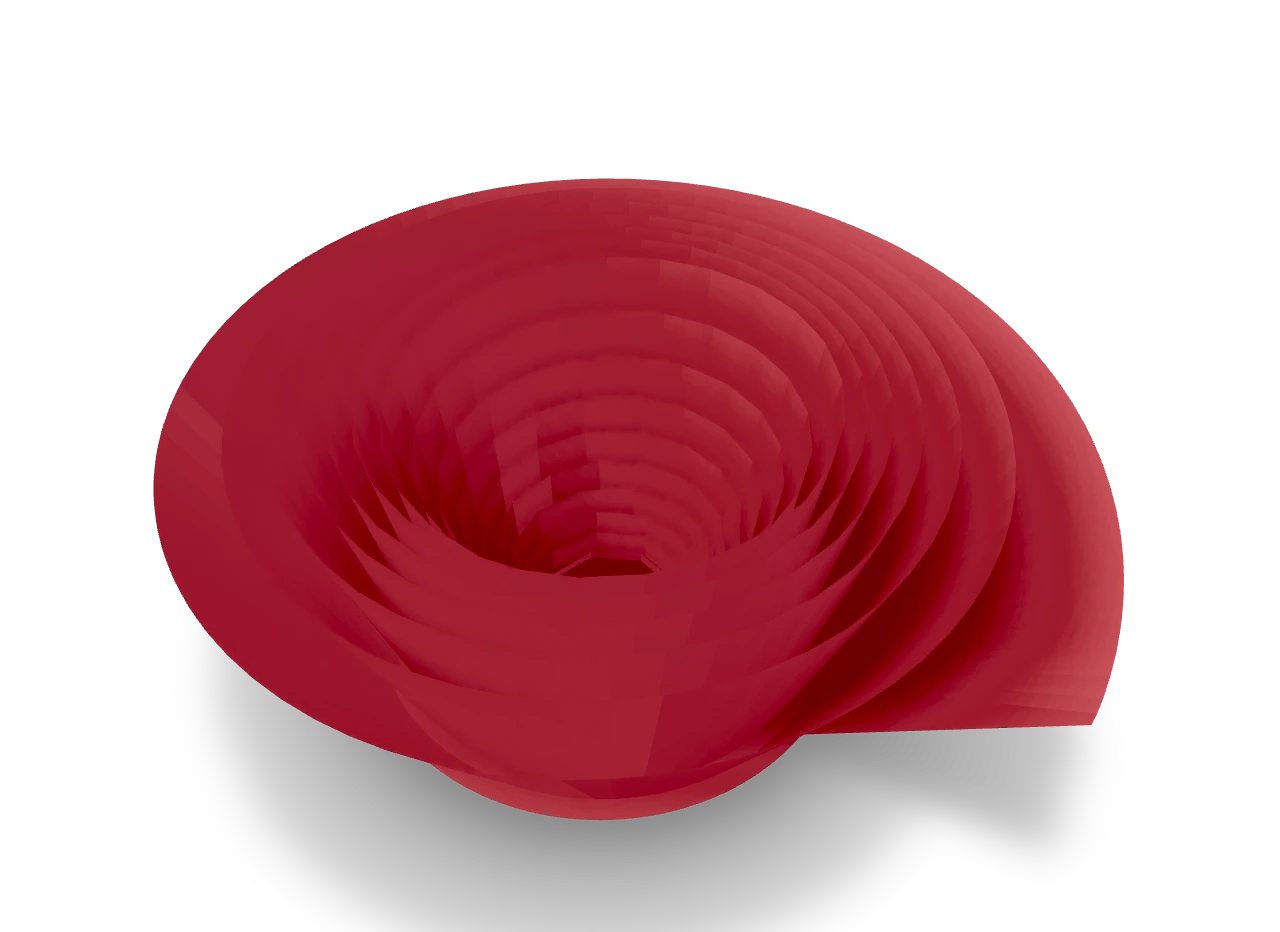
Stand the rose on its round tab. Keep the turns together while the glue dries. Look into the layered spiral from above, then turn it slightly to see the raised paper rims.

Step-by-step diagrams
- 1
Cut the circle
Mark a 14.4 cm circle in the middle of the 15 cm square. Cut in from the edge to the circle, then around it. Put the corner scraps aside.
- 2
Cut the spiral
Starting at the circle edge, cut inward around the spiral. Keep the strip 18 mm wide and leave the rounded centre tab attached. The narrow starting tip makes the centre of the rose.
- 3
Round the centre tab
Trim the excess from the centre tab along the small round guide, leaving the narrow neck beside the end of the spiral intact.
- 4
Curl the outside tip
Curve the narrow outside tip gently to begin the small centre. Bend it without pressing a sharp crease.
- 5
Roll from the outside tip
Begin at the thin outside tip. Wind it snugly, adding the next length around the coil. Curve the wide end so the bloom sits over the round tab. Keep the centre wound and leave the tab free.
- 6
Let the coil loosen
Hold the bottom lightly and let the turns relax a little. Keep the small centre wound and allow the outer rims to spread.
- 7
Bring the centre tab underneath
Keep the rolled centre together. Lower the coil onto the round centre tab, so that the bottom edge of every turn rests flat on it.
- 8
Glue the roll to its base
Spread a small amount of paper glue on the centre tab. Press the bottom of the roll onto it and hold until it stays together.
- ✓
Finish
Stand the rose on its round tab. Keep the turns together while the glue dries. Look into the layered spiral from above, then turn it slightly to see the raised paper rims.
Fold next
Tissue flower ↗
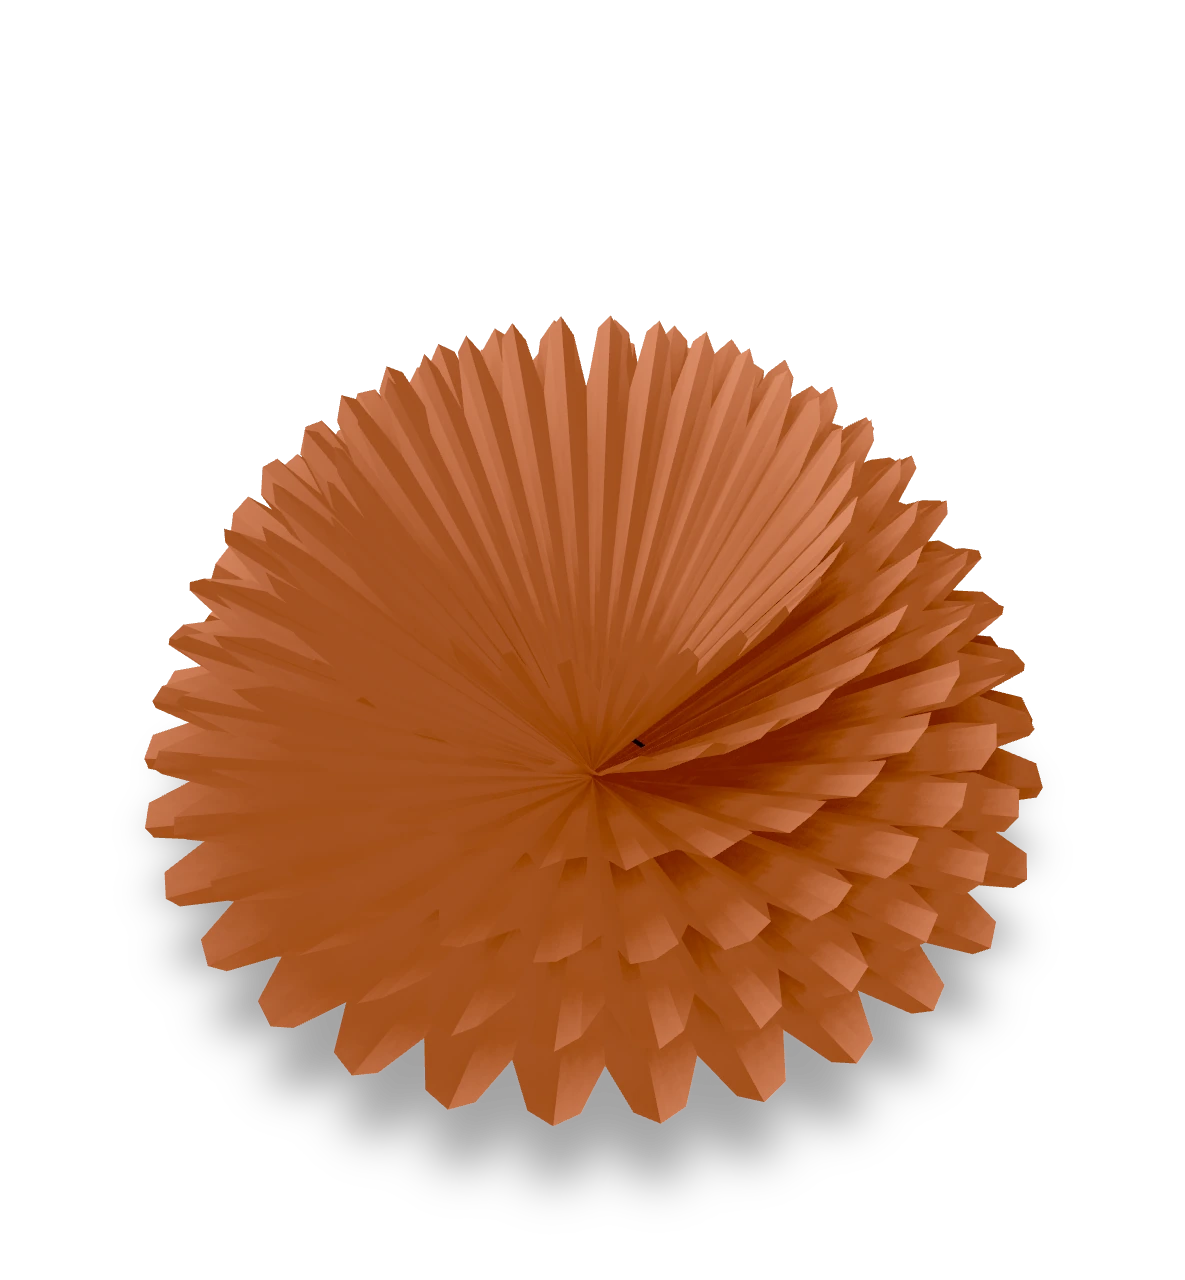
Pleat six tissue sheets, tie the center and lift the layers into a soft bloom.
Five-petal flower ↗
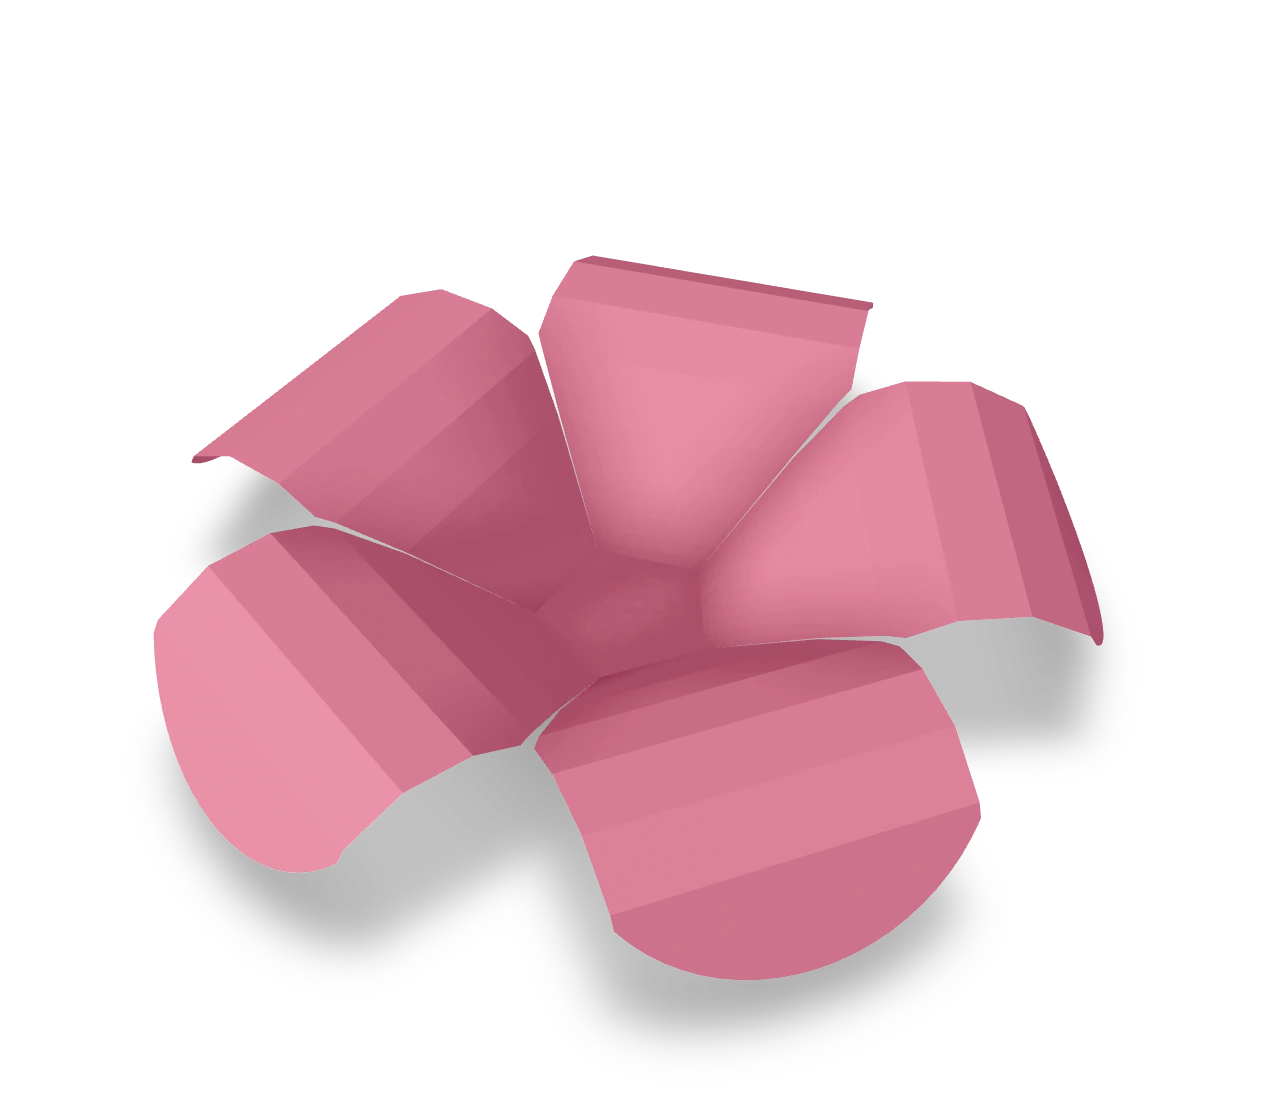
Draw five round petals around a small pentagon, cut the flower out in one piece, then cup the petals up and roll their ends back.

Tulip ↗
Cut six pointed petals and a long stem in one piece, cup the petals into a tulip, then fold the stem under the flower and glue it in place.
Lily ↗
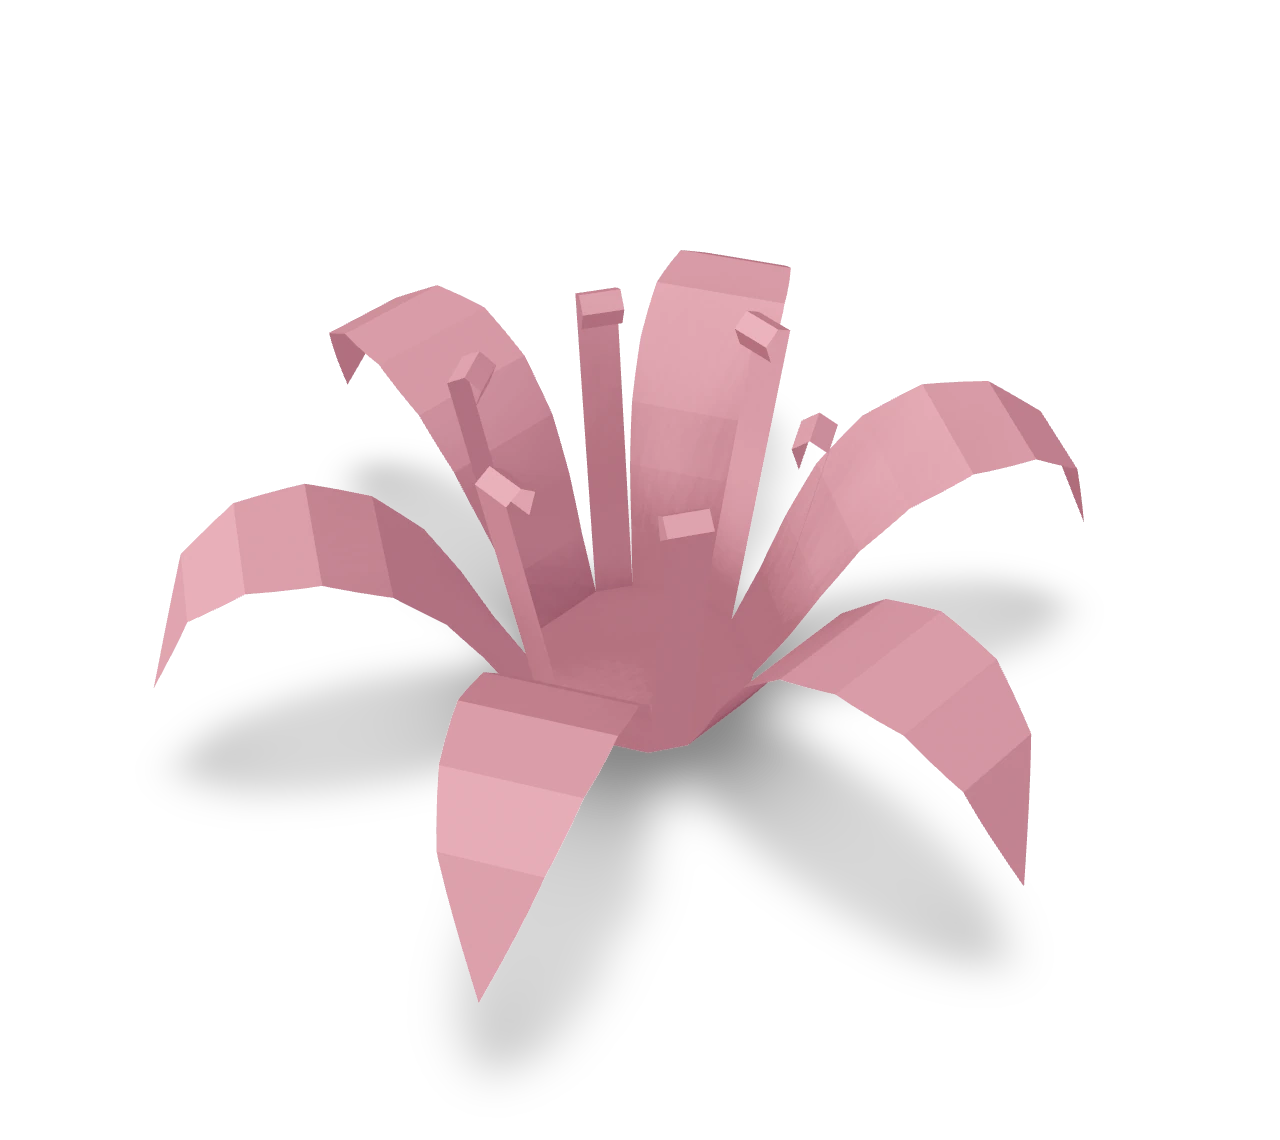
Cut six long petals with a narrow stamen between each two, lift the petals and curl them back, then stand the stamens up and roll their ends.