How to make a turkey paper craft
Turkey Paper Craft: try all 3 steps in the 3D player. Turn and replay every move. Print the complete diagram sheet or save it as PDF.
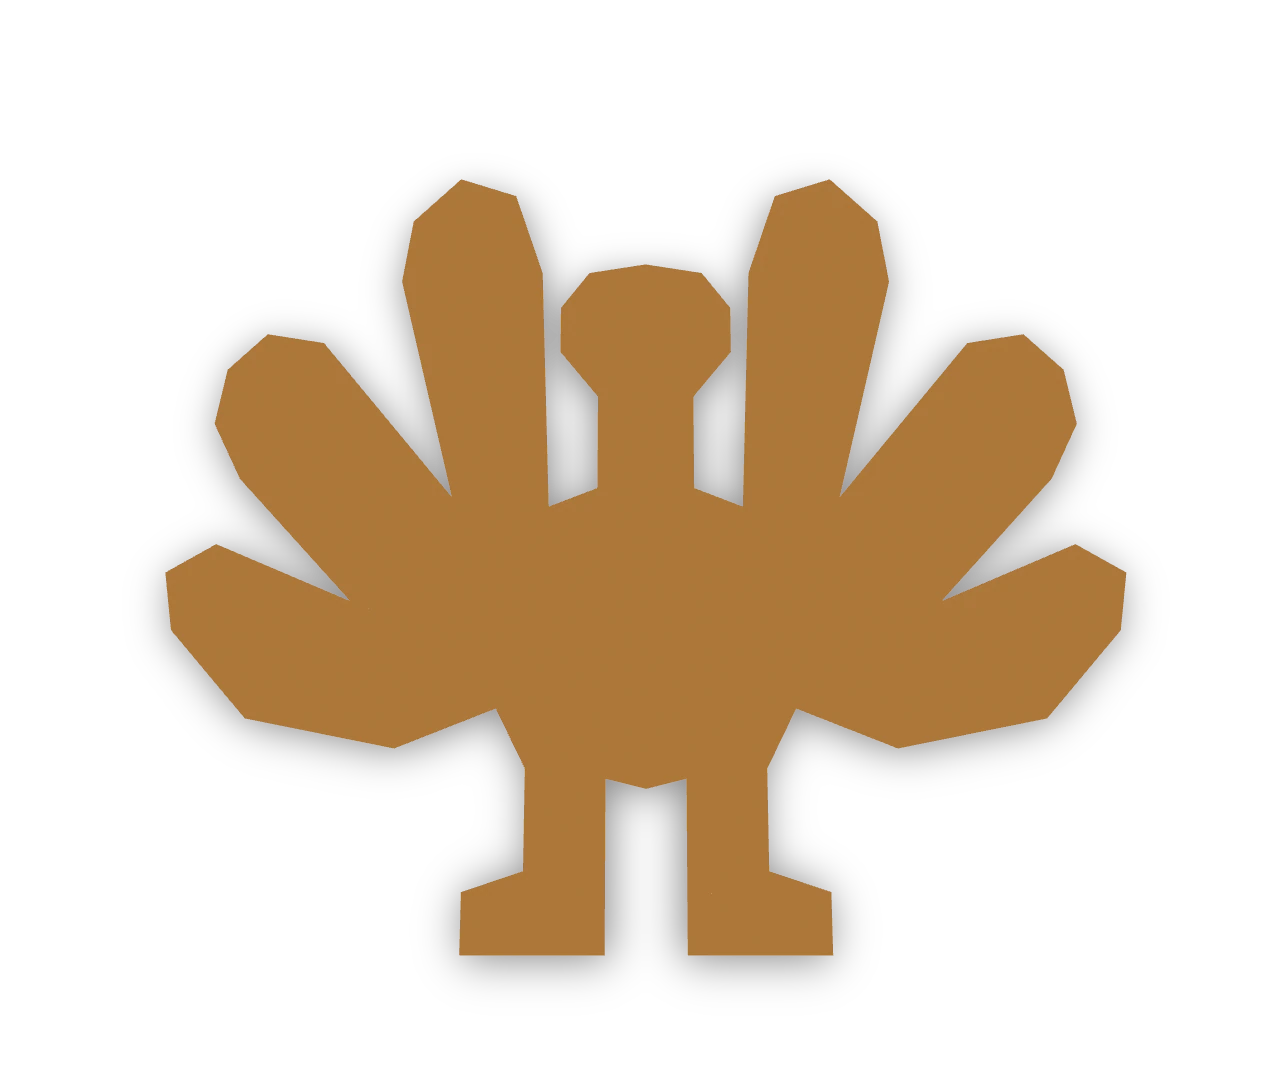
Fold a square in half, cut a joined body, fan and feet through both layers, then open a symmetric turkey silhouette.
- You need
- Thin paper, a pencil, a ruler and scissors.
- Start
- Begin with a 12 cm square of brown paper, colored side up. A pencil will add the face after cutting.
Your model is ready
Smooth the centre crease. Draw two eyes, a small beak and a wattle on the head. Display the turkey flat, with its fan above its feet. The finished turkey silhouette, with its fan spread and both feet below its body.

Step-by-step diagrams
- 1
Fold the square in half
Bring the left edge to the right edge. Match the corners and press the vertical fold. Keep the folded edge on the left.
- 2
Cut the turkey outline
Start on the folded edge at the top of the head. Cut around the head, neck and three outer feathers, then around the body and foot to the folded edge below the body. Keep the body beside the fold and remove the surrounding scrap.
- 3
Open the turkey
Open the centre fold gently. The head, fan, body and both feet stay joined in one sheet.
- ✓
Finish
Smooth the centre crease. Draw two eyes, a small beak and a wattle on the head. Display the turkey flat, with its fan above its feet. The finished turkey silhouette, with its fan spread and both feet below its body.
Fold next

Square paper doily ↗
Fold a square twice into four layers, cut the square paper doily pattern, and open the creases in turn.
Round paper doily ↗
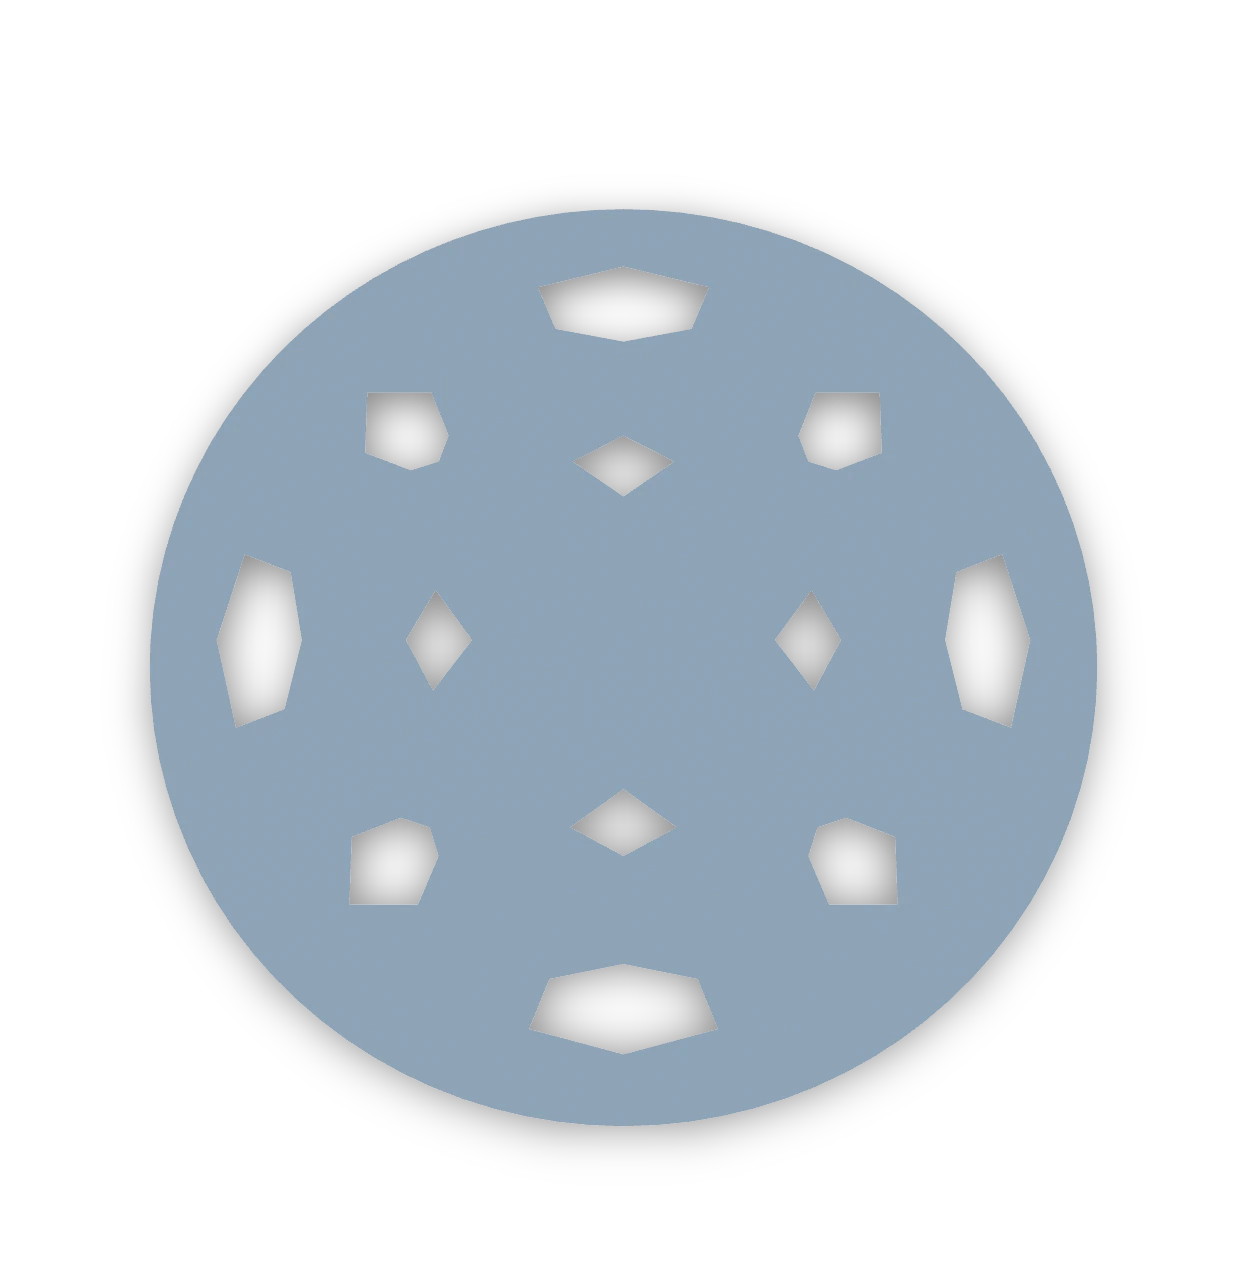
Fold a circle into eighths and cut an original lace pattern. Leave the central hub and the bands between the notches intact.

Fold-and-cut paper maple leaf ↗
An Origami Tutor fall leaf: fold a square in half, cut one toothed outline through both layers, then open a maple leaf with five pointed lobes and a stem.
Fold-and-cut paper acorn ↗
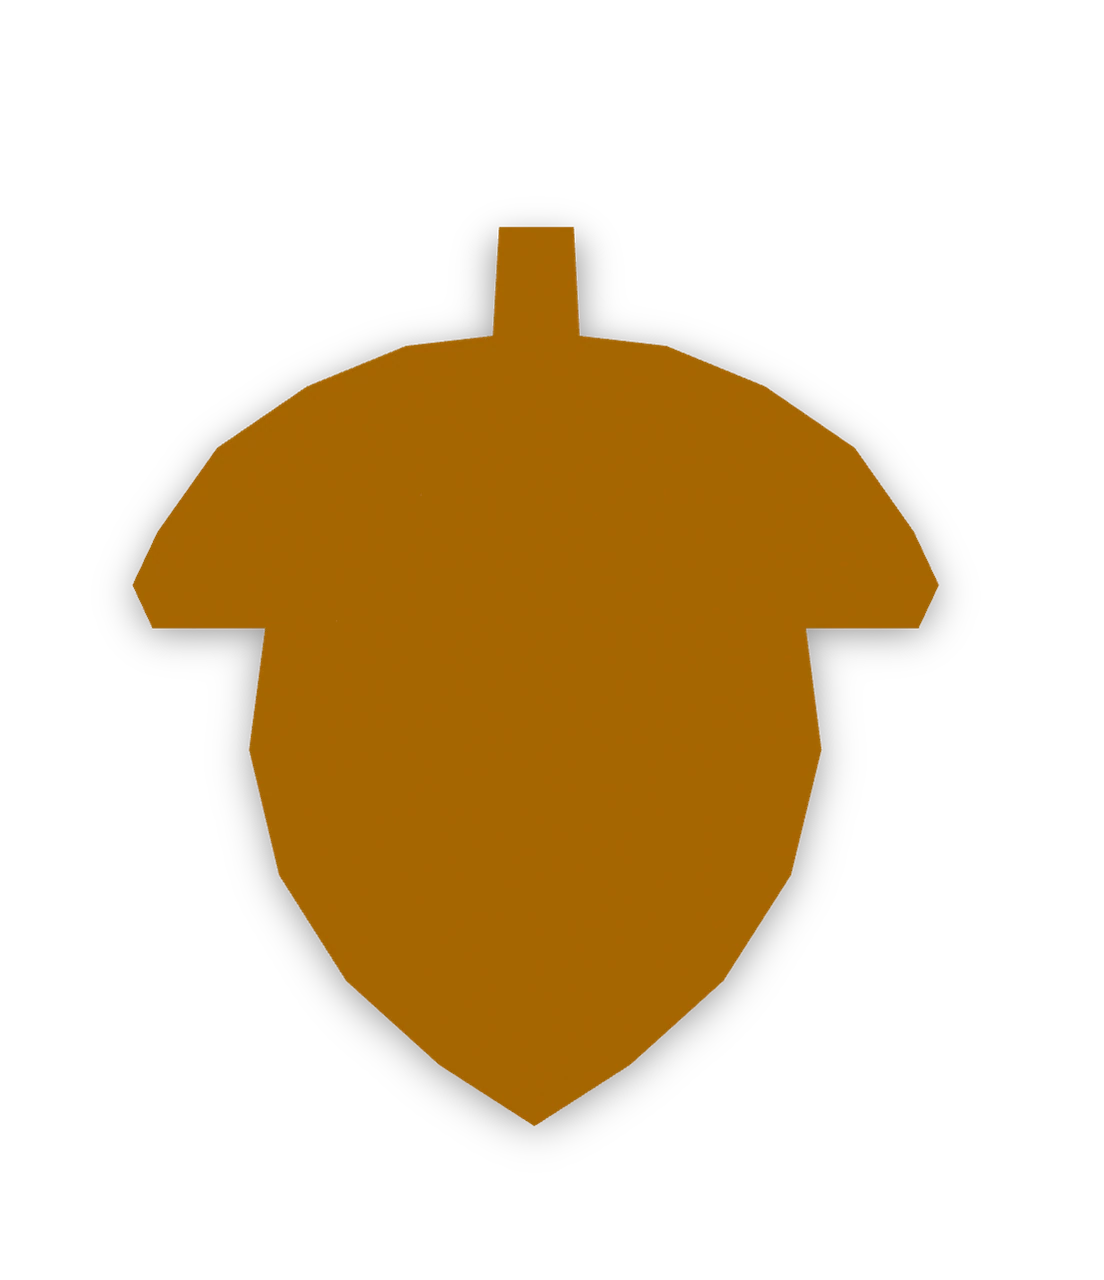
An Origami Tutor fall acorn: fold a square in half, cut one outline through both layers, then open an acorn with a stem, a domed cap and a round nut.