How to make a box pop-up card
Box Pop-Up Card: try all 6 steps in the 3D player. Turn and replay every move. Print the complete diagram sheet or save it as PDF.
Make the simplest pop-up card: two slits across the fold and one pushed-in strip stand up as a box when the card opens. An Origami Tutor design with our own measurements.
- You need
- A 14 × 20 cm sheet of thin card (160–200 g/m²), a pencil, a ruler and scissors.
- Start
- Begin with a 14 × 20 cm sheet of thin card or heavy paper, coloured side up, with a short edge at the top.
Your model is ready
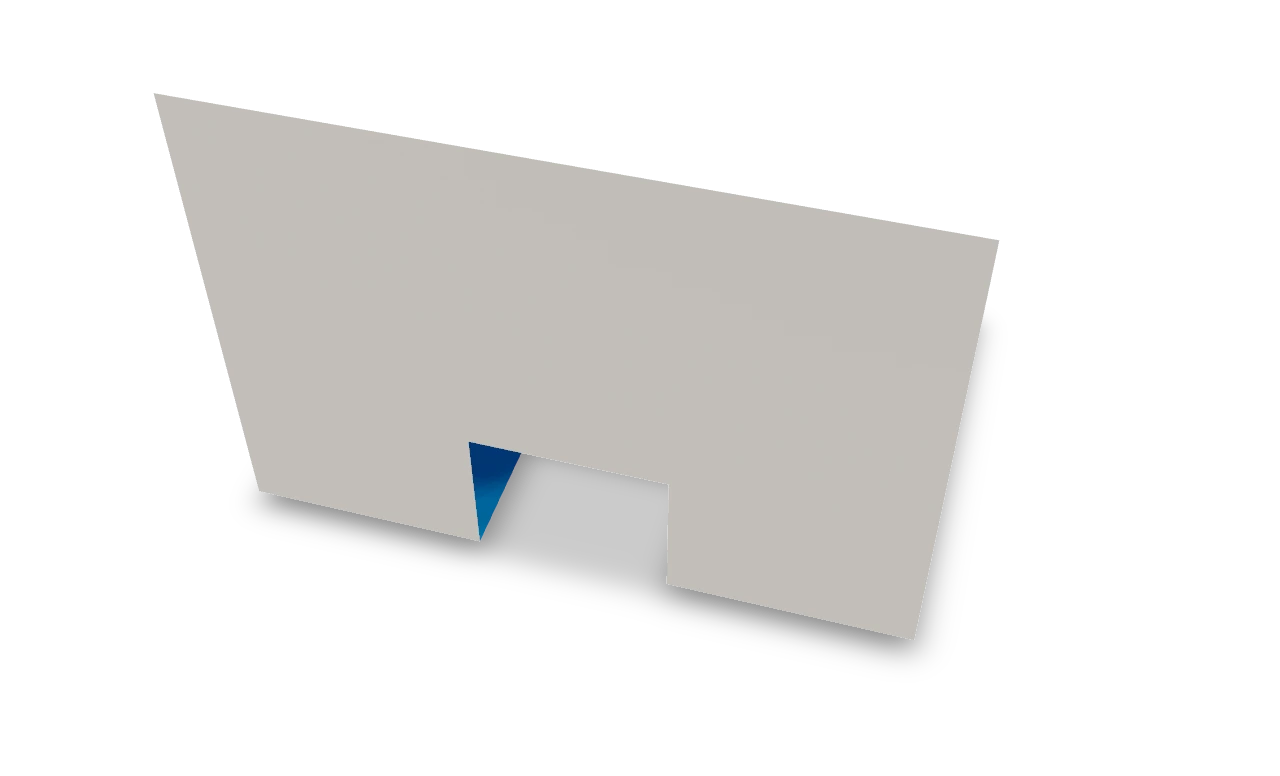
Stand the card open at a right angle. Decorate the box front or glue a picture to it, keeping glue off the folds. The card open at a right angle with the box raised in its corner.

Step-by-step diagrams
- 1
Fold the card in half
Lay the sheet coloured side up. Bring the bottom edge up to the top edge and crease the fold firmly. This fold is the card's spine; the coloured side is now inside.
- 2
Cut the left slit
Keep the card folded. 5 cm from the left edge, cut straight in from the folded spine, 3 cm long, through both layers.
- 3
Cut the right slit
4 cm to the right of the first slit, cut a matching 3 cm slit from the spine. The strip between the slits becomes the box.
- 4
Crease the strip
Fold the strip up along the line joining the slit ends, crease it hard, then fold it back down.
- 5
Push the strip inside
Open the card a little. Push the strip through to the inside so that it folds the other way along its creases, then close the card and press it flat.
- 6
Open the card
Open the card to a right angle. The strip stands up by itself as a box: its top is level and its front is upright, each 3 cm deep.
- ✓
Finish
Stand the card open at a right angle. Decorate the box front or glue a picture to it, keeping glue off the folds. The card open at a right angle with the box raised in its corner.
Fold next
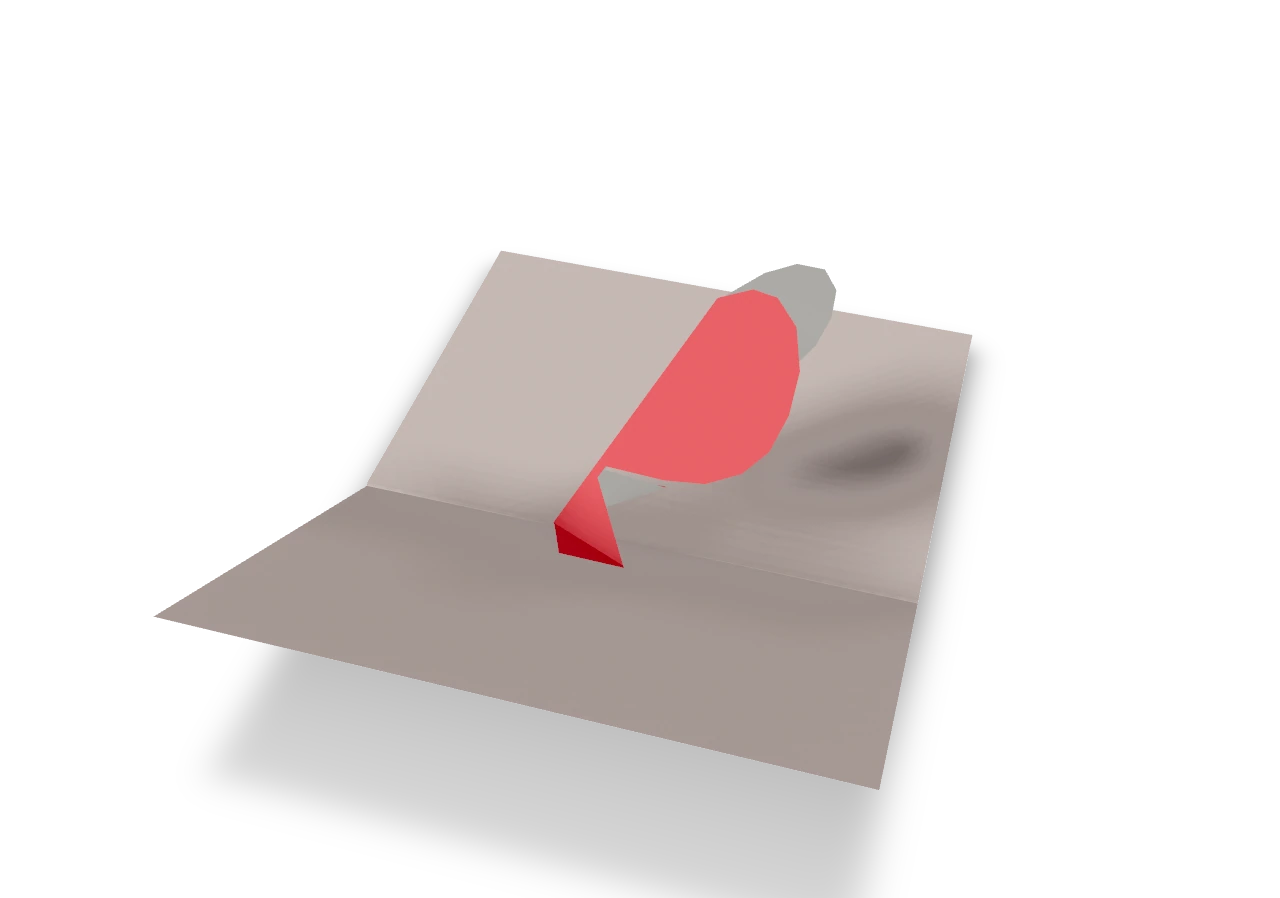
Pop-up heart ↗
Make a Valentine card with a complete red heart raised above its spine. Rounded lobes, a clear top dip and a tapered point stay together on a small V-fold support. An Origami Tutor design.
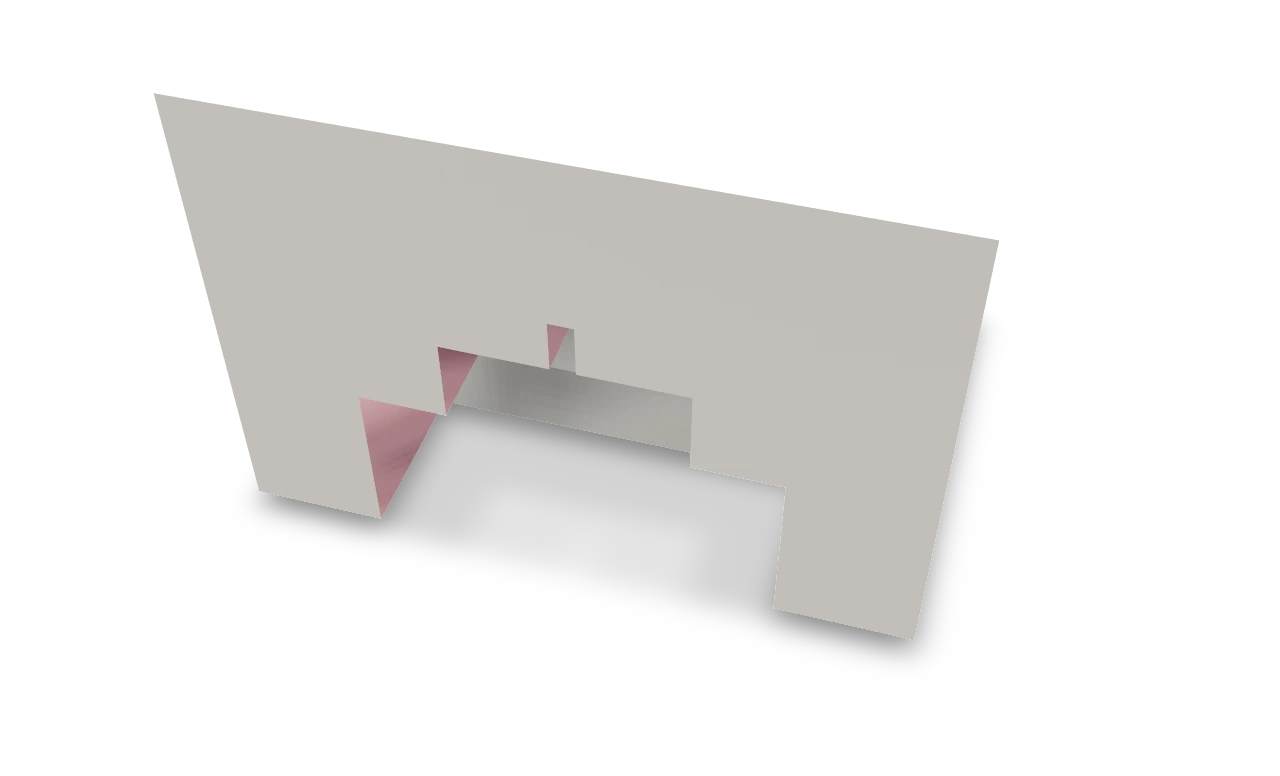
Birthday cake pop-up ↗
Make a two-tier birthday cake with a little square candle, all cut from one card. Each smaller pop-up rises from the back of the tier below it, so the candle sits above both cake tiers. An Origami Tutor design.
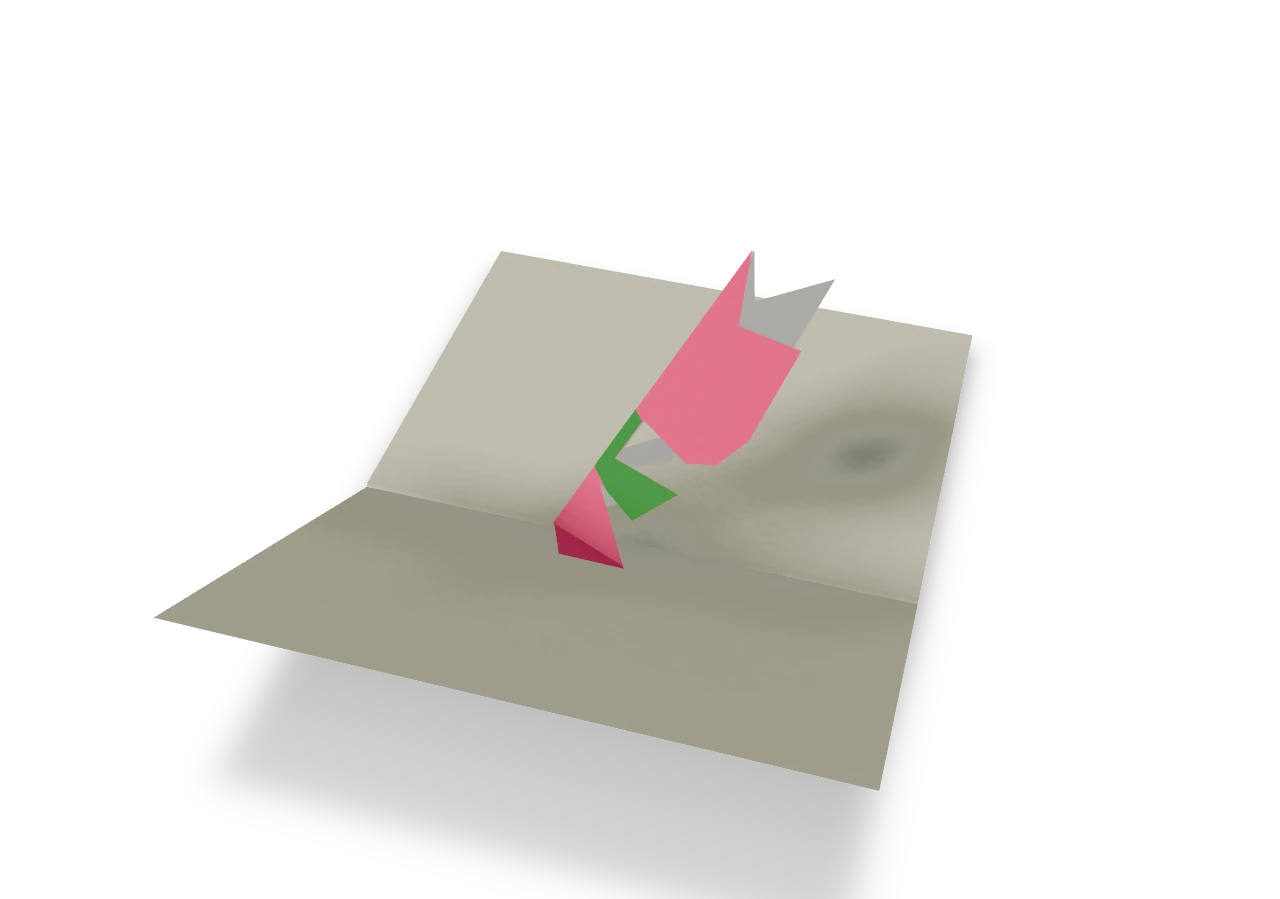
Pop-up tulip ↗
Make a pop-up tulip with a complete three-pointed pink cup, a green stem and two leaves. Small V-fold tabs lift the whole flower above the card without turning its petals into a box. An Origami Tutor design.

Pop-up Christmas tree ↗
Cut a complete three-tier Christmas tree from green paper, fold its small glue tabs and mount it across a card's spine. The whole tree rises into a shallow V when the card opens. An Origami Tutor design.