How to make an origami cross
Origami Cross: try all 10 steps in the 3D player. Turn and replay every move. Print the complete diagram sheet or save it as PDF.
Make a flat Latin cross with three short arms and a clearly longer lower stem. Fold one square in half, prepare the traditional one-cut cross packet, make one straight scissors cut and open the last three folds. Keep the first fold closed. No glue.
- You need
- One 15 cm square of thin paper, scissors, a pencil and a ruler or the printed cut guide. No glue.
- Start
- Begin with one 15 cm square, coloured side down, with an edge at the top. Have scissors, a pencil, a ruler and the printed cut guide ready.
- Tips
- Keep the first rectangle fold closed when opening the cut packet.
- Cut the marked line straight through every layer so the arm edges match.
Your model is ready
Press the three opened creases flat. Your Latin cross has three short arms and a longer lower stem, with its first fold still closed.


Step-by-step diagrams
- 1
Make a long rectangle
Fold the left edge to the right edge. The doubled rectangle is 7.5 cm wide and 15 cm tall. Keep this first fold closed throughout the model.
- 2
Fold the upper left corner down
Bring the rectangle’s upper left corner to the right edge, 7.5 cm below the top. The diagonal crease reaches the upper right corner.
- 3
Fold the upper right corner down
Bring the remaining upper right point to the left end of the horizontal edge. The packet now has a pointed roof above a rectangle.
- 4
Halve the roof packet
Fold the right half over the left half along the line through the roof point. Match the straight sides.
- 5
Turn the packet for cutting
Turn the whole packet 30° clockwise. Mark a line parallel to its long folded edge, 7.5 mm inside it, running from the sloping roof edge to the bottom edge.
- 6
Make one straight cut
Cut along the marked line through every layer. Keep the narrow piece containing the long folded edge and the roof point. Set the wider scrap aside.
- 7
Open the half packet
Open the last half fold. Keep the roof folds and the first rectangle fold closed.
- 8
Open the right roof fold
Open the second diagonal fold to release one short side arm.
- 9
Open the left roof fold
Open the other diagonal fold to reveal the cross. Leave the first rectangle fold closed so the two layers stay together.
- 10
Turn the cross upright
Turn the whole cross counterclockwise until its long stem points straight down.
- ✓
Finish
Press the three opened creases flat. Your Latin cross has three short arms and a longer lower stem, with its first fold still closed.
Fold next

Paper lantern ↗
The traditional flat paper lantern, with a wide middle and two rectangular ends. The same fold was called a muff or short-sleeved shirt in European kindergarten books.

Star ↗
An Origami Tutor eight-pointed star made from eight equal folded triangles. Every gold point is long and sharp, with a deep notch between its neighbours. Three folds make each ray; a little glue holds their overlapping bases together.
Paper Christmas tree ↗
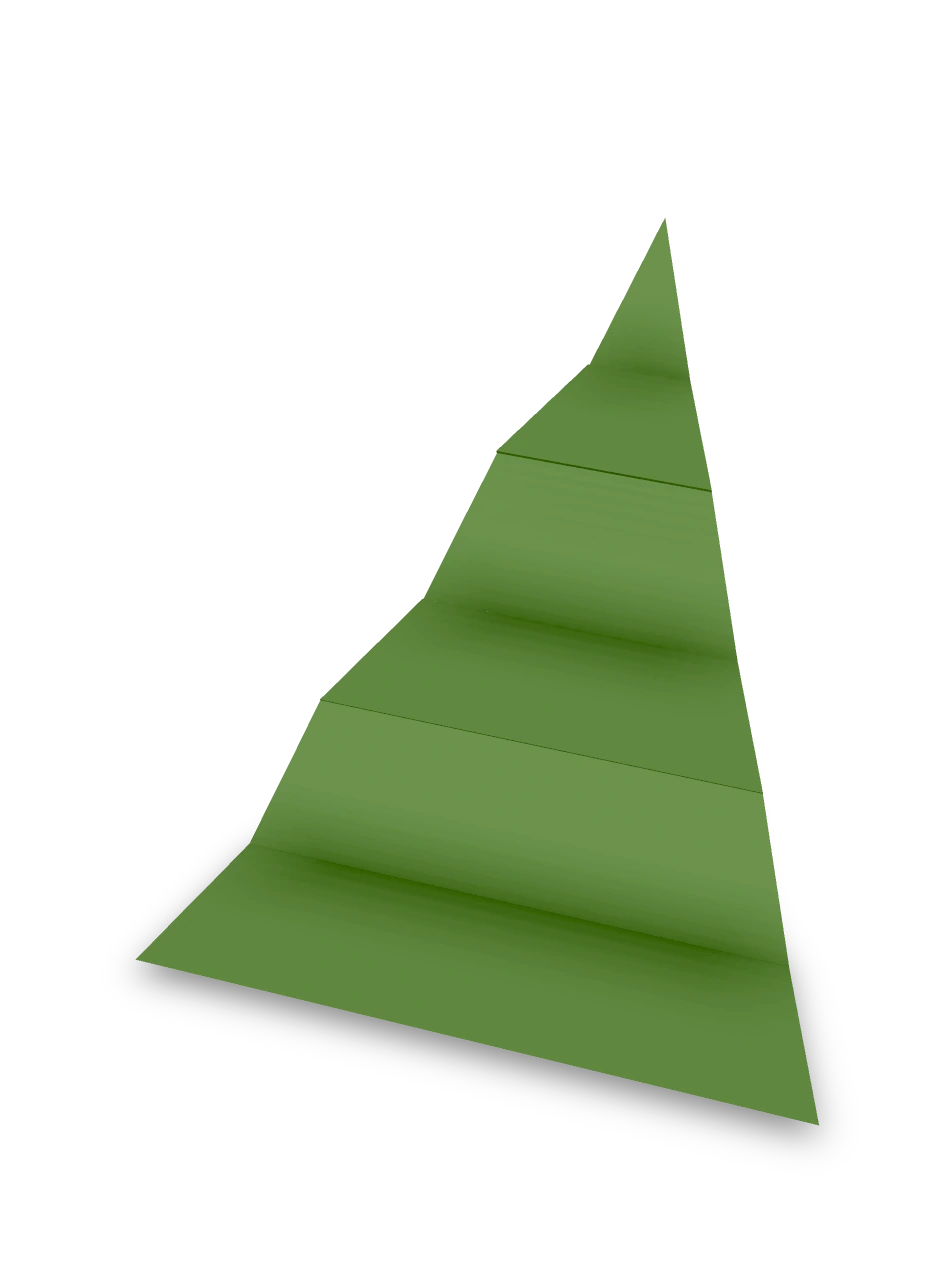
An accordion Christmas tree with a pointed top, broad base and six pleated panels. Cut a triangle from a green rectangle, fold the pleats and open them into a zigzag decoration.

Christmas tree ↗
An Origami Tutor Christmas tree with three stepped tiers and a short trunk. Folded from one square of green paper with a kite fold and two pleats; no cuts or glue.