How to make an origami kite
Origami Kite: try all 17 steps in the 3D player. Turn and replay every move. Print the complete diagram sheet or save it as PDF.
An Origami Tutor display kite with a long pointed outline and a small contrasting diamond, folded from one square without cuts or glue.
- You need
- One square of paper. No glue or scissors.
- Start
- Start white side up, with one corner pointing up. This is a folded toy kite for display.
- Tips
- Line each corner up with the center.
- Narrow the two lower edges evenly.
Your model is ready
Your flat paper kite is ready. Its long point and small white diamond make a simple folded decoration.


Step-by-step diagrams
Steps 1–6
- 1
Find the middle across
Fold the top corner to the bottom corner, press, and open.
- 2
Find the middle lengthwise
Fold the left corner to the right corner, press, and open.
- 3
Fold the top corner in
Bring the top corner to the center, where the two creases cross.
- 4
Fold the right corner in
Bring the right corner to the center.
- 5
Fold the bottom corner in
Bring the bottom corner to the center.
- 6
Fold the left corner in
Bring the left corner to the center.
Steps 7–12
- 7
Turn over
Turn the small square over so its smooth side faces you.
- 8
Fold the top left corner in again
Bring the top left corner to the middle, taking all its layers with it.
- 9
Fold the top right corner in again
Bring the top right corner to the middle, taking all its layers with it.
- 10
Fold the bottom right corner in again
Bring the bottom right corner to the middle, taking all its layers with it.
- 11
Fold the bottom left corner in again
Bring the bottom left corner to the middle, taking all its layers with it.
- 12
Show the square pockets
Turn the small diamond over. Four square pockets meet at its middle.
Steps 13–17
- 13
Open the lower left corner
Open the lower left corner back out from the middle.
- 14
Open the lower right corner
Open the lower right corner back out to match.
- 15
Open the bottom point
Unfold the bottom corner all the way down, ready to narrow the lower half of the kite.
- 16
Narrow the left lower edge
Fold the left lower edge toward the middle, taking only the top layer.
- 17
Narrow the right lower edge
Fold the right lower edge in to match. A small white diamond remains between the two folds.
- ✓
Finish
Your flat paper kite is ready. Its long point and small white diamond make a simple folded decoration.
Fold next

Paper banger ↗
The traditional single-pocket paper popper: fold a long rectangle into a triangle that pops when snapped downward.

Fortune teller ↗
A fortune teller, or cootie catcher, is a paper choosing game worked by two thumbs and two forefingers. Two rounds of corner folds make the pockets; the last creases let them open in alternating directions.
Paper boat ↗
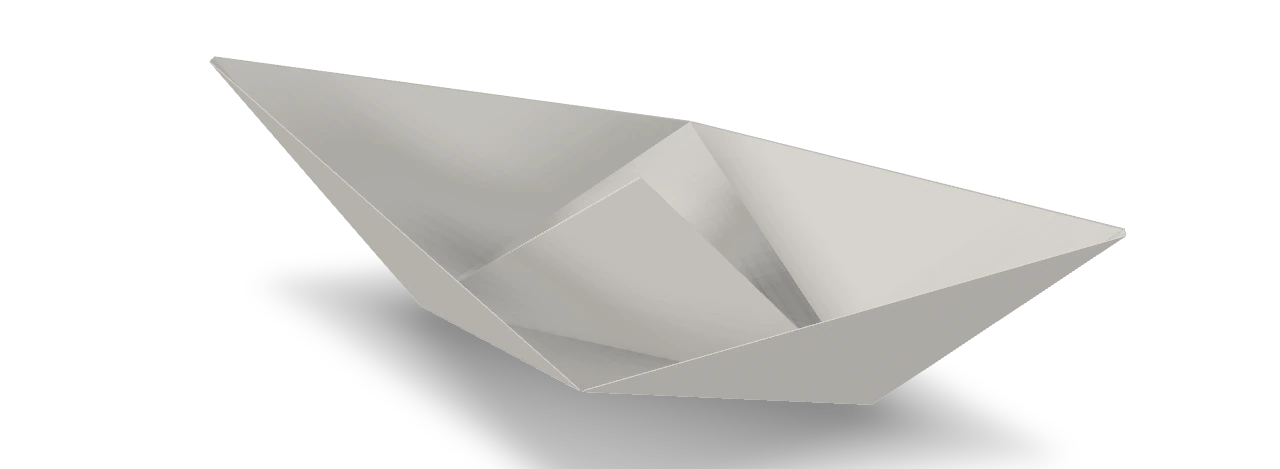
The traditional paper boat, folded from a rectangle through a newspaper hat and two pockets.

Windmill ↗
Fold the traditional uncut, single-color pinwheel with four flat blades from one square.