How to make an origami lucky star
Origami Lucky Star: try all 14 steps in the 3D player. Turn and replay every move. Print the complete diagram sheet or save it as PDF.
The lucky paper star (origami wishing star) folded from one long strip: tie a loose knot and flatten it into a pentagon, wrap the strip around the pentagon until it runs out, fold the end over and pinch the five edges so the star puffs up. An Origami Tutor sequence after the traditional star.
- You need
- One paper strip, 1 cm wide and 18 cm long. No glue or scissors.
- Start
- Use a strip of paper 1 cm wide and 18 cm long, colored side up, with its short edges at the top and bottom.
- Tips
- Keep the strip snug against the pentagon at every wrap, but never pull it tight.
- Each wrap folds along an edge of the pentagon; turn the star a little after each one.
Your model is ready
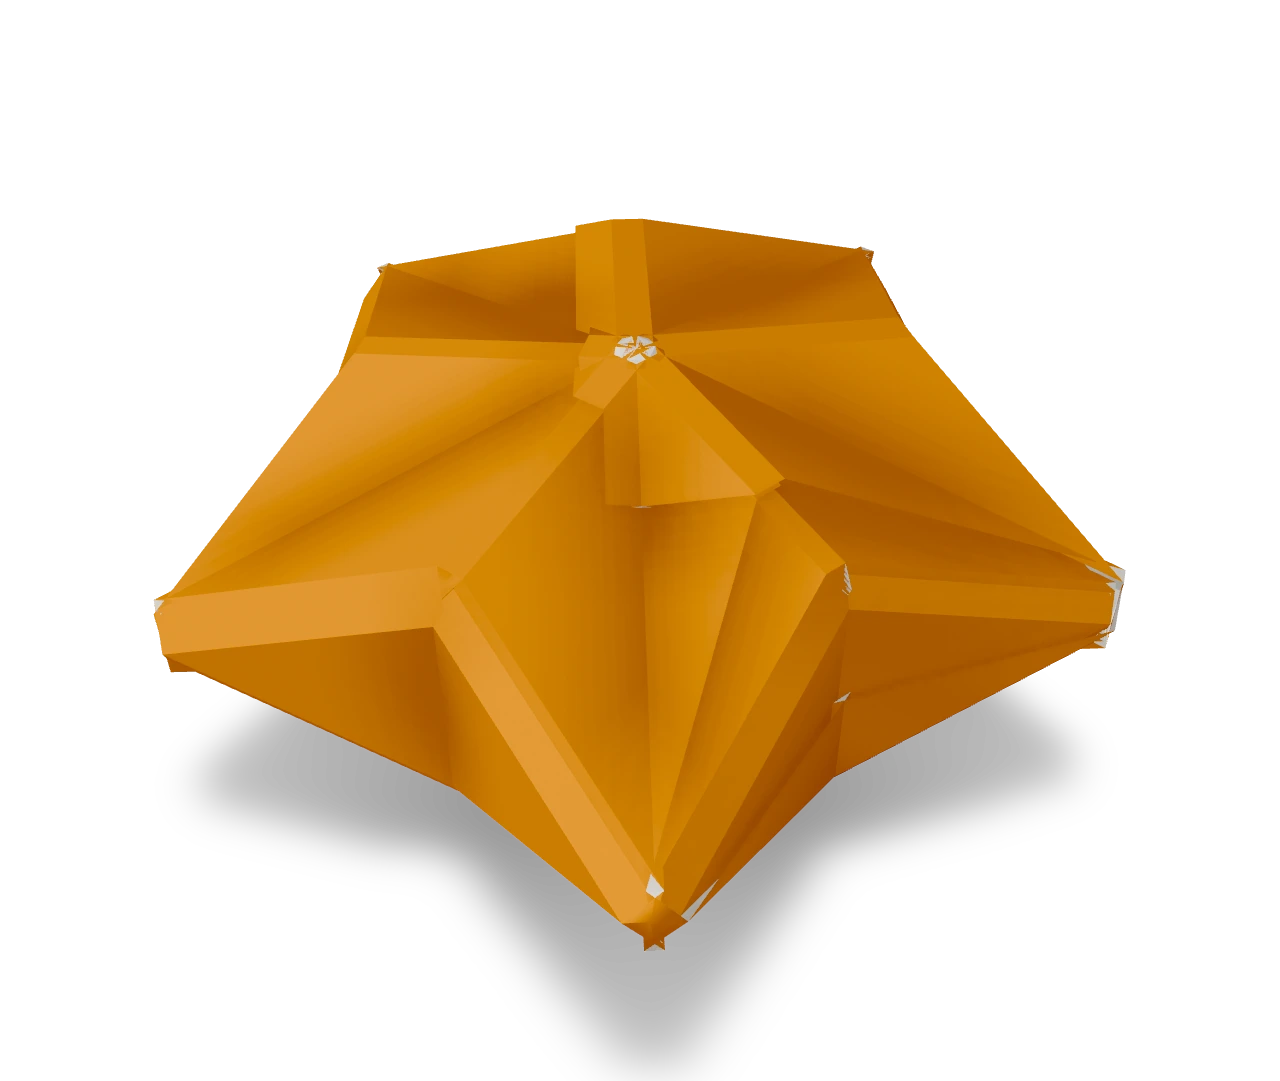
Your lucky star is ready: a puffy five-pointed star. Fold a jar full of them in different colors, or write a wish on the strip before you fold it.

Step-by-step diagrams
Steps 1–5
- 1
Start the knot
Make a loop near the top end: about 2 cm down, fold the long end behind along a slanting line, so it crosses back under the short end.
- 2
Close the knot
Bring the long end up over the front along the next slanting line, so the short end is caught inside the loop. Gently pull both ends until the knot lies flat as a pentagon, and crease its edges.
- 3
Fold the short end in
Fold the short end behind along the edge of the pentagon, so it lies flat on the back. The wraps will cover it.
- 4
Wrap side 1
Fold the long end down behind the pentagon, along the next edge, keeping the strip snug.
- 5
Wrap side 2
Fold the long end up over the front of the pentagon, along its edge, keeping the strip snug.
Steps 6–10
- 6
Wrap side 3
Fold the long end down behind the pentagon, along the next edge, keeping the strip snug.
- 7
Wrap side 4
Fold the long end up over the front of the pentagon, along its edge, keeping the strip snug.
- 8
Wrap side 5
Fold the long end down behind the pentagon, along the next edge, keeping the strip snug.
- 9
Wrap side 6
Fold the long end up over the front of the pentagon, along its edge, keeping the strip snug.
- 10
Wrap side 7
Fold the long end down behind the pentagon, along the next edge, keeping the strip snug.
Steps 11–14
- 11
Wrap side 8
Fold the long end up over the front of the pentagon, along its edge, keeping the strip snug.
- 12
Wrap side 9
Fold the long end down behind the pentagon, along the next edge, keeping the strip snug.
- 13
Fold the end over
When only a short end is left, fold it over the last edge so it lies flat on the face. If it is long enough, you can slip it under the top layer to hold it more firmly.
- 14
Puff the star
Hold the pentagon by two corners and press the middle of one edge inward with a fingernail. Do the same on all five edges: the faces swell and the corners become the five points of the star.
- ✓
Finish
Your lucky star is ready: a puffy five-pointed star. Fold a jar full of them in different colors, or write a wish on the strip before you fold it.
Fold next

Paper lantern ↗
The traditional flat paper lantern, with a wide middle and two rectangular ends. The same fold was called a muff or short-sleeved shirt in European kindergarten books.

Star ↗
An Origami Tutor eight-pointed star made from eight equal folded triangles. Every gold point is long and sharp, with a deep notch between its neighbours. Three folds make each ray; a little glue holds their overlapping bases together.
Paper Christmas tree ↗
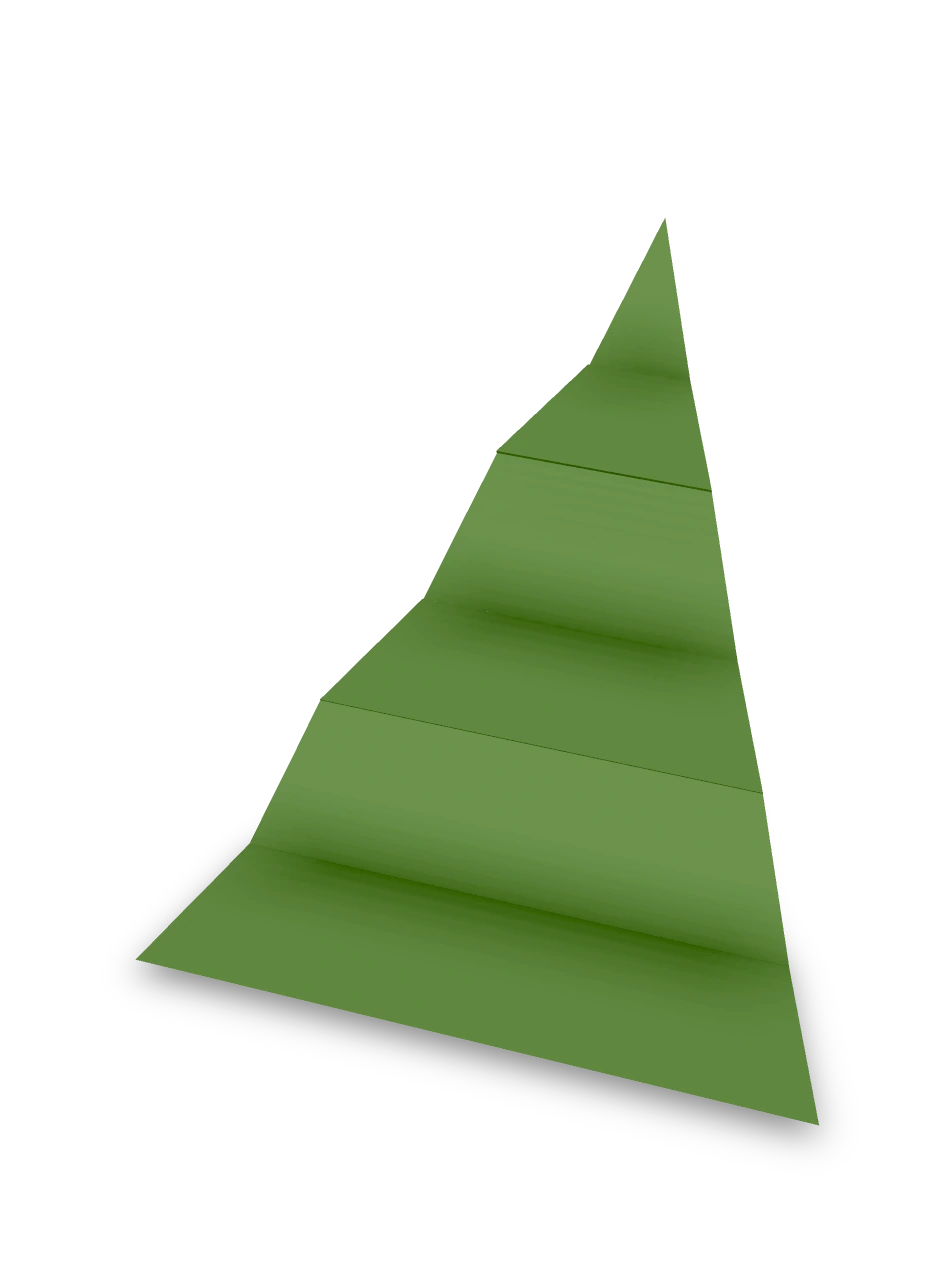
An accordion Christmas tree with a pointed top, broad base and six pleated panels. Cut a triangle from a green rectangle, fold the pleats and open them into a zigzag decoration.

Christmas tree ↗
An Origami Tutor Christmas tree with three stepped tiers and a short trunk. Folded from one square of green paper with a kite fold and two pleats; no cuts or glue.