How to make an origami box (masu)
Origami Box (Masu): try all 23 steps in the 3D player. Turn and replay every move. Print the complete diagram sheet or save it as PDF.
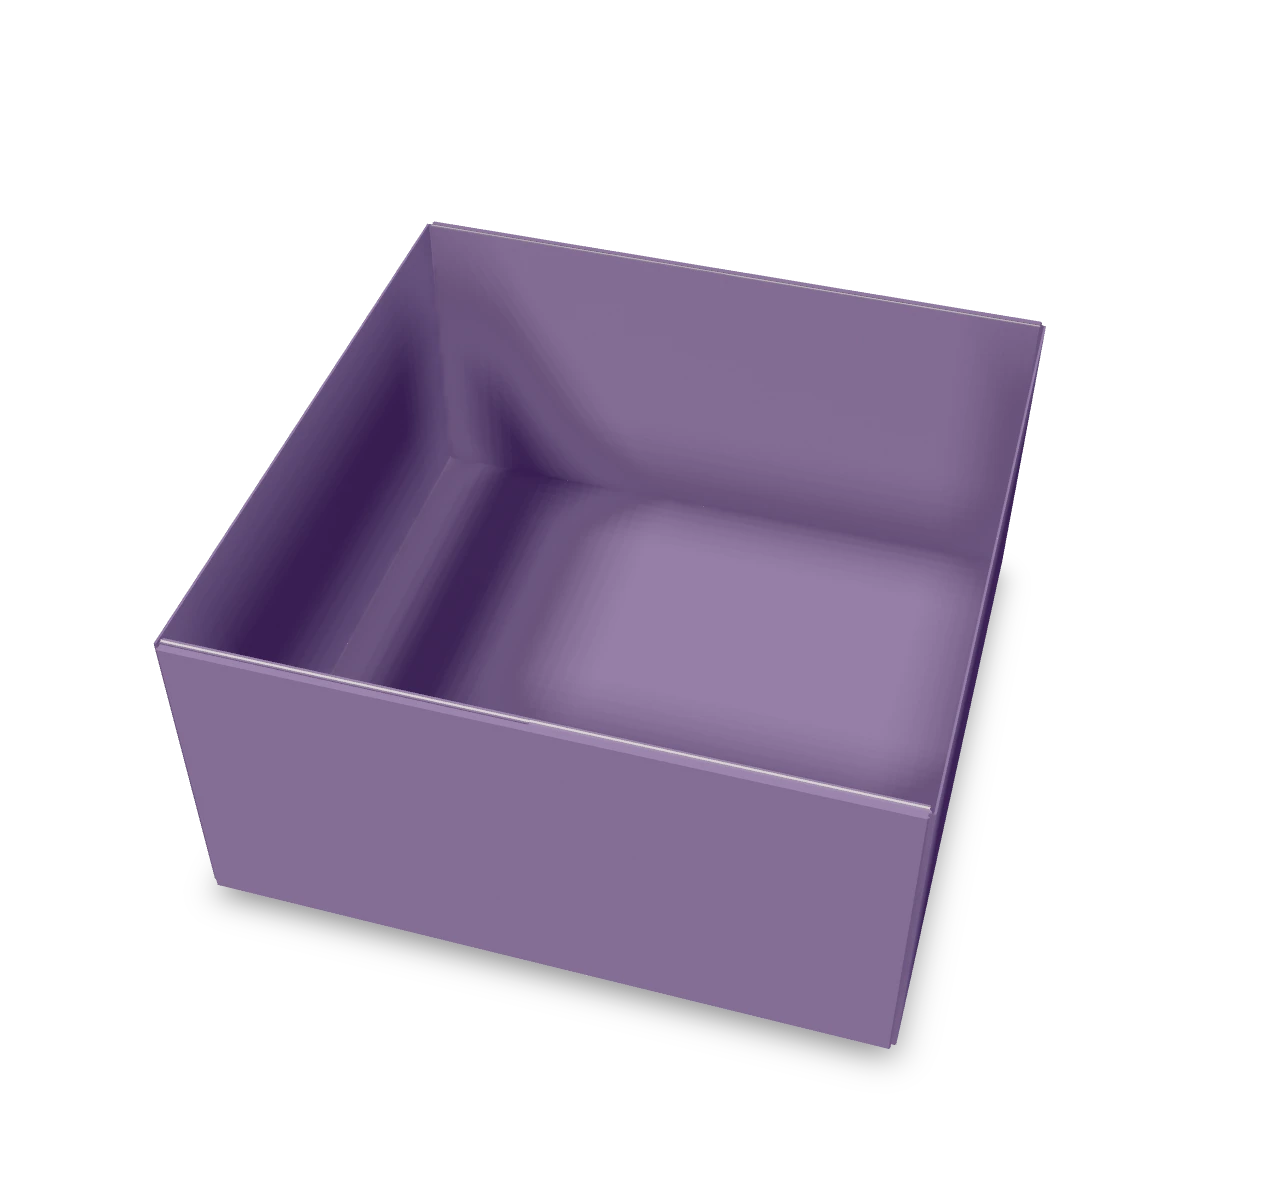
Fold the traditional square masu box, with upright walls and both end flaps locked onto the floor.
- You need
- One square of paper. No glue or scissors.
- Start
- Start white side up with a corner pointing up. The colored side will cover the outside and inside of the box.
- Tips
- Make the wall creases sharp so the floor stays square.
- Keep the two side corners folded in while opening the end corners.
Your model is ready
The box is ready. Press both points flat on the floor and sharpen the four rims. The end flaps cover the corner gussets and hold the walls together. The finished masu box, open at the top, with a square floor and four upright walls.

Step-by-step diagrams
Steps 1–6
- 1
Find the middle across
Fold the top corner to the bottom corner, press, and open.
- 2
Find the middle lengthwise
Fold the left corner to the right corner, press, and open.
- 3
Fold the top corner in
Bring the top corner to the center, where the two creases cross.
- 4
Fold the right corner in
Bring the right corner to the center.
- 5
Fold the bottom corner in
Bring the bottom corner to the center.
- 6
Fold the left corner in
Bring the left corner to the center.
Steps 7–12
- 7
Crease the top wall
Fold the top edge to the middle, press, and open it again.
- 8
Crease the bottom wall
Fold the bottom edge to the middle, press, and open it again.
- 9
Crease the left wall
Fold the left edge to the middle, press, and open it again.
- 10
Crease the right wall
Fold the right edge to the middle, press, and open it again.
- 11
Open the top end
Open the top triangle all the way out. Keep the other two corners at the center.
- 12
Open the bottom end
Open the bottom triangle all the way out. Keep the other two corners at the center.
Steps 13–18
- 13
Fold the left side in
Fold the long left edge to the middle along its wall crease.
- 14
Fold the right side in
Fold the long right edge to meet it at the middle.
- 15
Prepare the upper left corner
Fold the whole end sideways along the slanting line, press, and open it again.
- 16
Prepare the upper right corner
Fold the whole end sideways along the slanting line, press, and open it again.
- 17
Prepare the lower left corner
Fold the whole end sideways along the slanting line, press, and open it again.
- 18
Prepare the lower right corner
Fold the whole end sideways along the slanting line, press, and open it again.
Steps 19–23
- 19
Raise both side walls
Open the two long side folds halfway, until both sides stand at right angles to the square floor. Leave the long end flaps pointing out.
- 20
Raise the top end wall
Pinch the two top corners inward along their diagonal creases. Bring the end wall upright, with both triangular gussets lying against its inside. Keep the floor square and the long sides upright.
- 21
Wrap the top flap inside
Fold the long flap over the top rim, covering the two corner triangles. Bend its point onto the floor along the existing crease and press it toward the center.
- 22
Raise the bottom end wall
Pinch the two bottom corners inward along their diagonal creases. Bring the end wall upright, with both triangular gussets lying against its inside. Keep the floor square and the long sides upright.
- 23
Wrap the bottom flap inside
Fold the long flap over the top rim, covering the two corner triangles. Bend its point onto the floor along the existing crease and press it toward the center.
- ✓
Finish
The box is ready. Press both points flat on the floor and sharpen the four rims. The end flaps cover the corner gussets and hold the walls together. The finished masu box, open at the top, with a square floor and four upright walls.
Fold next
Masu lid ↗
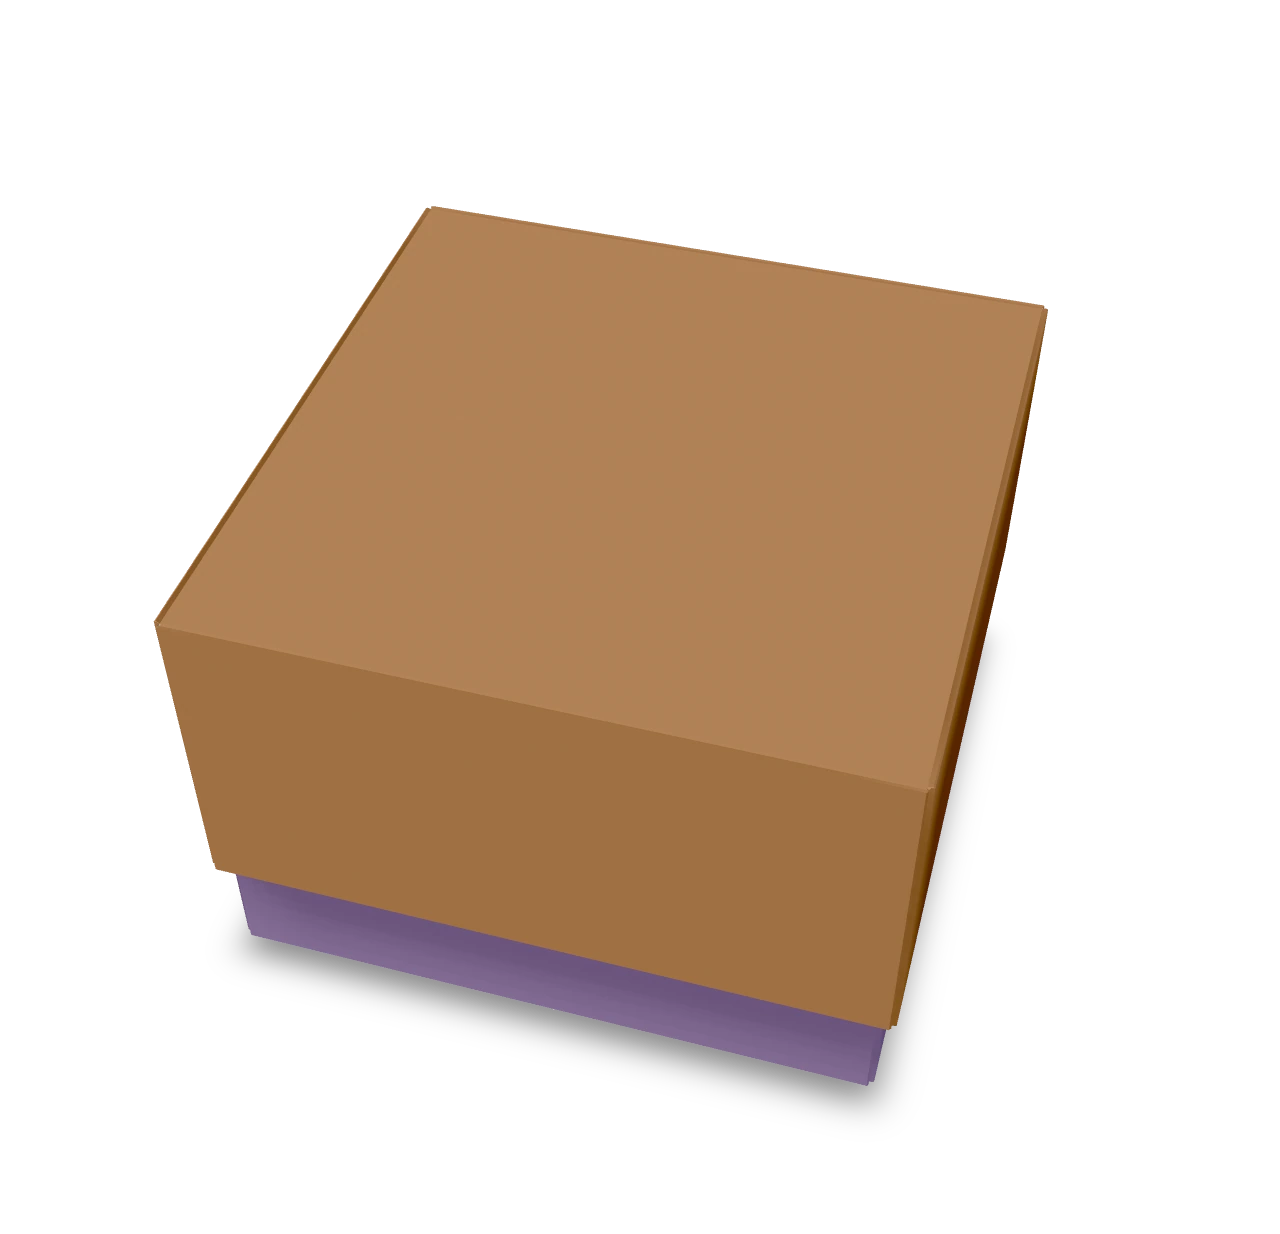
A matching masu box and lid. Fold the same pattern from two different-sized squares, then turn the larger tray over and fit it onto the smaller box.
Basic box ↗
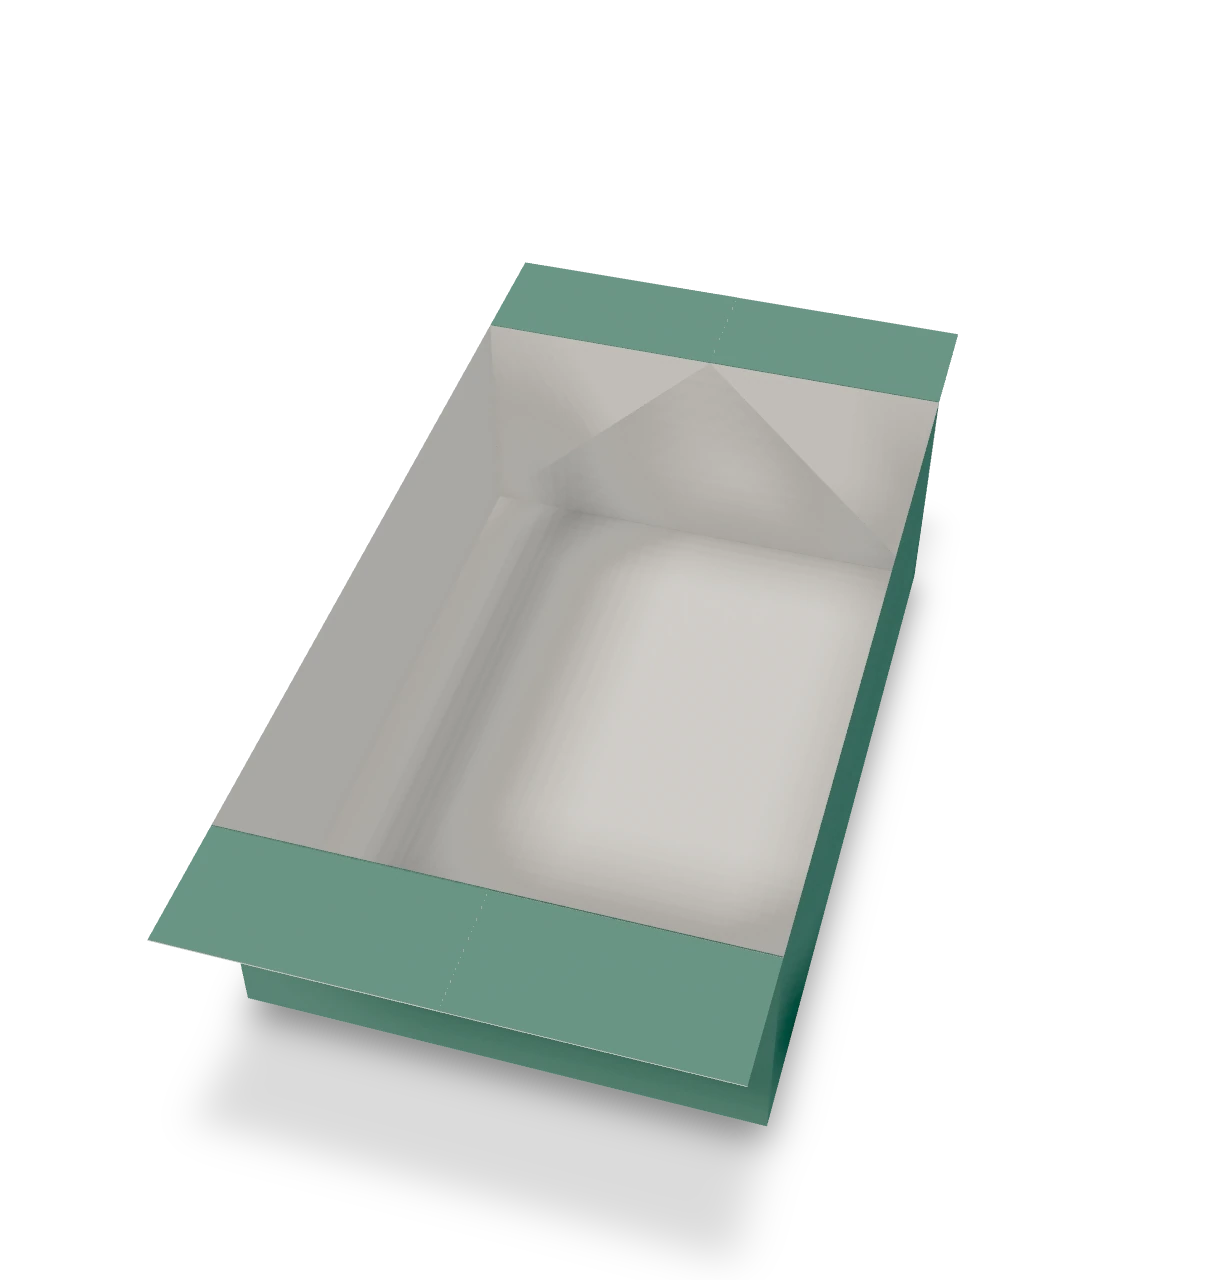
A rectangular tray with two broad folded rims. This Origami Tutor sequence opens the traditional basic-box shape while keeping its floor flat.
Letter paper box ↗
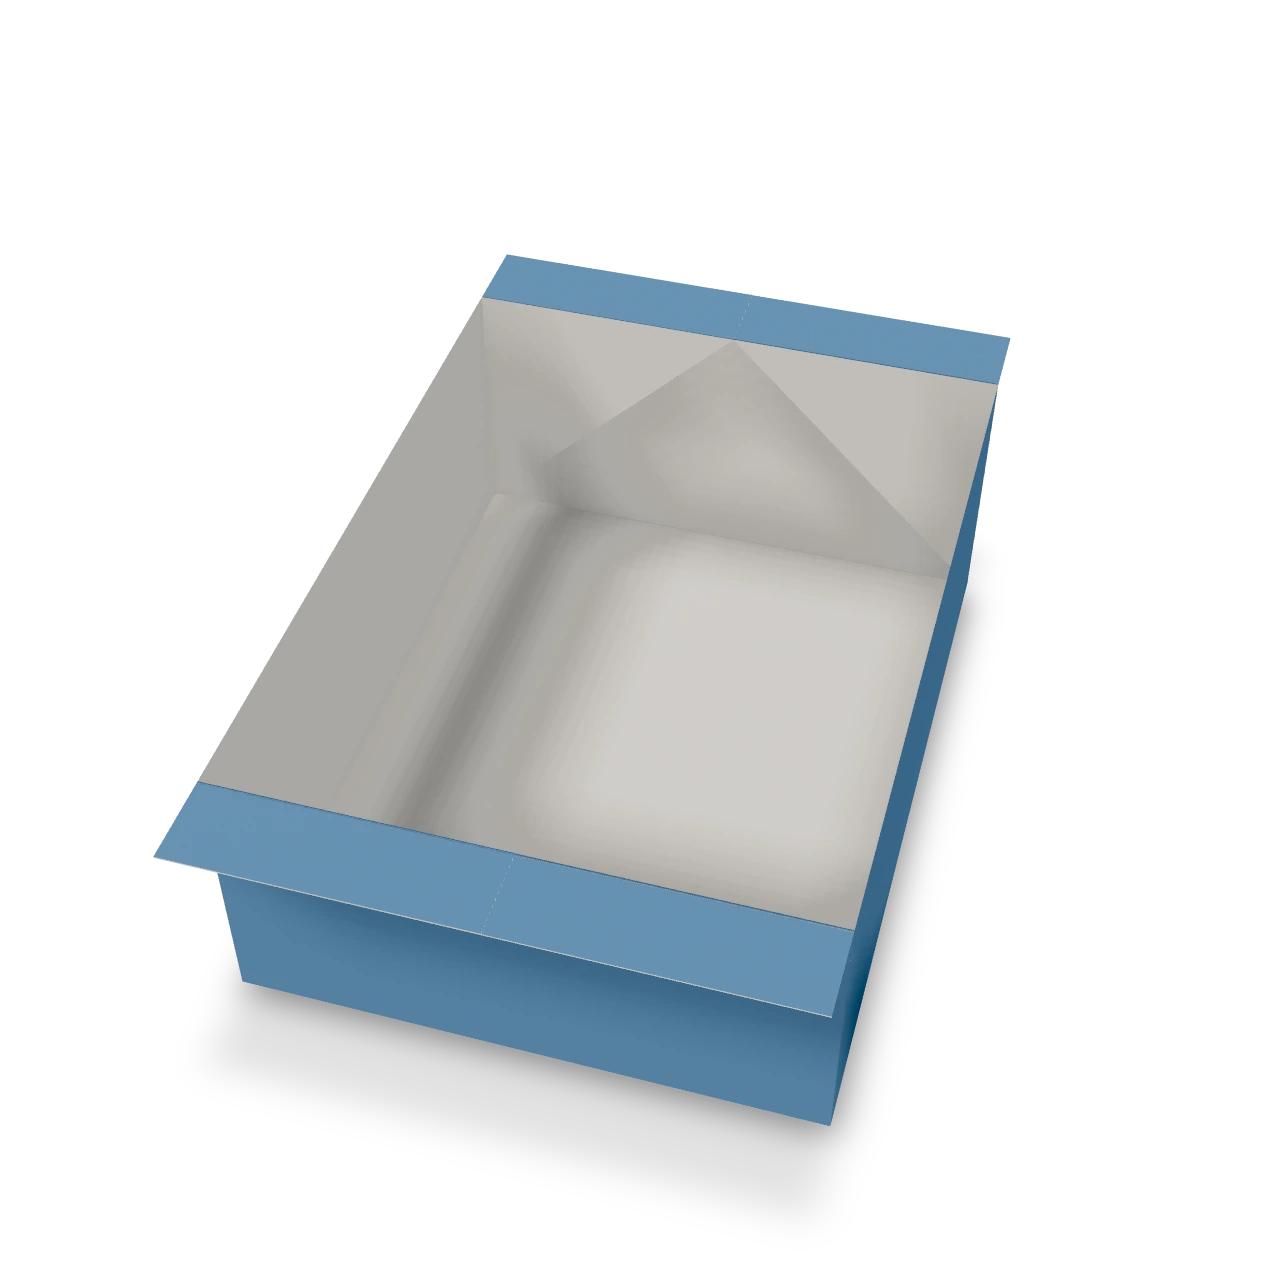
A deep rectangular box folded from one uncut sheet of letter paper, with narrow rims at both ends. This Origami Tutor sequence opens the traditional basic-box shape without cutting or glue.
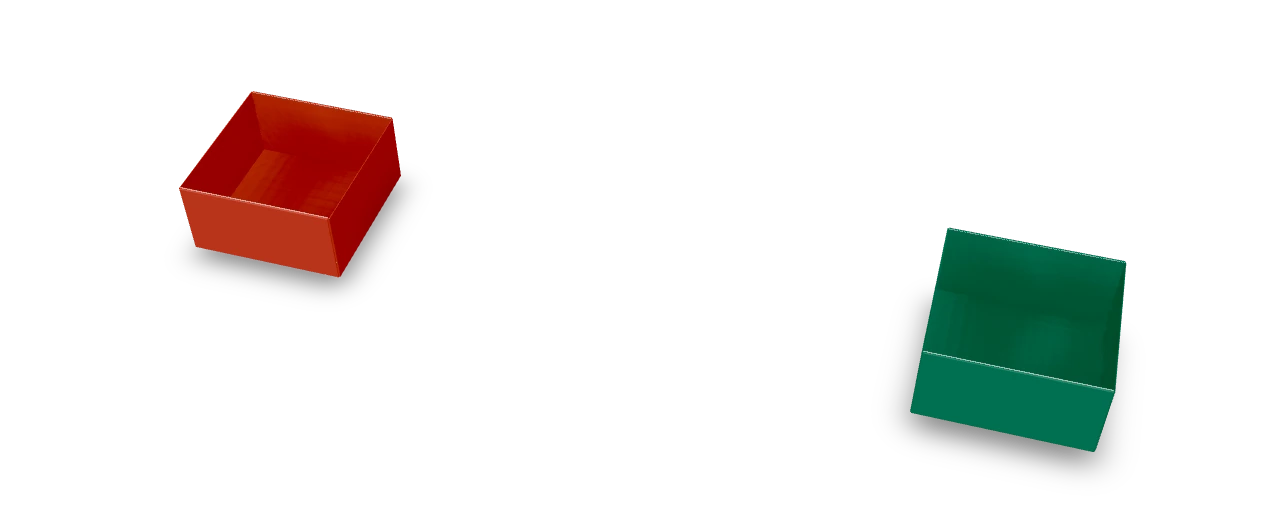
Gift box ↗
A two-piece gift box: a traditional masu box and a matching lid folded from a square a quarter inch larger, so the lid slides over the box. No scissors or glue.