How to make a money envelope
Money Envelope: try all 4 steps in the 3D player. Turn and replay every move. Print the complete diagram sheet or save it as PDF.
A flat envelope for a gift of money, folded from one square of paper. A deep pocket holds banknotes lying flat, and the flap tucks inside and two folded sides close the ends.
- You need
- One square of paper, about 19 × 19 cm. No glue or scissors.
- Start
- Start with a square of paper about 19 cm across, white side up. The colored side ends up outside.
- Tips
- Fold the pocket up first so the sides stay square.
- For a larger note, make the side folds narrower.
Your model is ready
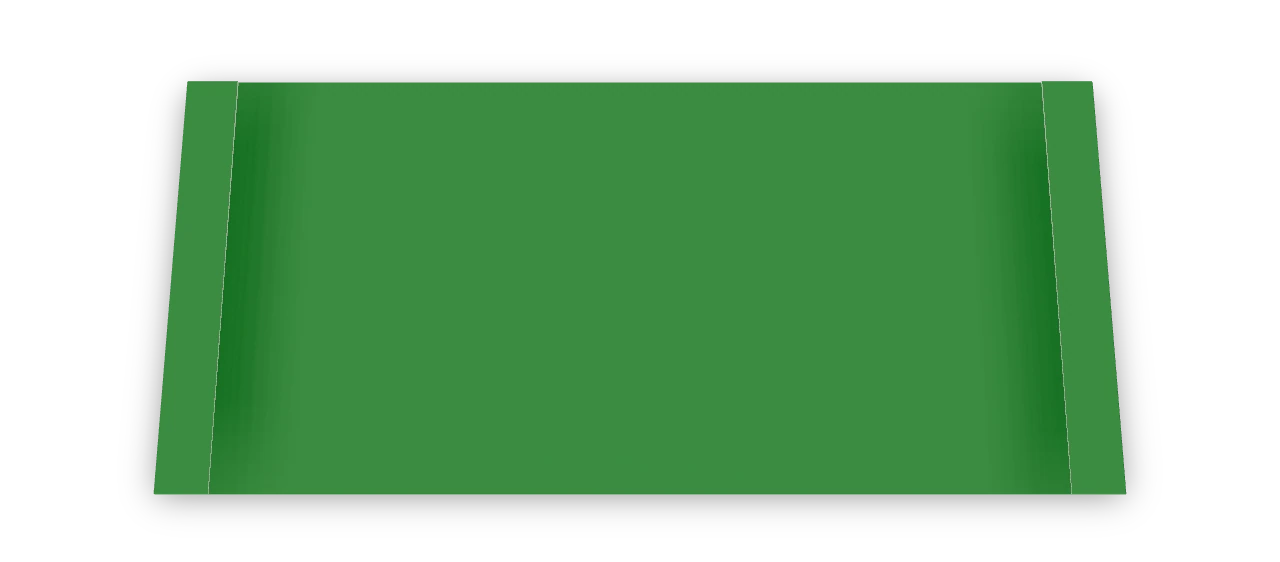
Your money envelope is ready. Both folded sides hold the ends shut. To open it, unfold one side and draw the flap out. The closed money envelope, with the flap tucked inside and both sides folded in.

Step-by-step diagrams
- 1
Fold the pocket up
Fold the bottom edge up until it is 3.4 cm below the top edge, and press the crease. This makes the front of the pocket.
- 2
Tuck the flap into the pocket
Fold the top flap down along the top of the pocket and slide it in behind the front, so the front edge covers it. Press the envelope flat.
- 3
Fold the left side in
Slip the banknotes into the pocket, then fold the left edge in by 1 cm through every layer.
- 4
Fold the right side in
Fold the right edge in by 1 cm to match. This closes both ends of the pocket.
- ✓
Finish
Your money envelope is ready. Both folded sides hold the ends shut. To open it, unfold one side and draw the flap out. The closed money envelope, with the flap tucked inside and both sides folded in.
Fold next

Red envelope ↗
A slim Lunar New Year red envelope folded from a single strip of paper: a deep pocket for the gift, folded sides and a pointed flap that closes it. No glue or scissors.

Pleated fan ↗
An Origami Tutor paper fan with twelve radial panels and a rounded rim. One square folds into a doubled leaf, gathers into a narrow packet and opens into a broad half-circle, without cuts or glue.

Red-envelope lantern ↗
An Origami Tutor cut-paper lantern with five red panels, open ends, a hanging loop and a gold paper tassel.

Square paper doily ↗
Fold a square twice into four layers, cut the square paper doily pattern, and open the creases in turn.