How to make a paper ninja star (shuriken)
Paper Ninja Star (Shuriken): try all 22 steps in the 3D player. Turn and replay every move. Print the complete diagram sheet or save it as PDF.
The traditional four-point shuriken uses two mirrored folded units. The two units cross and lock with four folded points.
- You need
- Two equal squares of thin origami paper. No glue or scissors.
- Start
- Prepare two equal squares in different colors. Start both squares white side up, with an edge at the top. Fold the red square first, then use the blue square for the mirrored sequence.
- Tips
- Keep the strip edges together.
- Mirror the second unit's corner and end folds.
- Ease each point into its pocket before pressing it flat.
Your model is ready
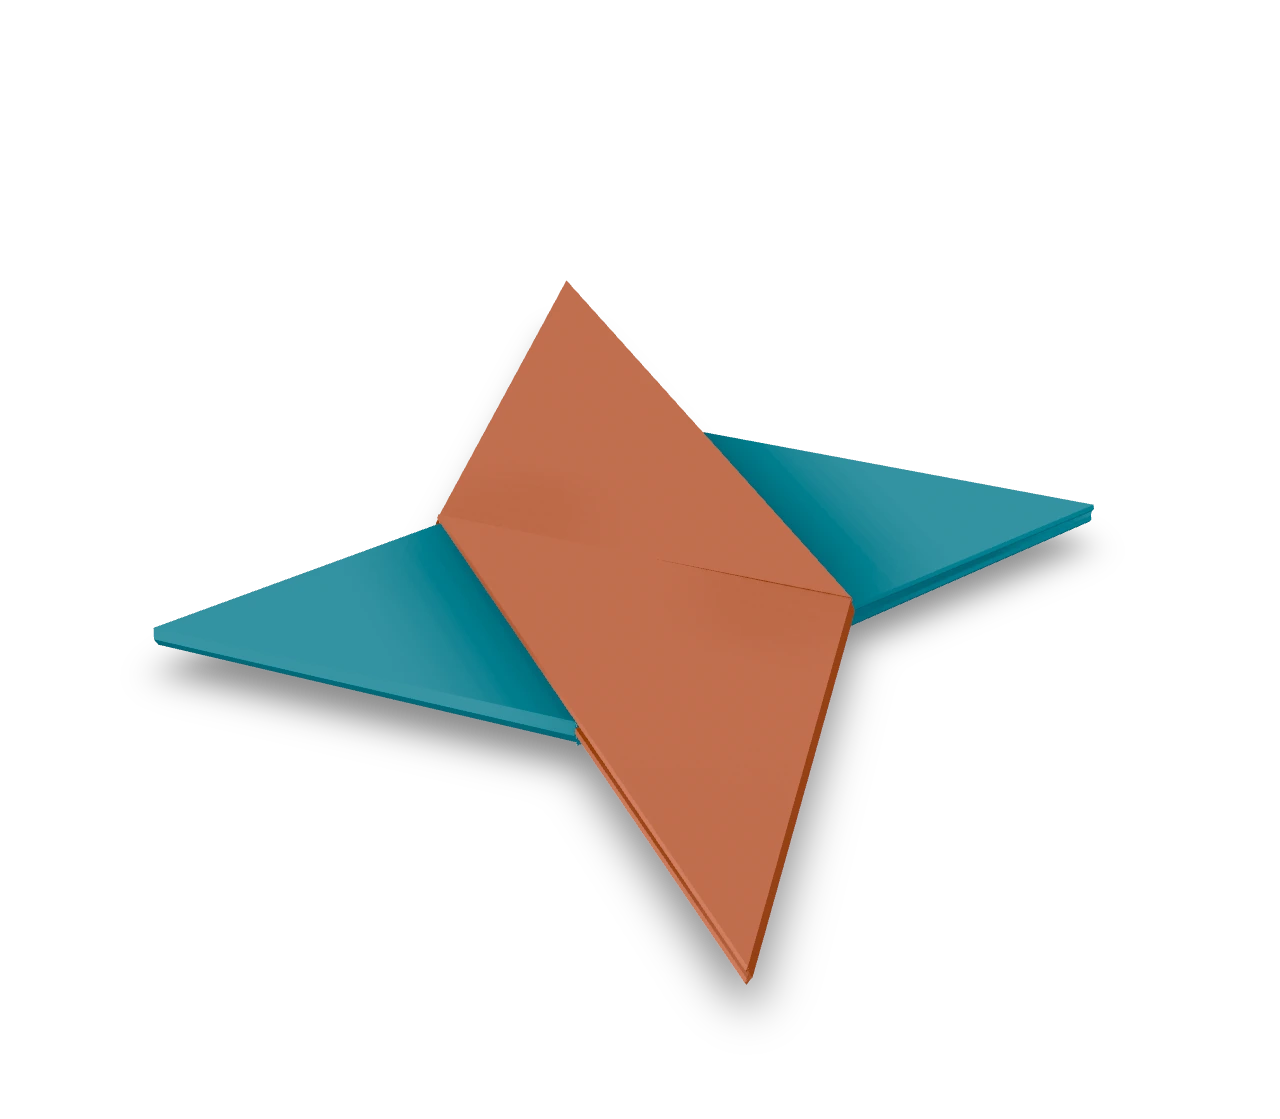
The four points lock the two units together. Press the middle square and the four edges flat. The finished four-point ninja star, with two red arms and two blue arms.

Step-by-step diagrams
Steps 1–6
- 1
Mark the middle
Fold the right edge to the left edge, press, and open.
- 2
Fold the left gate
Bring the left edge to the middle crease.
- 3
Fold the right gate
Bring the right edge in to meet it. Keep both gates closed.
- 4
Close the narrow strip
Fold the right half of the tall strip over the left half along the middle seam.
- 5
Fold the upper corner
Fold the top right corner diagonally down to the left edge. Its short top edge lies along that edge.
- 6
Fold the lower corner
Fold the bottom left corner diagonally up to the right edge the same way.
Steps 7–12
- 7
Turn the upper end right
Fold the whole upper end right along the sloping line. Keep the small corner triangle folded.
- 8
Turn the lower end left
Fold the whole lower end left along its sloping line, making the matching triangle on the other side.
- 9
Mark the middle
Fold the left edge to the right edge, press, and open.
- 10
Fold the right gate
Bring the right edge to the middle crease.
- 11
Fold the left gate
Bring the left edge in to meet it. Keep both gates closed.
- 12
Close the narrow strip
Fold the left half of the tall strip over the right half along the middle seam.
Steps 13–18
- 13
Fold the upper corner
Fold the top left corner diagonally down to the right edge. Its short top edge lies along that edge.
- 14
Fold the lower corner
Fold the bottom right corner diagonally up to the left edge the same way.
- 15
Turn the upper end left
Fold the whole upper end left along the sloping line. Keep the small corner triangle folded.
- 16
Turn the lower end right
Fold the whole lower end right along its sloping line, making the matching triangle on the other side.
- 17
Cross the two units
Turn the second unit over and lay it across the first at a right angle. Match their middle squares.
- 18
Lock the right point
Fold the right end behind the blue unit and slide the point beneath its triangular pocket. Keep the middle squares together.
Steps 19–22
- 19
Lock the left point
Fold the left end behind the opposite blue pocket. Flatten both points inside their pockets.
- 20
Turn the joined units over
Turn both units over together, keeping their centers aligned.
- 21
Lock the upper point
Fold the upper blue end behind the red unit, slipping its point beneath the red pocket.
- 22
Lock the lower point
Fold the last blue end behind the remaining red pocket. Ease the point in and press the star flat.
- ✓
Finish
The four points lock the two units together. Press the middle square and the four edges flat. The finished four-point ninja star, with two red arms and two blue arms.
Fold next

Paper banger ↗
The traditional single-pocket paper popper: fold a long rectangle into a triangle that pops when snapped downward.

Fortune teller ↗
A fortune teller, or cootie catcher, is a paper choosing game worked by two thumbs and two forefingers. Two rounds of corner folds make the pockets; the last creases let them open in alternating directions.

Paper boat ↗
The traditional paper boat, folded from a rectangle through a newspaper hat and two pockets.

Windmill ↗
Fold the traditional uncut, single-color pinwheel with four flat blades from one square.