How to make a paper dragon puppet
Paper Dragon Puppet: try all 22 steps in the 3D player. Turn and replay every move. Print the complete diagram sheet or save it as PDF.
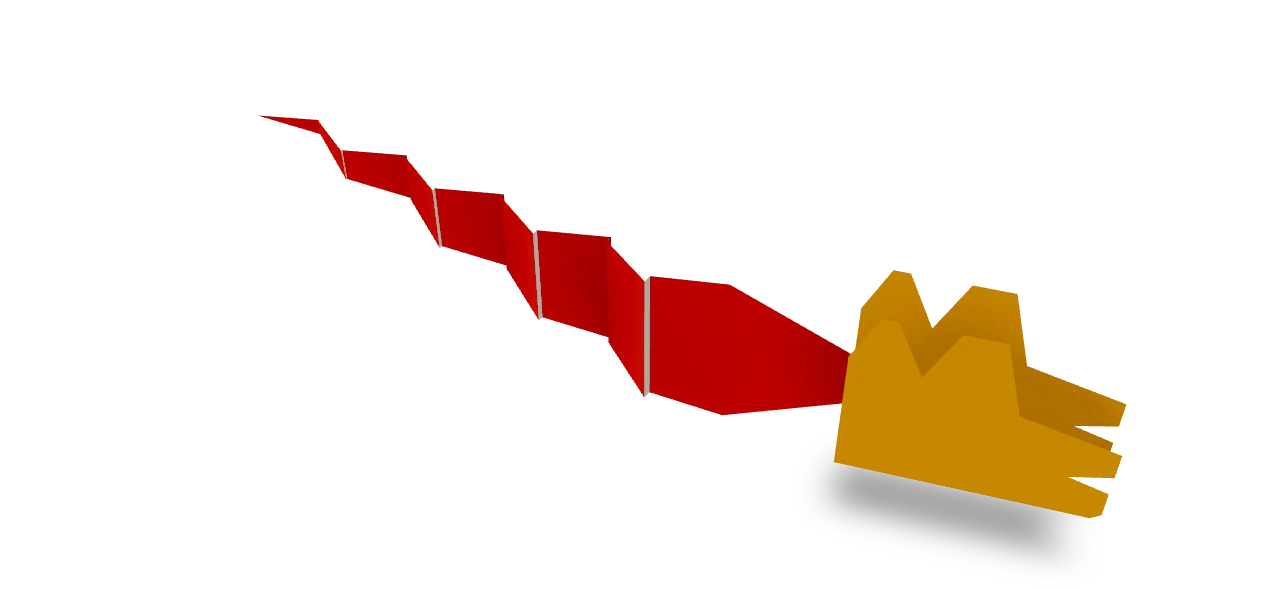
An Origami Tutor paper dragon puppet: an accordion body that opens into a zigzag, and a separate head, cut to a horned profile with a long snout and an open mouth, with a folded chin strip to hold the cheeks apart, glued onto the neck. Draw an eye on each side of the head.
- You need
- A long kite of red paper and a small rectangle of gold paper, scissors, glue and a pen for the eyes.
- Start
- Cut a long kite from red paper, 12 in long and 2 in wide at its widest, with the widest point near the neck end, and a 3 × 6 in rectangle of gold paper for the head.
- Tips
- Keep every pleat the same width so the zigzag is even.
- Press each crease before closing the accordion.
- Let the glued cheek dry before moving the puppet.
Your model is ready
The dragon is ready. Draw eyes and teeth on the head. Push the tail and head together and pull them apart to make the dragon move. The finished dragon puppet, its body opened into a zigzag.

Step-by-step diagrams
Steps 1–6
- 1
Crease pleat 1
Fold the paper forward along the marked line, moving everything to its left. Press and open flat.
- 2
Crease pleat 2
Fold the paper back along the marked line, moving everything to its left. Press and open flat.
- 3
Crease pleat 3
Fold the paper forward along the marked line, moving everything to its left. Press and open flat.
- 4
Crease pleat 4
Fold the paper back along the marked line, moving everything to its left. Press and open flat.
- 5
Crease pleat 5
Fold the paper forward along the marked line, moving everything to its left. Press and open flat.
- 6
Crease pleat 6
Fold the paper back along the marked line, moving everything to its left. Press and open flat.
Steps 7–12
- 7
Crease pleat 7
Fold the paper forward along the marked line, moving everything to its left. Press and open flat.
- 8
Crease pleat 8
Fold the paper back along the marked line, moving everything to its left. Press and open flat.
- 9
Close the accordion
Close the pleats, bringing every panel together in one stack behind the tail panel. Press the stack flat. The neck point sticks out at one end.
- 10
Mark chin edge 1
Fold across the marked line, press, and open. These two lines leave a narrow strip for the bottom of the head.
- 11
Mark chin edge 2
Fold across the marked line, press, and open. These two lines leave a narrow strip for the bottom of the head.
- 12
Fold the head in half
Fold the head rectangle in half, bottom edge up to the top edge. The middle fold will open again when you shape the chin strip. Keep the two marked chin edges together while cutting.
Steps 13–18
- 13
Cut the brow and snout
Holding the folded head with the fold at the bottom and the open edges towards the body, cut from the top edge, a little past halfway, down and forward to the front edge, about halfway down it. The front becomes a long snout.
- 14
Cut between the horns
Cut a narrow V into the top edge near the back, so two pointed horns stand up on either side of it.
- 15
Point the back horn
Trim the top back corner on a slant, so the back horn has a point too.
- 16
Taper the jaw
Cut off the bottom front corner on a slant, through the fold, to taper the jaw.
- 17
Open the mouth
Cut a small V into the front of the snout for the mouth.
- 18
Set the head on the neck
Set the neck point against the inside of one cheek, below the horns. Keep the open snout pointing away from the body.
Steps 19–22
- 19
Glue the neck inside the cheek
Glue the overlapping neck point to the inside of the cheek and let it dry. Leave the other cheek free so the head keeps its width.
- 20
Shape the chin strip
Open the head's middle fold and bend the two marked chin edges to right angles. The narrow strip becomes the bottom of the head, with a horned cheek on either side.
- 21
Hold the dragon upright
Pick the dragon up by the tail and the head and hold it upright, the horns at the top.
- 22
Open the accordion
Hold the tail and the head and pull them gently apart. The pleats open into a zigzag and the head rides on the end of the neck.
- ✓
Finish
The dragon is ready. Draw eyes and teeth on the head. Push the tail and head together and pull them apart to make the dragon move. The finished dragon puppet, its body opened into a zigzag.
Fold next
Paper banger ↗
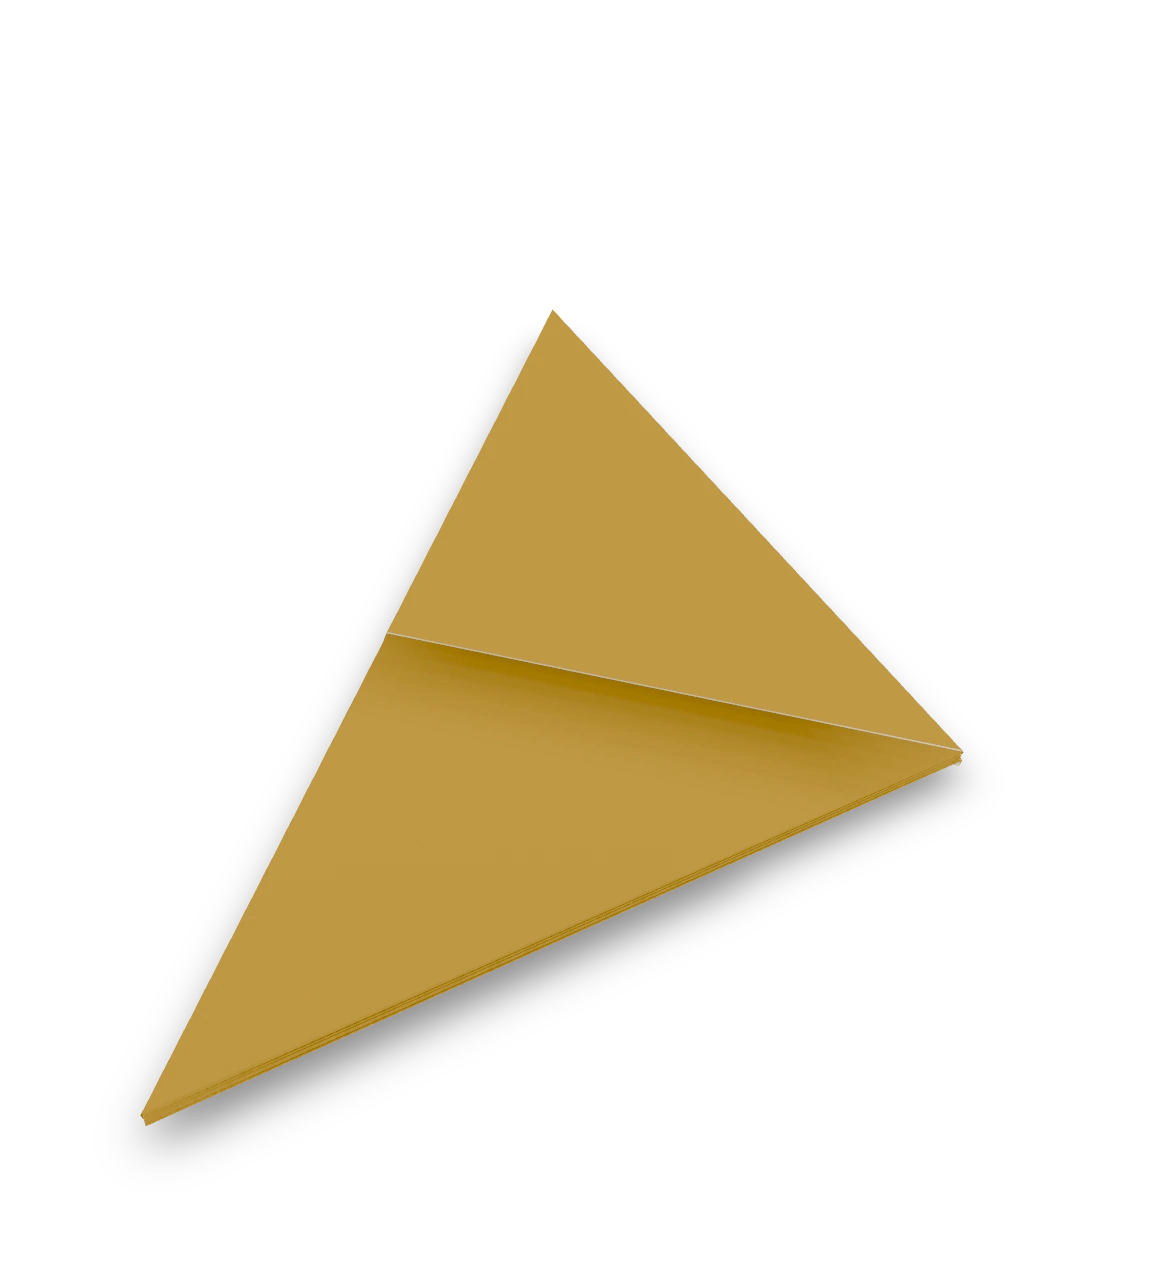
The traditional single-pocket paper popper: fold a long rectangle into a triangle that pops when snapped downward.
Fortune teller ↗
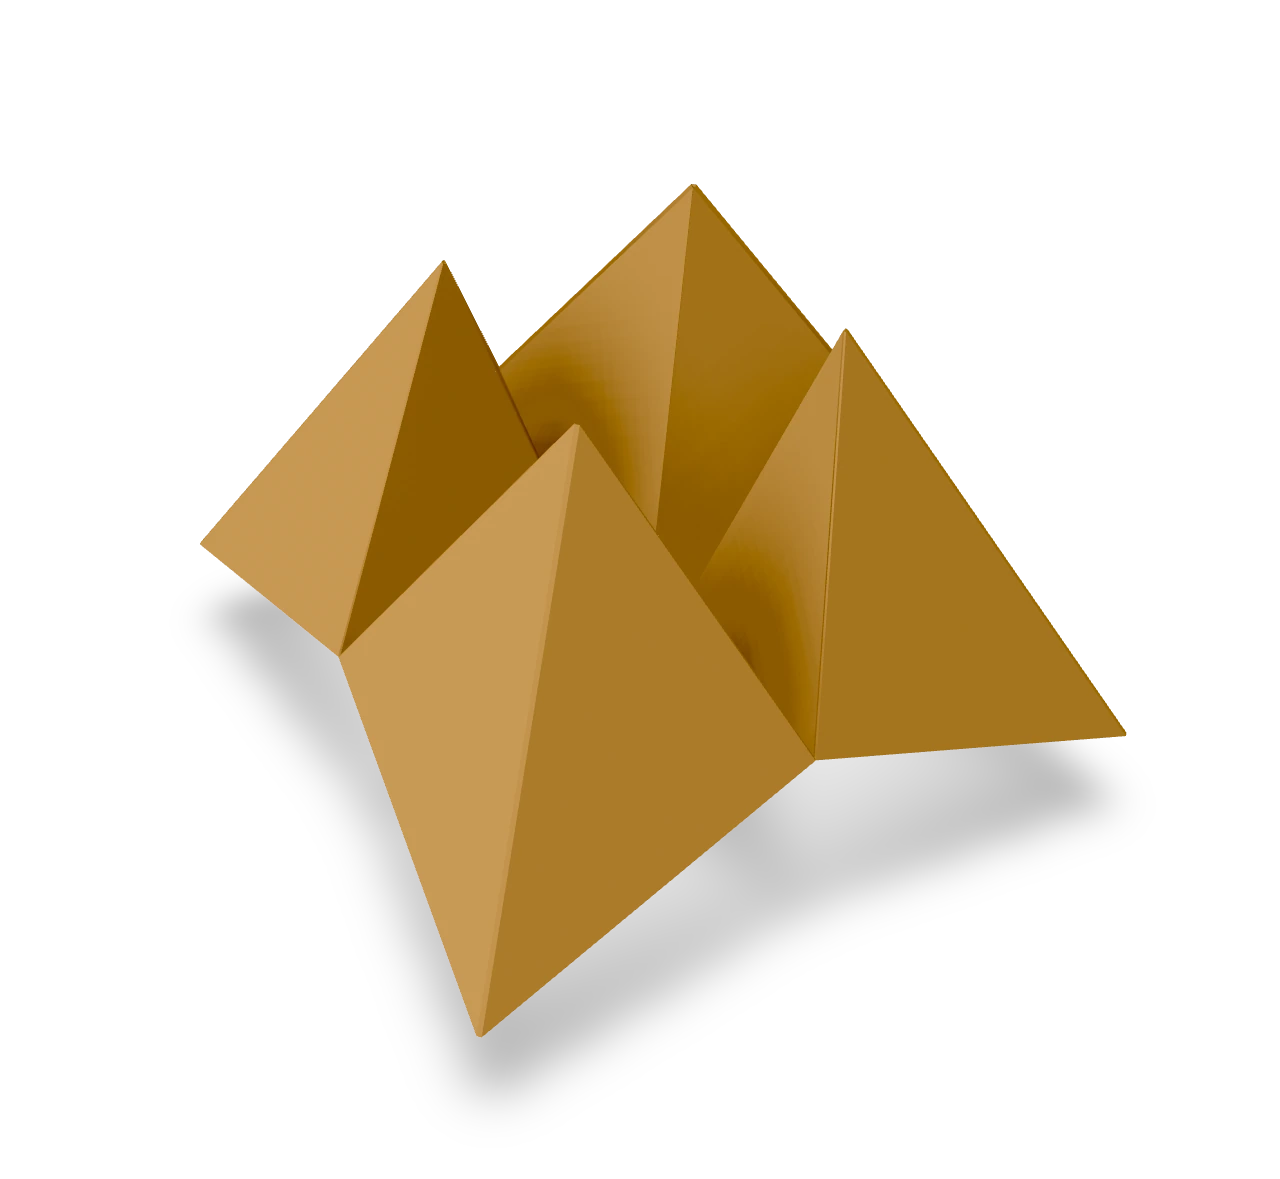
A fortune teller, or cootie catcher, is a paper choosing game worked by two thumbs and two forefingers. Two rounds of corner folds make the pockets; the last creases let them open in alternating directions.
Paper boat ↗
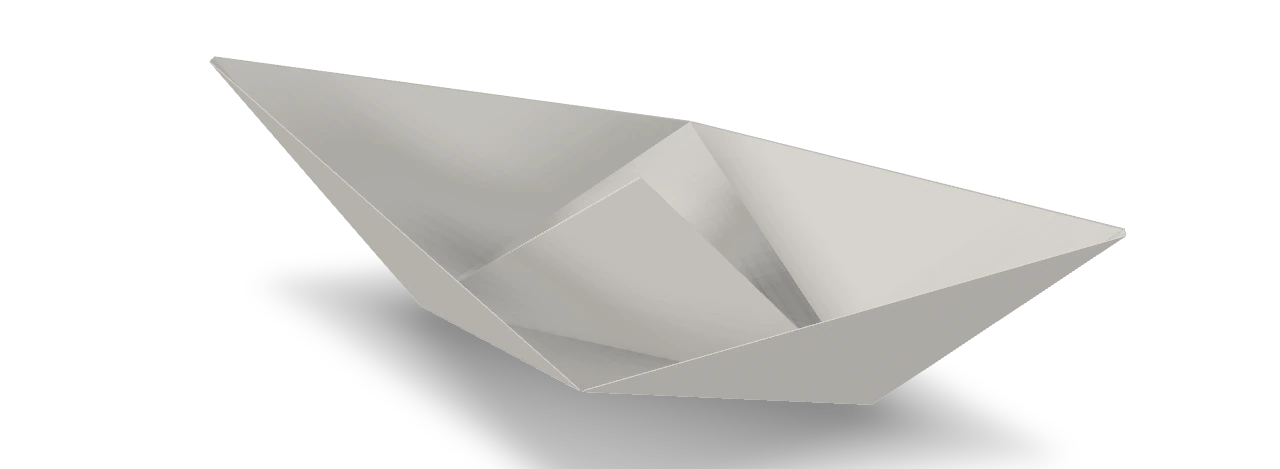
The traditional paper boat, folded from a rectangle through a newspaper hat and two pockets.

Windmill ↗
Fold the traditional uncut, single-color pinwheel with four flat blades from one square.