How to make a paper helicopter: cut-and-fold spinner
Paper Helicopter (Cut-and-Fold): try all 10 steps in the 3D player. Turn and replay every move. Print the complete diagram sheet or save it as PDF.
A cut-and-fold paper helicopter with two wide blades and a narrow weighted body. This Origami Tutor version of the classroom whirligig uses one strip of printer paper. Let it drop and watch it spin.
- You need
- One 6 × 16 cm strip of printer paper, scissors, a ruler and a pencil. One small paperclip is optional.
- Start
- Cut a 6 × 16 cm strip of printer paper. Lay it with a short edge at the top. Measure 7 cm down for the blades, 8 cm down for the side cuts, and 1 cm up from the bottom for the foot.
- Tips
- Use ordinary printer paper. Thick card is harder to fold and changes how the helicopter falls.
- Keep both blades the same size and set them at the same height.
- Try one small paperclip on the folded foot, then compare a drop with and without it.
- Switch which blade bends forward to reverse the spin.
Your model is ready
If you have a small paperclip, slide it over the folded foot. Hold the body upright, raise your arm, and let go without throwing.

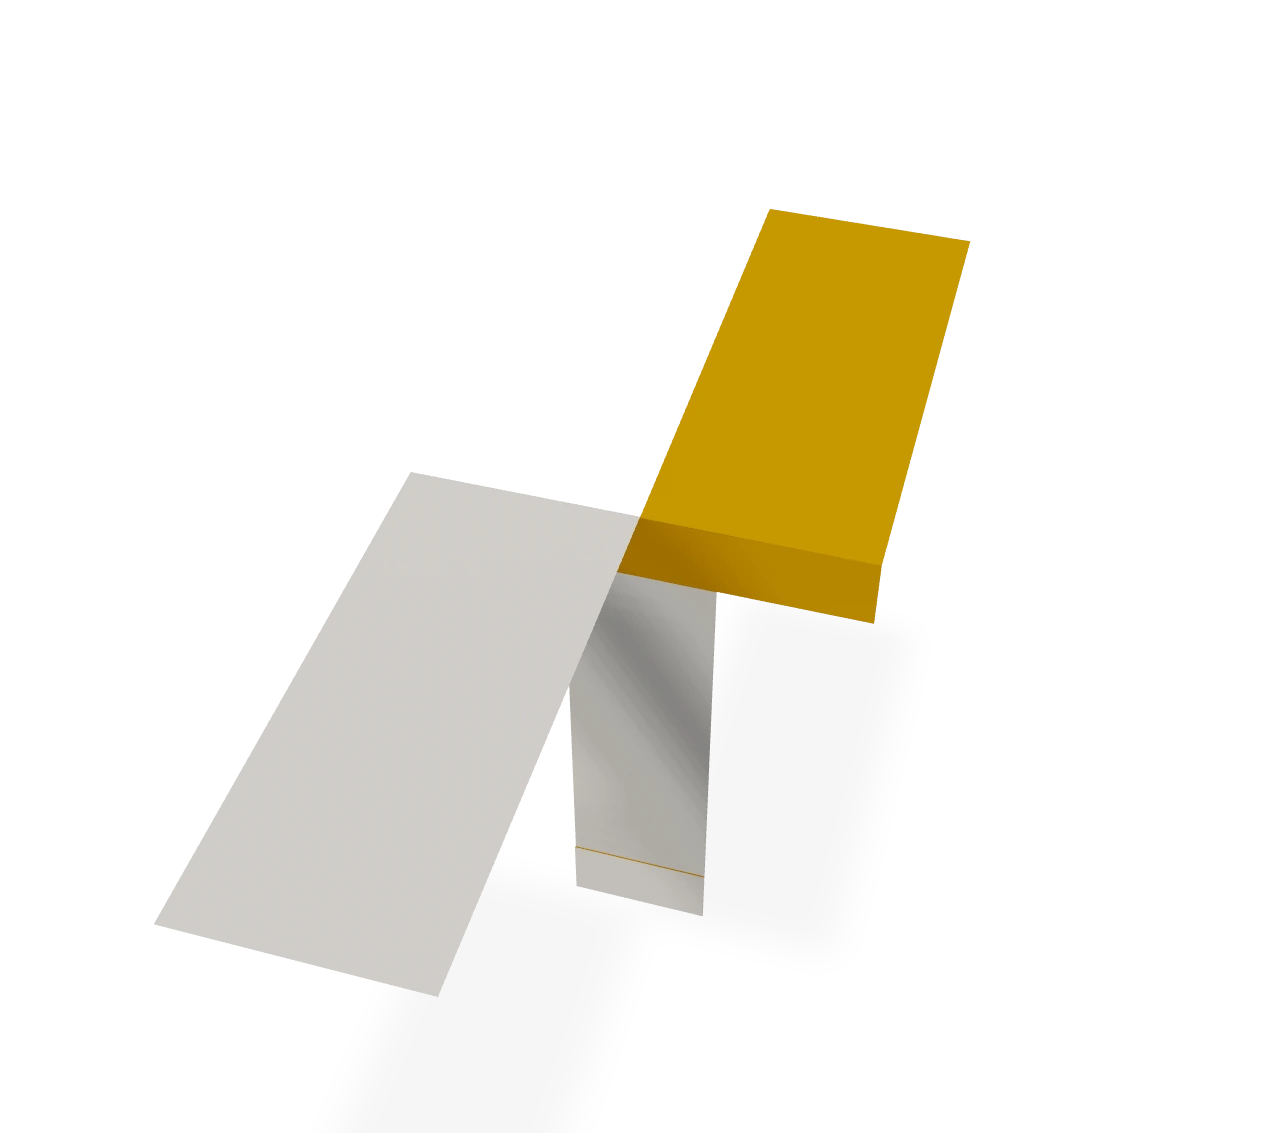
Step-by-step diagrams
- 1
Split the two blades
Cut down the middle from the top edge to the 7 cm mark. Stop there so the blades stay joined to the body.
- 2
Cut the left shoulder
At the 8 cm mark, cut 2 cm in from the left edge. Leave the middle of the strip uncut.
- 3
Cut the right shoulder
Make a matching 2 cm cut from the right edge. The 2 cm bridge between the cuts holds the body together.
- 4
Narrow the left side
Below the side cut, fold the left 2 cm panel onto the middle panel. Keep the wide shoulder above the cut flat.
- 5
Narrow the right side
Fold the right 2 cm panel over the first one. The three panels now make one narrow body.
- 6
Fold up the foot
Fold the bottom 1 cm up through all three layers. Press it flat to put more of the paper's weight at the bottom.
- 7
Crease the left blade forward
At the end of the middle cut, fold the left blade down toward you and press its root flat. Keep the right blade still.
- 8
Crease the right blade back
Fold the right blade down behind the shoulder on the same line. Its crease bends the opposite way from the left blade.
- 9
Spread the rotor blades
Lift both blades halfway back open along their root creases. They point in opposite directions, while the narrow body and folded foot stay closed.
- 10
Let the body hang below
Turn the whole helicopter until both blades are level and the narrow body hangs straight down beneath them. Keep the folded foot at the bottom.
- ✓
Finish
If you have a small paperclip, slide it over the folded foot. Hold the body upright, raise your arm, and let go without throwing.
Fold next
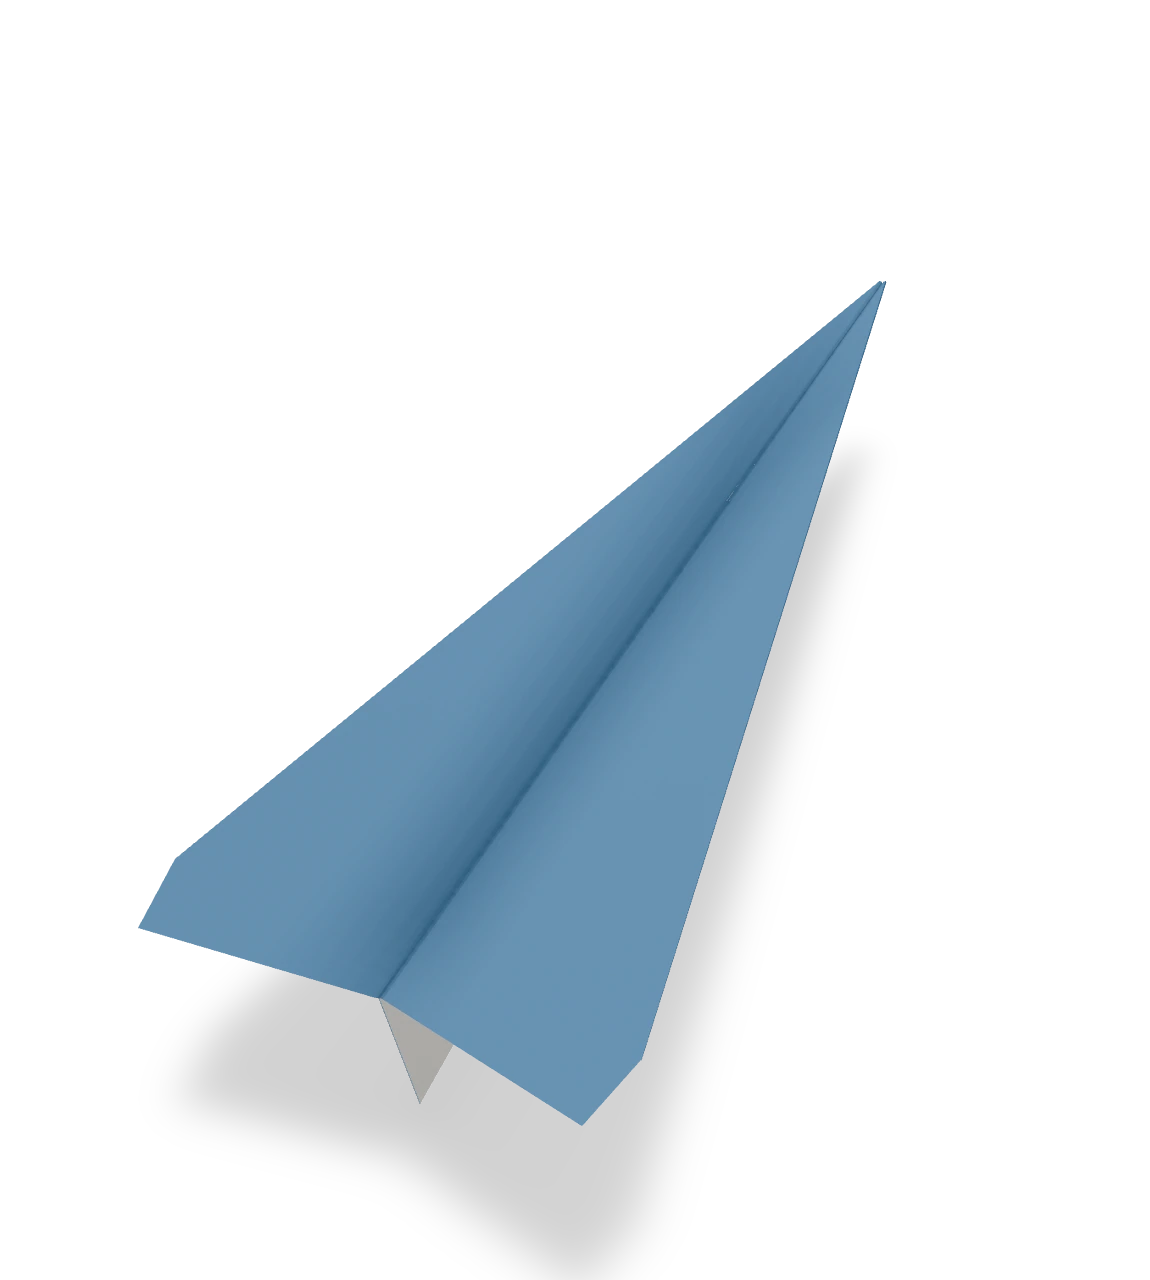
Paper airplane ↗
The classic dart: a sheet of letter paper, a sharp nose and two wings, ready to fly across the room.
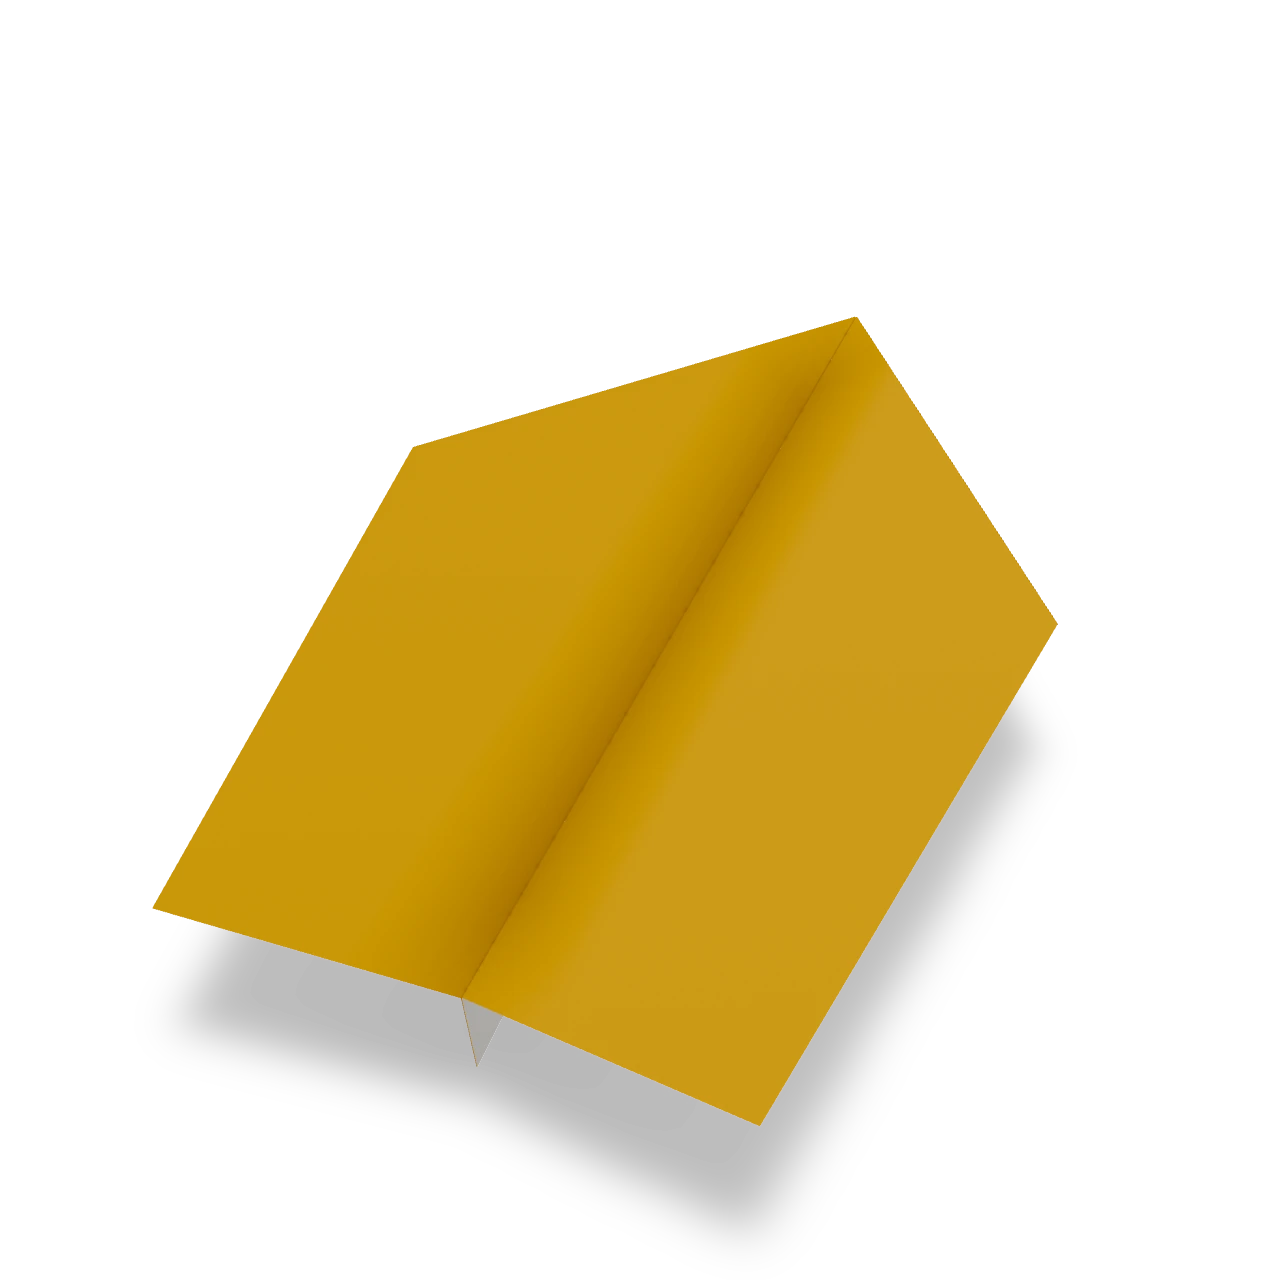
Easy paper airplane ↗
An Origami Tutor paper airplane with the fewest folds: two corners, one fold in half and two wings. A good first plane for kids, with broad wings that glide gently.
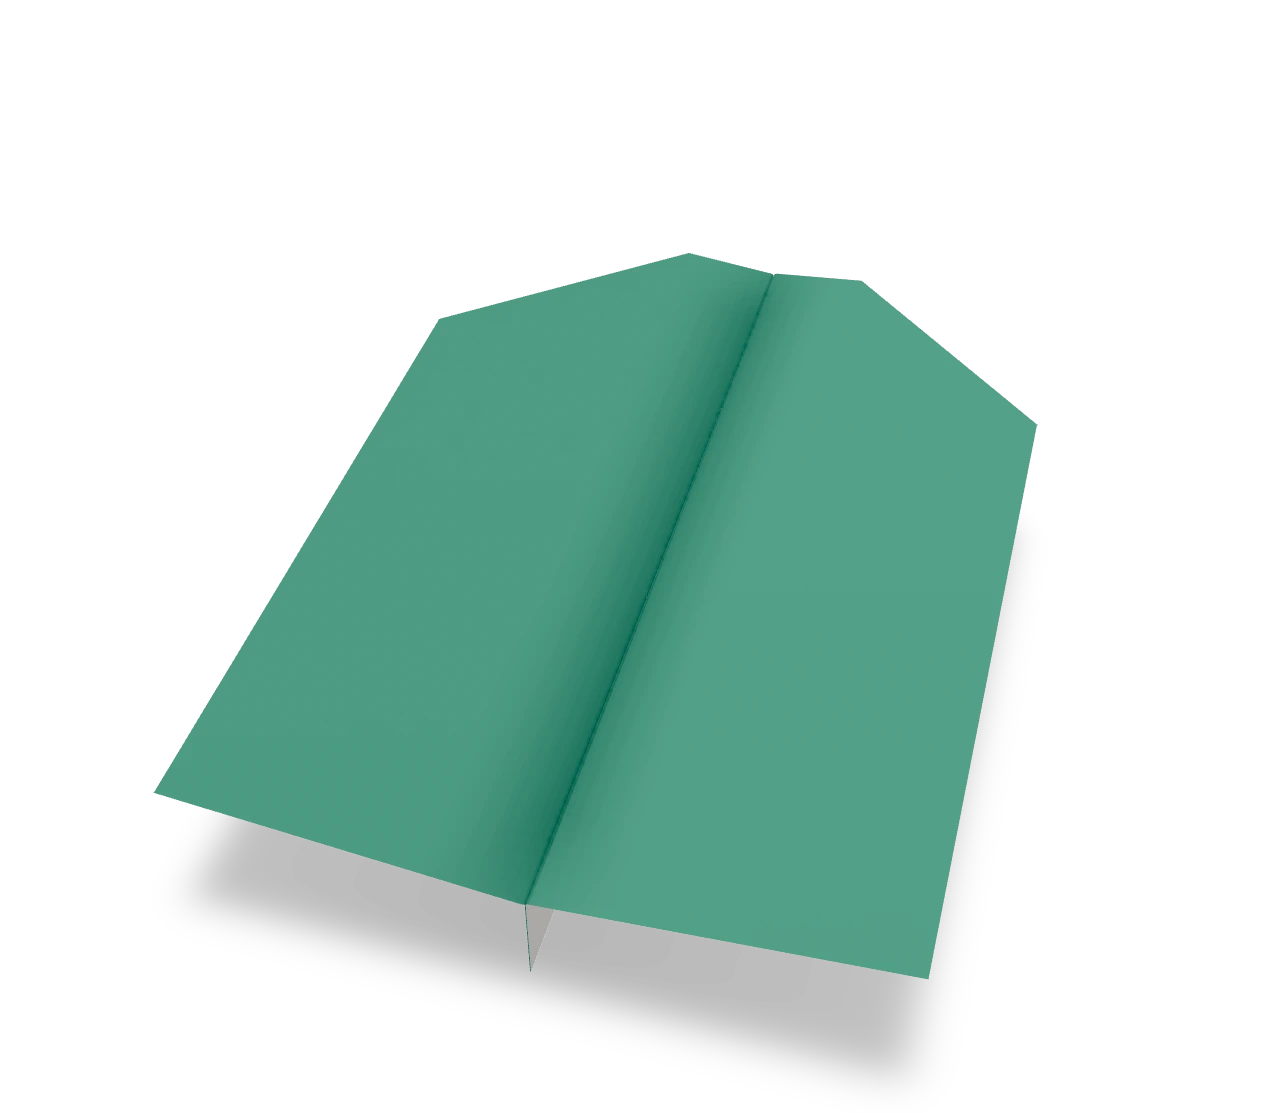
Paper glider ↗
An Origami Tutor paper glider with a blunt nose and broad, straight-tipped wings. Thrown gently, it floats slowly across the room instead of darting.
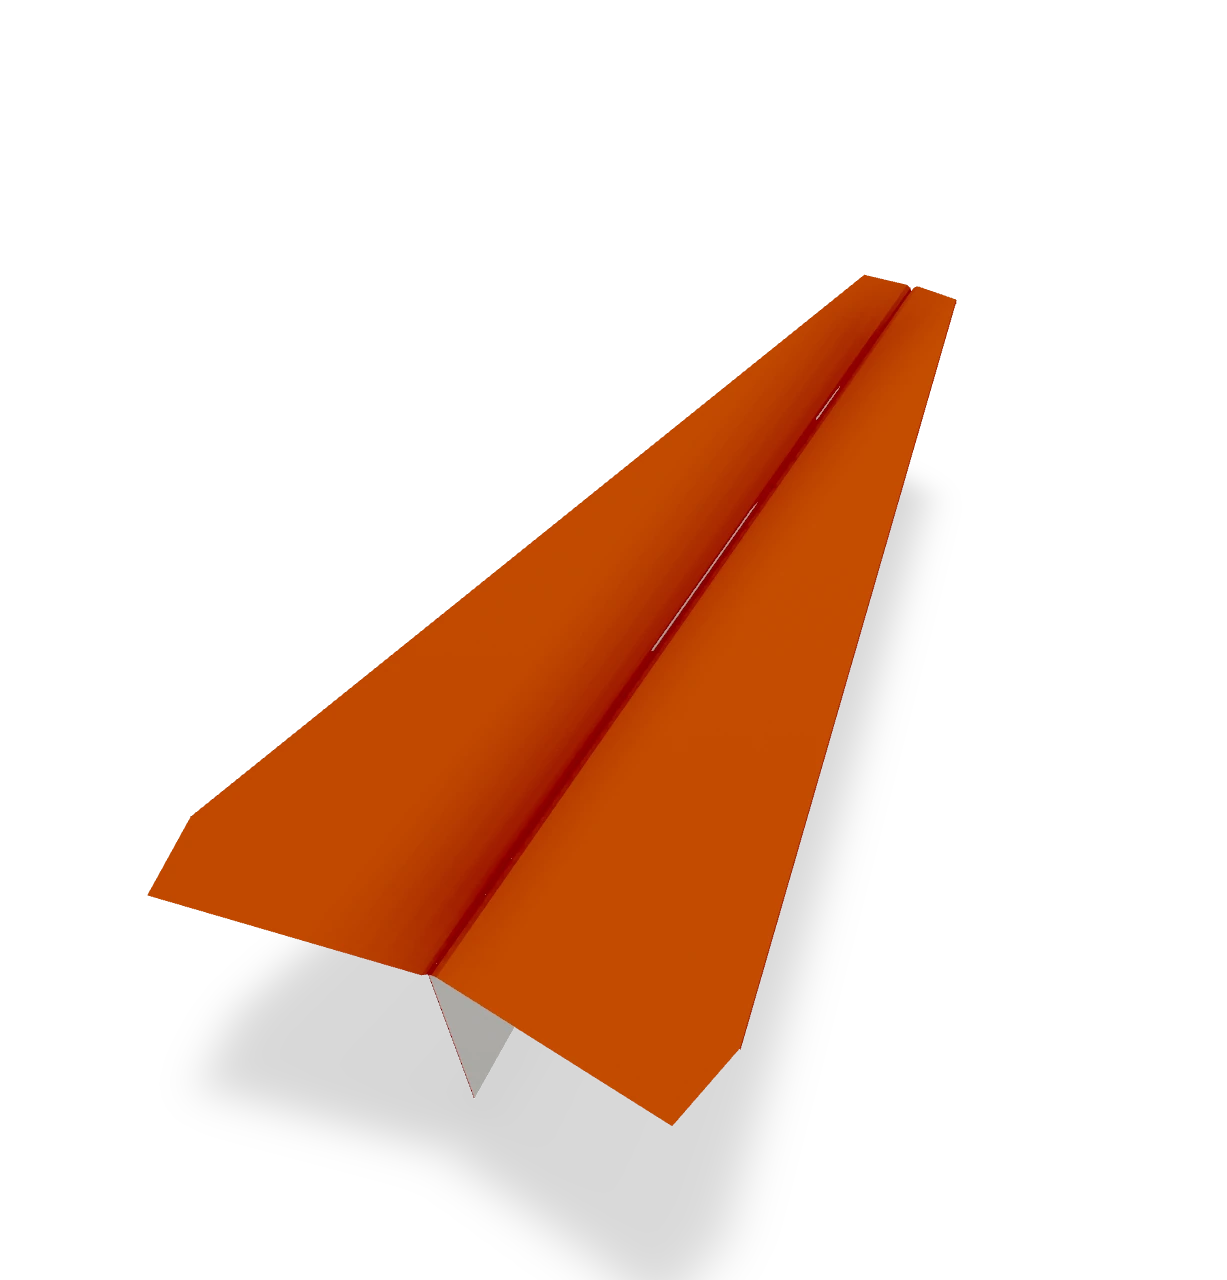
Distance dart ↗
An Origami Tutor distance dart: a slim dart whose point is folded down to lock the nose folds, so the weight sits up front and the nose stays shut on a hard, long throw.