How to make a paper knife
Paper Knife: try all 9 steps in the 3D player. Turn and replay every move. Print the complete diagram sheet or save it as PDF.
An Origami Tutor paper kitchen knife with a broad single-edged blade, a deep heel and a short dark handle. Fold two paper pieces and glue their overlap to make a flat knife about 22 cm long for a paper kitchen or picture.
- You need
- One 16 × 10 cm grey paper rectangle, one 8 cm dark paper square, ruler, pencil and paper glue. Scissors are only needed to prepare the stock pieces.
- Start
- Prepare a 16 × 10 cm grey rectangle and an 8 cm dark square from paper coloured on both sides. Lay the grey rectangle with its long edges horizontal. Keep the dark square to its right.
- Tips
- Carry both blade layers together when folding the point.
- Keep the handle along the blade's straight back, above its deep heel.
- Use thin paper so the handle's small corner folds lie flat.
Your model is ready
Let the glue dry with the folds pressed flat. Your paper kitchen knife is ready for a paper kitchen, card or picture.

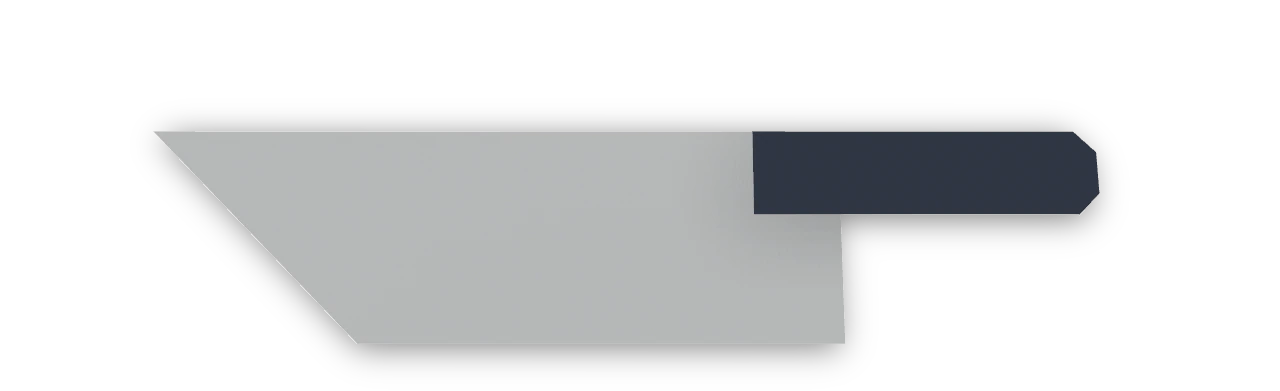
Step-by-step diagrams
- 1
Double the broad blade
Bring the long top edge down to the bottom edge. Press the fold flat, making a doubled rectangle 16 cm long and 5 cm high.
- 2
Slope the blade's front edge
Mark 5 cm from the left along the lower edge. Fold the lower-left corner behind on the line joining that mark to the upper-left corner. Carry both layers together; the straight upper edge ends in the knife's point.
- 3
Fold the handle's top edge in
Bring the square's top edge to its crosswise middle, making a fold 2 cm below the top.
- 4
Fold the handle's bottom edge in
Bring the bottom edge to the same middle line. The two folded edges meet without overlapping.
- 5
Fold the handle narrow
Fold the upper half down over the lower half. Match the long edges and press the four layers into a strip 8 cm long and 2 cm high.
- 6
Round the handle's upper end
At the upper-right corner, mark 5 mm along both edges. Fold that small corner behind through all the layers.
- 7
Round the handle's lower end
Make the matching 5 mm corner fold behind at the lower-right corner. The handle's free end now has two short sloping corners.
- 8
Align the handle with the blade's back
Lay the left 2 cm of the dark handle over the blade's right end, with their upper edges level. The blade's broad heel projects below the handle.
- 9
Glue the handle overlap
Glue the small overlap between the grey blade and dark handle. Keep their straight upper edges aligned and press the joint until it holds.
- ✓
Finish
Let the glue dry with the folds pressed flat. Your paper kitchen knife is ready for a paper kitchen, card or picture.
Fold next

Paper banger ↗
The traditional single-pocket paper popper: fold a long rectangle into a triangle that pops when snapped downward.
Fortune teller ↗
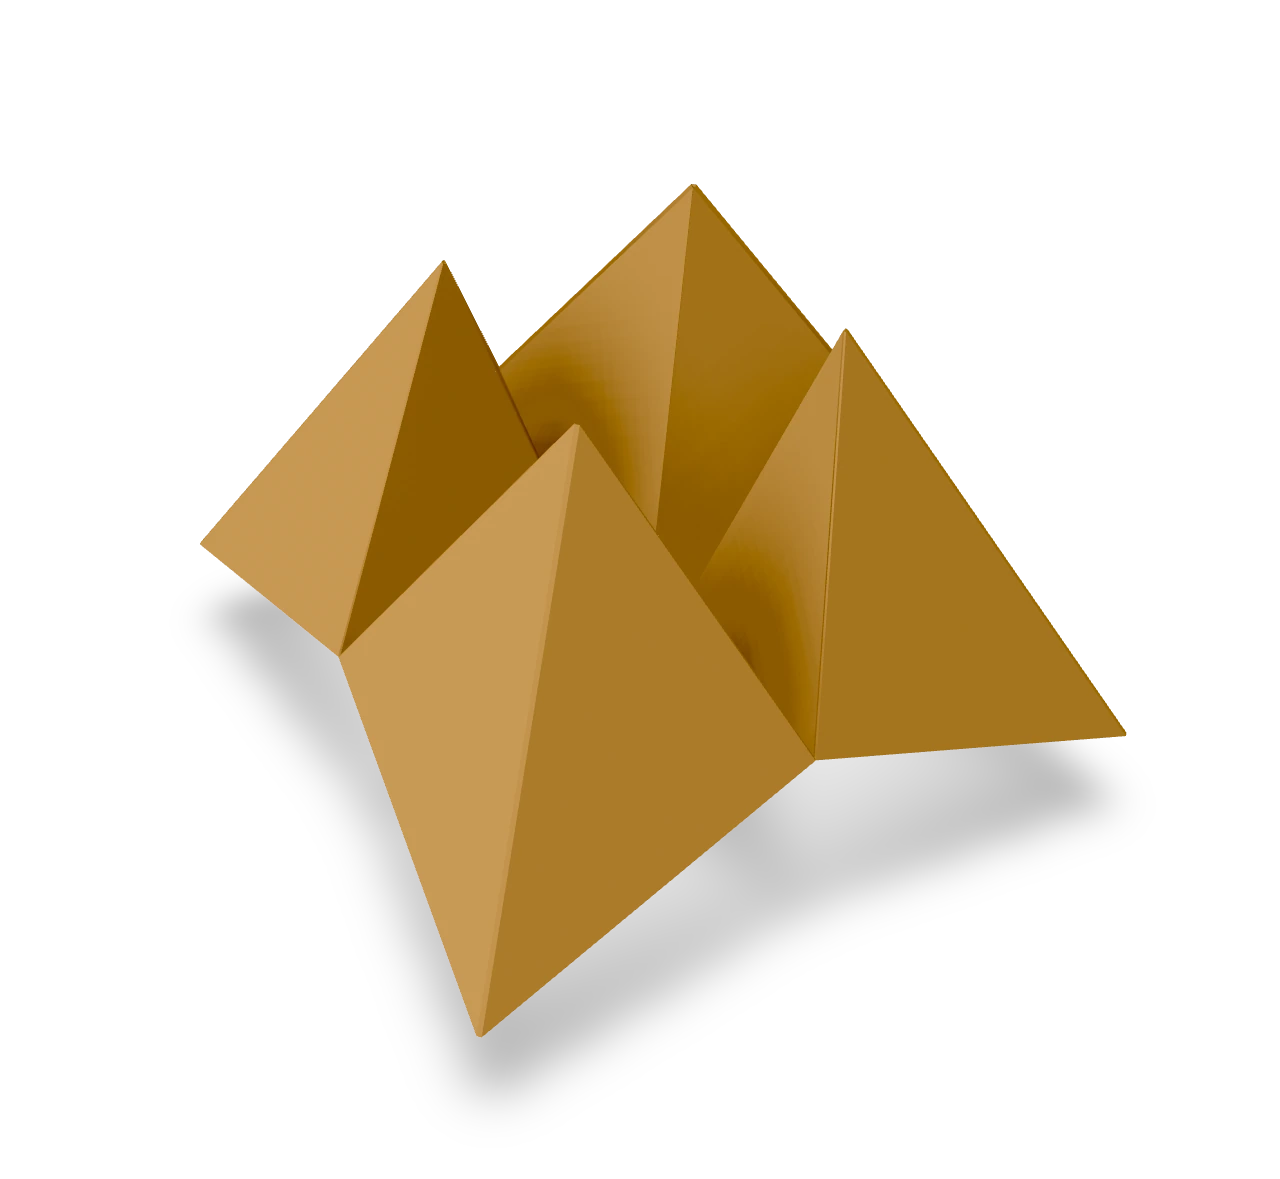
A fortune teller, or cootie catcher, is a paper choosing game worked by two thumbs and two forefingers. Two rounds of corner folds make the pockets; the last creases let them open in alternating directions.
Paper boat ↗
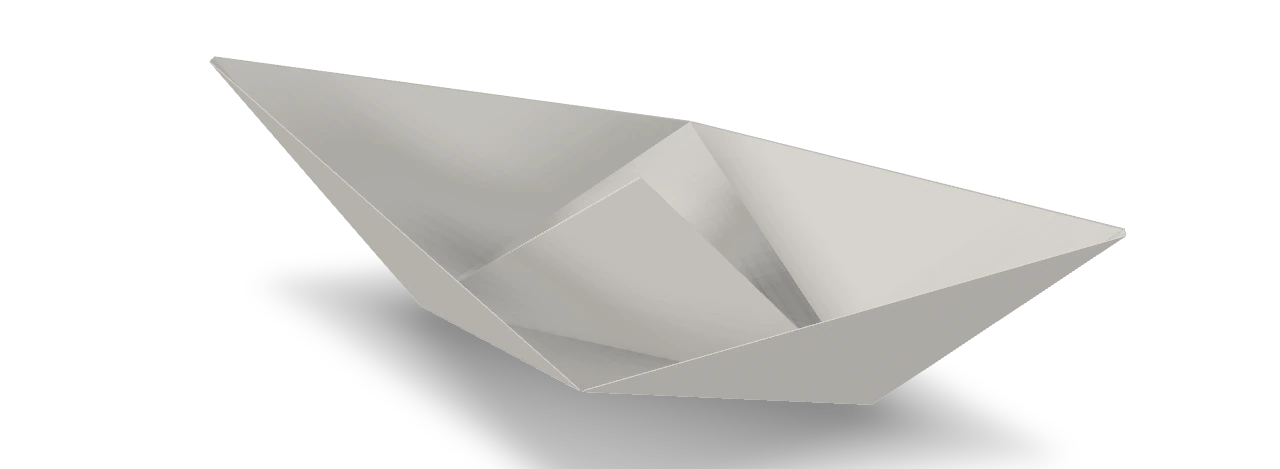
The traditional paper boat, folded from a rectangle through a newspaper hat and two pockets.

Windmill ↗
Fold the traditional uncut, single-color pinwheel with four flat blades from one square.