How to make an origami penguin
Origami Penguin: try all 14 steps in the 3D player. Turn and replay every move. Print the complete diagram sheet or save it as PDF.
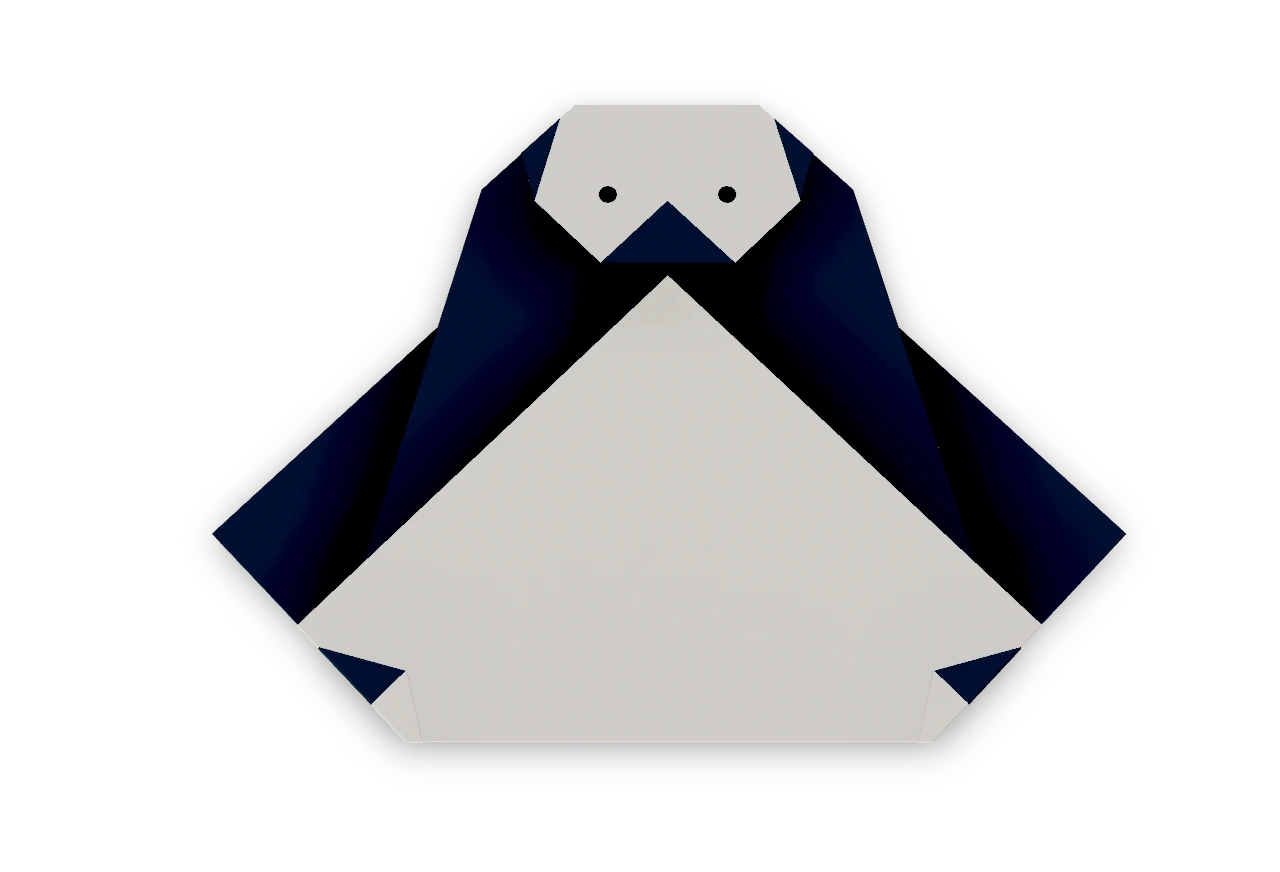
An Origami Tutor penguin: a flat penguin seen from the front, with a tapered body, white chest, spread dark flippers and a pointed beak. Folded from one square without cuts.
- You need
- One square of thin origami paper, dark on one side. A pen for the eyes. No scissors or glue.
- Start
- Start dark side up, with one corner pointing up. The white reverse will become the chest.
- Tips
- Leave the white chest visible between the two side folds.
- Keep both flipper folds the same size.
Your model is ready
The penguin is folded. Press the model flat with the white chest facing forward between the dark flippers. Draw two small eyes on the white face, one on either side of the beak. The penguin with a white chest, spread dark flippers and a small beak.

Step-by-step diagrams
Steps 1–5
- 1
Mark the middle
Bring the left corner to the right, press and open.
- 2
Narrow the left side
Fold the left corner behind along the slanted line. Leave the body narrow at the head and wider at the belly.
- 3
Narrow the right side
Fold the right corner behind along the slanted line. Leave the body narrow at the head and wider at the belly.
- 4
Reach the flipper flaps
Turn the penguin over to reach the two loose side flaps.
- 5
Spread the left flipper
Fold the loose point back out along the slanted line so its end sticks out beyond the side of the body.
Steps 6–10
- 6
Spread the right flipper
Fold the loose point back out along the slanted line so its end sticks out beyond the side of the body.
- 7
Show the front
Turn the penguin back over, leaving both flippers spread beside the body.
- 8
Show the white belly
Fold the bottom point up, a little above the middle. The white diamond is the belly and the dark flaps frame its sides.
- 9
Make the white face
Fold the top point down across a level line to make a small white face above the belly.
- 10
Make the beak
Fold the very end of the white face back up. The dark point is the beak.
Steps 11–14
- 11
Round the left side of the head
Fold the small top corner behind along the short diagonal line. Leave the white face and the beak visible.
- 12
Round the right side of the head
Fold the small top corner behind along the short diagonal line. Leave the white face and the beak visible.
- 13
Round the left foot
Fold the bottom left corner behind a little, keeping the white belly in front.
- 14
Round the right foot
Fold the bottom right corner behind a little, keeping the white belly in front.
- ✓
Finish
The penguin is folded. Press the model flat with the white chest facing forward between the dark flippers. Draw two small eyes on the white face, one on either side of the beak. The penguin with a white chest, spread dark flippers and a small beak.
Fold next
House ↗
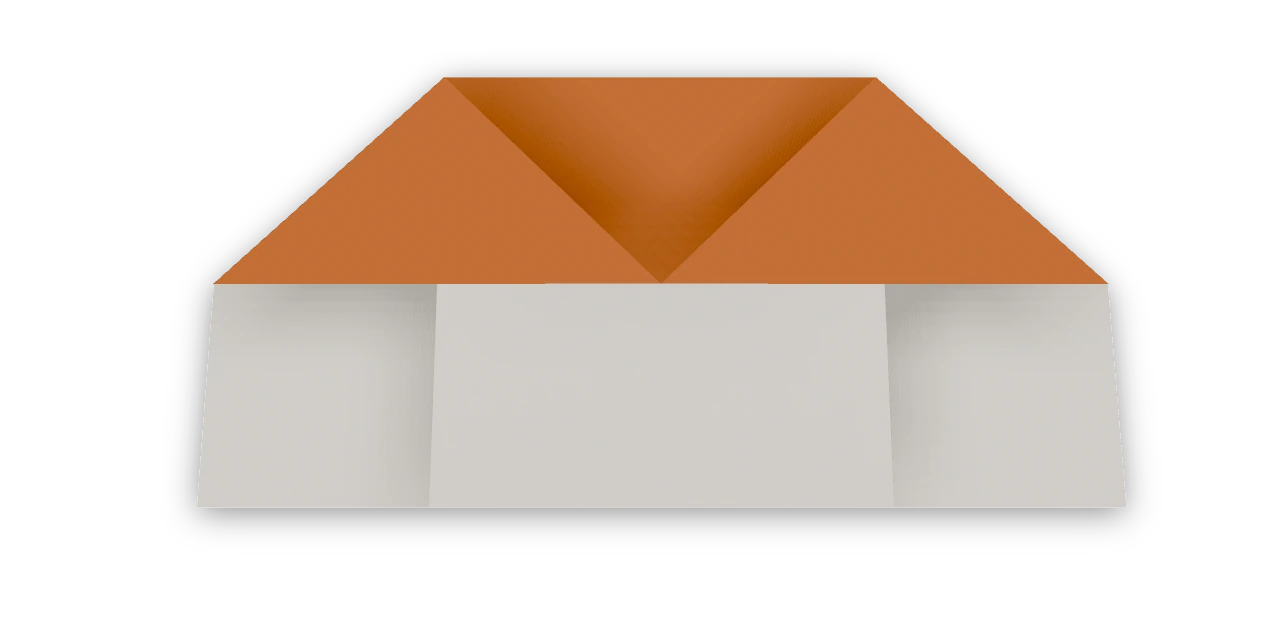
The traditional flat house from Froebel's paper folding, with a long roof and two gate pockets.
Christmas tree ↗
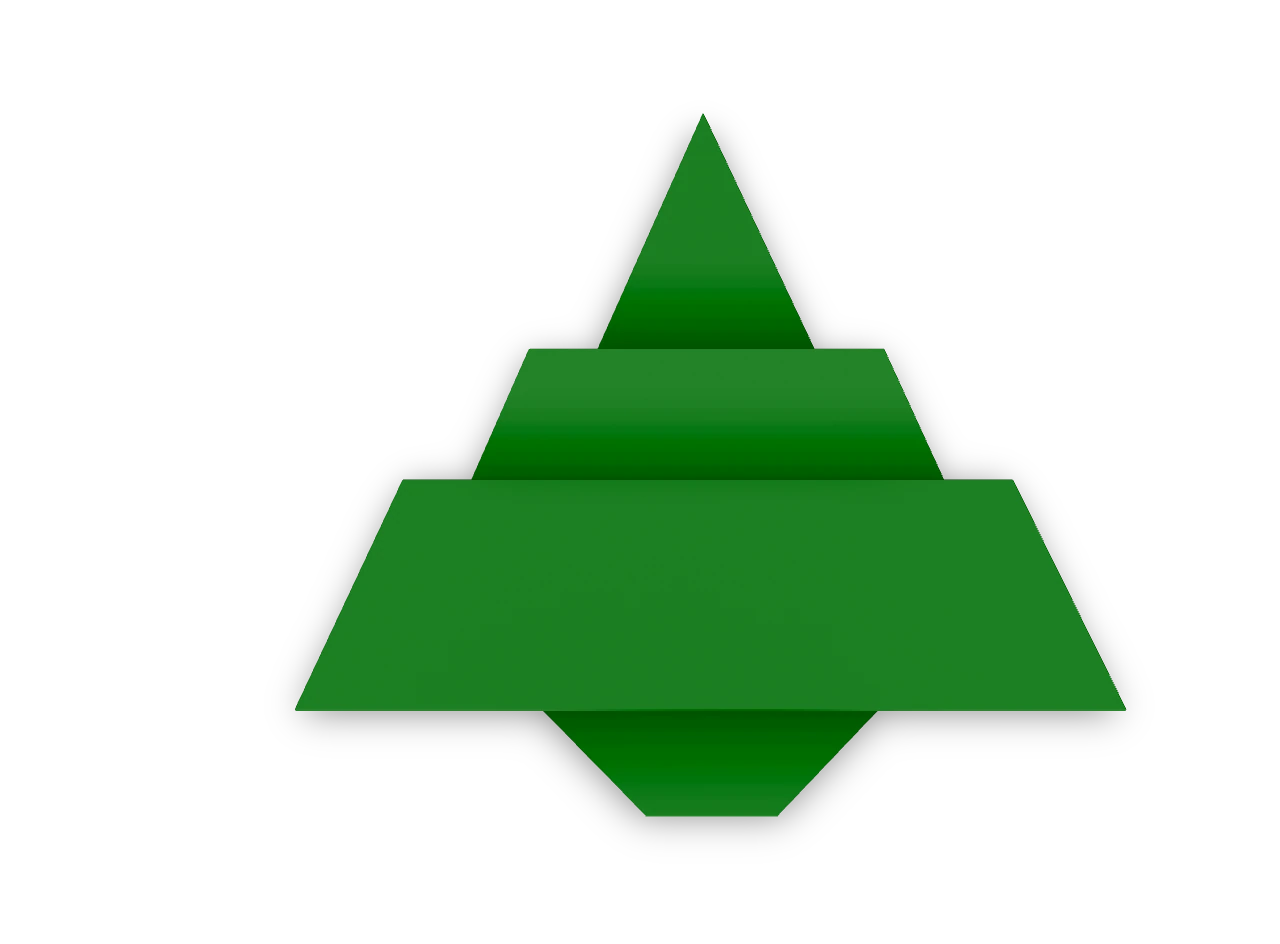
An Origami Tutor Christmas tree with three stepped tiers and a short trunk. Folded from one square of green paper with a kite fold and two pleats; no cuts or glue.

Snowy mountain ↗
An Origami Tutor mountain with a white snowy peak in just two folds, from one square. The very first model for young children.

Snowflake ↗
An Origami Tutor snowflake of six long, thin points round a white middle. Each point is a narrow kite folded from a small square in seven easy folds. Twelve smaller narrow kites make the side branches; a small folded white cap covers the joined ends.