How to make an origami phone stand
Origami Phone Stand: try all 5 steps in the 3D player. Turn and replay every move. Print the complete diagram sheet or save it as PDF.
An Origami Tutor phone cradle folded from one rectangle. Equal rear panels meet above a short base to make a triangular brace. The final fold raises the front lip. No cuts, glue or separate display phone are used.
- You need
- One 18 × 9 cm rectangle of paper. A ruler helps place the three guides. No glue or scissors.
- Start
- Begin with one 18 × 9 cm rectangle, a long edge horizontal. Both sides of the paper are the same colour.
- Tips
- Make the two long rear panels equal so their free edge meets the base.
- Press the three guides accurately before raising the paper.
Finish
The folded cradle has a sloping back, triangular brace and front lip. Keep the free rear edge aligned with the base.


Step-by-step diagrams
- 1
Mark the front lip
Crease a line 1.44 cm from the left short edge, then reopen it.
- 2
Mark the back fold
Measure 6.48 cm from the left edge. Crease straight across the width and reopen.
- 3
Mark the rear brace
Make the last guide 12.24 cm from the left edge and reopen. The two long rear panels are equal.
- 4
Raise the triangular brace
Hold the short base panel flat. Raise the two equal rear panels along their guides until the free edge meets the front edge of the base.
- 5
Raise the retaining lip
Fold the short front strip upright along its guide. It forms a lip in front of the sloping back.
- ✓
Finish
The folded cradle has a sloping back, triangular brace and front lip. Keep the free rear edge aligned with the base.
Fold next

Paper lantern ↗
The traditional flat paper lantern, with a wide middle and two rectangular ends. The same fold was called a muff or short-sleeved shirt in European kindergarten books.

Star ↗
An Origami Tutor eight-pointed star made from eight equal folded triangles. Every gold point is long and sharp, with a deep notch between its neighbours. Three folds make each ray; a little glue holds their overlapping bases together.
Paper Christmas tree ↗
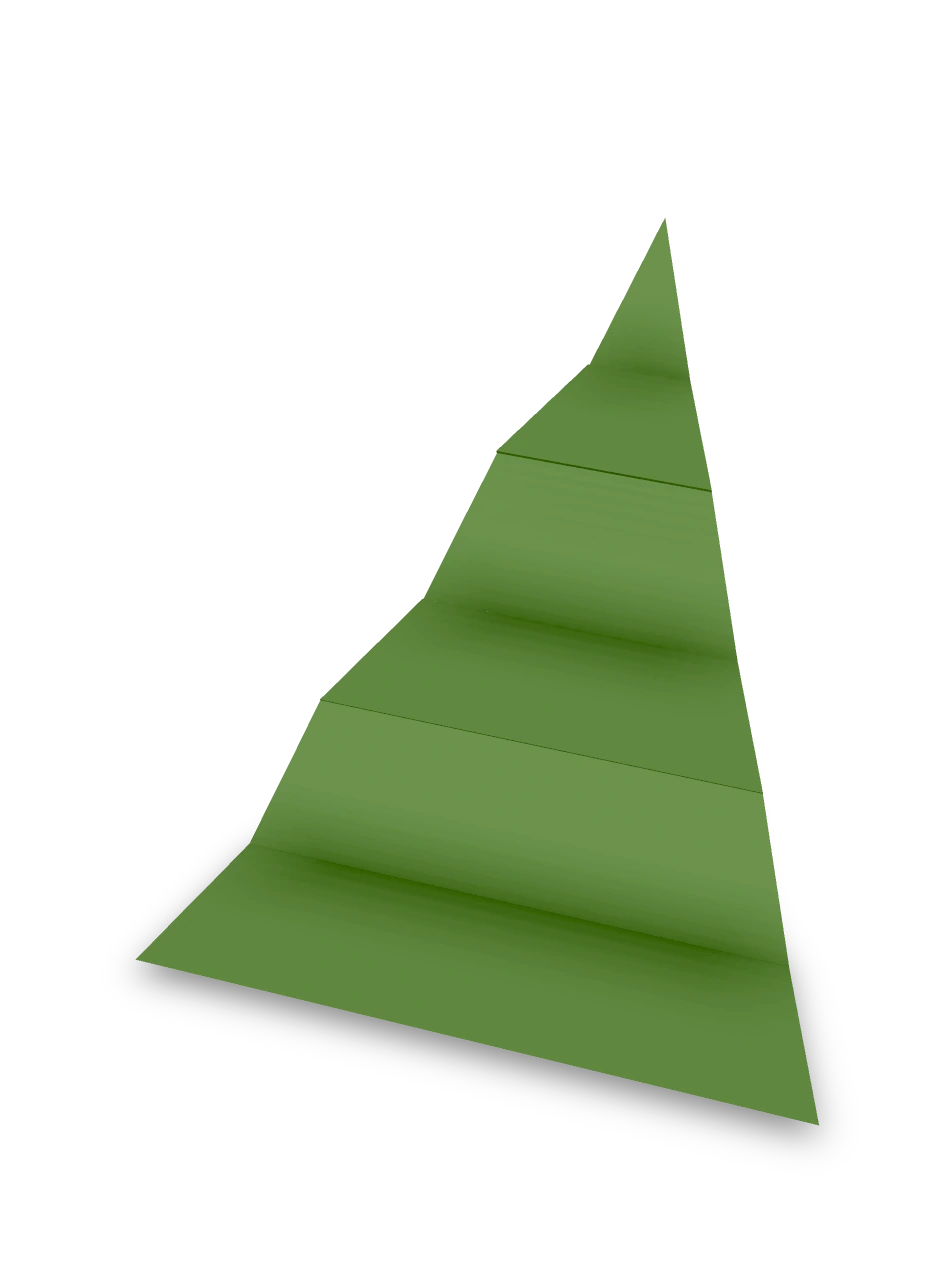
An accordion Christmas tree with a pointed top, broad base and six pleated panels. Cut a triangle from a green rectangle, fold the pleats and open them into a zigzag decoration.

Christmas tree ↗
An Origami Tutor Christmas tree with three stepped tiers and a short trunk. Folded from one square of green paper with a kite fold and two pleats; no cuts or glue.