How to make an origami rose
Origami Rose: try all 60 steps in the 3D player. Turn and replay every move. Print the complete diagram sheet or save it as PDF.
An Origami Tutor modular rose: four red squares, each with its corners raised as petals, nest inside one another, turned so every ring of petals stands between the petals of the ring outside it. The steepest, smallest square closes into the bud, and a pointed green strip makes two leaves underneath.
- You need
- Four red paper squares (15, 10.5, 7.2 and 5 cm), one 27 × 6.3 cm green strip, a ruler, a pencil, scissors to cut the pieces and a little paper glue.
- Start
- Cut four squares of thin red paper, coloured on both sides, 15, 10.5, 7.2 and 5 cm across, and a 27 × 6.3 cm strip of green paper. Lay each one flat with its edges level and the red side you like best facing up.
- Tips
- Crease each corner sharply before raising it, so every petal stands on a clean hinge.
- Glue only the flat middles. Petals that stay free can be set at their angle after the glue dries.
- Thin paper about 70 gsm keeps the small inner squares crisp.
Your model is ready
Your origami rose is ready. Let the glue dry, then ease any petal that leans back into its ring.


Step-by-step diagrams
Steps 1–7
- 1
Blunt the large square's top left tip
Mark 15 mm from the top left corner along both edges and fold the tip behind on the line between the marks. It rounds the end of a petal.
- 2
Blunt the large square's top right tip
Mark 15 mm from the top right corner along both edges and fold the tip behind on the line between the marks. It rounds the end of a petal.
- 3
Blunt the large square's bottom right tip
Mark 15 mm from the bottom right corner along both edges and fold the tip behind on the line between the marks. It rounds the end of a petal.
- 4
Blunt the large square's bottom left tip
Mark 15 mm from the bottom left corner along both edges and fold the tip behind on the line between the marks. It rounds the end of a petal.
- 5
Crease the large square's top left petal
Fold the top left corner to the middle of the 15 cm square and unfold it. The petal will stand up on this crease.
- 6
Crease the large square's top right petal
Fold the top right corner to the middle of the 15 cm square and unfold it. The petal will stand up on this crease.
- 7
Crease the large square's bottom right petal
Fold the bottom right corner to the middle of the 15 cm square and unfold it. The petal will stand up on this crease.
Steps 8–14
- 8
Crease the large square's bottom left petal
Fold the bottom left corner to the middle of the 15 cm square and unfold it. The petal will stand up on this crease.
- 9
Crease the large square's top left petal end
Mark 33 mm from the top left corner along both edges, fold the corner over on the line between the marks and unfold it.
- 10
Crease the large square's top right petal end
Mark 33 mm from the top right corner along both edges, fold the corner over on the line between the marks and unfold it.
- 11
Crease the large square's bottom right petal end
Mark 33 mm from the bottom right corner along both edges, fold the corner over on the line between the marks and unfold it.
- 12
Crease the large square's bottom left petal end
Mark 33 mm from the bottom left corner along both edges, fold the corner over on the line between the marks and unfold it.
- 13
Blunt the 10.5 cm square's top left tip
Mark 11 mm from the top left corner along both edges and fold the tip behind on the line between the marks. It rounds the end of a petal.
- 14
Blunt the 10.5 cm square's top right tip
Mark 11 mm from the top right corner along both edges and fold the tip behind on the line between the marks. It rounds the end of a petal.
Steps 15–21
- 15
Blunt the 10.5 cm square's bottom right tip
Mark 11 mm from the bottom right corner along both edges and fold the tip behind on the line between the marks. It rounds the end of a petal.
- 16
Blunt the 10.5 cm square's bottom left tip
Mark 11 mm from the bottom left corner along both edges and fold the tip behind on the line between the marks. It rounds the end of a petal.
- 17
Crease the 10.5 cm square's top left petal
Fold the top left corner to the middle of the 10.5 cm square and unfold it. The petal will stand up on this crease.
- 18
Crease the 10.5 cm square's top right petal
Fold the top right corner to the middle of the 10.5 cm square and unfold it. The petal will stand up on this crease.
- 19
Crease the 10.5 cm square's bottom right petal
Fold the bottom right corner to the middle of the 10.5 cm square and unfold it. The petal will stand up on this crease.
- 20
Crease the 10.5 cm square's bottom left petal
Fold the bottom left corner to the middle of the 10.5 cm square and unfold it. The petal will stand up on this crease.
- 21
Crease the 10.5 cm square's top left petal end
Mark 23 mm from the top left corner along both edges, fold the corner over on the line between the marks and unfold it.
Steps 22–28
- 22
Crease the 10.5 cm square's top right petal end
Mark 23 mm from the top right corner along both edges, fold the corner over on the line between the marks and unfold it.
- 23
Crease the 10.5 cm square's bottom right petal end
Mark 23 mm from the bottom right corner along both edges, fold the corner over on the line between the marks and unfold it.
- 24
Crease the 10.5 cm square's bottom left petal end
Mark 23 mm from the bottom left corner along both edges, fold the corner over on the line between the marks and unfold it.
- 25
Blunt the 7.2 cm square's top left tip
Mark 7 mm from the top left corner along both edges and fold the tip behind on the line between the marks. It rounds the end of a petal.
- 26
Blunt the 7.2 cm square's top right tip
Mark 7 mm from the top right corner along both edges and fold the tip behind on the line between the marks. It rounds the end of a petal.
- 27
Blunt the 7.2 cm square's bottom right tip
Mark 7 mm from the bottom right corner along both edges and fold the tip behind on the line between the marks. It rounds the end of a petal.
- 28
Blunt the 7.2 cm square's bottom left tip
Mark 7 mm from the bottom left corner along both edges and fold the tip behind on the line between the marks. It rounds the end of a petal.
Steps 29–35
- 29
Crease the 7.2 cm square's top left petal
Fold the top left corner to the middle of the 7.2 cm square and unfold it. The petal will stand up on this crease.
- 30
Crease the 7.2 cm square's top right petal
Fold the top right corner to the middle of the 7.2 cm square and unfold it. The petal will stand up on this crease.
- 31
Crease the 7.2 cm square's bottom right petal
Fold the bottom right corner to the middle of the 7.2 cm square and unfold it. The petal will stand up on this crease.
- 32
Crease the 7.2 cm square's bottom left petal
Fold the bottom left corner to the middle of the 7.2 cm square and unfold it. The petal will stand up on this crease.
- 33
Crease the 7.2 cm square's top left petal end
Mark 16 mm from the top left corner along both edges, fold the corner over on the line between the marks and unfold it.
- 34
Crease the 7.2 cm square's top right petal end
Mark 16 mm from the top right corner along both edges, fold the corner over on the line between the marks and unfold it.
- 35
Crease the 7.2 cm square's bottom right petal end
Mark 16 mm from the bottom right corner along both edges, fold the corner over on the line between the marks and unfold it.
Steps 36–42
- 36
Crease the 7.2 cm square's bottom left petal end
Mark 16 mm from the bottom left corner along both edges, fold the corner over on the line between the marks and unfold it.
- 37
Crease the 5 cm square's top left petal
Fold the top left corner to the middle of the 5 cm square and unfold it. The petal will stand up on this crease.
- 38
Crease the 5 cm square's top right petal
Fold the top right corner to the middle of the 5 cm square and unfold it. The petal will stand up on this crease.
- 39
Crease the 5 cm square's bottom right petal
Fold the bottom right corner to the middle of the 5 cm square and unfold it. The petal will stand up on this crease.
- 40
Crease the 5 cm square's bottom left petal
Fold the bottom left corner to the middle of the 5 cm square and unfold it. The petal will stand up on this crease.
- 41
Crease the 5 cm square's top left petal end
Mark 11 mm from the top left corner along both edges, fold the corner over on the line between the marks and unfold it.
- 42
Crease the 5 cm square's top right petal end
Mark 11 mm from the top right corner along both edges, fold the corner over on the line between the marks and unfold it.
Steps 43–49
- 43
Crease the 5 cm square's bottom right petal end
Mark 11 mm from the bottom right corner along both edges, fold the corner over on the line between the marks and unfold it.
- 44
Crease the 5 cm square's bottom left petal end
Mark 11 mm from the bottom left corner along both edges, fold the corner over on the line between the marks and unfold it.
- 45
Point the leaf strip's top left corner
Fold the top left corner behind, from the middle of the short end to 45 mm along the long edge, so the end of the strip comes to a point.
- 46
Point the leaf strip's bottom left corner
Fold the bottom left corner behind, from the middle of the short end to 45 mm along the long edge, so the end of the strip comes to a point.
- 47
Point the leaf strip's top right corner
Fold the top right corner behind, from the middle of the short end to 45 mm along the long edge, so the end of the strip comes to a point.
- 48
Point the leaf strip's bottom right corner
Fold the bottom right corner behind, from the middle of the short end to 45 mm along the long edge, so the end of the strip comes to a point.
- 49
Raise the large square's petals
Lift all four petals halfway up, about 45°, keeping the middle diamond flat. Then bend each petal's end outward on its tip crease until it lies level.
Steps 50–56
- 50
Raise the 10.5 cm square's petals
Lift the four petals steeply, about two thirds of the way upright, and bend each end outward on its tip crease.
- 51
Raise the 7.2 cm square's petals
Stand the four petals almost upright and bend their ends a little outward.
- 52
Raise the 5 cm square's petals
Stand the four petals upright and bend their pointed ends inward on the tip crease, so they close over the middle like a bud.
- 53
Set the 10.5 cm square in the middle
Turn the 10.5 cm square so its petals point between the petals around it, and lower it into the middle until its flat diamond lies on the diamond beneath.
- 54
Glue the 10.5 cm square down
Put a dab of glue under its middle and press it onto the large square's middle.
- 55
Set the 7.2 cm square in the middle
Turn the 7.2 cm square so its petals point between the petals around it, and lower it into the middle until its flat diamond lies on the diamond beneath.
- 56
Glue the 7.2 cm square down
Put a dab of glue under its middle and press it down with a pencil end.
Steps 57–60
- 57
Set the 5 cm square in the middle
Turn the 5 cm square so its petals point between the petals around it, and lower it into the middle until its flat diamond lies on the diamond beneath.
- 58
Glue the 5 cm square down
Put a dab of glue under its middle and press it down with a pencil end.
- 59
Slide the leaves under the rose
Lay the green strip under the large square, crossing it from corner to corner, so a pointed leaf shows beyond two opposite petals.
- 60
Glue the leaves on
Glue the middle of the strip under the middle of the large square.
- ✓
Finish
Your origami rose is ready. Let the glue dry, then ease any petal that leans back into its ring.
Fold next

Lily / iris ↗
The traditional four-petal lily, also called an iris, folded from a square with a tapered flower cup.
Tulip blossom ↗
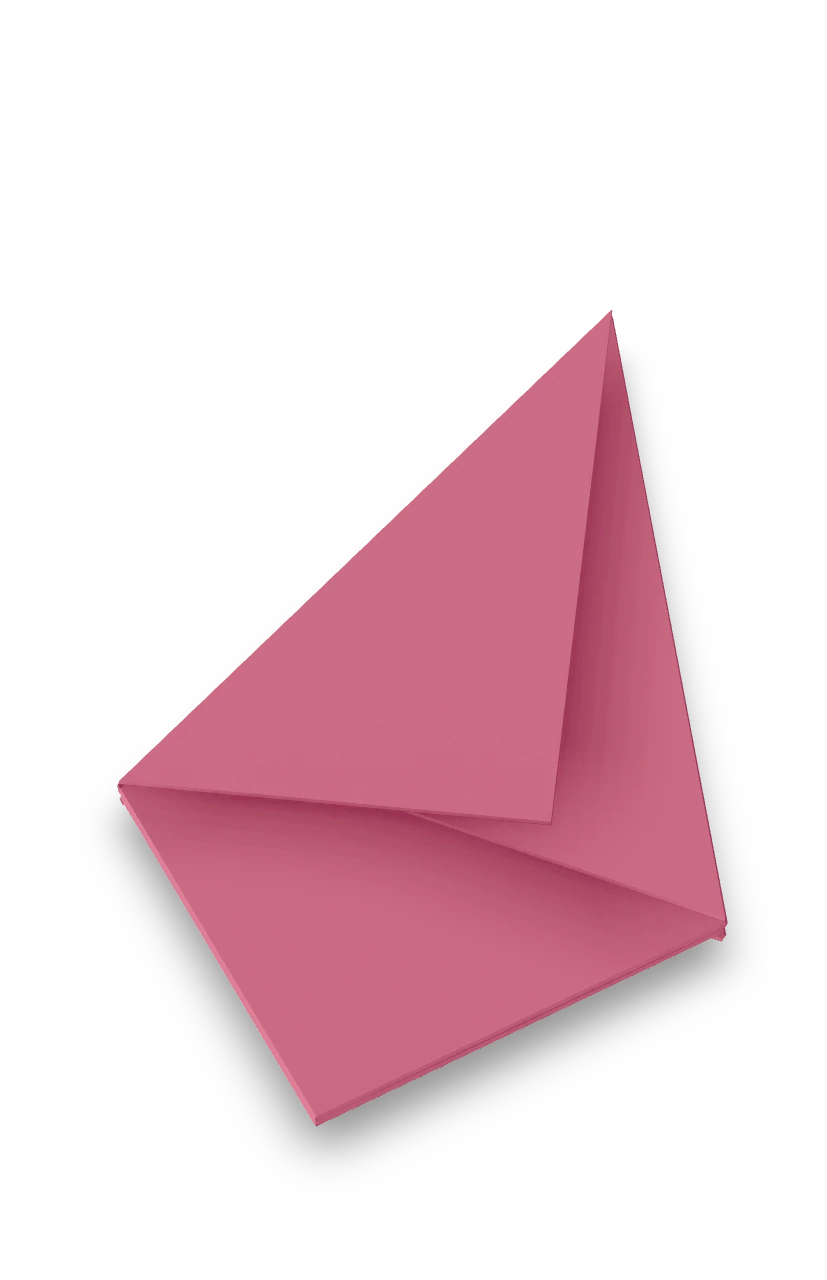
The common inflatable paper tulip blossom, folded from a waterbomb base and locked on both sides.
Lotus ↗
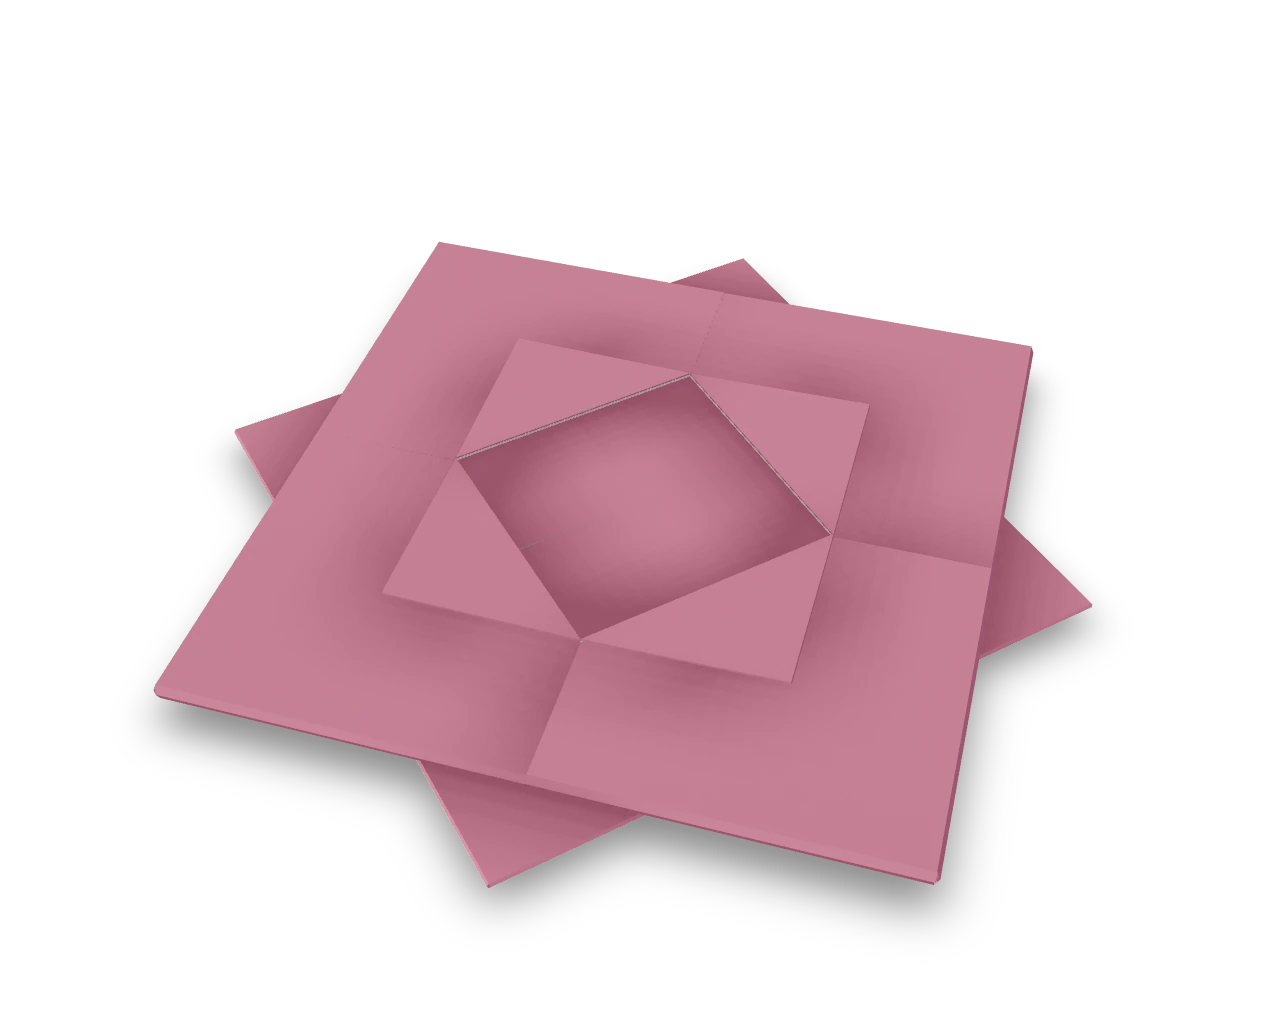
A multi-tiered Origami Tutor origami lotus with two rounds of front blintz folds, a rear blintz, folded outer sepals, and four raised center petals.

Tulip stem ↗
A flat Origami Tutor flower stem with a long pointed leaf branching upward from its base. Six ordinary folds turn one green square into a stalk and leaf. No cuts or glue.