How to make a paper snowman craft
Paper Snowman Craft: try all 11 steps in the 3D player. Turn and replay every move. Print the complete diagram sheet or save it as PDF.
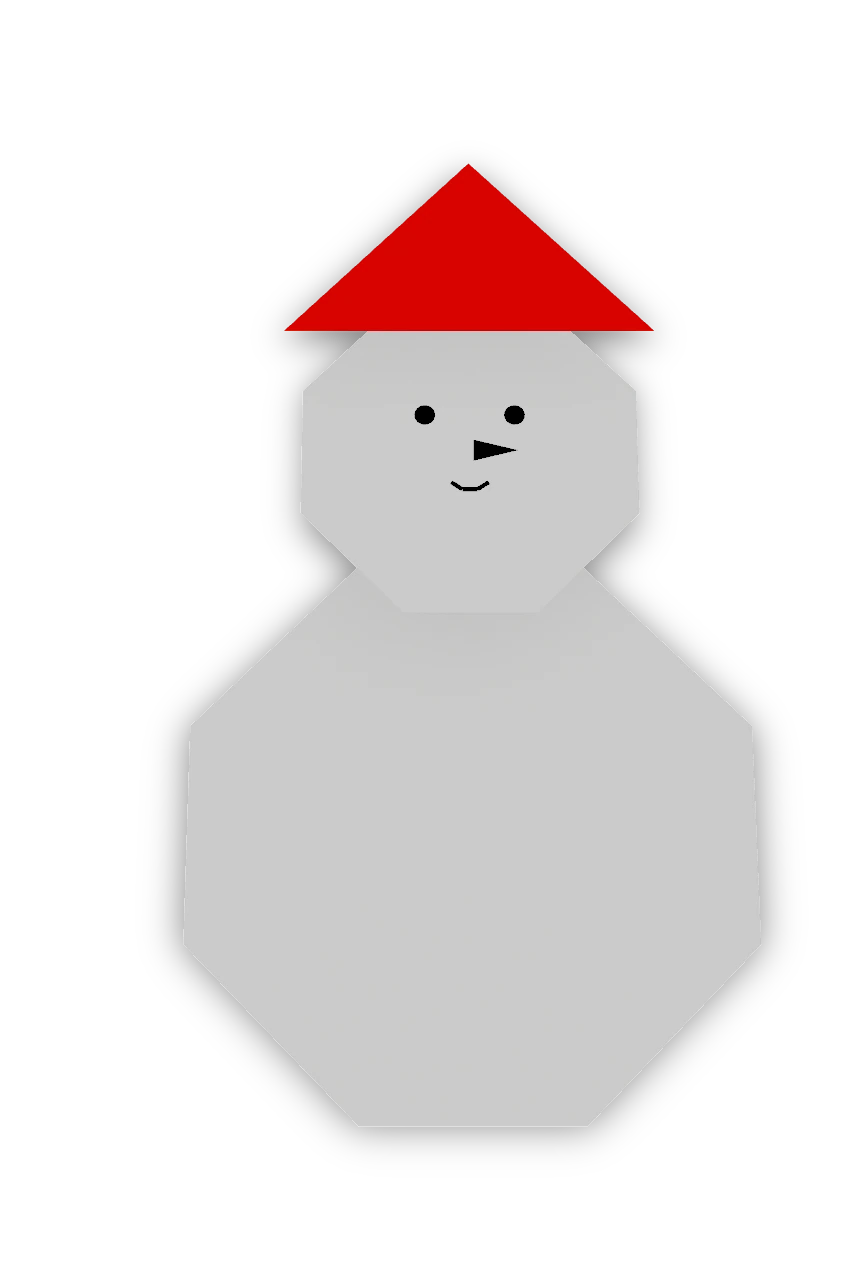
An Origami Tutor snowman for young children: a round white body and head from two squares with their corners folded behind, and a pointed red hat folded from a small square. A Christmas card decoration.
- You need
- One 6 × 6 in and one 4 × 4 in square of white paper, one 3 × 3 in square of red paper that is white on the back, a little glue and a pen.
- Start
- Use a big white square for the body, a smaller white square, about three fifths as wide, for the head, and a small red square, half as wide, for the hat. Start the two white squares with a corner pointing up. Start the red square white side up, with a corner pointing up.
- Tips
- Fold the corners behind by the same amount on each square so the circles look round.
- Glue a strip of red paper round the neck for a scarf.
Draw the snowman’s face
Glue the pieces together. Draw two dot eyes, a little pointed carrot nose and a smile on the head below the hat. The finished snowman, with his round head and pointed hat.

Step-by-step diagrams
Steps 1–6
- 1
Fold the body's top corner behind
Fold the top corner of the square behind, a little way in, so its point is cut off.
- 2
Fold the body's right corner behind
Fold the next corner behind the same way.
- 3
Fold the body's bottom corner behind
Fold the next corner behind the same way.
- 4
Fold the body's left corner behind
Fold the next corner behind the same way.
- 5
Fold the head's top corner behind
Fold the top corner of the square behind, a little way in, so its point is cut off.
- 6
Fold the head's right corner behind
Fold the next corner behind the same way.
Steps 7–11
- 7
Fold the head's bottom corner behind
Fold the next corner behind the same way.
- 8
Fold the head's left corner behind
Fold the next corner behind the same way.
- 9
Fold the hat in half
Fold the bottom corner of the small red square up to the top corner, making a red triangle with its point up.
- 10
Put the head on the body
Set the round head on top of the body, overlapping its top edge a little.
- 11
Put the hat on the head
Set the red hat on the head, its base a little wider than the top of the head.
- ✓
Finish
Glue the pieces together. Draw two dot eyes, a little pointed carrot nose and a smile on the head below the hat. The finished snowman, with his round head and pointed hat.
Fold next

Star ↗
An Origami Tutor eight-pointed star made from eight equal folded triangles. Every gold point is long and sharp, with a deep notch between its neighbours. Three folds make each ray; a little glue holds their overlapping bases together.
Paper Christmas tree ↗
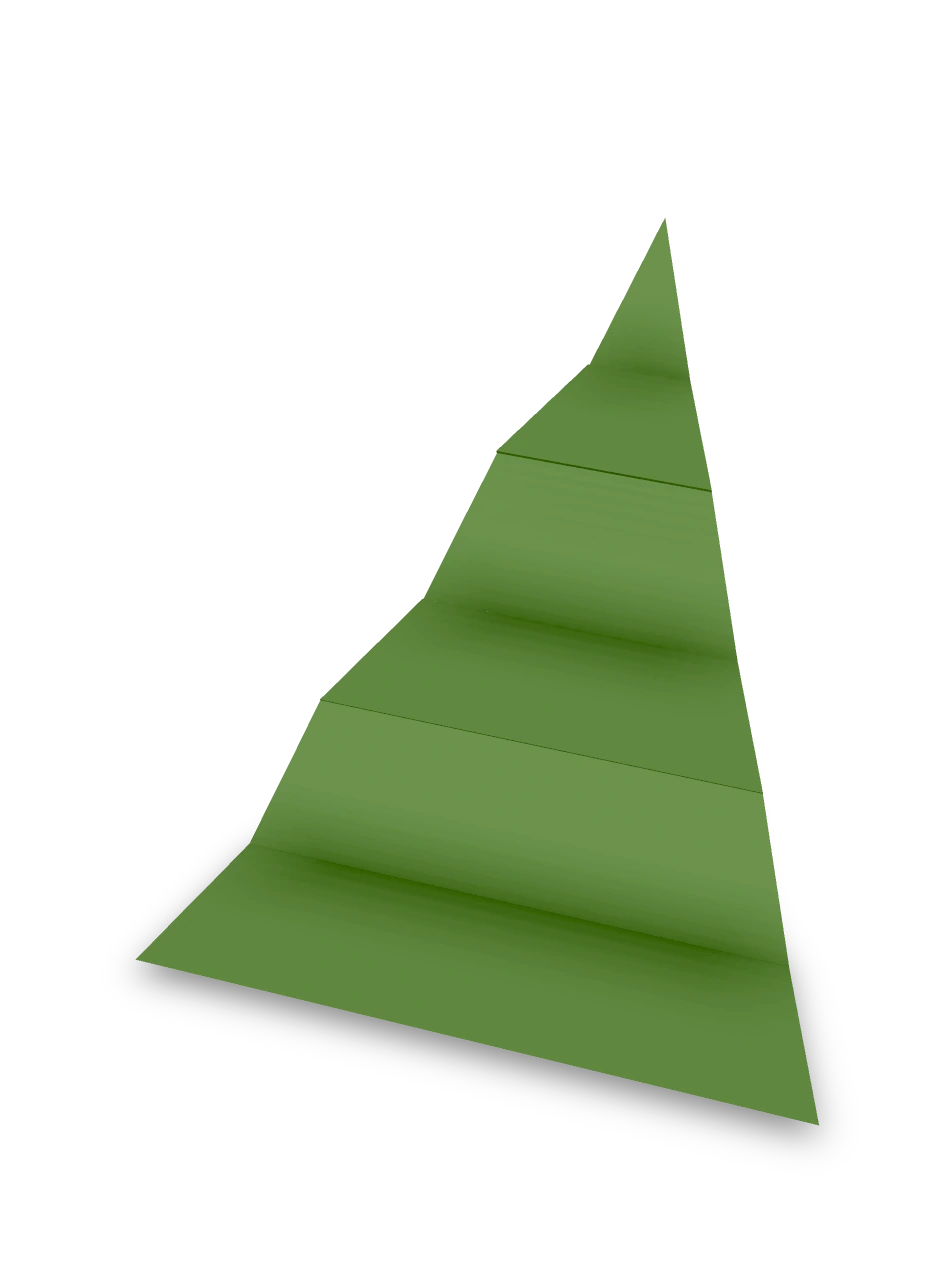
An accordion Christmas tree with a pointed top, broad base and six pleated panels. Cut a triangle from a green rectangle, fold the pleats and open them into a zigzag decoration.
Christmas tree ↗
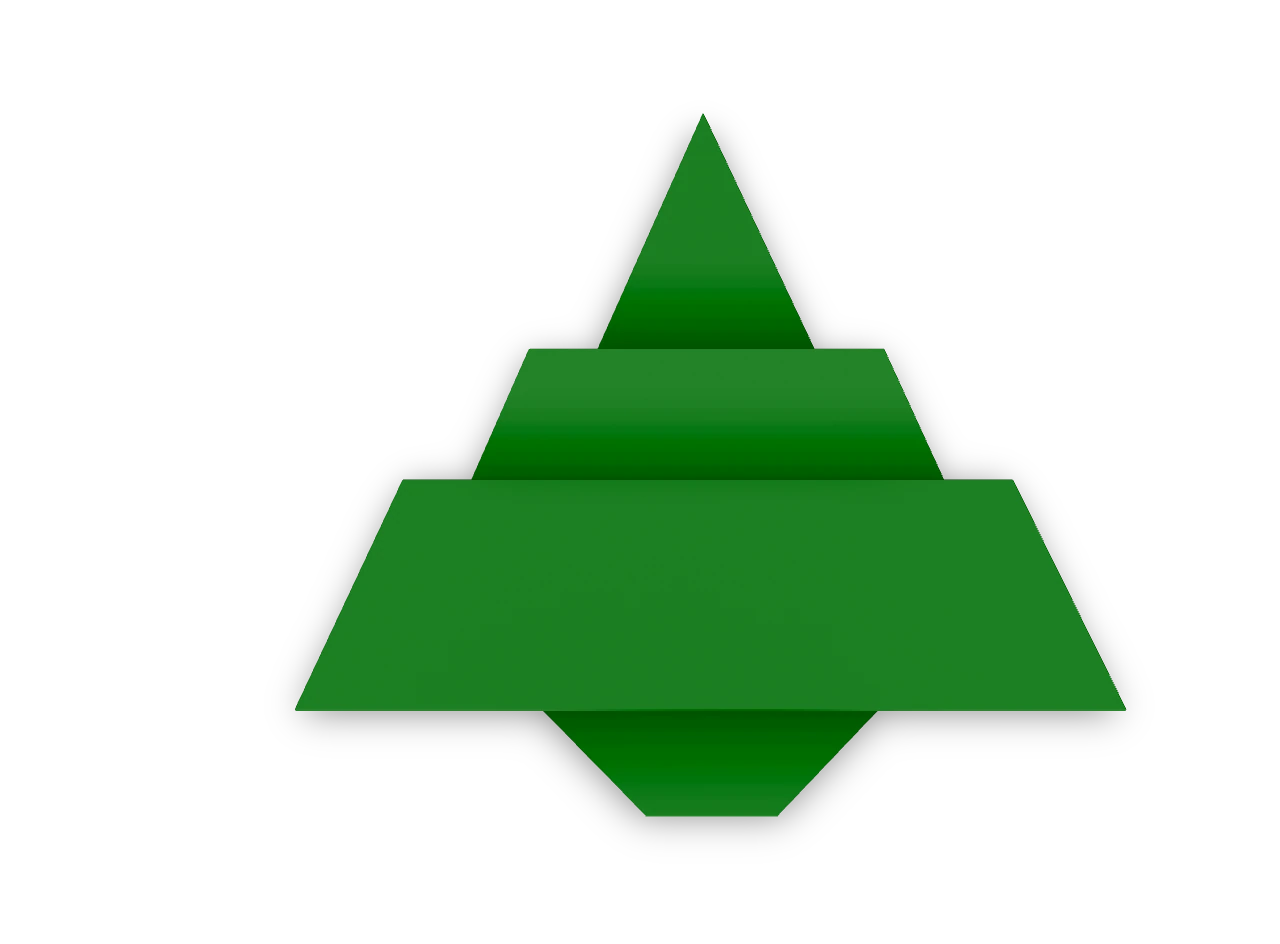
An Origami Tutor Christmas tree with three stepped tiers and a short trunk. Folded from one square of green paper with a kite fold and two pleats; no cuts or glue.
Bell ↗
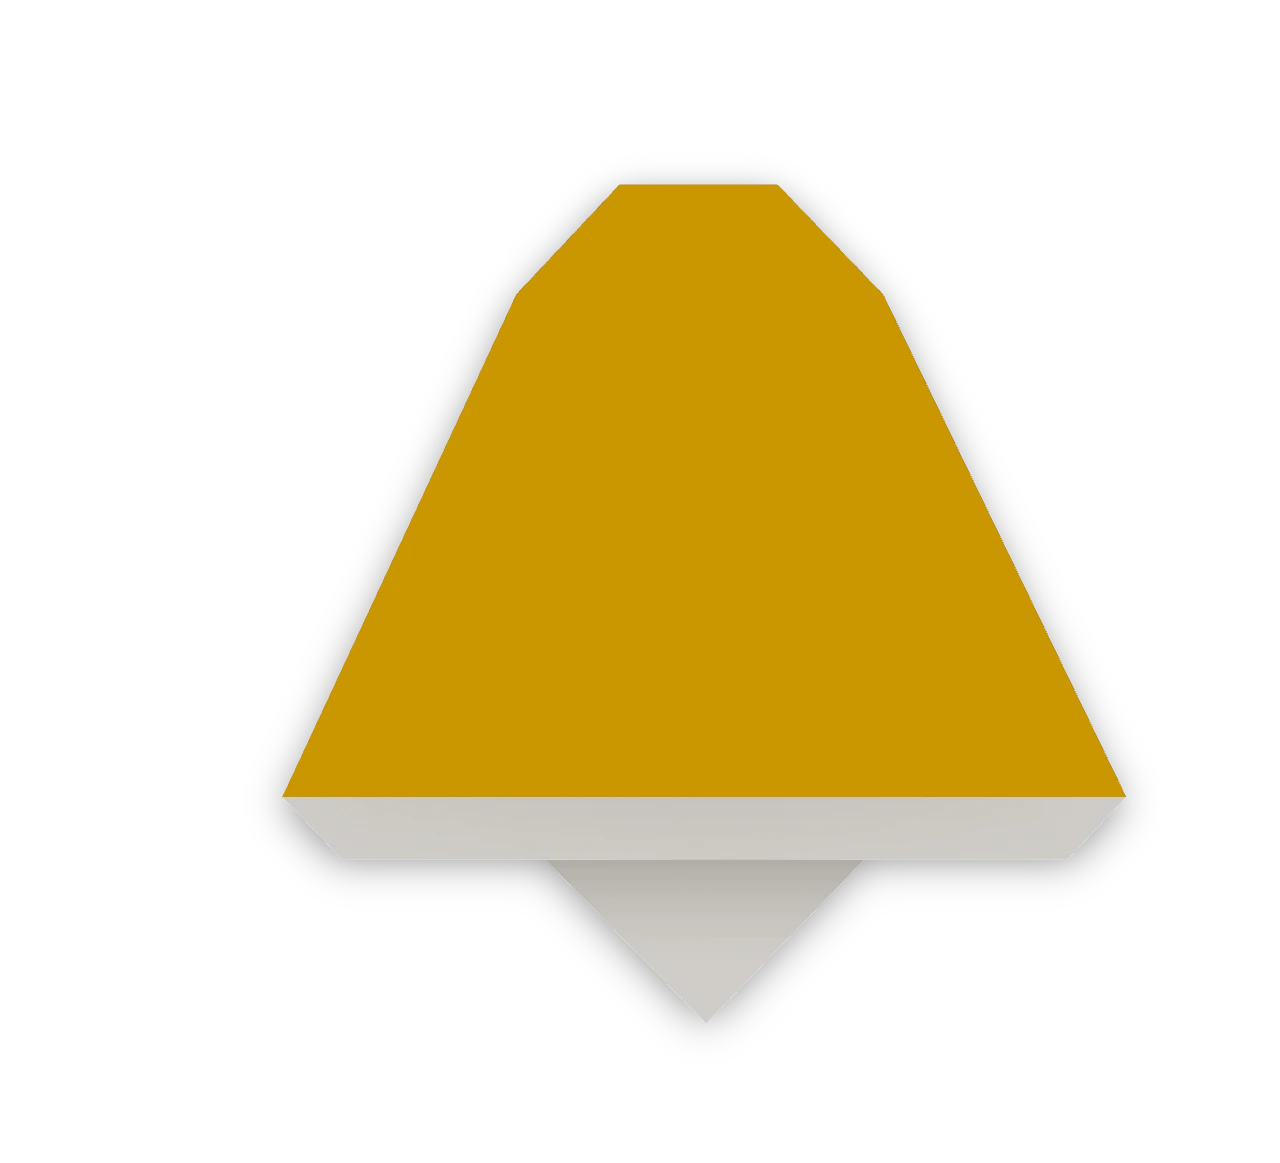
An Origami Tutor Christmas bell: a gold or red bell with a flat crown, a flared lip, a white rim and a clapper hanging below. Folded flat from one square; a quick ornament for the tree or a card.