How to make an origami spinner
Origami Spinner: try all 19 steps in the 3D player. Turn and replay every move. Print the complete diagram sheet or save it as PDF.
Two windmills of different colors, laid one on the other and turned an eighth of a circle, make an eight-bladed spinner. Pinch the middle and twirl it.
- You need
- Two squares of thin origami paper in different colors and a little glue.
- Start
- Use two equal squares in different colors. Start both white side up with an edge at the top; the blades show the reverse color.
- Tips
- Fold the two windmills the same way so the blades turn together.
- Press every crease before laying the windmills together.
- Keep the glue to the middle square so the blades stay loose.
Your model is ready
Glue the two middle squares together and let the glue dry. Pinch the middle between your finger and thumb, give it a twist and let go: the eight blades spin like a top. The finished spinner, eight blades in two colors round a middle square.


Step-by-step diagrams
Steps 1–7
- 1
Mark the middle
Fold the right edge to the left edge, press, and open.
- 2
Fold the left gate
Bring the left edge to the middle crease.
- 3
Fold the right gate
Bring the right edge in to meet it. Keep both gates closed.
- 4
Prepare the upper end
Fold the top edge down to the middle of the strip, press, and open that end again.
- 5
Prepare the lower end
Fold the bottom edge up to the middle of the strip, press, and open it again.
- 6
Spread the lower end
Draw the two corners inside the lower end sideways. Lower their shared rear panel along the end guide and press both pockets into one broad trapezoid. Keep the middle of the strip flat.
- 7
Spread the upper end
Draw the two corners inside the upper end sideways. Lower their shared rear panel along the end guide and press both pockets into one broad trapezoid. Keep the middle of the strip flat.
Steps 8–14
- 8
Raise the upper blade
Fold the upper right arm up along the diagonal that reaches the middle point.
- 9
Lower the opposite blade
Fold the lower left arm down along the matching diagonal. Four blades now point around the middle.
- 10
Mark the middle
Fold the right edge to the left edge, press, and open.
- 11
Fold the left gate
Bring the left edge to the middle crease.
- 12
Fold the right gate
Bring the right edge in to meet it. Keep both gates closed.
- 13
Prepare the upper end
Fold the top edge down to the middle of the strip, press, and open that end again.
- 14
Prepare the lower end
Fold the bottom edge up to the middle of the strip, press, and open it again.
Steps 15–19
- 15
Spread the lower end
Draw the two corners inside the lower end sideways. Lower their shared rear panel along the end guide and press both pockets into one broad trapezoid. Keep the middle of the strip flat.
- 16
Spread the upper end
Draw the two corners inside the upper end sideways. Lower their shared rear panel along the end guide and press both pockets into one broad trapezoid. Keep the middle of the strip flat.
- 17
Raise the upper blade
Fold the upper right arm up along the diagonal that reaches the middle point.
- 18
Lower the opposite blade
Fold the lower left arm down along the matching diagonal. Four blades now point around the middle.
- 19
Lay the blue windmill on the red
Turn the blue windmill an eighth of a circle and lay it on the red one, middle square on middle square. The eight blades now point round the middle in two colors.
- ✓
Finish
Glue the two middle squares together and let the glue dry. Pinch the middle between your finger and thumb, give it a twist and let go: the eight blades spin like a top. The finished spinner, eight blades in two colors round a middle square.
Fold next
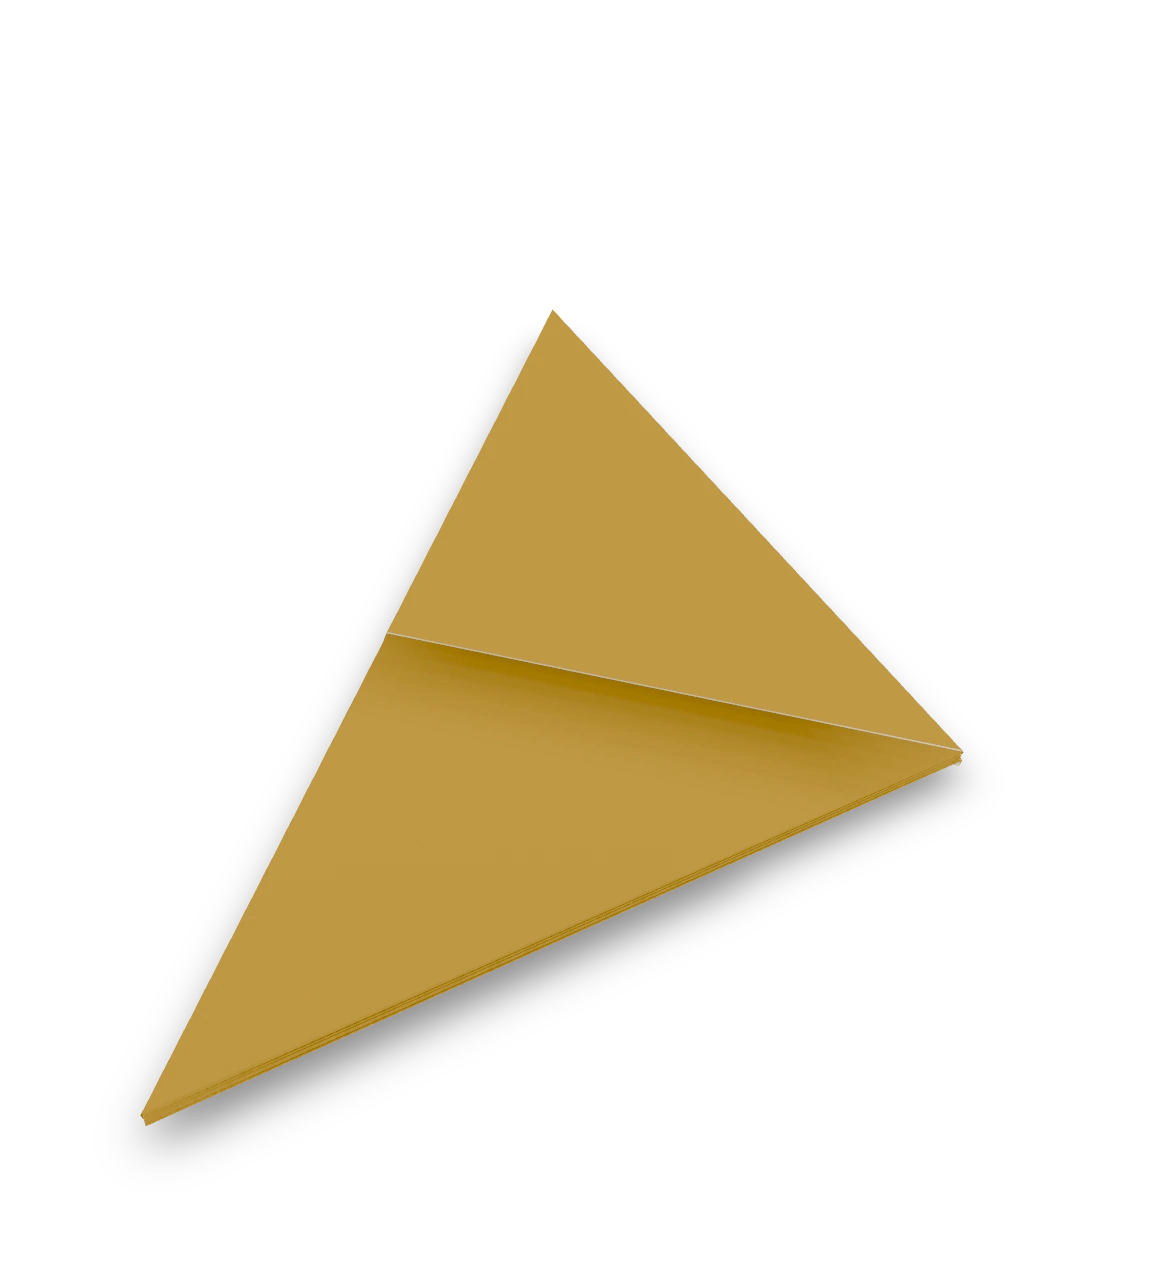
Paper banger ↗
The traditional single-pocket paper popper: fold a long rectangle into a triangle that pops when snapped downward.
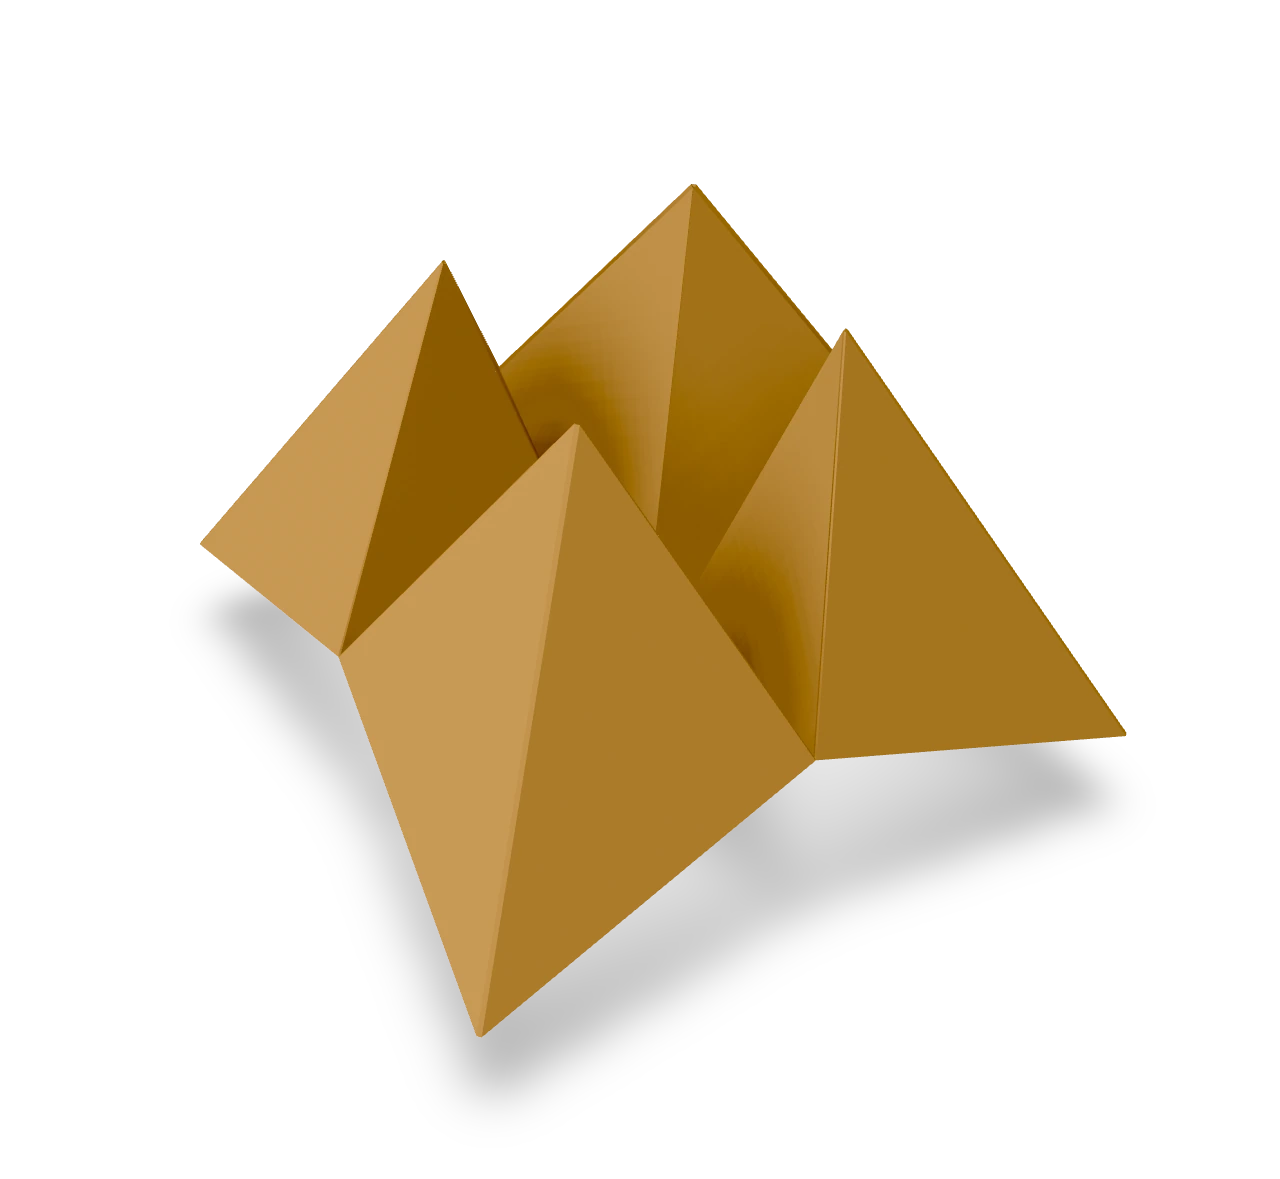
Fortune teller ↗
A fortune teller, or cootie catcher, is a paper choosing game worked by two thumbs and two forefingers. Two rounds of corner folds make the pockets; the last creases let them open in alternating directions.
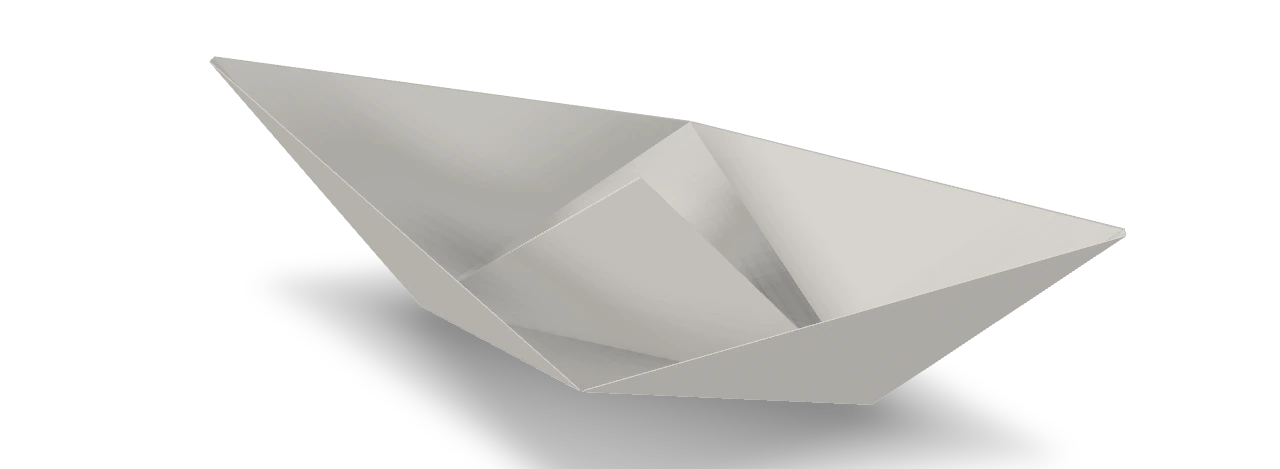
Paper boat ↗
The traditional paper boat, folded from a rectangle through a newspaper hat and two pockets.

Windmill ↗
Fold the traditional uncut, single-color pinwheel with four flat blades from one square.