How to make an origami star box
Origami Star Box: try all 35 steps in the 3D player. Turn and replay every move. Print the complete diagram sheet or save it as PDF.
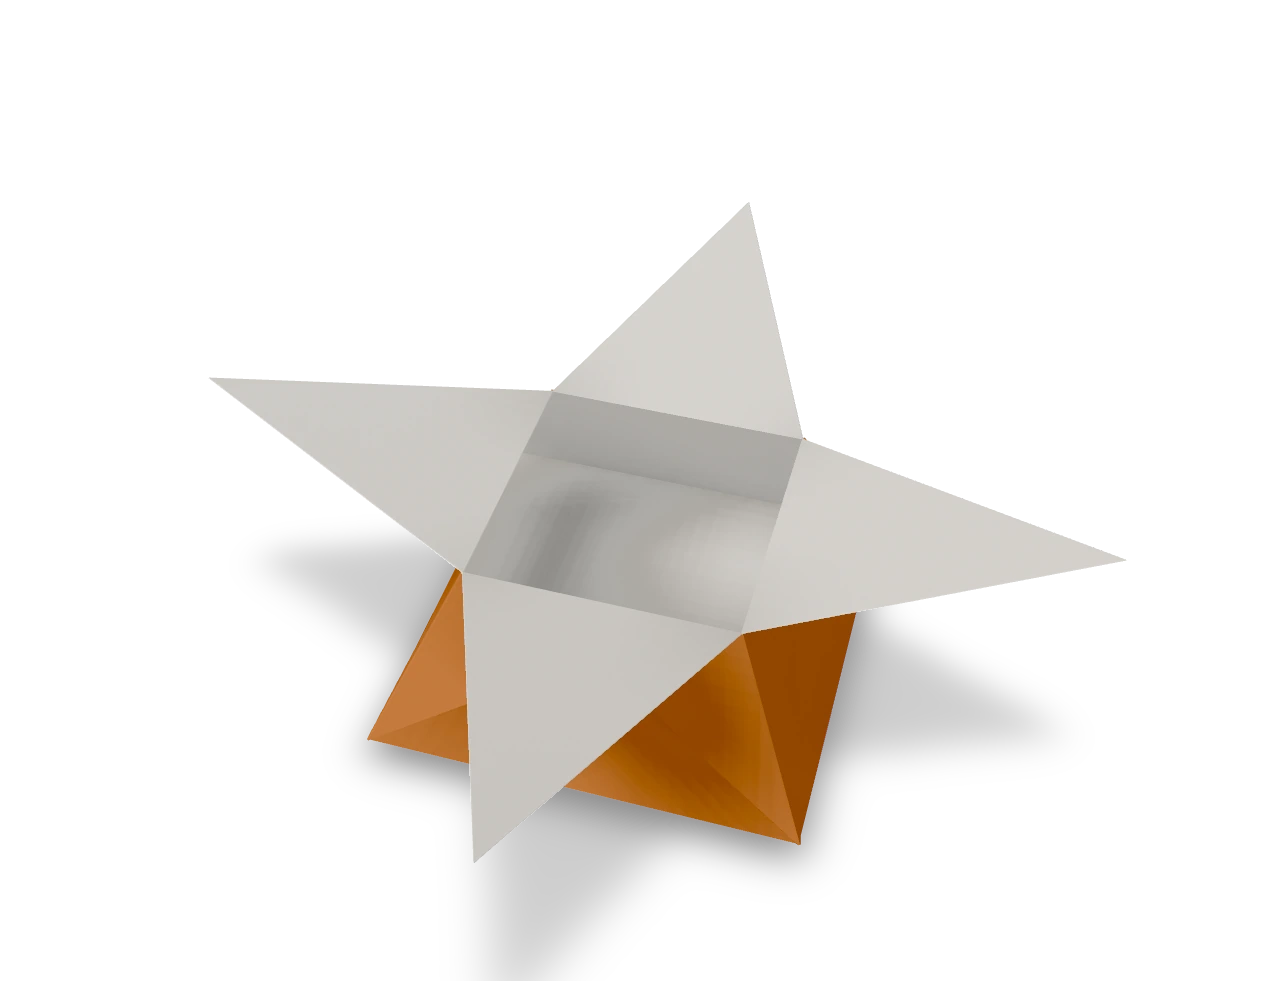
The traditional four-point star box, pictured in Japan in 1734, with a colored bowl and white points.
- You need
- One square of paper. No glue or scissors.
- Start
- Start colored side up, with a corner pointing up. The square base will show color; the later pocket folds expose the white points.
- Tips
- Keep the loose end at the top while making the pockets.
- Match each sloping edge to the middle before pressing its fold.
Your model is ready
Your star box is open: a square bowl with four white points around its rim. Use it for sweets, clips or small gifts.

Step-by-step diagrams
Steps 1–6
- 1
Crease a diagonal
Bring the top corner down to the bottom corner, press, and open.
- 2
Crease the other diagonal
Bring the left corner to the right corner, press, and open.
- 3
Turn over
Turn the paper over, keeping a corner pointing up.
- 4
Crease edge to edge
Fold the bottom-left edge up to the top-right edge, press, and open.
- 5
Crease the other way
Fold the bottom-right edge up to the top-left edge, press, and open.
- 6
Turn back
Turn the paper back over, keeping a corner pointing up.
Steps 7–12
- 7
Collapse into a square
Hold the bottom corner. Push the left and right corners in and down so the paper collapses along the creases into a small square, open end at the bottom.
- 8
Point the open end up
Turn the small square around in the page so the loose points are at the top.
- 9
Fold the upper left edge in (front)
Fold the upper left edge of the front flap to the vertical middle crease.
- 10
Fold the upper right edge in (front)
Fold the upper right edge to meet it at the middle.
- 11
Flatten the right pocket (front)
Lift the folded right flap, spread its two skins, and press its folded edge onto the sloping hinge. Flatten the pocket into a broad triangle.
- 12
Flatten the left pocket (front)
Lift the folded left flap, spread its two skins, and press its folded edge onto the sloping hinge. Flatten the pocket into a broad triangle.
Steps 13–18
- 13
Turn over
Turn the model over, keeping the loose points at the top.
- 14
Fold the upper left edge in (back)
Fold the upper left edge of the front flap to the vertical middle crease.
- 15
Fold the upper right edge in (back)
Fold the upper right edge to meet it at the middle.
- 16
Flatten the right pocket (back)
Lift the folded right flap, spread its two skins, and press its folded edge onto the sloping hinge. Flatten the pocket into a broad triangle.
- 17
Flatten the left pocket (back)
Lift the folded left flap, spread its two skins, and press its folded edge onto the sloping hinge. Flatten the pocket into a broad triangle.
- 18
Turn a page (back)
Fold the front right flap across to the left along the vertical middle, like turning a page.
Steps 19–24
- 19
Turn over
Turn the model over to turn the corresponding page behind.
- 20
Turn a page (front)
Fold the front right flap across to the left along the vertical middle, like turning a page.
- 21
Fold the upper left edge in (inner-front)
Fold the upper left edge of the front flap to the vertical middle crease.
- 22
Fold the upper right edge in (inner-front)
Fold the upper right edge to meet it at the middle.
- 23
Turn over
Turn the model over, keeping its tall point above.
- 24
Fold the upper left edge in (inner-back)
Fold the upper left edge of the front flap to the vertical middle crease.
Steps 25–30
- 25
Fold the upper right edge in (inner-back)
Fold the upper right edge to meet it at the middle.
- 26
Crease the floor line
Fold the bottom point up along the line between the two side corners, through every layer, and unfold it. This line becomes the edge of the square floor.
- 27
Fold the front point down
Fold the tall front point down across the face, along the line joining the tops of the two narrowing flaps.
- 28
Turn over
Turn the model over, keeping the folded point at the bottom.
- 29
Fold the back point down
Fold this face's tall point down in the same way.
- 30
Turn a page (third face)
Fold the front right flap across to the left along the vertical middle, like turning a page.
Steps 31–35
- 31
Fold the third point down
A new face with its point still up is in front. Fold its point down along the tops of its narrowing flaps.
- 32
Turn over
Turn the model over.
- 33
Turn a page (fourth face)
Fold the front right flap across to the left along the vertical middle, like turning a page.
- 34
Fold the fourth point down
Fold the last tall point down. All four points now lie folded down over the four faces.
- 35
Open the star box
Hold two opposite points and pull them gently apart while you push the bottom up from below. The bottom flattens into a square floor, the four walls lean in until their top corners meet, and the white points spread out around the rim.
- ✓
Finish
Your star box is open: a square bowl with four white points around its rim. Use it for sweets, clips or small gifts.
Fold next
Sanbo ↗
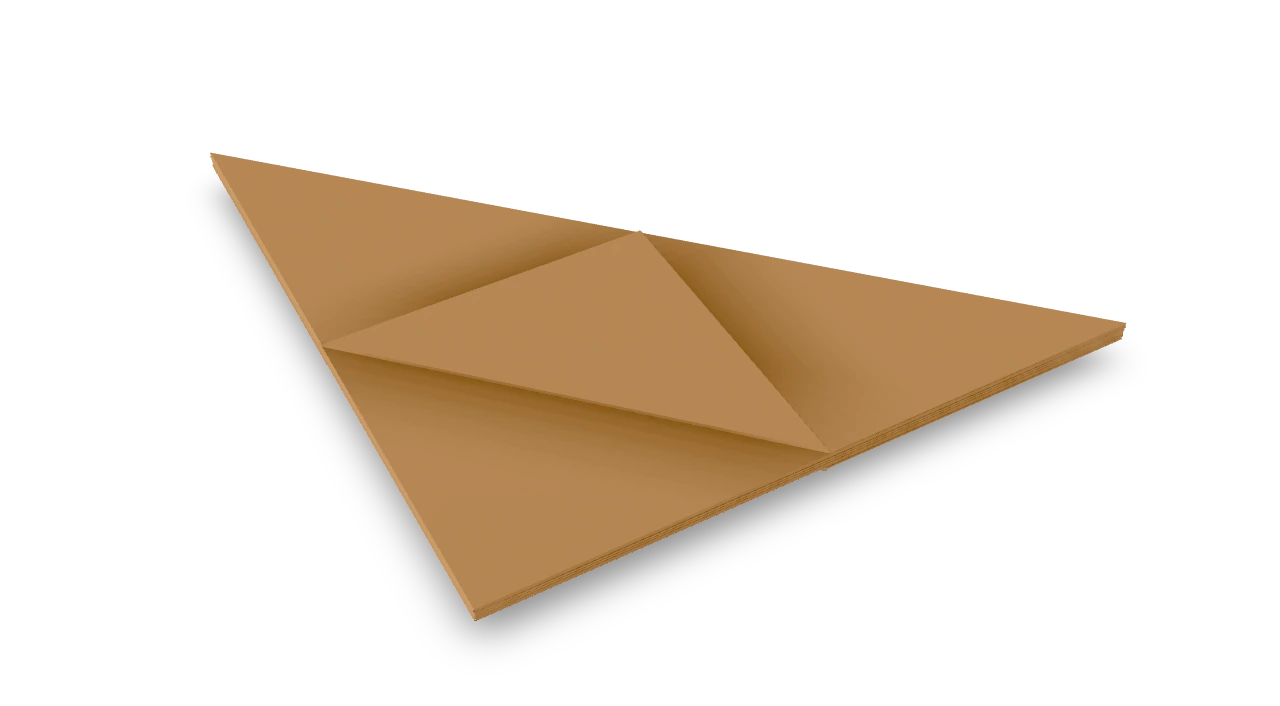
The traditional Japanese offering tray, with a square bowl and two broad side flaps, completed in a clean Origami Tutor sequence.
Japanese box ↗
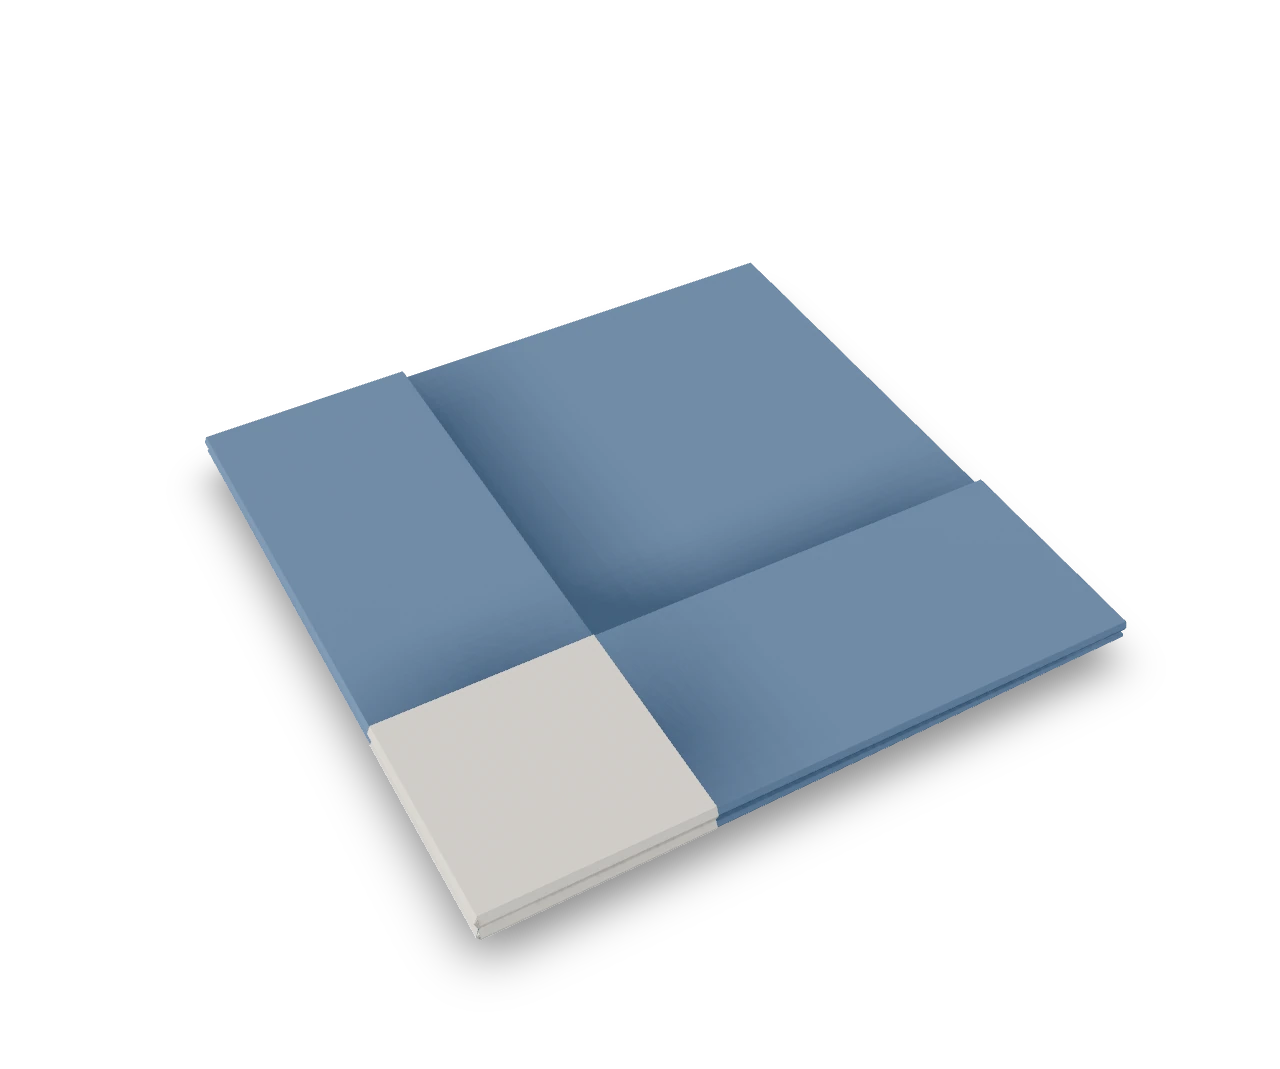
The winged Japanese box recorded in 1902 as La Boite Japonaise, prepared from a square base.
Candy box ↗
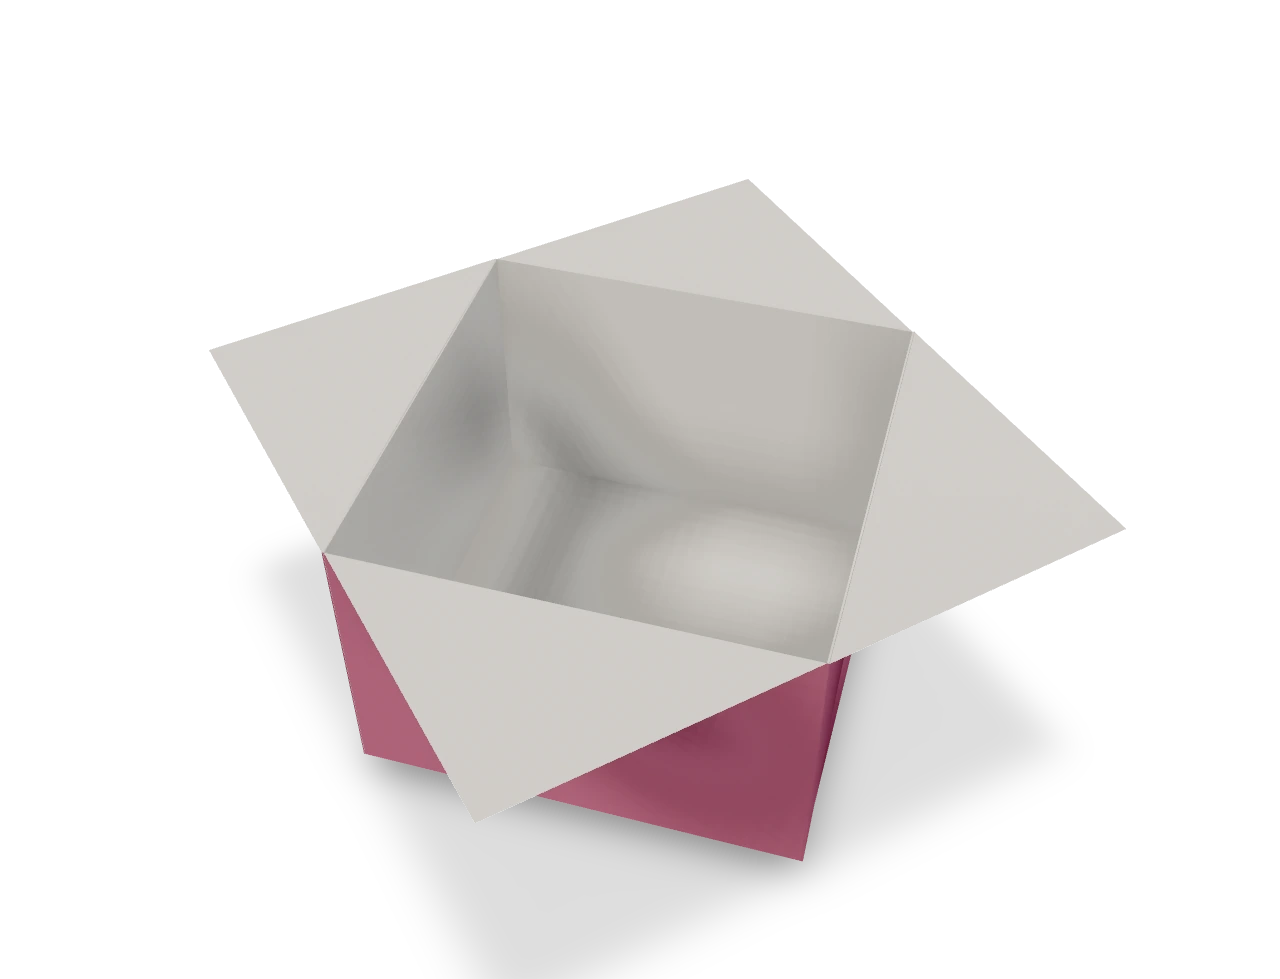
An Origami Tutor candy-tray design with a square bowl and four broad, outward-folded rims. Its corner pleats hold the walls together without cuts or glue.
Kikuzara ↗
The traditional Japanese chrysanthemum dish, with four pleated points around a shallow center, completed in a clean Origami Tutor sequence.