How to make a paper airplane with a tail
Paper Airplane with Tail: try all 10 steps in the 3D player. Turn and replay every move. Print the complete diagram sheet or save it as PDF.
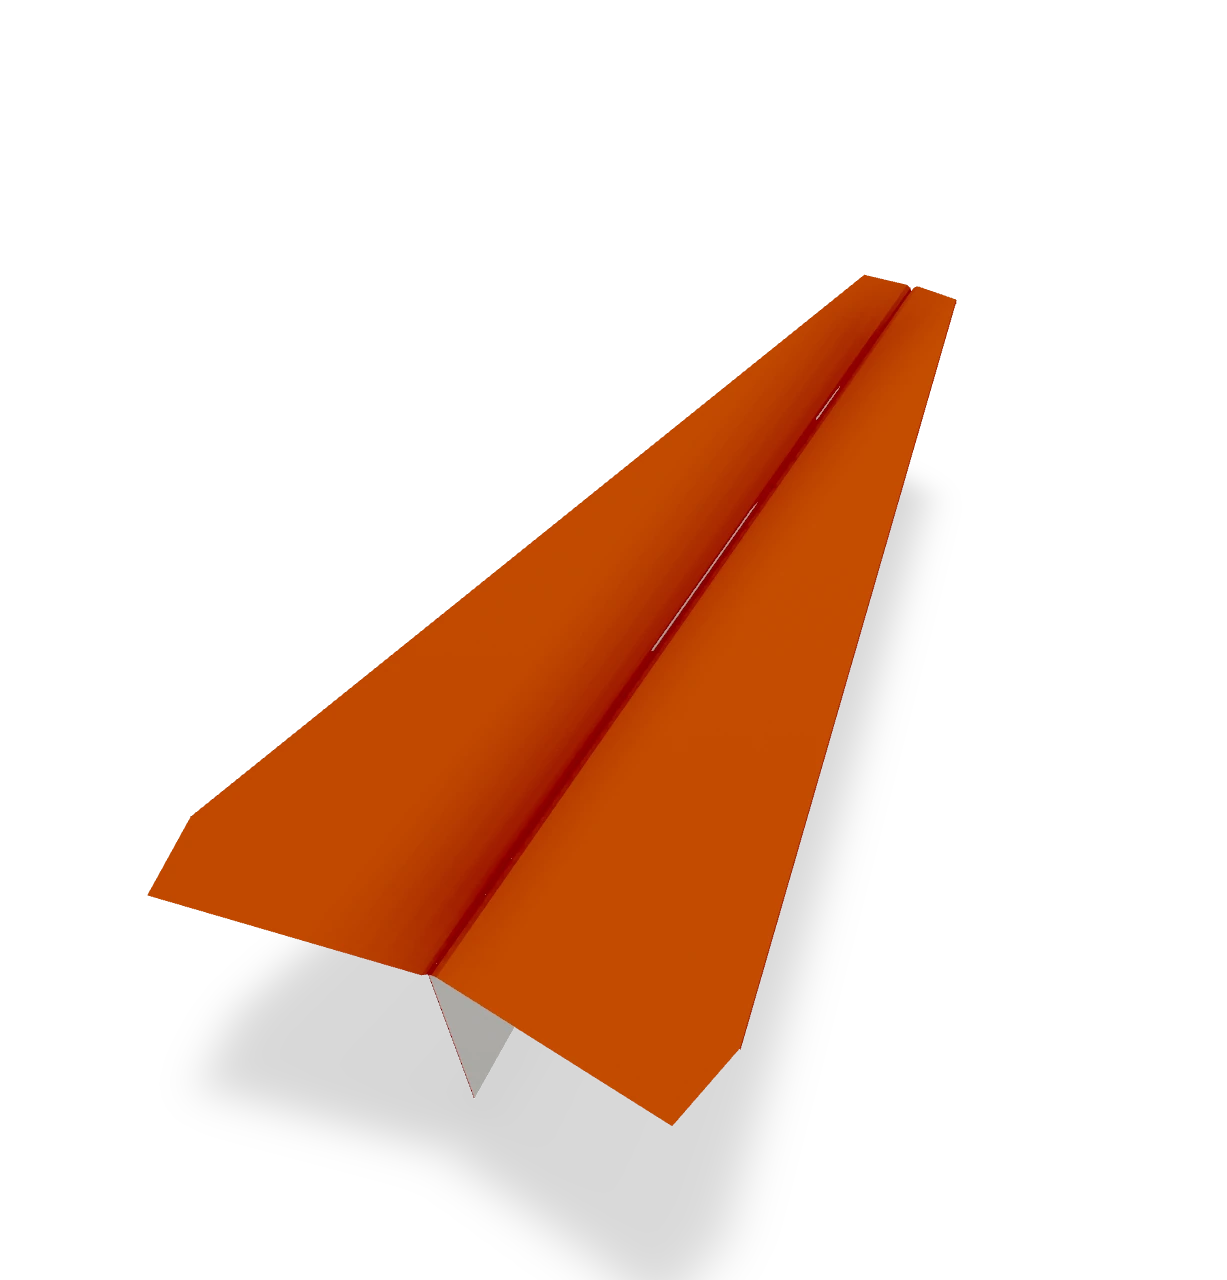
An Origami Tutor locked glider with a wide tail: a pointed nose locked shut, a main wing and a wide tailplane on a slim body, cut from one sheet. It glides long and straight.
- You need
- One sheet of letter paper (A4 works too) and scissors.
- Start
- Lay a sheet of letter paper in front of you, short edge at the top. You will also need scissors.
- Tips
- Cut the two sides alike: a plane with one smaller wing rolls toward it.
- If it dives, bend the back edges of the tailplane up a little; if it stalls, flatten them.
Your model is ready
The main wings and tailplanes are open. Hold the keel under the main wing and launch the glider gently and level.

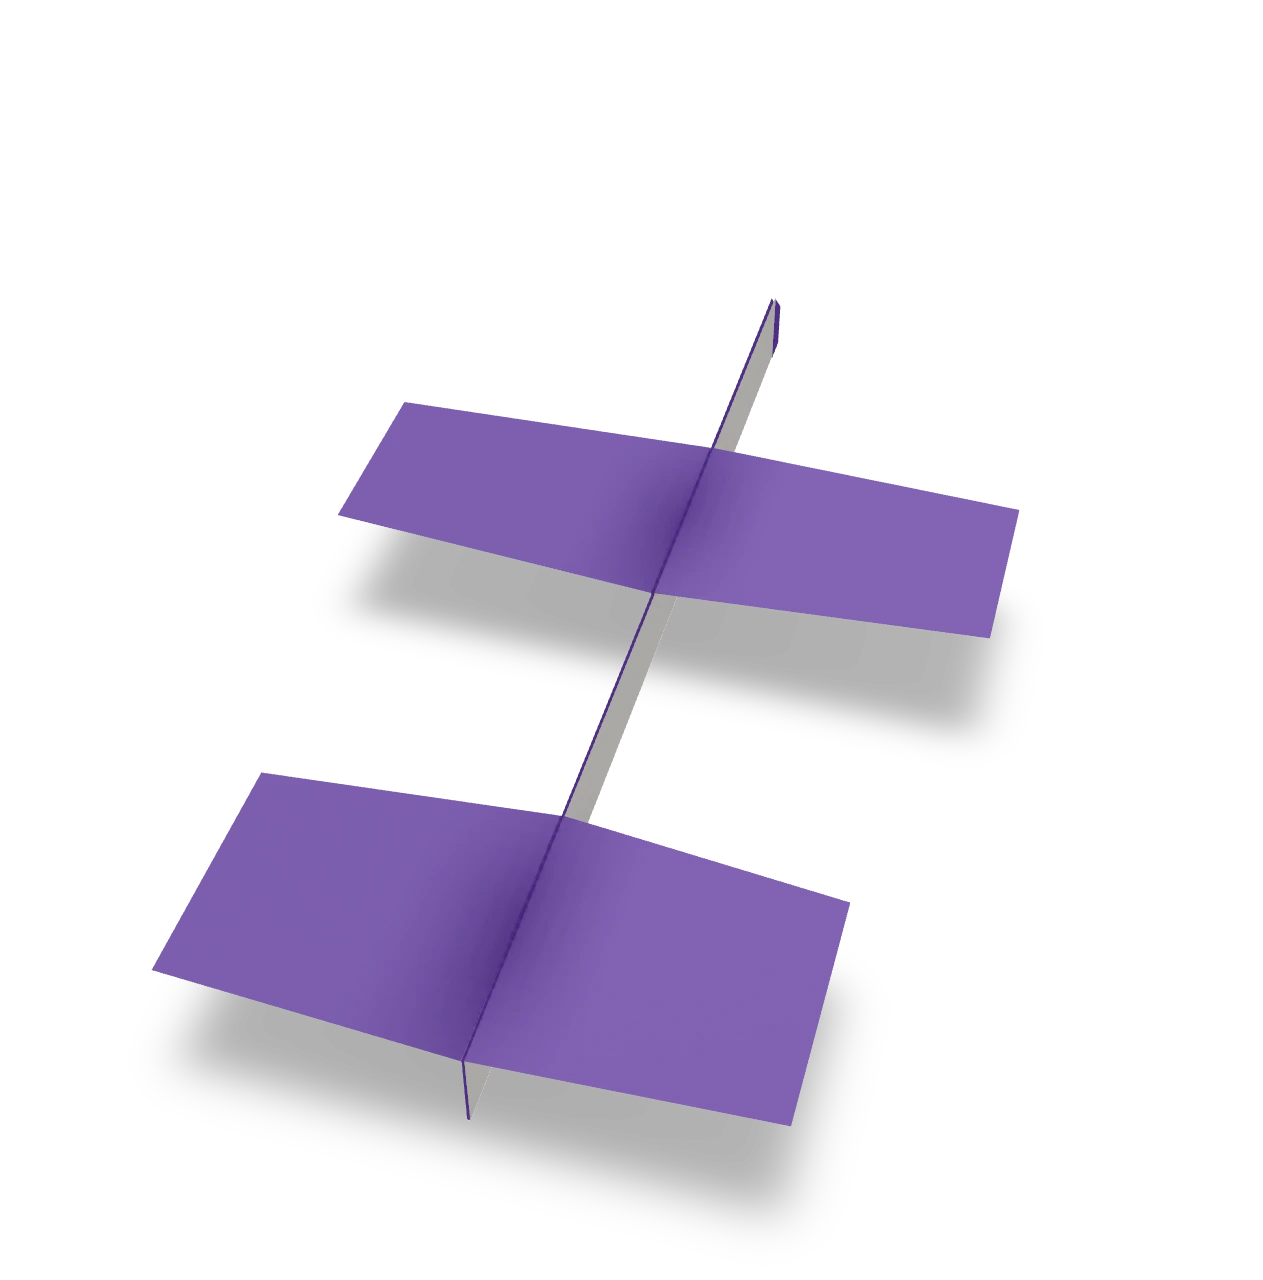
Step-by-step diagrams
- 1
Cut the left side
Start in the top edge about an inch left of the middle. Cut straight down for three and a half inches, then out and slightly down to a point almost four inches from the middle. Cut straight down for nearly two inches, back in to the strip, and down the strip for three inches. Cut out and slightly down for two and a half inches, then straight down to the bottom edge. Throw the left scrap away.
- 2
Cut the right side
Cut the right side the same way, the mirror image of the left.
- 3
Crease the middle
Fold the paper in half from left to right, crease it sharply, and open it again.
- 4
Fold the left corner in
Fold the top left corner of the body down so the top edge lies along the center crease.
- 5
Fold the right corner in
Fold the top right corner the same way. The top is now a point.
- 6
Lock the nose behind
Fold the tip of the nose back behind, about half an inch down. This small triangle on the back holds the nose folds shut.
- 7
Fold in half
Fold the plane in half along the center crease, with the nose folds on the outside.
- 8
Fold the first wings down
Fold the top wing and the top tailplane down along the line where the body strip ends, all the way from the nose to the back.
- 9
Fold the other wings behind
Fold the other wing and tailplane back along the same line, so they match the first.
- 10
Spread the main wings and tailplanes
Keep the slim keel and locked nose folded. Spread both main wings and both tailplanes together, leaving a slight upward V in each pair. Then turn the plane upright, keel below.
- ✓
Finish
The main wings and tailplanes are open. Hold the keel under the main wing and launch the glider gently and level.
Fold next
Paper airplane ↗
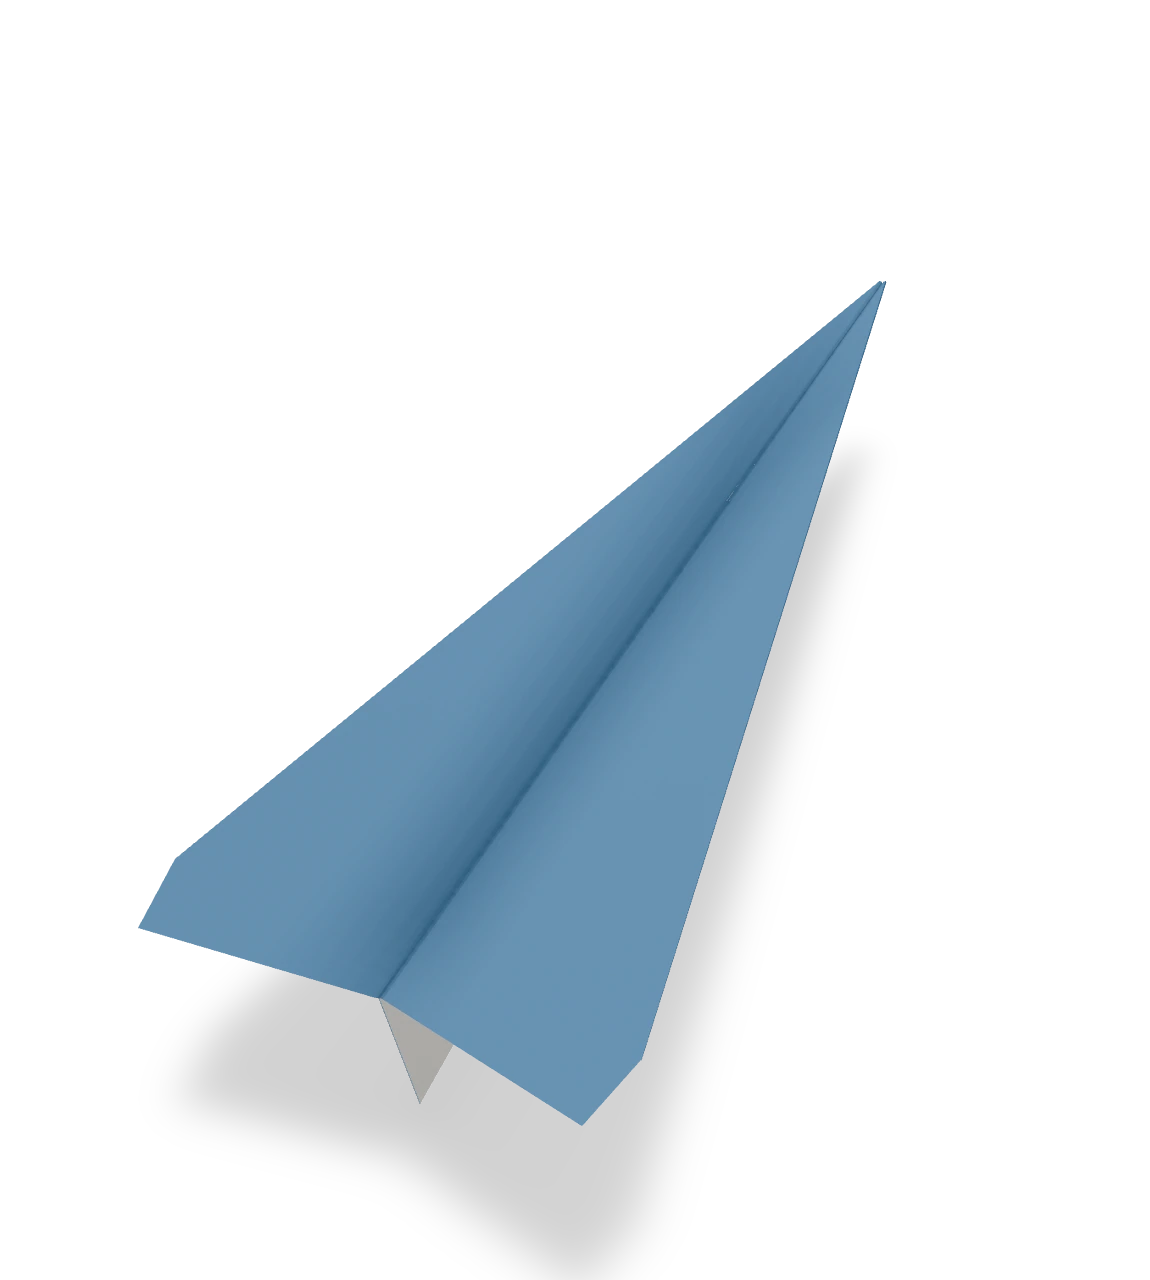
The classic dart: a sheet of letter paper, a sharp nose and two wings, ready to fly across the room.
Easy paper airplane ↗
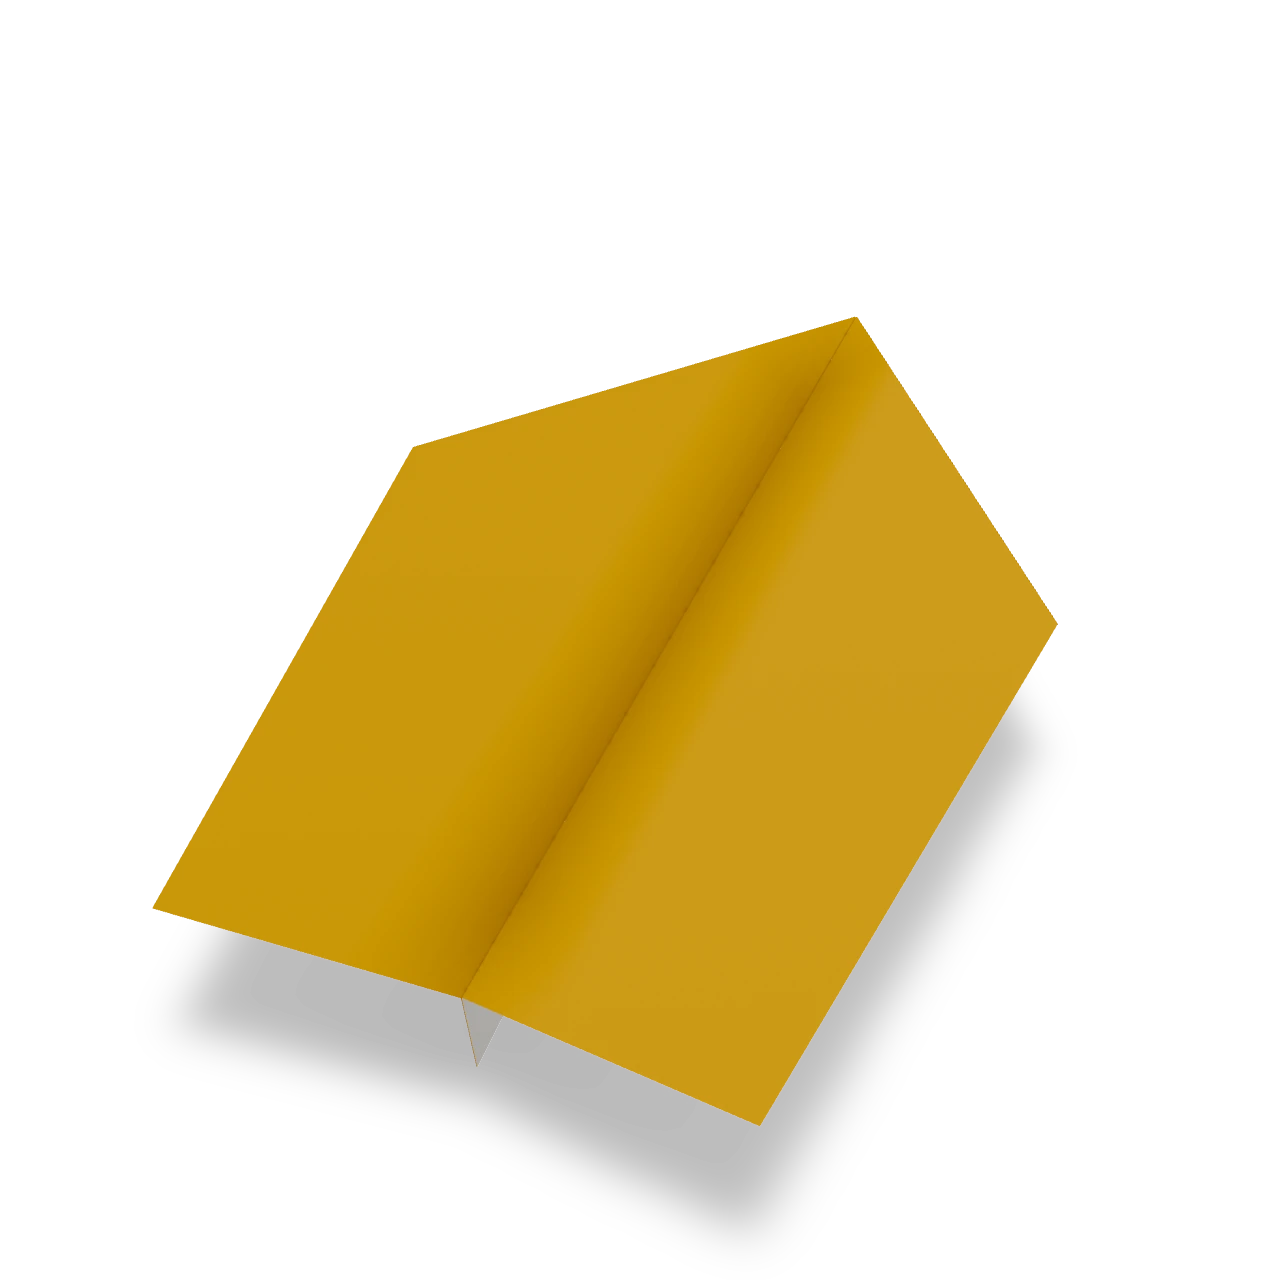
An Origami Tutor paper airplane with the fewest folds: two corners, one fold in half and two wings. A good first plane for kids, with broad wings that glide gently.
Paper glider ↗
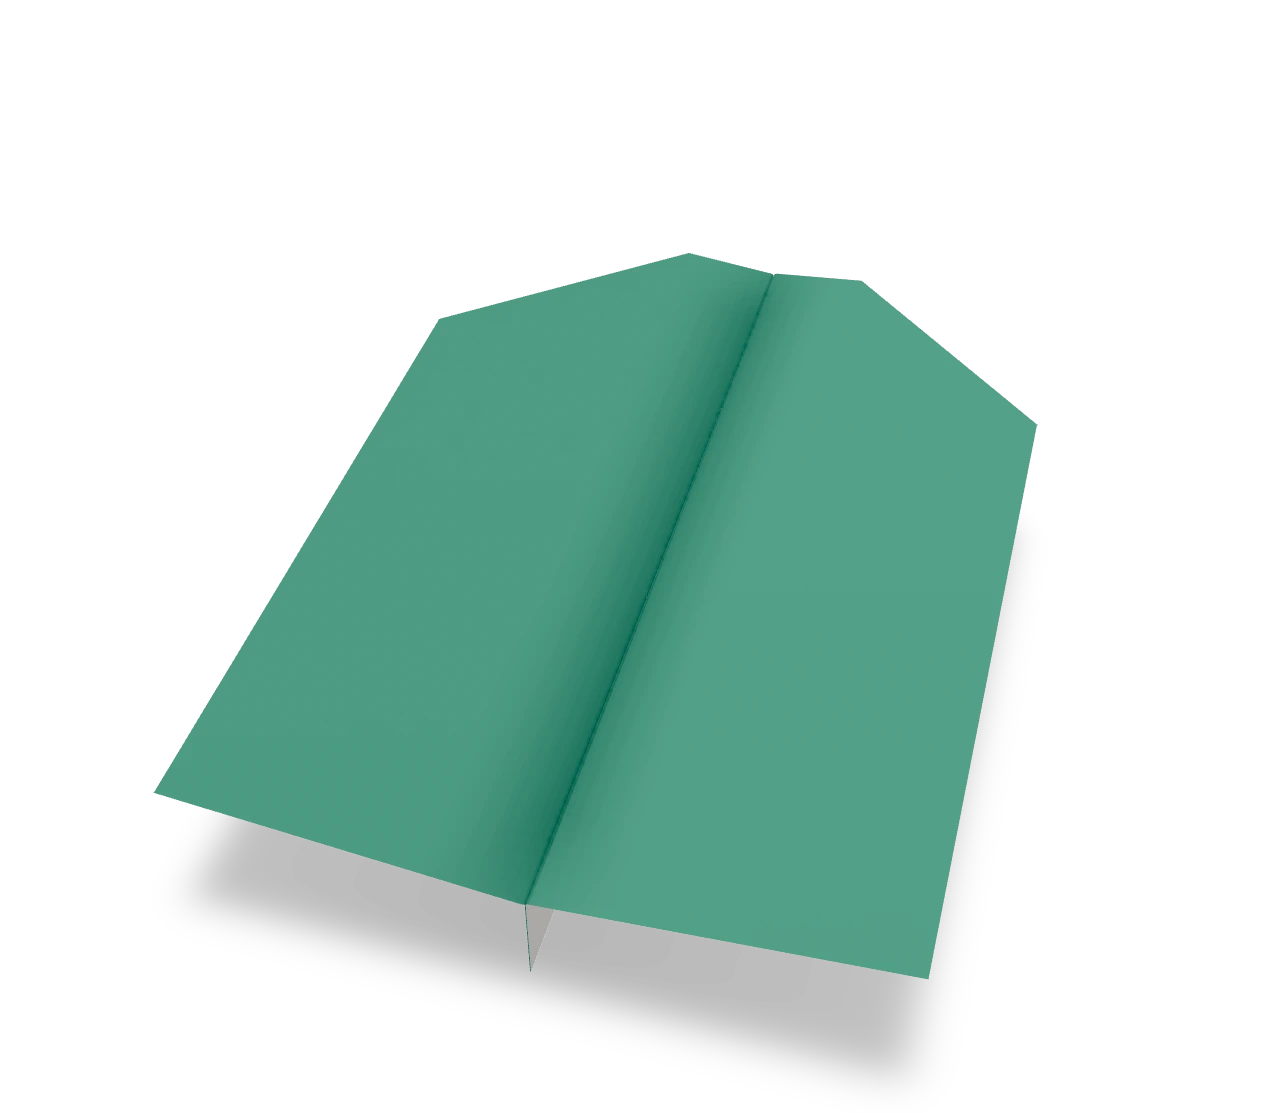
An Origami Tutor paper glider with a blunt nose and broad, straight-tipped wings. Thrown gently, it floats slowly across the room instead of darting.
Distance dart ↗
An Origami Tutor distance dart: a slim dart whose point is folded down to lock the nose folds, so the weight sits up front and the nose stays shut on a hard, long throw.