How to make a paper spring (witch's ladder)
Paper Spring (Witch's Ladder): try all 24 steps in the 3D player. Turn and replay every move. Print the complete diagram sheet or save it as PDF.
The traditional springy paper ladder, woven by folding two crossed strips over each other.
- You need
- Two 1 × 12 in paper strips in different colors; a little glue to secure their end overlaps.
- Start
- Prepare two equal strips, each twelve times as long as it is wide. Choose different colors. Start both strips colored side up, running left to right.
- Tips
- Make the two strips the same width.
- Each folded panel will be one strip-width square.
Your model is ready
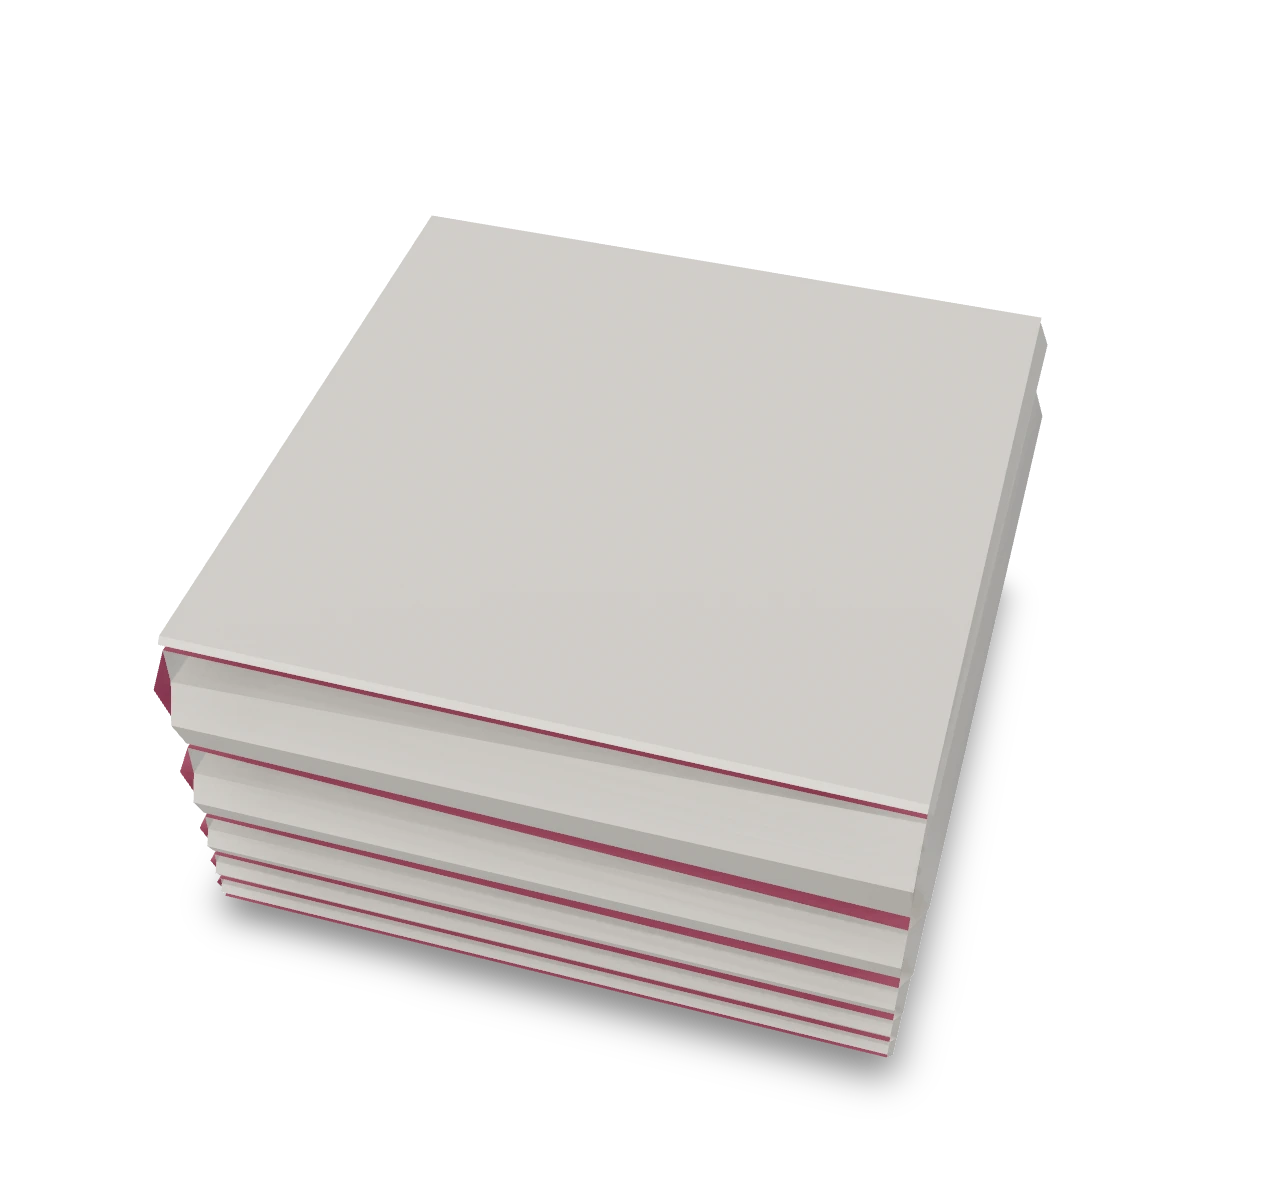
Secure the last two squares with a small dab of glue. Let it dry, then gently draw the ends apart to open the spring.

Step-by-step diagrams
Steps 1–7
- 1
Mark the first square
Fold the left end over by one strip width to mark a square, press, and open it again.
- 2
Cross the first squares
Turn the blue strip a quarter turn and lay its first square on the red strip's first square. Hold or glue just that overlap.
- 3
Fold the red strip, panel 2
Fold the free red length across the square stack, towards the left. Press the new square edge.
- 4
Fold the blue strip, panel 2
Fold the free blue length across the red square, towards the top. Keep the edges square.
- 5
Fold the red strip, panel 3
Fold the free red length across the square stack, towards the right. Press the new square edge.
- 6
Fold the blue strip, panel 3
Fold the free blue length across the red square, towards the bottom. Keep the edges square.
- 7
Fold the red strip, panel 4
Fold the free red length across the square stack, towards the left. Press the new square edge.
Steps 8–14
- 8
Fold the blue strip, panel 4
Fold the free blue length across the red square, towards the top. Keep the edges square.
- 9
Fold the red strip, panel 5
Fold the free red length across the square stack, towards the right. Press the new square edge.
- 10
Fold the blue strip, panel 5
Fold the free blue length across the red square, towards the bottom. Keep the edges square.
- 11
Fold the red strip, panel 6
Fold the free red length across the square stack, towards the left. Press the new square edge.
- 12
Fold the blue strip, panel 6
Fold the free blue length across the red square, towards the top. Keep the edges square.
- 13
Fold the red strip, panel 7
Fold the free red length across the square stack, towards the right. Press the new square edge.
- 14
Fold the blue strip, panel 7
Fold the free blue length across the red square, towards the bottom. Keep the edges square.
Steps 15–21
- 15
Fold the red strip, panel 8
Fold the free red length across the square stack, towards the left. Press the new square edge.
- 16
Fold the blue strip, panel 8
Fold the free blue length across the red square, towards the top. Keep the edges square.
- 17
Fold the red strip, panel 9
Fold the free red length across the square stack, towards the right. Press the new square edge.
- 18
Fold the blue strip, panel 9
Fold the free blue length across the red square, towards the bottom. Keep the edges square.
- 19
Fold the red strip, panel 10
Fold the free red length across the square stack, towards the left. Press the new square edge.
- 20
Fold the blue strip, panel 10
Fold the free blue length across the red square, towards the top. Keep the edges square.
- 21
Fold the red strip, panel 11
Fold the free red length across the square stack, towards the right. Press the new square edge.
Steps 22–24
- 22
Fold the blue strip, panel 11
Fold the free blue length across the red square, towards the bottom. Keep the edges square.
- 23
Fold the red strip, panel 12
Fold the free red length across the square stack, towards the left. Press the new square edge.
- 24
Fold the blue strip, panel 12
Fold the free blue length across the red square, towards the top. Keep the edges square.
- ✓
Finish
Secure the last two squares with a small dab of glue. Let it dry, then gently draw the ends apart to open the spring.
Fold next

Heart ↗
This heart stays flat, so it fits inside a greeting card or on the front of a folded note. The colored side makes the face; small folds hidden behind the left edge, right edge and two top tips soften the outline.
House ↗
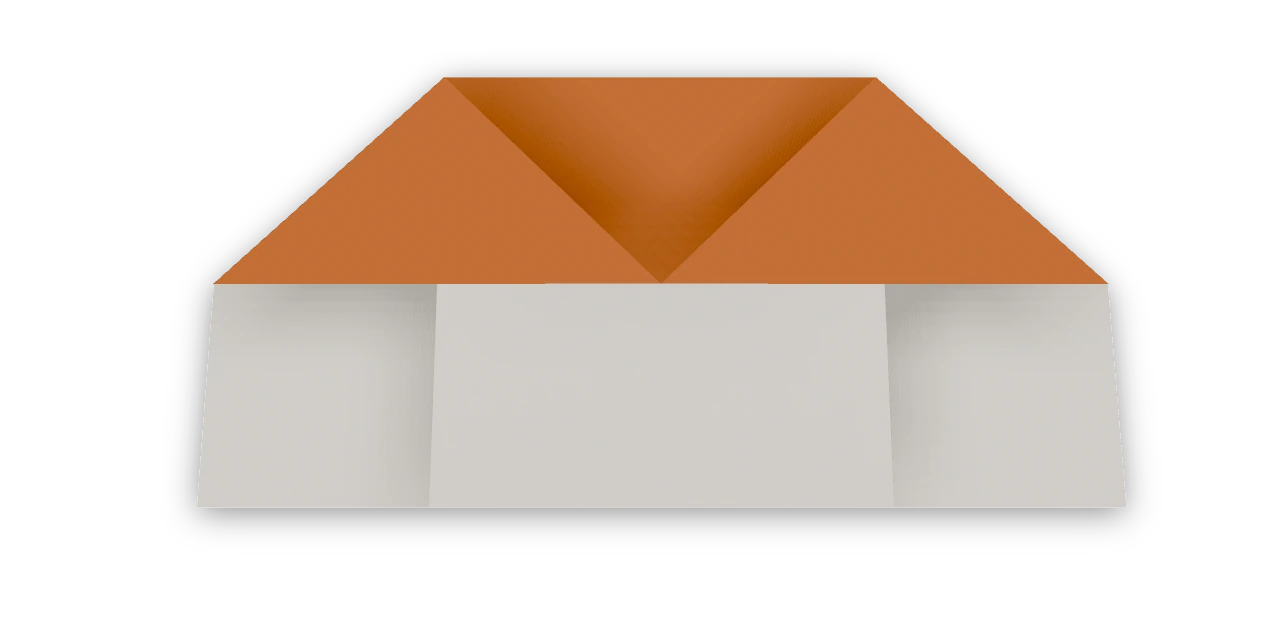
The traditional flat house from Froebel's paper folding, with a long roof and two gate pockets.

Star ↗
An Origami Tutor eight-pointed star made from eight equal folded triangles. Every gold point is long and sharp, with a deep notch between its neighbours. Three folds make each ray; a little glue holds their overlapping bases together.
Paper Christmas tree ↗
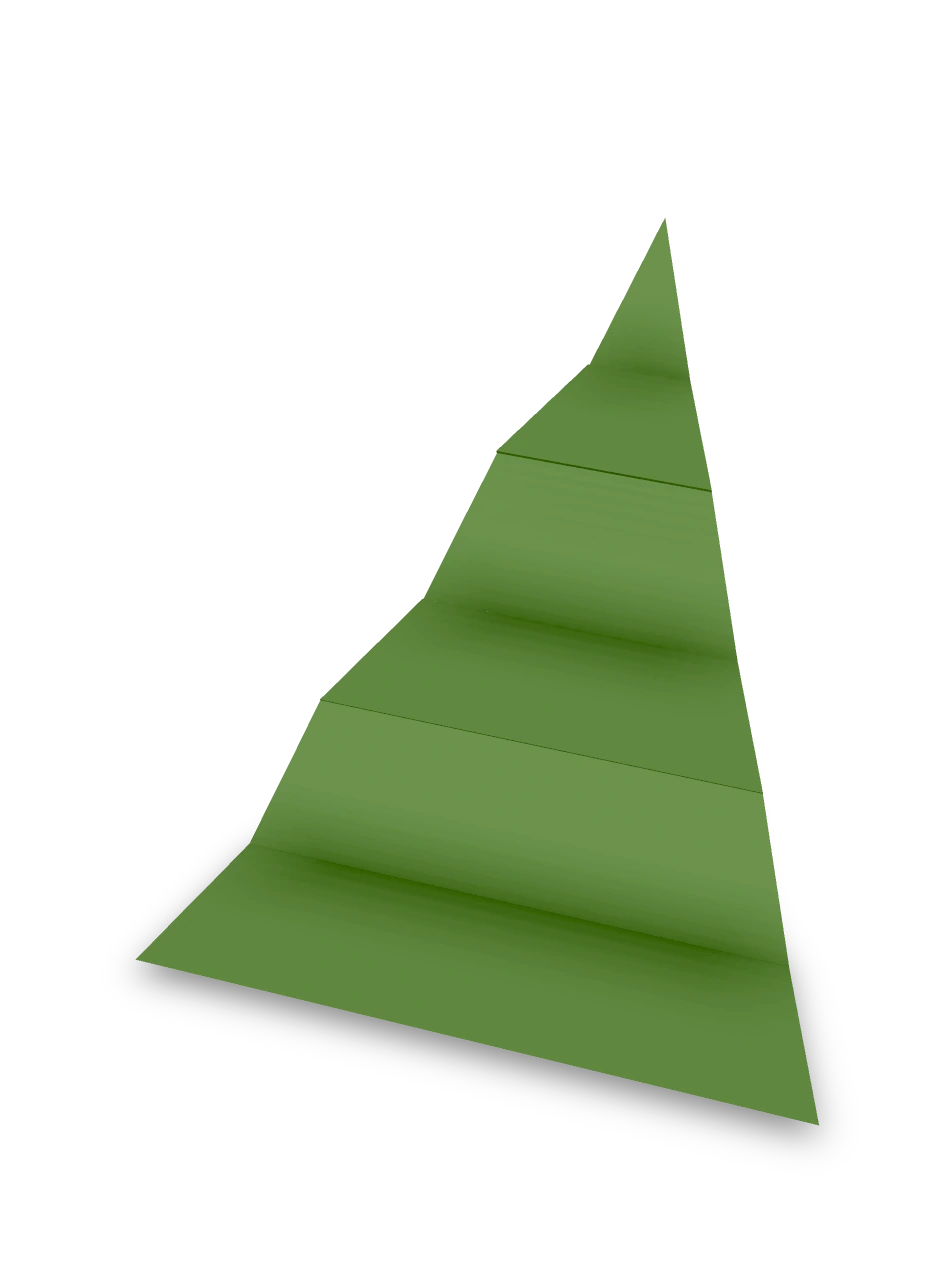
An accordion Christmas tree with a pointed top, broad base and six pleated panels. Cut a triangle from a green rectangle, fold the pleats and open them into a zigzag decoration.