How to make a reindeer paper craft
Reindeer Paper Craft: try all 3 steps in the 3D player. Turn and replay every move. Print the complete diagram sheet or save it as PDF.
Fold a square in half, cut one joined outline through both layers, then open a symmetric reindeer head with bushy antlers, short ears and a big round nose.
- You need
- Thin paper, a pencil, a ruler and scissors.
- Start
- Begin with a 20 cm square of brown paper, colored side up. Keep an edge at the top. Thin paper is easier to cut around the antlers.
Your model is ready
Smooth the centre crease. Draw two eyes on the face and color the nose red with a pencil or marker. Stand the flat reindeer against a book or hang it on a card. The finished paper reindeer, with its antlers above its ears and its round nose below.


Step-by-step diagrams
- 1
Fold the square in half
Bring the left edge to the right edge. Match the corners and press the vertical fold. Keep the folded edge on the left.
- 2
Cut the reindeer outline
Start on the folded edge at the top of the head, between the antlers. Cut up the broad brow shovel, up the beam of the antler with its three tines to the tip and back down the outer side, then out along the short ear and back. Cut down the side of the face and round the big nose, ending on the folded edge below it. Keep the half reindeer beside the fold and remove the surrounding paper.
- 3
Open the reindeer
Open the centre fold gently. The antlers, ears, face and nose stay joined in one sheet.
- ✓
Finish
Smooth the centre crease. Draw two eyes on the face and color the nose red with a pencil or marker. Stand the flat reindeer against a book or hang it on a card. The finished paper reindeer, with its antlers above its ears and its round nose below.
Fold next
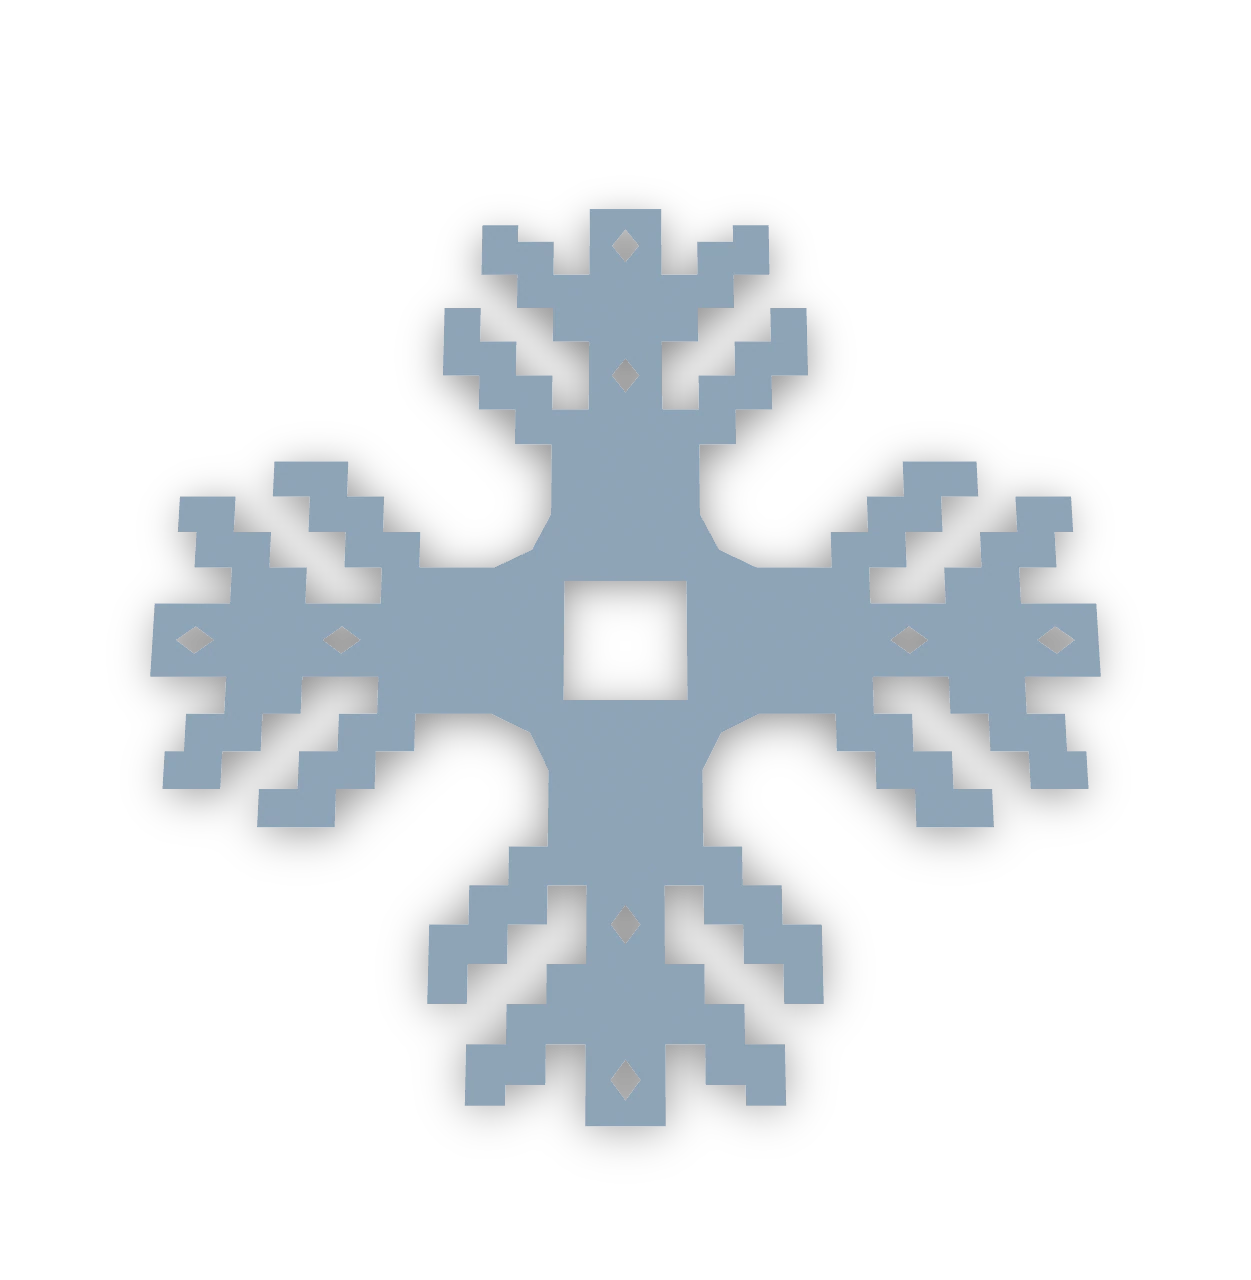
Stepped four-point snowflake ↗
Fold a square twice, cut narrow stepped branches and nine windows, then open a light four-point snowflake. This is Origami Tutor's own pattern.

Notched eight-arm snowflake ↗
Fold a square twice, cut eight forked arms and nine windows, then open the full snowflake. This is Origami Tutor's own pattern.

Easy six-point paper snowflake ↗
Four ordinary folds make the real six-point packet. Trim the uneven ends, then cut two bold notches through every layer. The blue blade lines form the printable folded guide.

Paper chain dolls ↗
Accordion-fold six panels, then cut an original doll through the packet. Keep both side edges joined at the hands and feet. The cut outline repeats into six connected figures.