How to make a paper biplane
Paper Biplane: try all 22 steps in the 3D player. Turn and replay every move. Print the complete diagram sheet or save it as PDF.
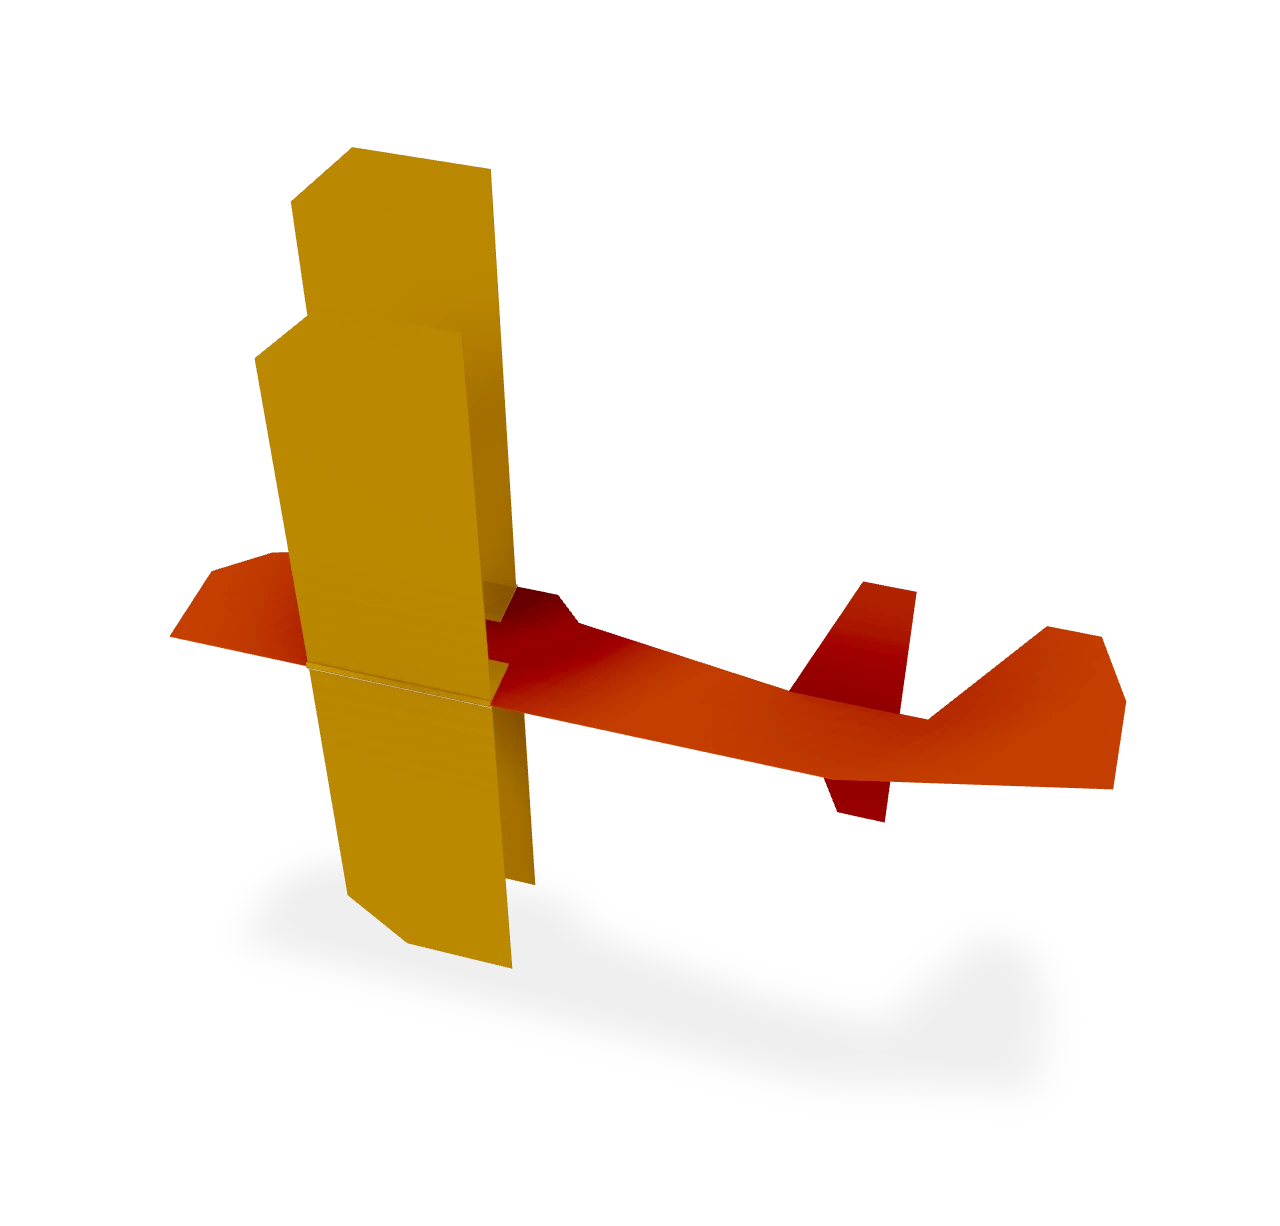
An Origami Tutor paper biplane: a body cut to a biplane's side view, with a fin and a small tailplane, and two folded wings that slide onto its top and its keel, so two wings fly one above the other. No glue.
- You need
- Two sheets of letter paper (A4 works too) and scissors. No glue.
- Start
- Cut a sheet of letter paper in half across and lay one half in front of you, long edges at the top and bottom. From a second sheet cut two strips 3½ inches wide along the long side, and shorten one of them to 10 inches: the long strip is the upper wing, the short one the lower wing. You will also need scissors.
- Tips
- Cut through both layers of the body together so its two sides match.
- Push each pocket all the way on, so the wings sit square on the body; a small piece of tape holds them if they slip.
- If the biplane dives, bend the back edges of the lower wing up a little.
Your model is ready
Your biplane is ready. Check that the two wings are level and parallel, one above the other. Hold the body under the wings and throw it gently and level. The finished biplane: the lower wing along the keel, the upper wing on the top of the body, and the fin and tailplane at the back. Turn it round to see it from every side.

Step-by-step diagrams
Steps 1–6
- 1
Fold the body in half
Fold the half sheet in half along its length, bottom edge up to the top edge. The fold is the keel along the bottom of the plane, and the nose is at the left.
- 2
Cut the body's outline
Cut through both layers along the top of the body, from the left edge to the right edge. Go up over the nose to a flat top an inch and a half above the keel, ending about 3¼ inches from the nose. Step down and slope towards the tail, to just under an inch above the keel at 5.6 inches. Go round the tailplane, 2.4 inches tall and half an inch across its tip, run a quarter of an inch along the tail, then go up and back over the fin and down its back edge.
- 3
Trim the keel at the tail
Cut off the bottom corner of the tail on a slant, through the fold, from the keel 6.2 inches from the nose to the back edge about half an inch up.
- 4
Crease the first tailplane
Fold the front layer of the tailplane down along the top of the tail, crease it, and fold it back up.
- 5
Crease the second tailplane
Fold the back layer of the tailplane down behind along the same line, crease it, and fold it back up.
- 6
Fold the upper strip in half lengthwise
Fold the upper strip in half from left to right, along its length. The fold is the front edge of the wing.
Steps 7–12
- 7
Fold the upper wing in half
Fold it in half across its middle, the top end onto the bottom end.
- 8
Trim the upper wingtips
Holding the layers together, cut the back corner off the ends on a slant, a little over half an inch each way, so both wingtips slope back.
- 9
Fold the front half of the upper wing back
Fold the front two layers back up along a line half an inch from the middle fold. The half-inch band next to the fold is one side of the pocket; the rest is one half of the wing.
- 10
Fold the back half of the upper wing back
Fold the back two layers up behind along the same line. The middle of the strip is now a pocket half an inch deep, with a wing half on each side.
- 11
Crease the upper wing's front half
Fold the front wing half over the pocket along the pocket's fold, crease it, and fold it back.
- 12
Crease the upper wing's back half
Fold the back wing half behind along the same line, crease it, and fold it back.
Steps 13–18
- 13
Fold the lower strip in half lengthwise
Fold the lower strip in half from left to right, along its length. The fold is the front edge of the wing.
- 14
Fold the lower wing in half
Fold it in half across its middle, the bottom end onto the top end.
- 15
Trim the lower wingtips
Holding the layers together, cut the back corner off the ends on a slant, a little over half an inch each way, so both wingtips slope back.
- 16
Fold the front half of the lower wing back
Fold the front two layers back down along a line half an inch from the middle fold. The half-inch band next to the fold is one side of the pocket; the rest is one half of the wing.
- 17
Fold the back half of the lower wing back
Fold the back two layers down behind along the same line. The middle of the strip is now a pocket half an inch deep, with a wing half on each side.
- 18
Crease the lower wing's front half
Fold the front wing half over the pocket along the pocket's fold, crease it, and fold it back.
Steps 19–22
- 19
Crease the lower wing's back half
Fold the back wing half behind along the same line, crease it, and fold it back.
- 20
Slide the upper wing onto the body
Hold the upper wing with its folded front edge towards the nose. Slide its pocket down over the flat top of the body, its front edge about 1⅓ inches from the nose, until the top of the body touches the fold inside the pocket.
- 21
Slide the lower wing onto the keel
Hold the lower wing the same way, folded edge towards the nose. Slide its pocket up over the keel, its front edge 1.6 inches from the nose, a quarter of an inch behind the upper wing, until the keel touches the fold inside the pocket.
- 22
Open the wings
Fold both halves of the upper wing out level along their creases, then both halves of the lower wing, and last the tailplane, so every wing stands straight out from the body.
- ✓
Finish
Your biplane is ready. Check that the two wings are level and parallel, one above the other. Hold the body under the wings and throw it gently and level. The finished biplane: the lower wing along the keel, the upper wing on the top of the body, and the fin and tailplane at the back. Turn it round to see it from every side.
Fold next

Locked-nose plane ↗
An Origami Tutor distance plane with a locked nose: the top edge is rolled down first and the dart folds wrap it inside, so the nose is a firm block that keeps its shape on a hard throw.
Paper airplane ↗
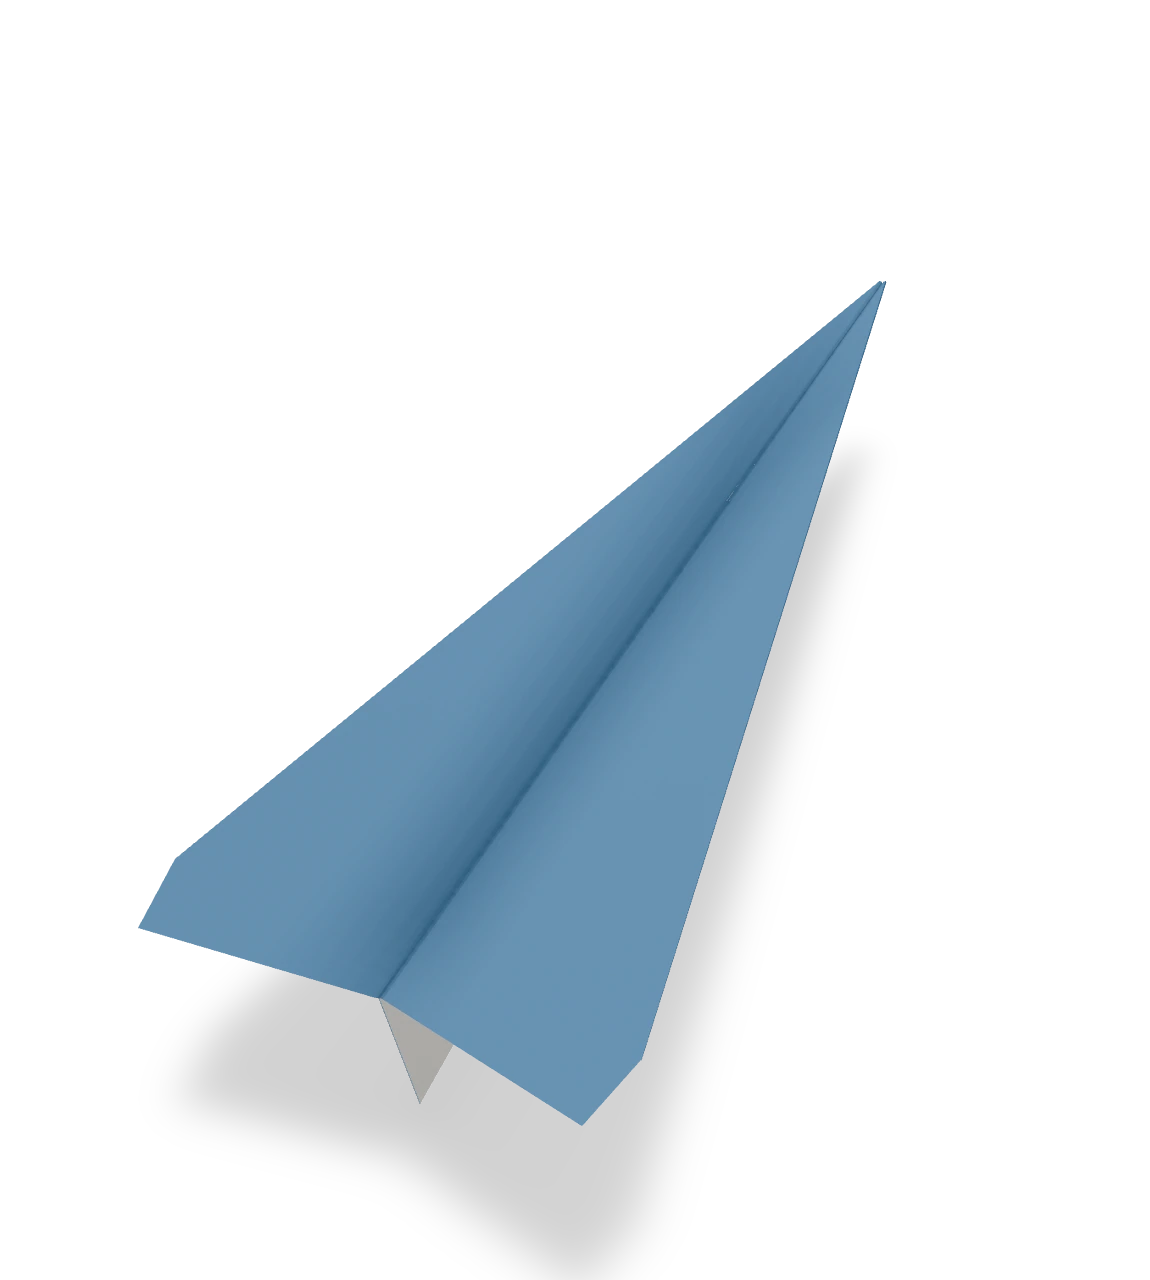
The classic dart: a sheet of letter paper, a sharp nose and two wings, ready to fly across the room.
Easy paper airplane ↗
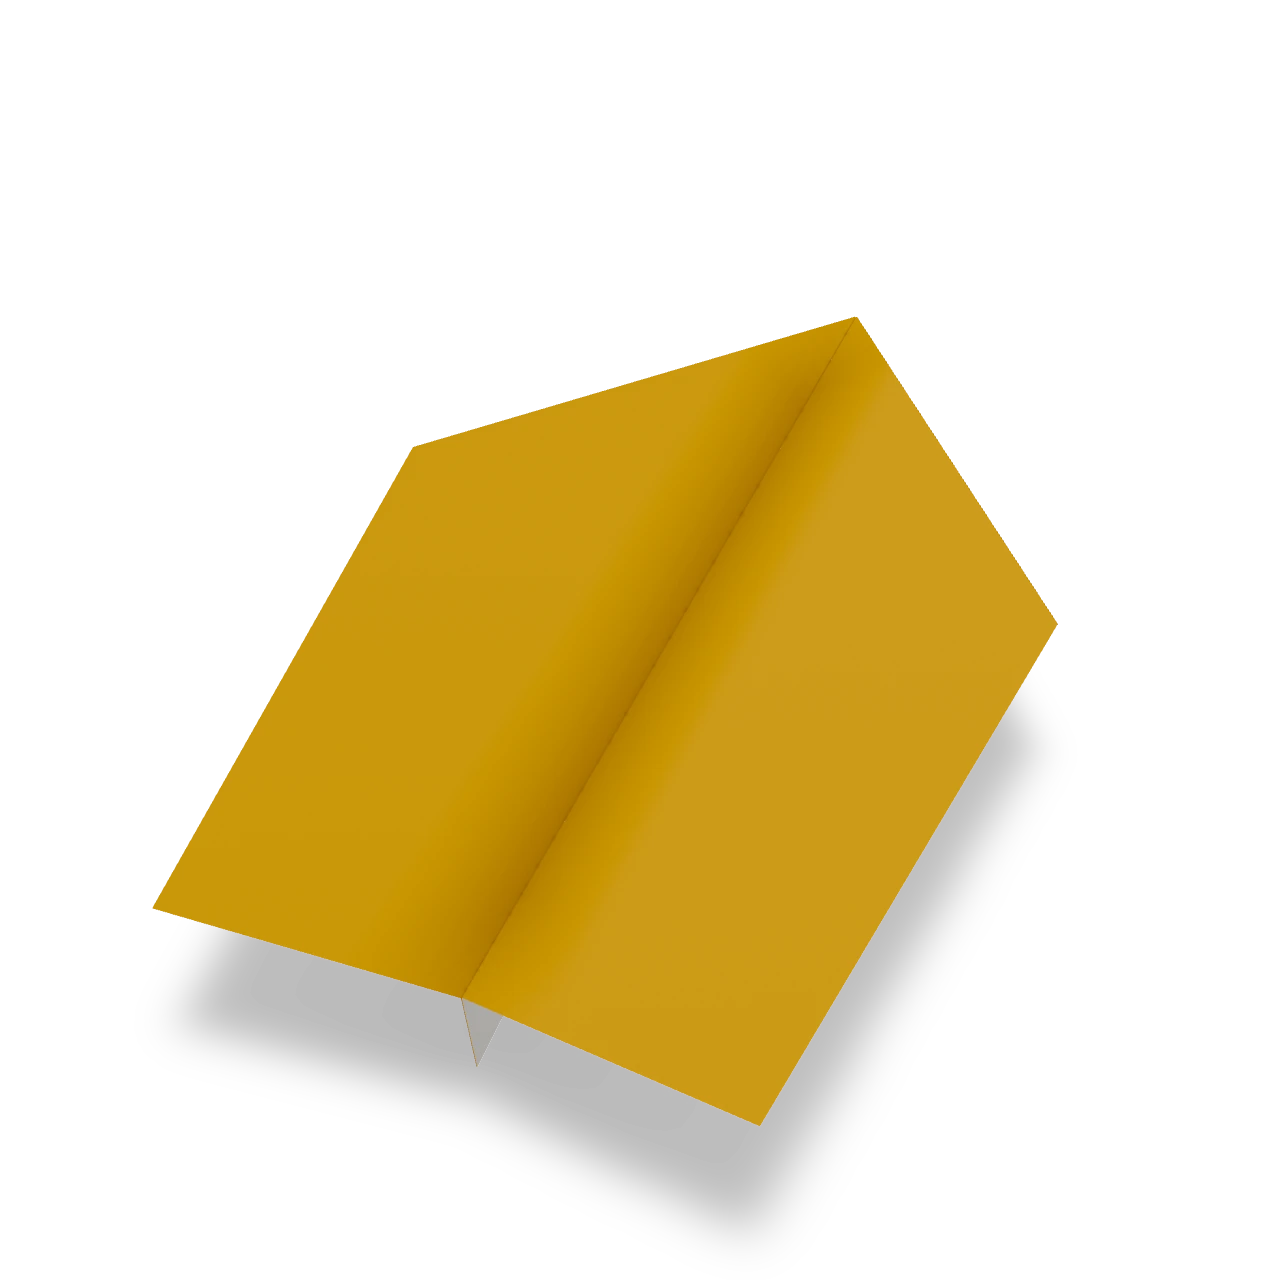
An Origami Tutor paper airplane with the fewest folds: two corners, one fold in half and two wings. A good first plane for kids, with broad wings that glide gently.
Paper glider ↗
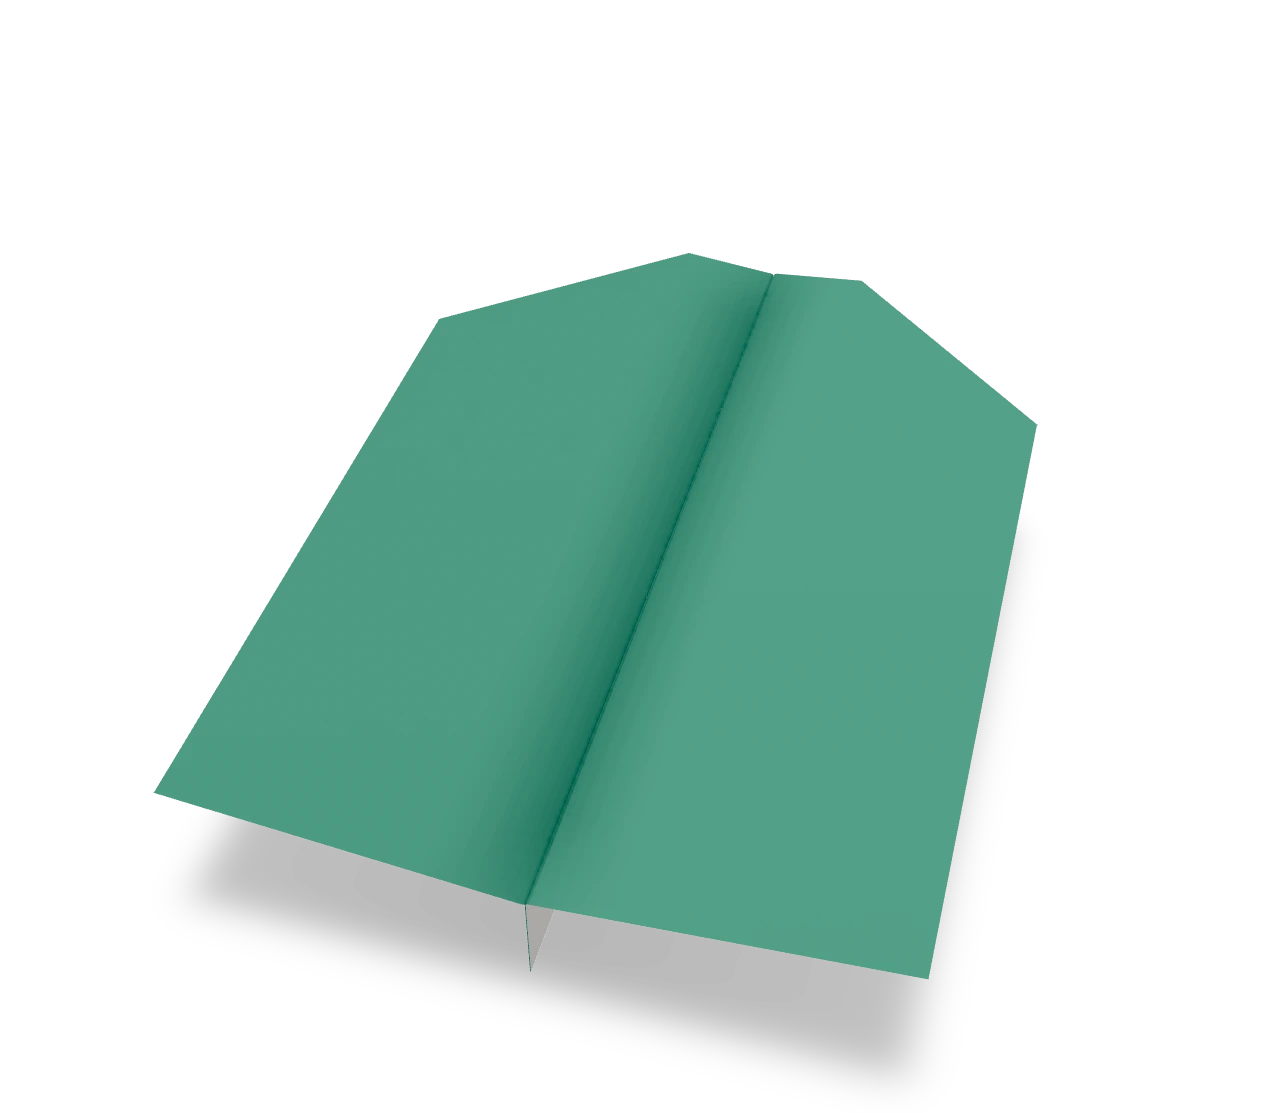
An Origami Tutor paper glider with a blunt nose and broad, straight-tipped wings. Thrown gently, it floats slowly across the room instead of darting.