How to make a locked-nose paper airplane
Locked-Nose Paper Airplane: try all 10 steps in the 3D player. Turn and replay every move. Print the complete diagram sheet or save it as PDF.
An Origami Tutor distance plane with a locked nose: the top edge is rolled down first and the dart folds wrap it inside, so the nose is a firm block that keeps its shape on a hard throw.
- You need
- One sheet of letter paper (A4 works too). No glue or scissors.
- Start
- Lay a sheet of letter paper in front of you, short edge at the top.
- Tips
- Press each roll flat before the next: an even block is what keeps the nose from springing open.
- For distance, throw hard and slightly upward; if it stalls, bend the back edges of the wings down a little.
Your model is ready
Open both wings so they stand out level from the body. Pinch the body just behind the nose and throw hard and straight, a little upward. Turn it round to see it from every side.


Step-by-step diagrams
- 1
Crease the middle
Fold the paper in half from left to right, crease it sharply, and open it again.
- 2
Fold the top edge down
Fold the top edge down about an inch, across the whole width, and crease it hard.
- 3
Roll it down again
Fold the new top edge down another inch, over the first fold.
- 4
Fold the left corner in
Fold the top left corner down so the top edge lies along the center crease. The rolled edge folds inside.
- 5
Fold the right corner in
Fold the top right corner the same way, so the two meet at the center crease.
- 6
Fold the left edge in
Fold the new slanted left edge to the center crease, making the nose sharper and wrapping the block.
- 7
Fold the right edge in
Fold the slanted right edge to the center crease the same way.
- 8
Fold in half
Fold the plane in half along the center crease, with the nose folds on the outside.
- 9
Fold the first wing down
Fold the top wing down from the nose, so its slanted top edge lies along the bottom of the body.
- 10
Fold the second wing behind
Fold the other wing back along the same line, so it matches the first.
- ✓
Finish
Open both wings so they stand out level from the body. Pinch the body just behind the nose and throw hard and straight, a little upward. Turn it round to see it from every side.
Fold next
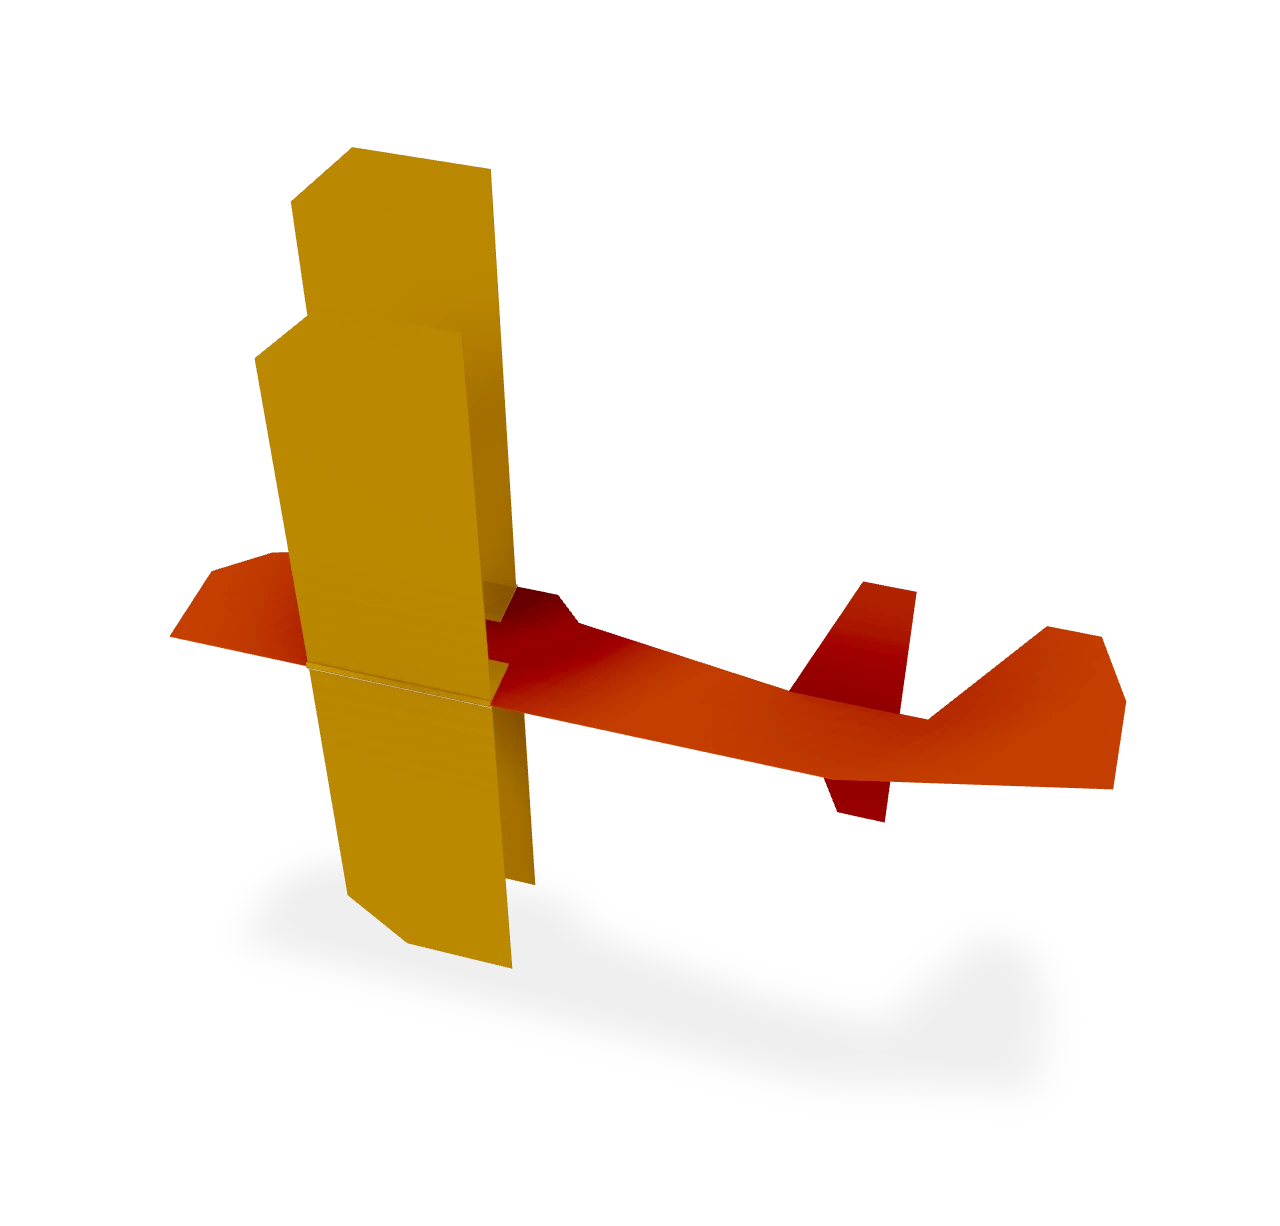
Paper biplane ↗
An Origami Tutor paper biplane: a body cut to a biplane's side view, with a fin and a small tailplane, and two folded wings that slide onto its top and its keel, so two wings fly one above the other. No glue.
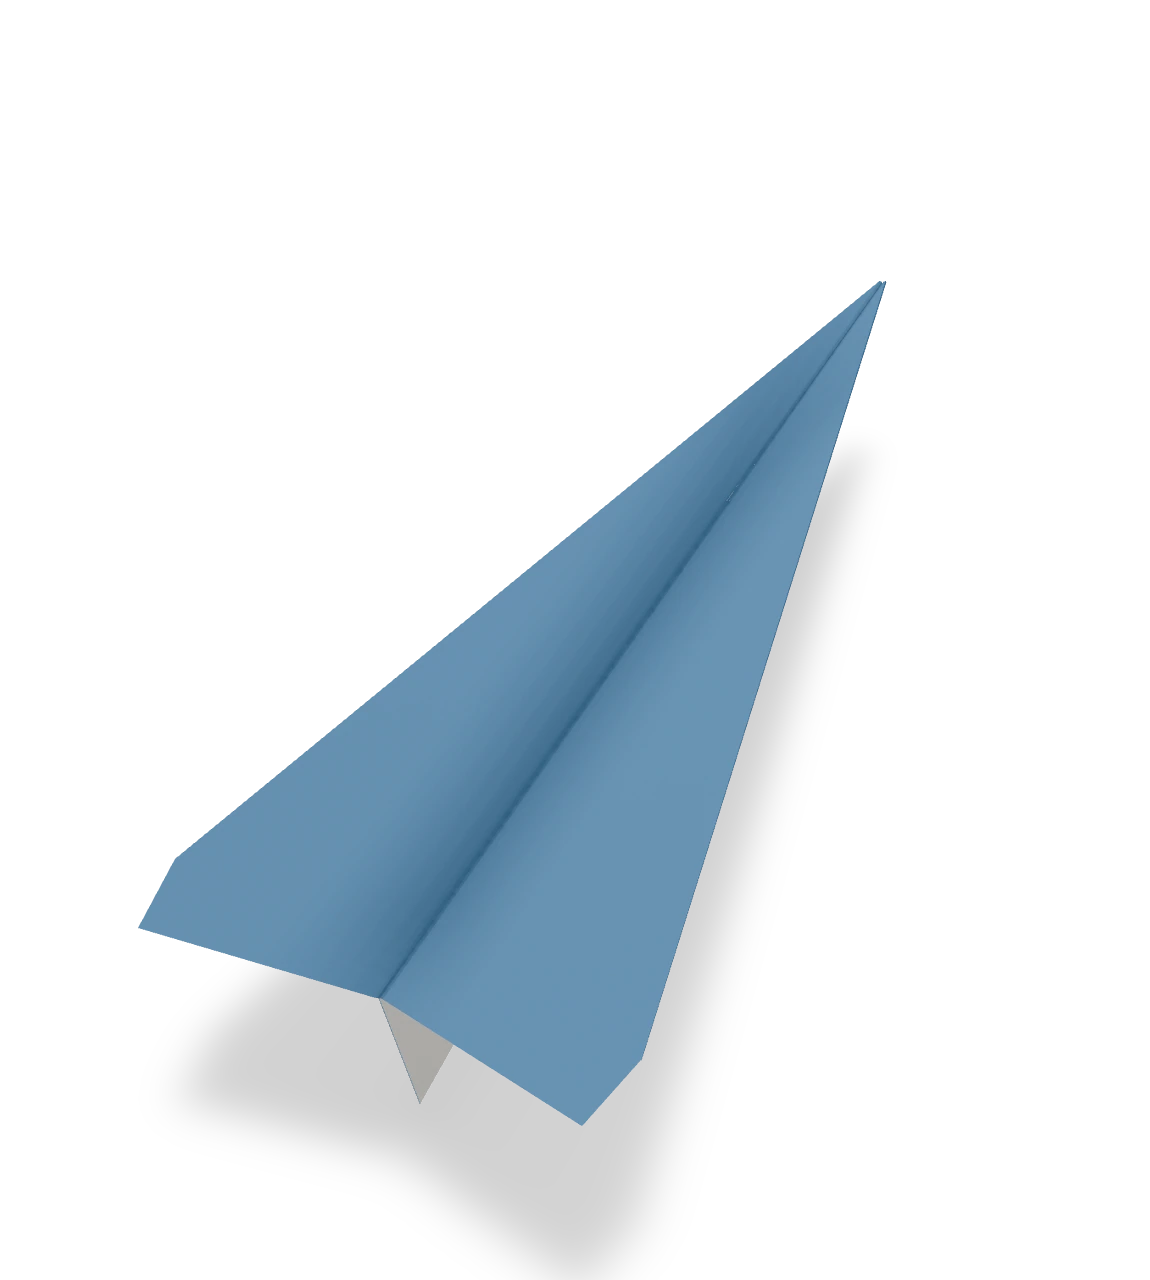
Paper airplane ↗
The classic dart: a sheet of letter paper, a sharp nose and two wings, ready to fly across the room.
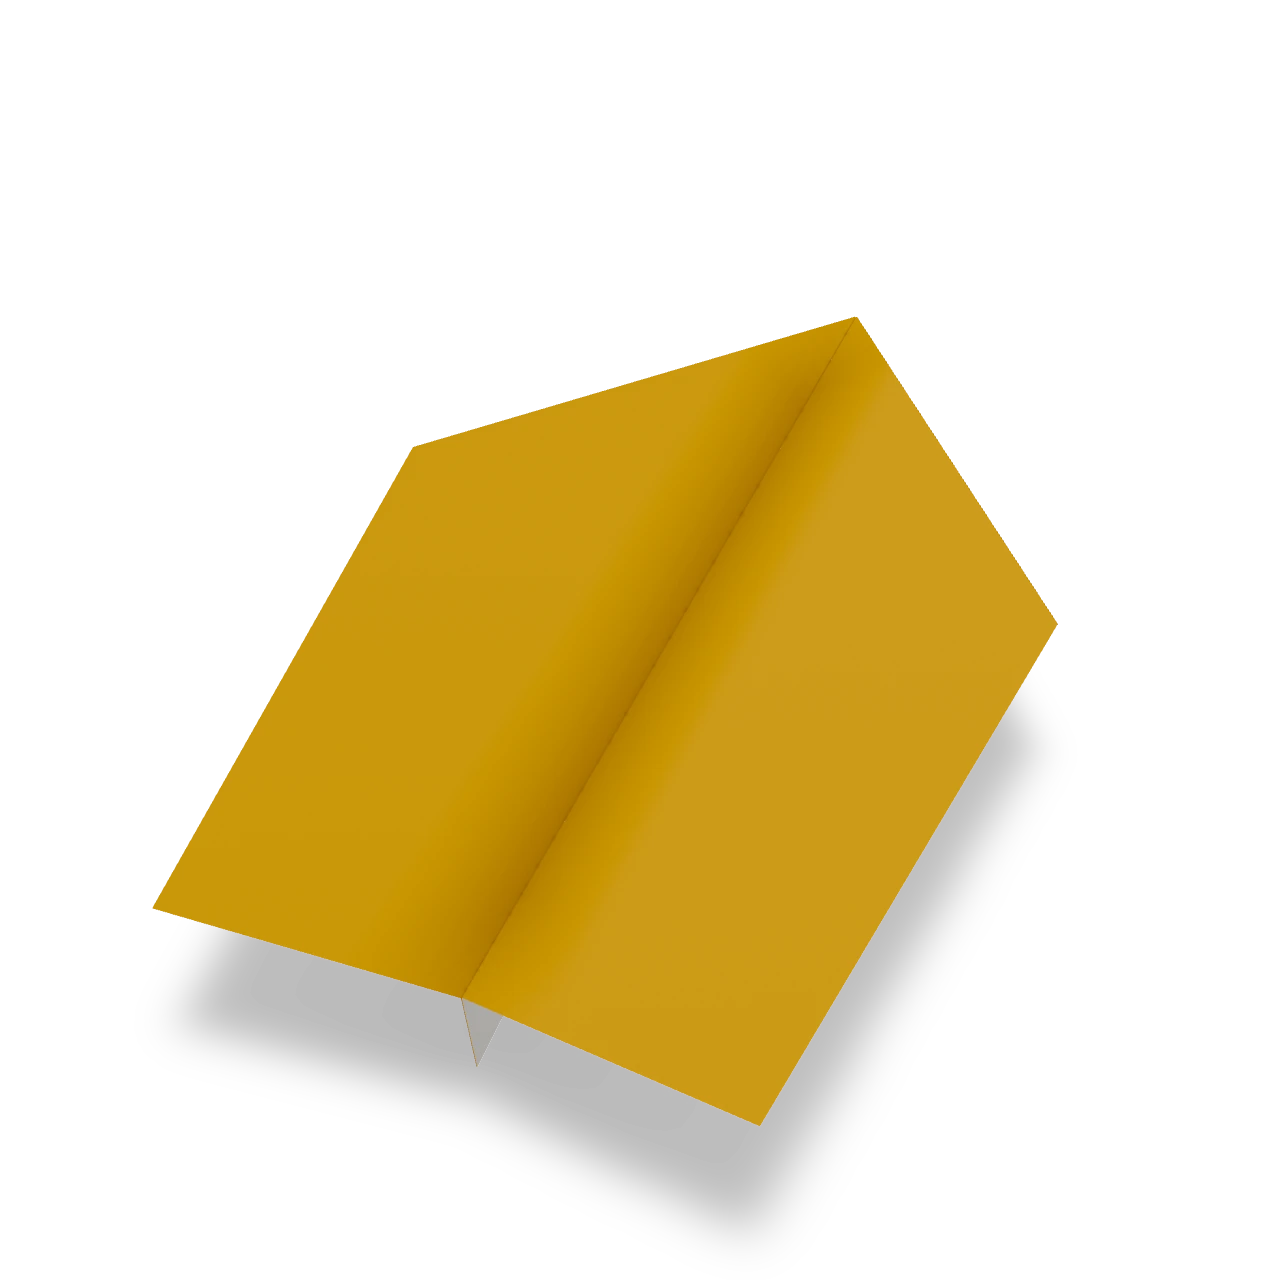
Easy paper airplane ↗
An Origami Tutor paper airplane with the fewest folds: two corners, one fold in half and two wings. A good first plane for kids, with broad wings that glide gently.
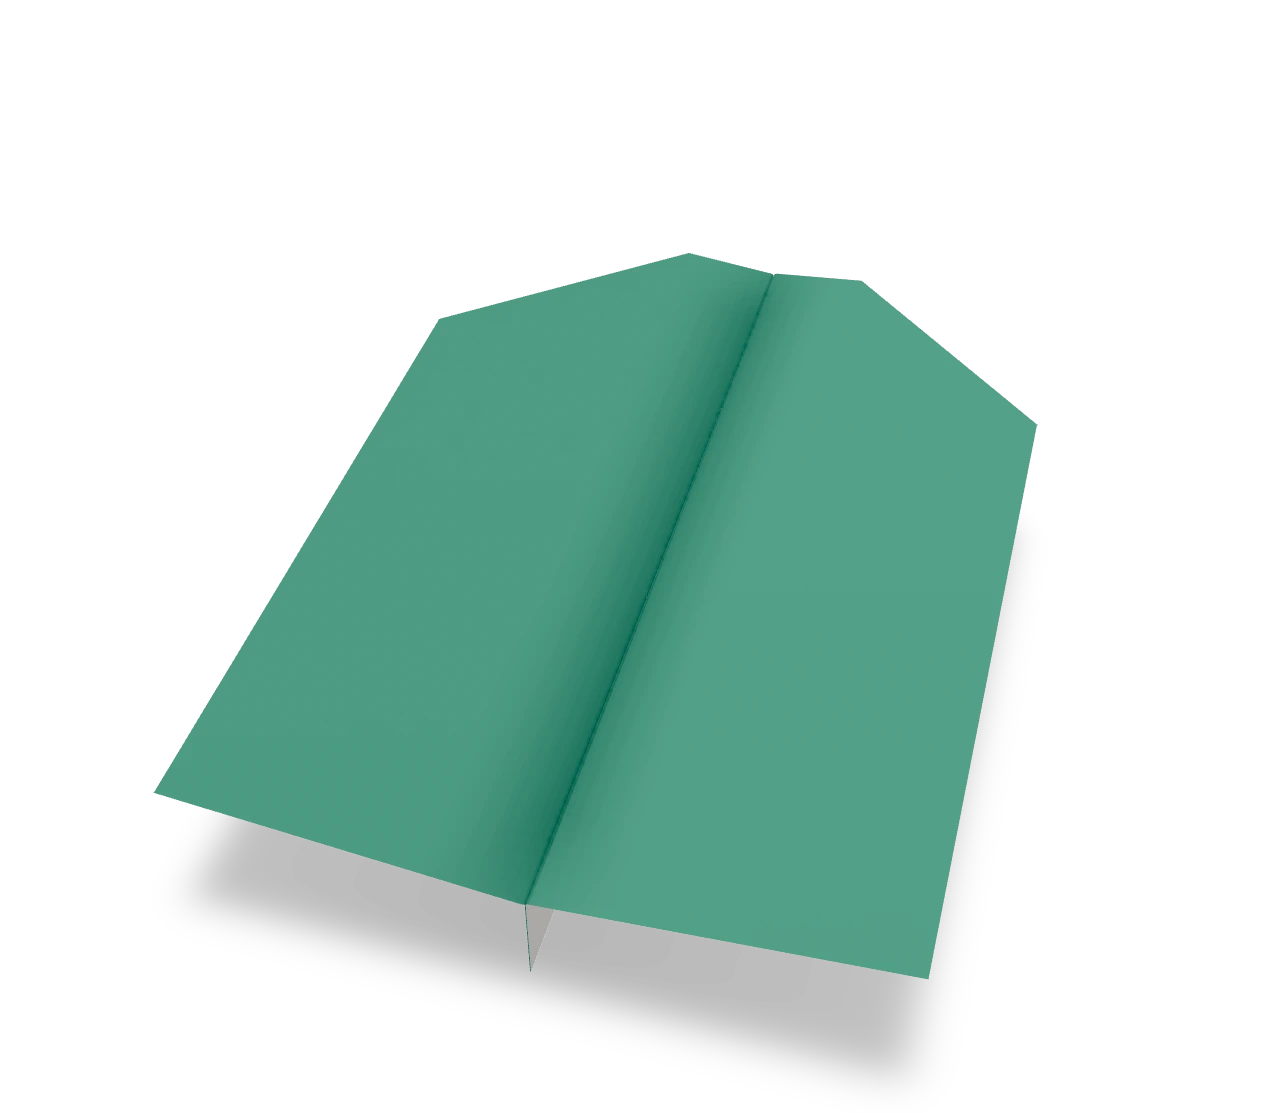
Paper glider ↗
An Origami Tutor paper glider with a blunt nose and broad, straight-tipped wings. Thrown gently, it floats slowly across the room instead of darting.