How to make an origami carp
Origami Carp: try all 7 steps in the 3D player. Turn and replay every move. Print the complete diagram sheet or save it as PDF.
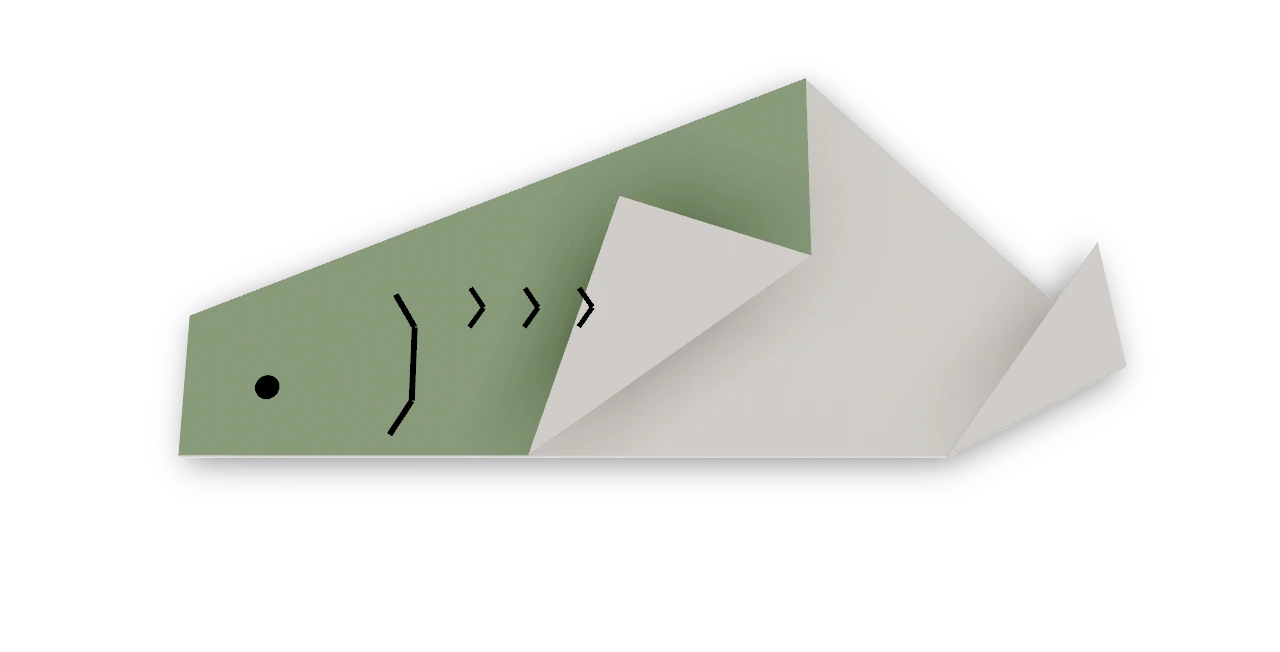
An Origami Tutor carp with a long flat side, blunt snout, folded side fin and narrow upturned tail. Fold one square, then draw its eye, gill and a few scales.
- You need
- One square of two-color origami paper and a pen for the eye, gill and scales. No glue or scissors.
- Start
- Start white side up, with one corner pointing up. The colored reverse becomes the fish's outside.
- Tips
- Line both kite folds up with the middle crease.
- Bend only the narrow end of the tail so it projects beyond the back.
Your model is ready
Press the carp flat. Draw a round eye near the snout, a short curved gill behind it and a few small scales along the side.

Step-by-step diagrams
- 1
Crease the middle
Fold the top corner down to the bottom corner, press, and open.
- 2
Fold the upper edge in
Fold the upper left edge to the horizontal middle crease.
- 3
Fold the lower edge in
Fold the lower left edge to meet it along the middle crease, making a kite with its long point at the left.
- 4
Fold the long point behind
Fold the left point behind to the original middle of the square. The fold makes the blunt snout; keep the short flaps facing you.
- 5
Fold the side fin
Fold the loose upper point across the side along the slanted line. This flap becomes the side fin.
- 6
Fold the fish lengthwise
Fold the lower half behind along the middle line. Keep the folded side fin on the front.
- 7
Angle the tail upward
Fold the rear point up along the slanted line, giving the carp an upturned swimming tail.
- ✓
Finish
Press the carp flat. Draw a round eye near the snout, a short curved gill behind it and a few small scales along the side.
Fold next
Dog face ↗
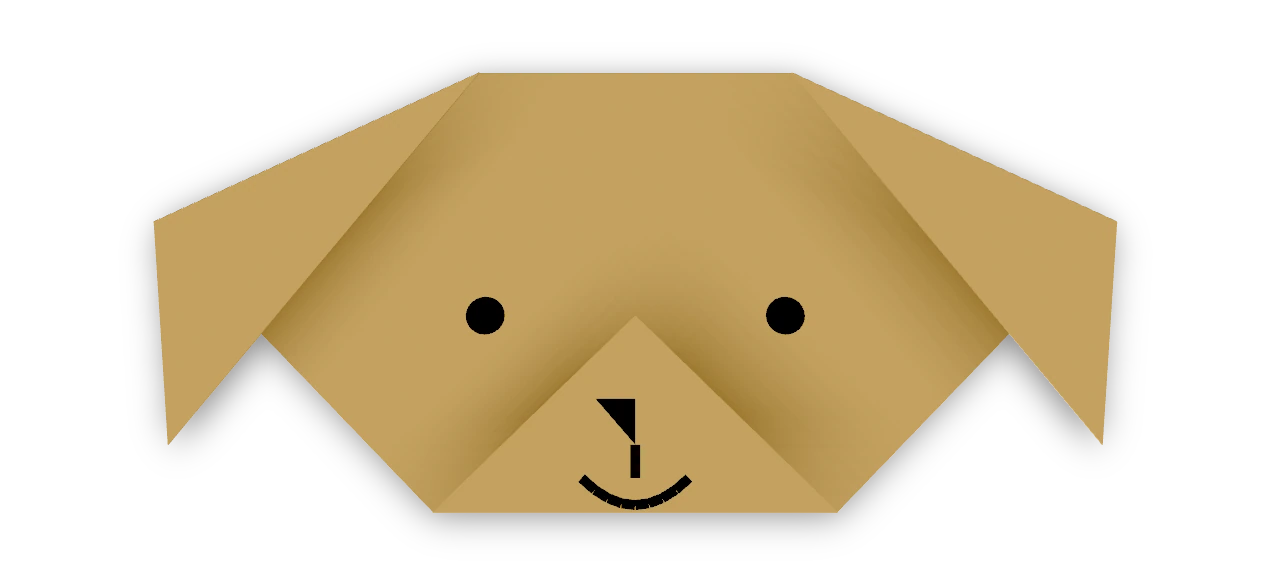
Fold floppy ears and a little muzzle, then give your paper dog a face.
Cat face ↗
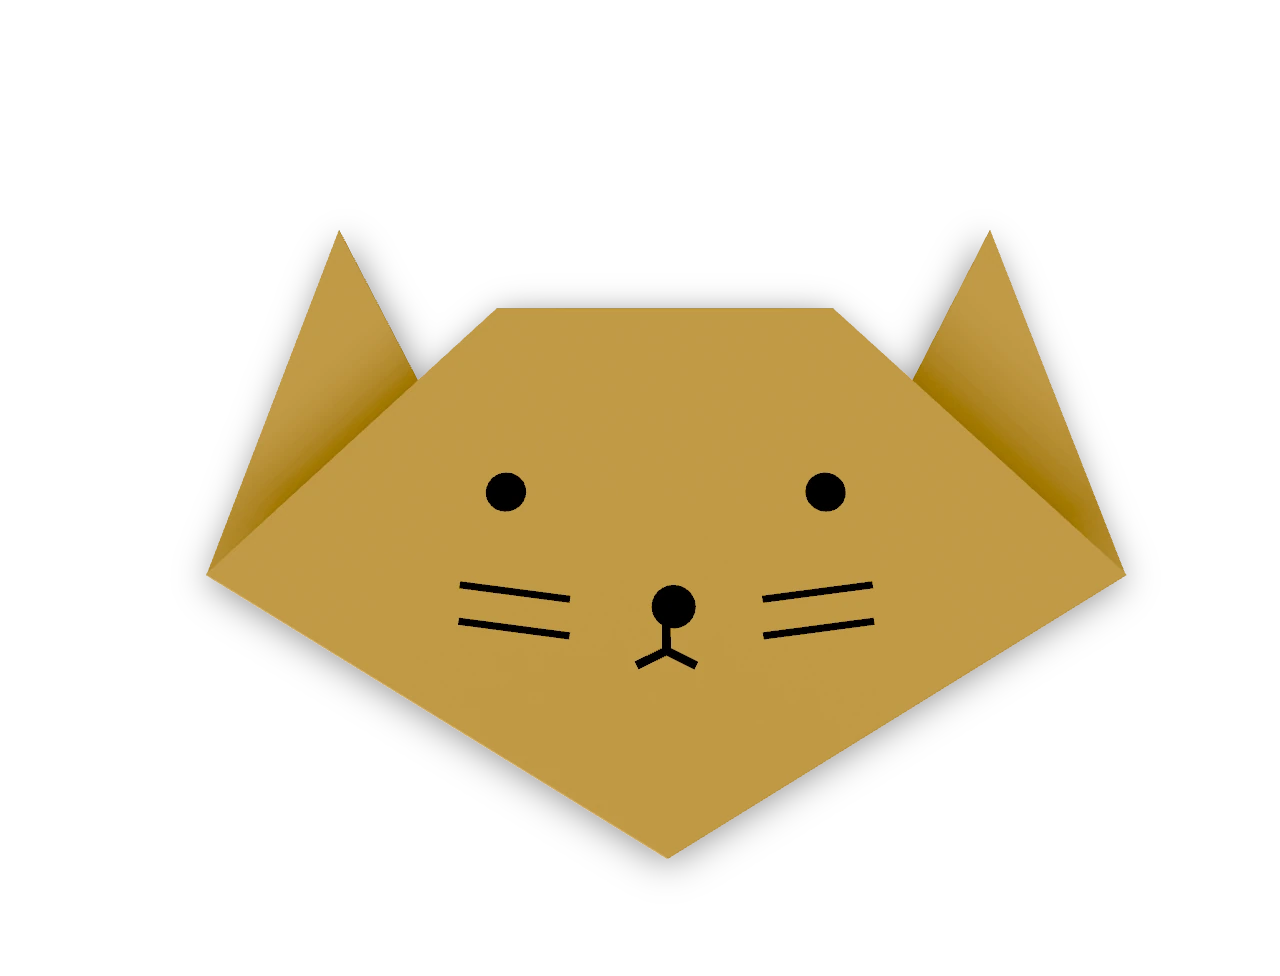
A traditional triangle cat head with two pointed ears and a straight forehead.
Fox face ↗
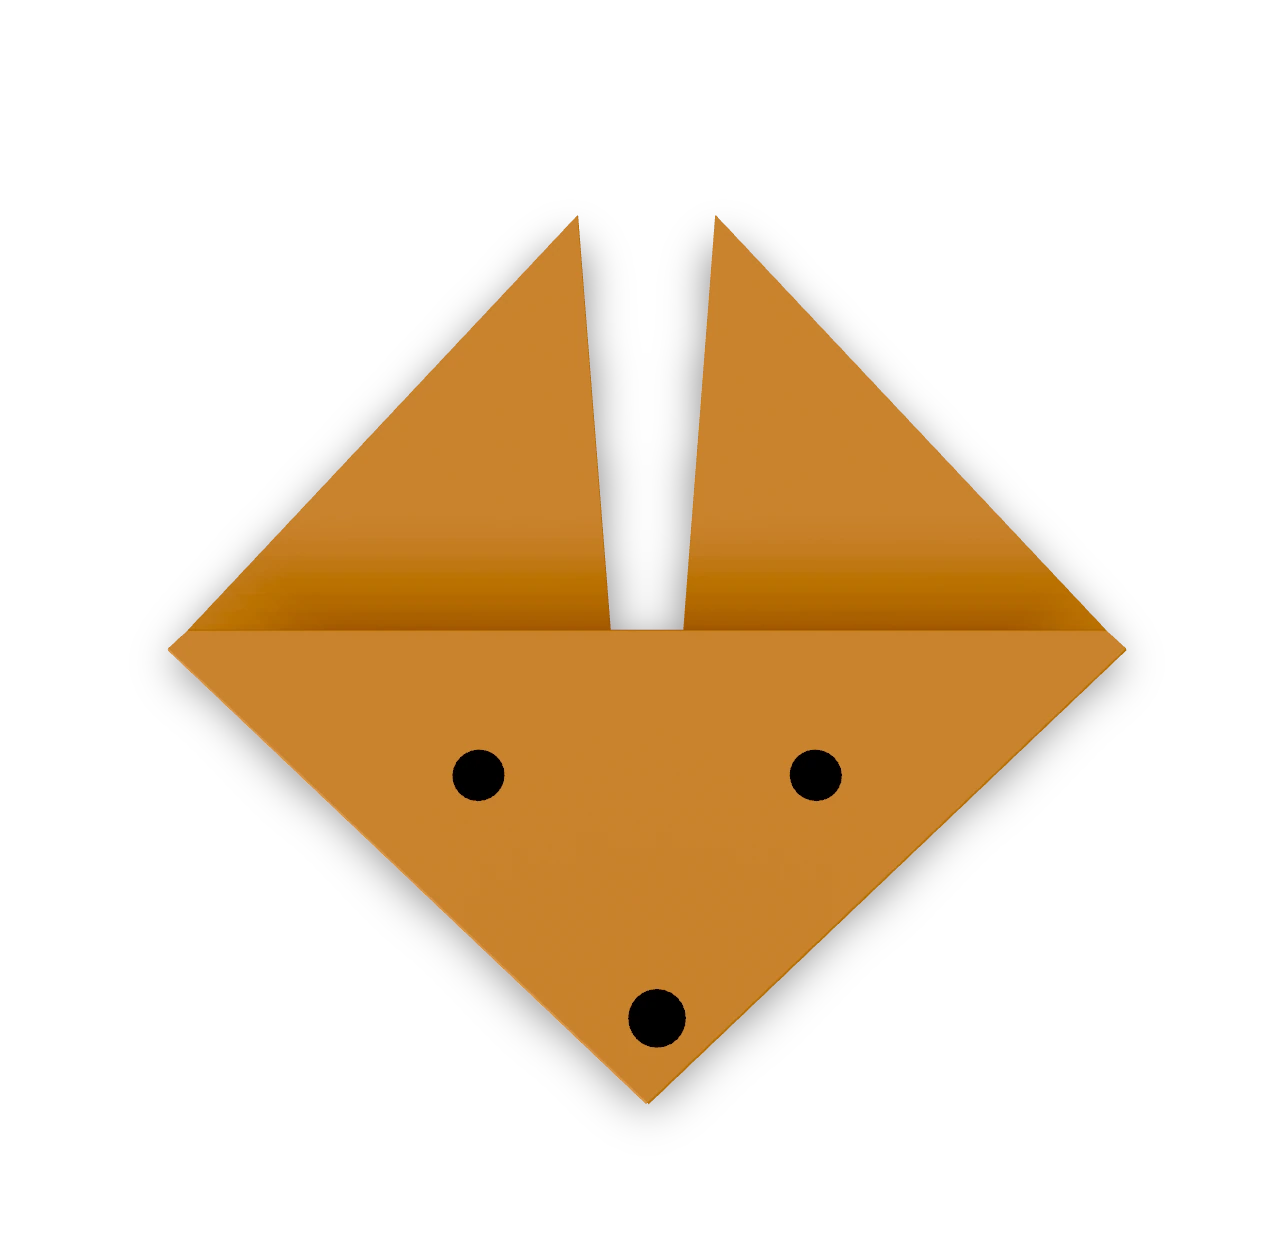
The traditional pointed fox face, recorded in Japan in 1878, with two tall ears.
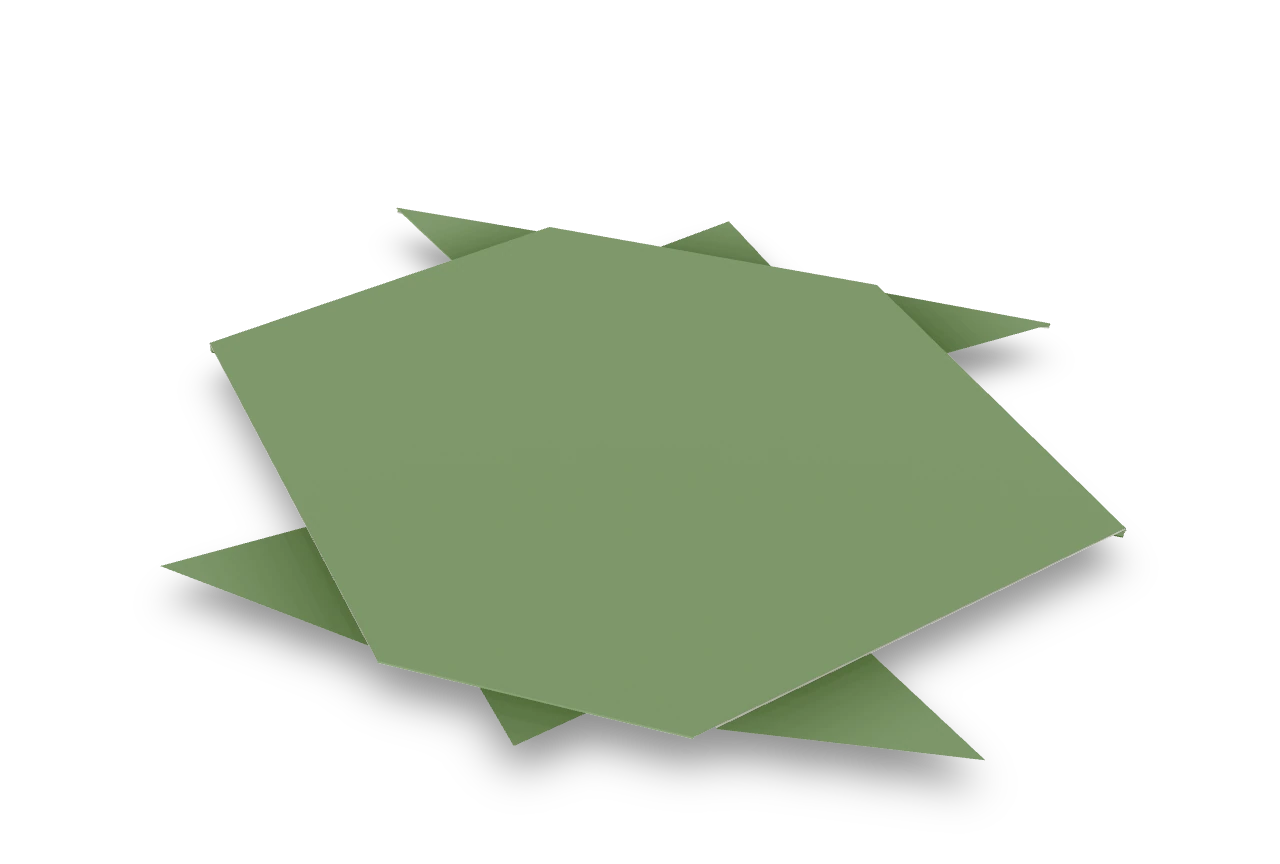
Turtle ↗
The common cut turtle with four pointed feet, a small head and tail, and a colored shell. One slit divides the rear feet while leaving the shell underneath whole.