How to make an origami fox face
Origami Fox Face: try all 6 steps in the 3D player. Turn and replay every move. Print the complete diagram sheet or save it as PDF.
The traditional pointed fox face, recorded in Japan in 1878, with two tall ears.
- You need
- One square of origami paper and a pen for the eyes and nose. No glue or scissors.
- Start
- Start white side up, with one corner pointing up. Orange paper makes a bright fox face.
- Tips
- Keep a small gap between the ears.
- Match the ear angles before drawing the face.
Draw the fox’s face
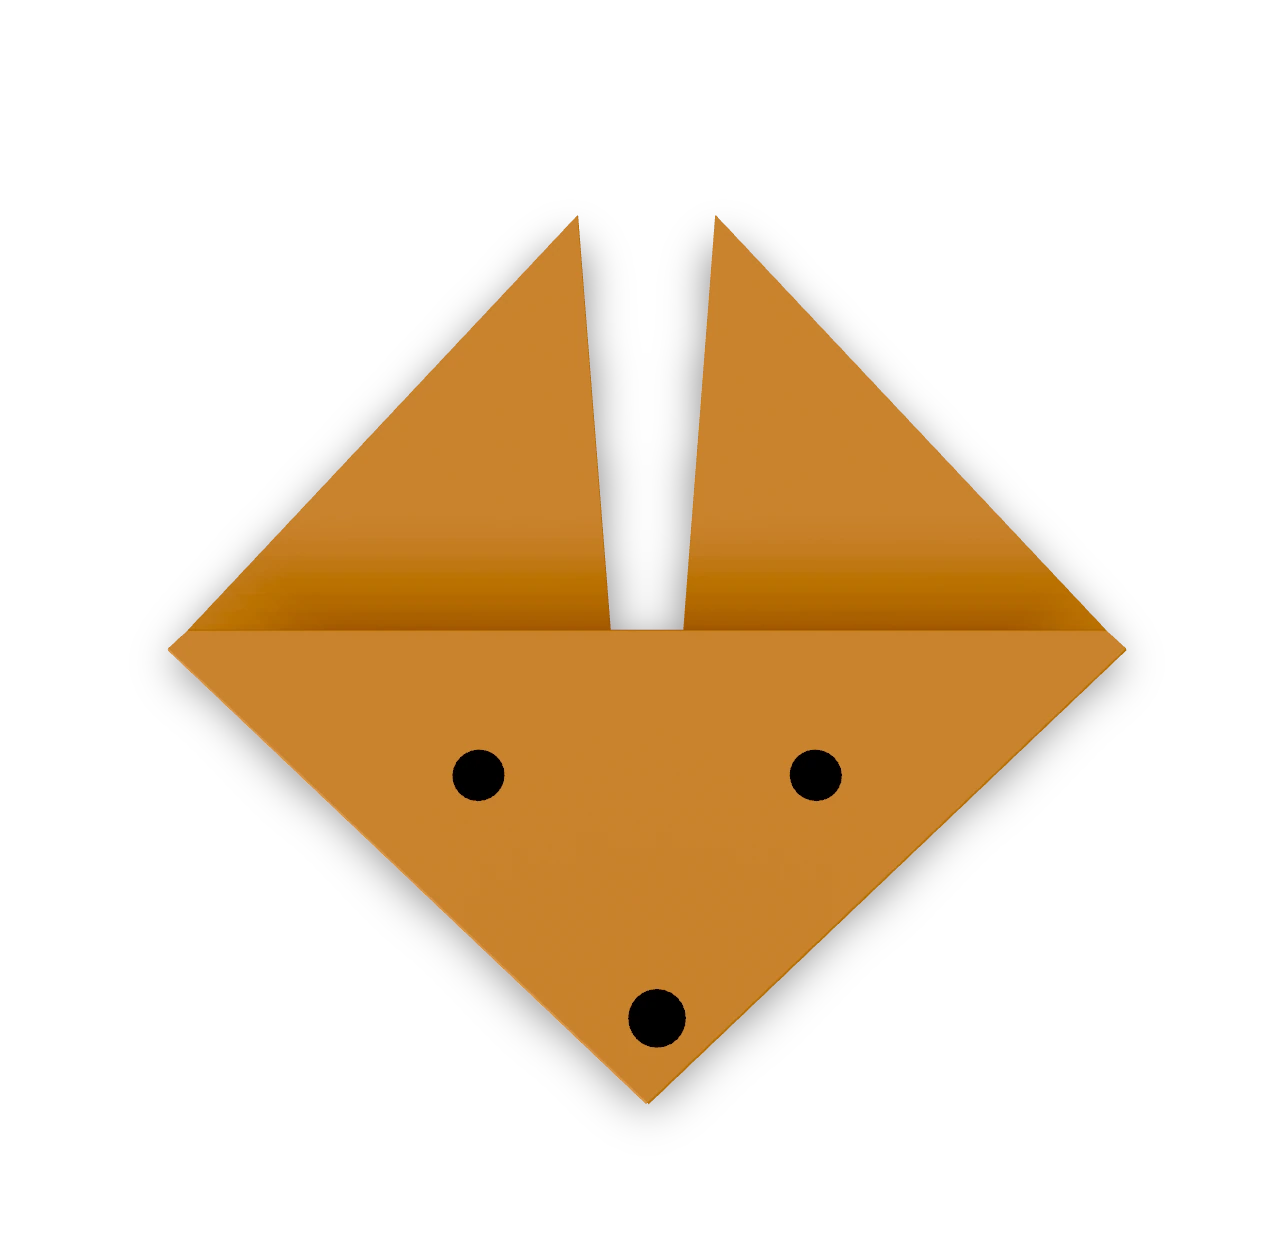
Press the folds flat. Draw two dot eyes on the broad face and a small black nose just above its bottom point. The finished fox face, with its tall ears up and its pointed muzzle below.

Step-by-step diagrams
- 1
Make a triangle
Fold the bottom corner up to the top corner.
- 2
Mark the middle
Fold the right corner to the left corner, press lightly, and open.
- 3
Fold the top down
Bring the top point down to the middle of the bottom edge, folding both layers.
- 4
Raise the left ear
Fold the left corner up along the slanted line. Stop a little short of the center crease so the ear leans outward.
- 5
Raise the right ear
Fold the right corner up to match the first ear, leaving a narrow space between their tips.
- 6
Turn over
Turn the fox over so the smooth face is in front and the folds are behind.
- ✓
Finish
Press the folds flat. Draw two dot eyes on the broad face and a small black nose just above its bottom point. The finished fox face, with its tall ears up and its pointed muzzle below.
Fold next
Cat face ↗
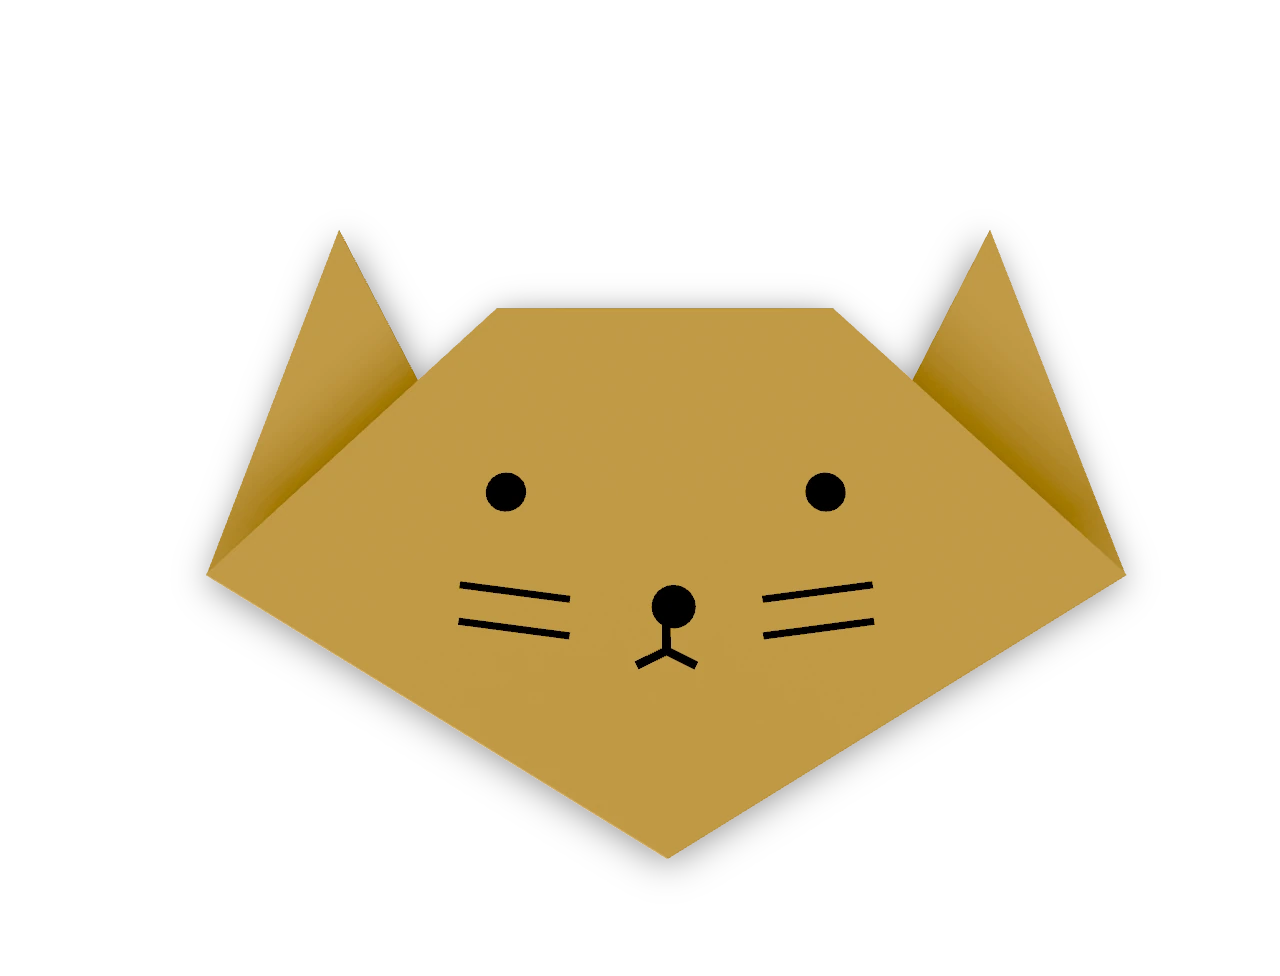
A traditional triangle cat head with two pointed ears and a straight forehead.
Simple crow ↗
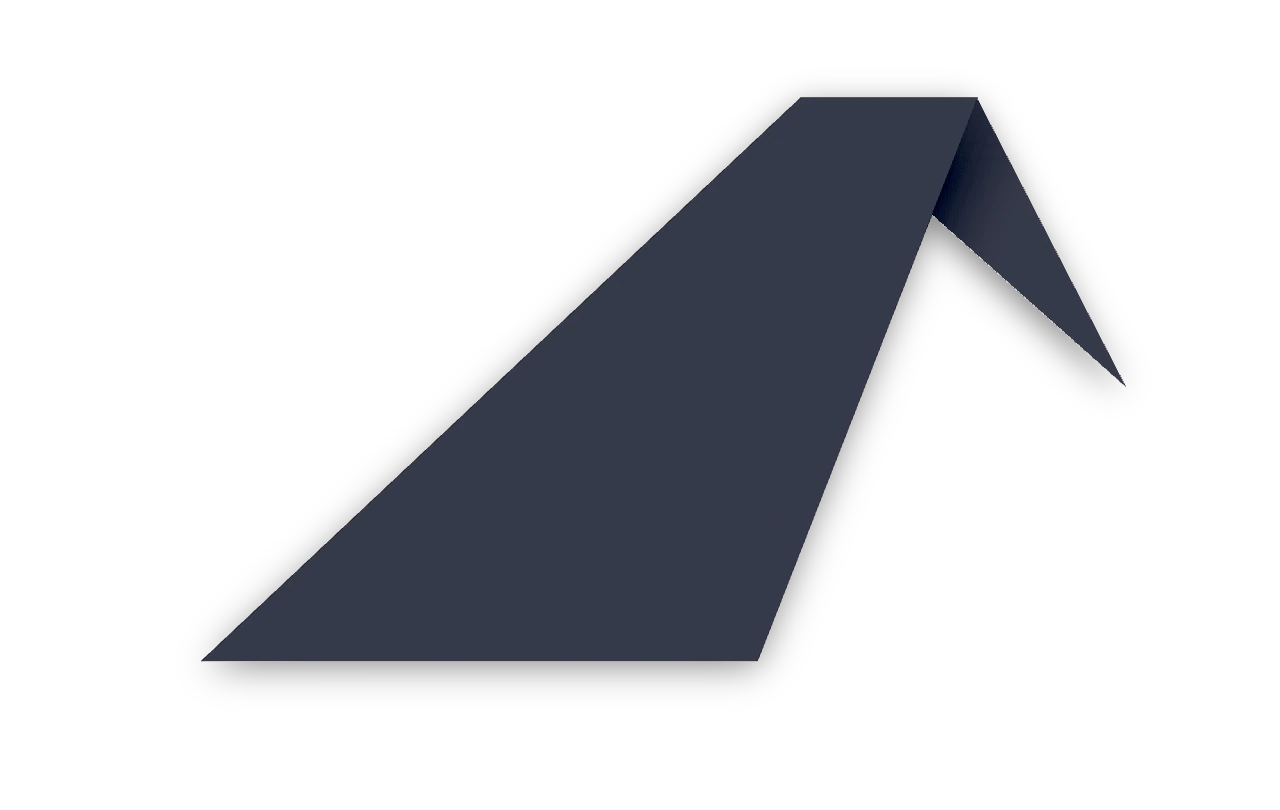
The traditional simple crow: a long kite-shaped body and a short beak folded over its head.
Bat ↗
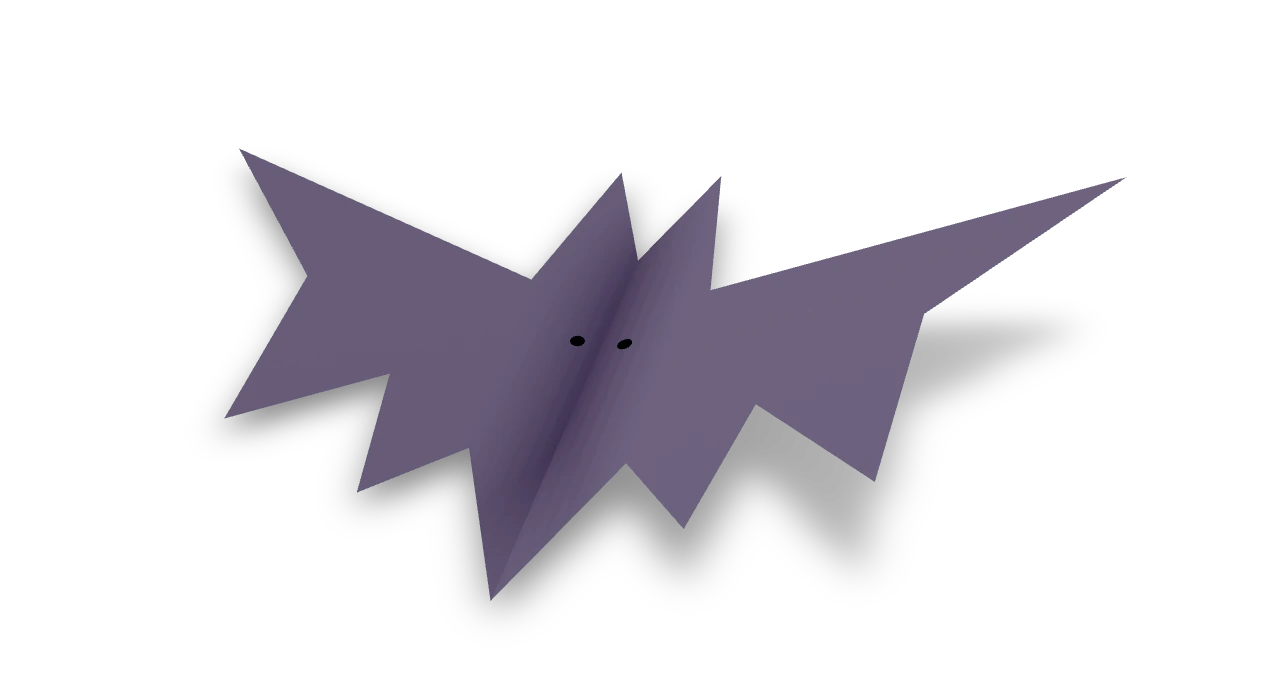
An original Origami Tutor cut-and-fold bat with two pointed ears, matching scalloped wings and a narrow pointed body. Its middle fold gives the wings a shallow V.
Pumpkin ↗
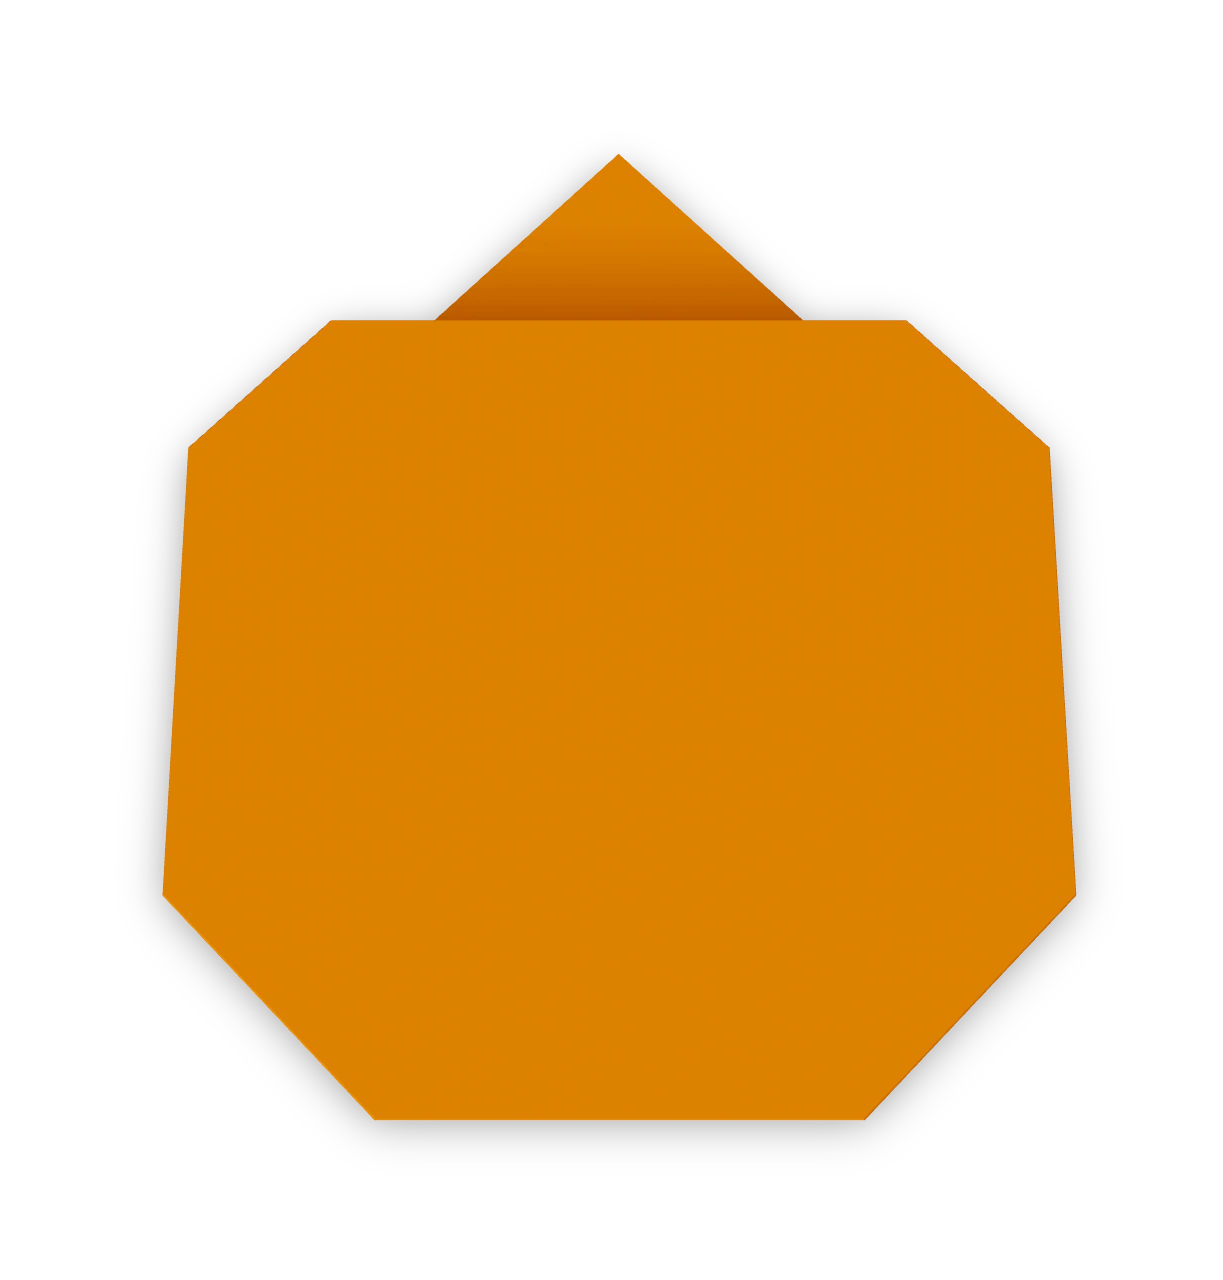
An Origami Tutor pumpkin for Halloween: a round orange body with a small stem on top, folded from one square of orange paper. No cuts or glue.