How to make an origami pumpkin (flat)
Origami Pumpkin (Flat): try all 13 steps in the 3D player. Turn and replay every move. Print the complete diagram sheet or save it as PDF.
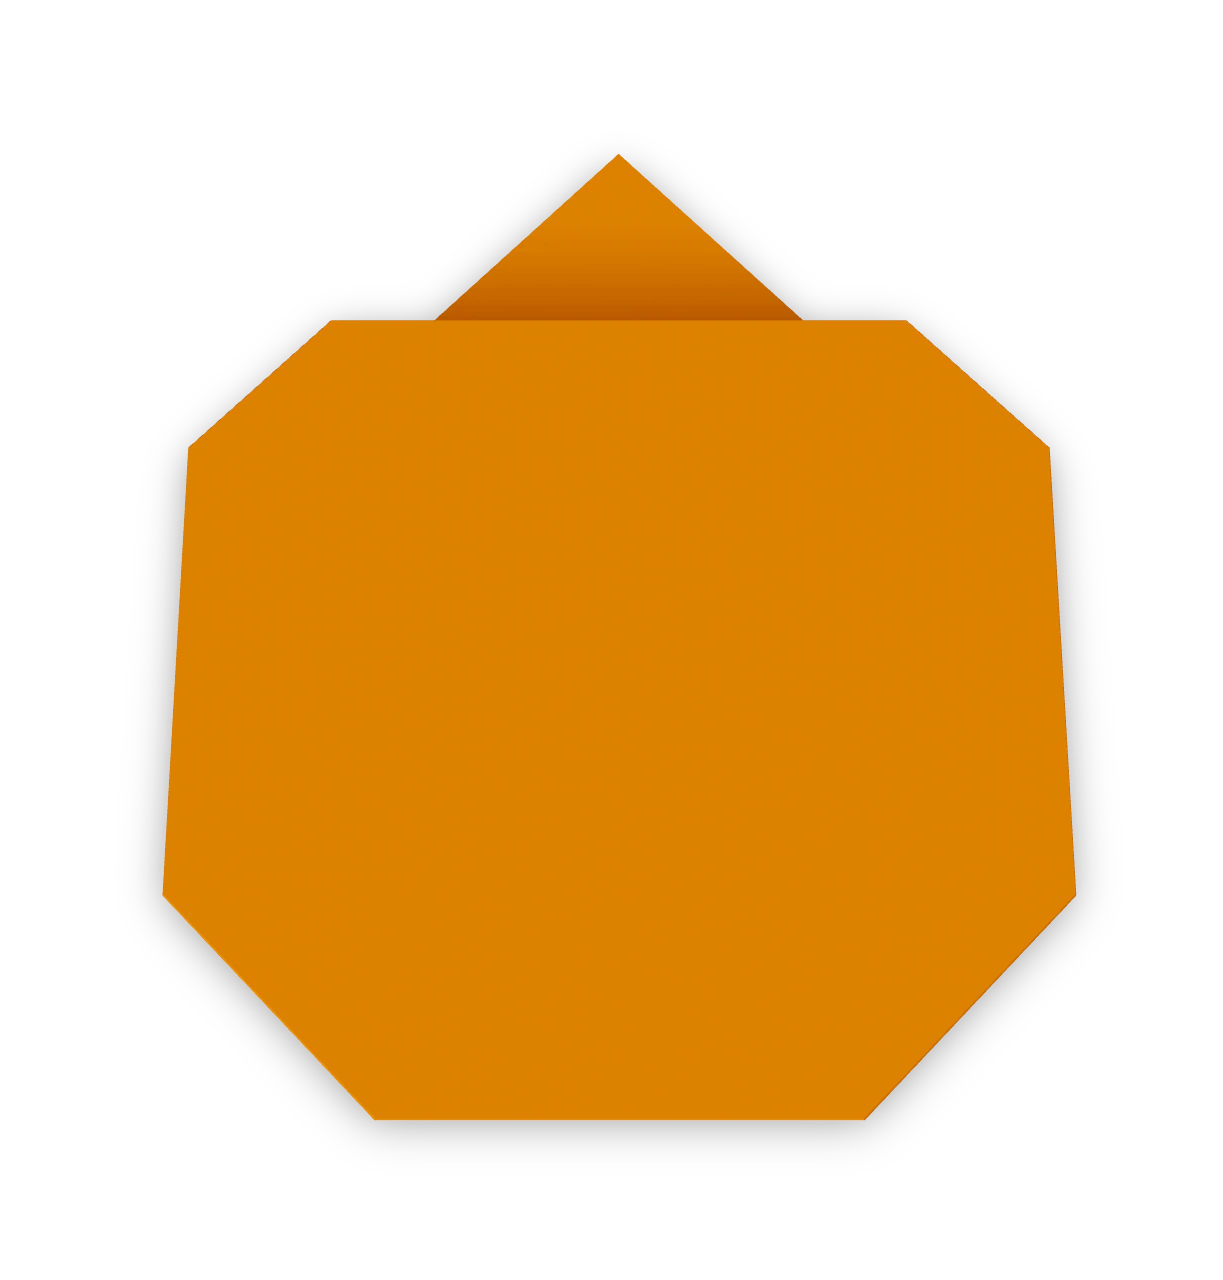
An Origami Tutor pumpkin for Halloween: a round orange body with a small stem on top, folded from one square of orange paper. No cuts or glue.
- You need
- One square of orange origami paper. A marker for the stem and face. No scissors or glue.
- Start
- Use orange paper. Start white side up with one corner pointing up.
- Tips
- Make the bottom corners rounder than the top ones; it makes the pumpkin look plump.
Your model is ready
Press the pumpkin flat. Color the stem green or brown with a marker, and draw a face to turn it into a jack-o'-lantern. The finished pumpkin, round and orange with its stem on top.

Step-by-step diagrams
Steps 1–7
- 1
Crease up and down
Fold the left corner to the right corner, press, and open. This crease runs from the top corner to the bottom corner.
- 2
Fold the left corner in
Fold the left corner to the middle, so its tip touches the crease halfway down.
- 3
Fold the right corner in
Fold the right corner to the middle to meet it.
- 4
Fold the bottom corner up
Fold the bottom corner up a little past the middle, so the bottom edge sits just below the corners you folded in.
- 5
Fold the top corner down
Fold the top corner down to the middle, where the side corners meet.
- 6
Fold the stem up
Fold the tip of the top flap back up, so it pokes out above the top edge. This small point is the stem.
- 7
Turn over
Turn the paper over from side to side. The front is plain orange with the stem on top.
Steps 8–13
- 8
Round the top left
Fold the top left corner behind a little.
- 9
Round the top right
Fold the top right corner behind to match.
- 10
Round the bottom left
Fold the bottom left corner behind, a little more than the top ones.
- 11
Round the bottom right
Fold the bottom right corner behind to match.
- 12
Crease the left rib
Fold the left side over along a line halfway between the middle crease and the left edge. Press and open. This line is one of the pumpkin's ribs.
- 13
Crease the right rib
Fold the right side over the same way to make the other rib. Press and open.
- ✓
Finish
Press the pumpkin flat. Color the stem green or brown with a marker, and draw a face to turn it into a jack-o'-lantern. The finished pumpkin, round and orange with its stem on top.
Fold next
Ghost ↗
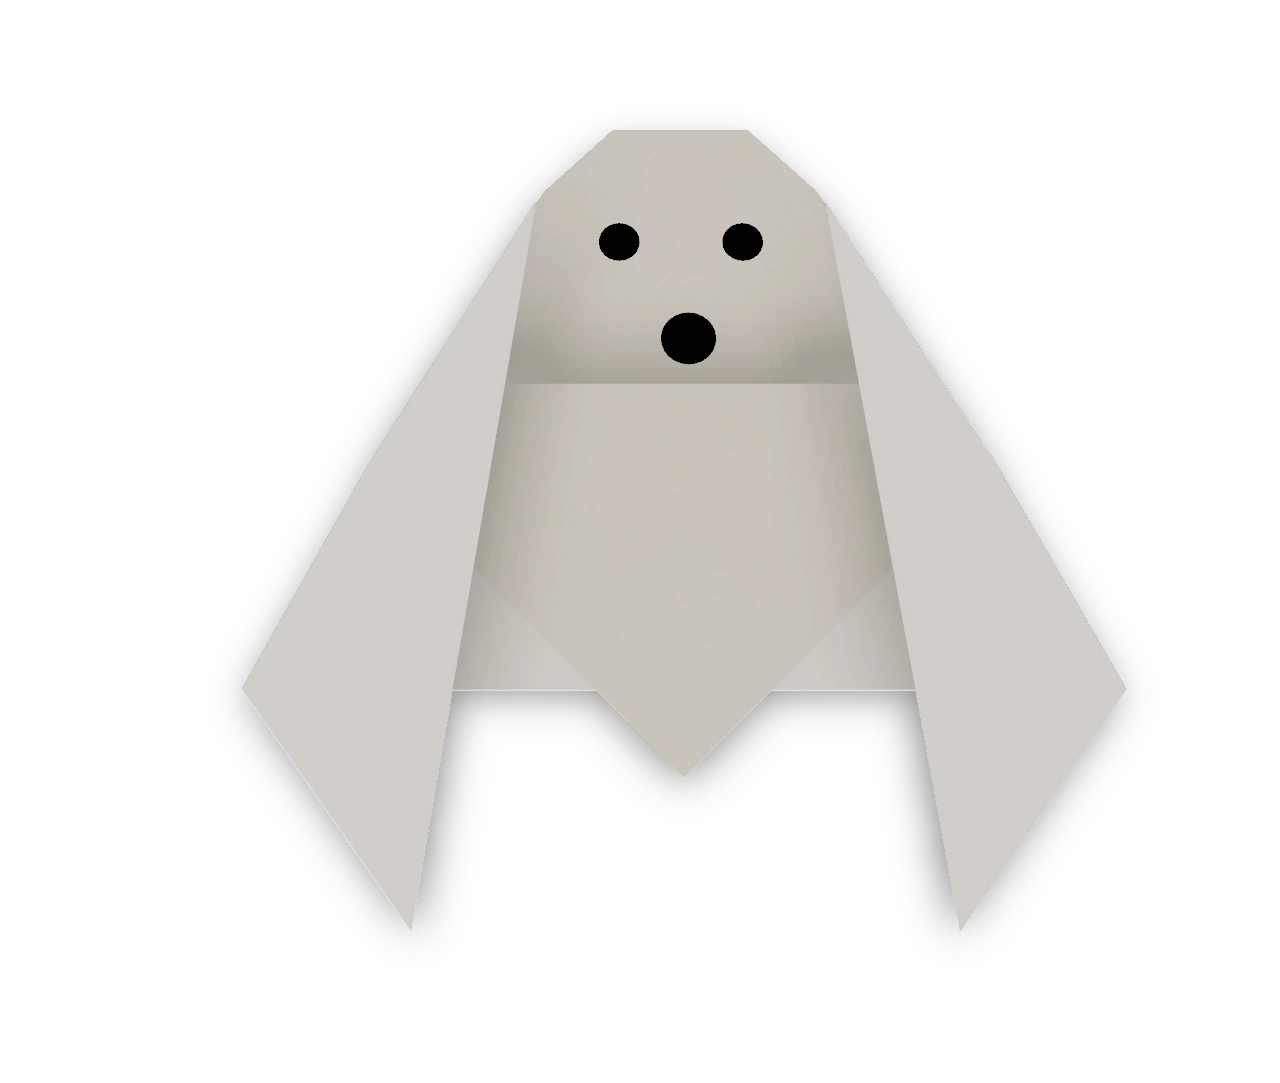
An Origami Tutor ghost for Halloween: a round white head and a wavy sheet with three points hanging below. Fold one square of white paper and draw the face.
Cat face ↗
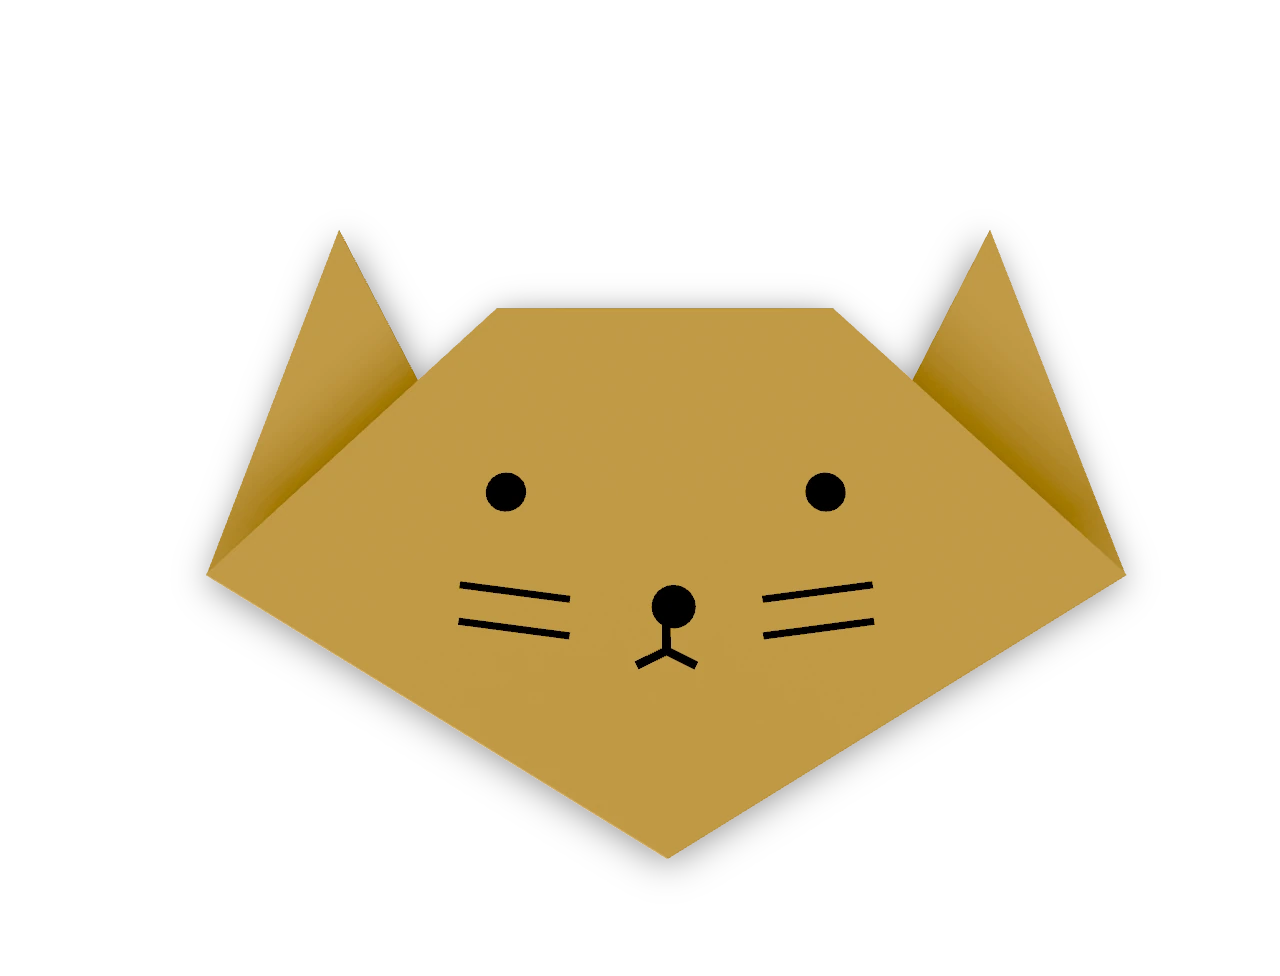
A traditional triangle cat head with two pointed ears and a straight forehead.
Fox face ↗
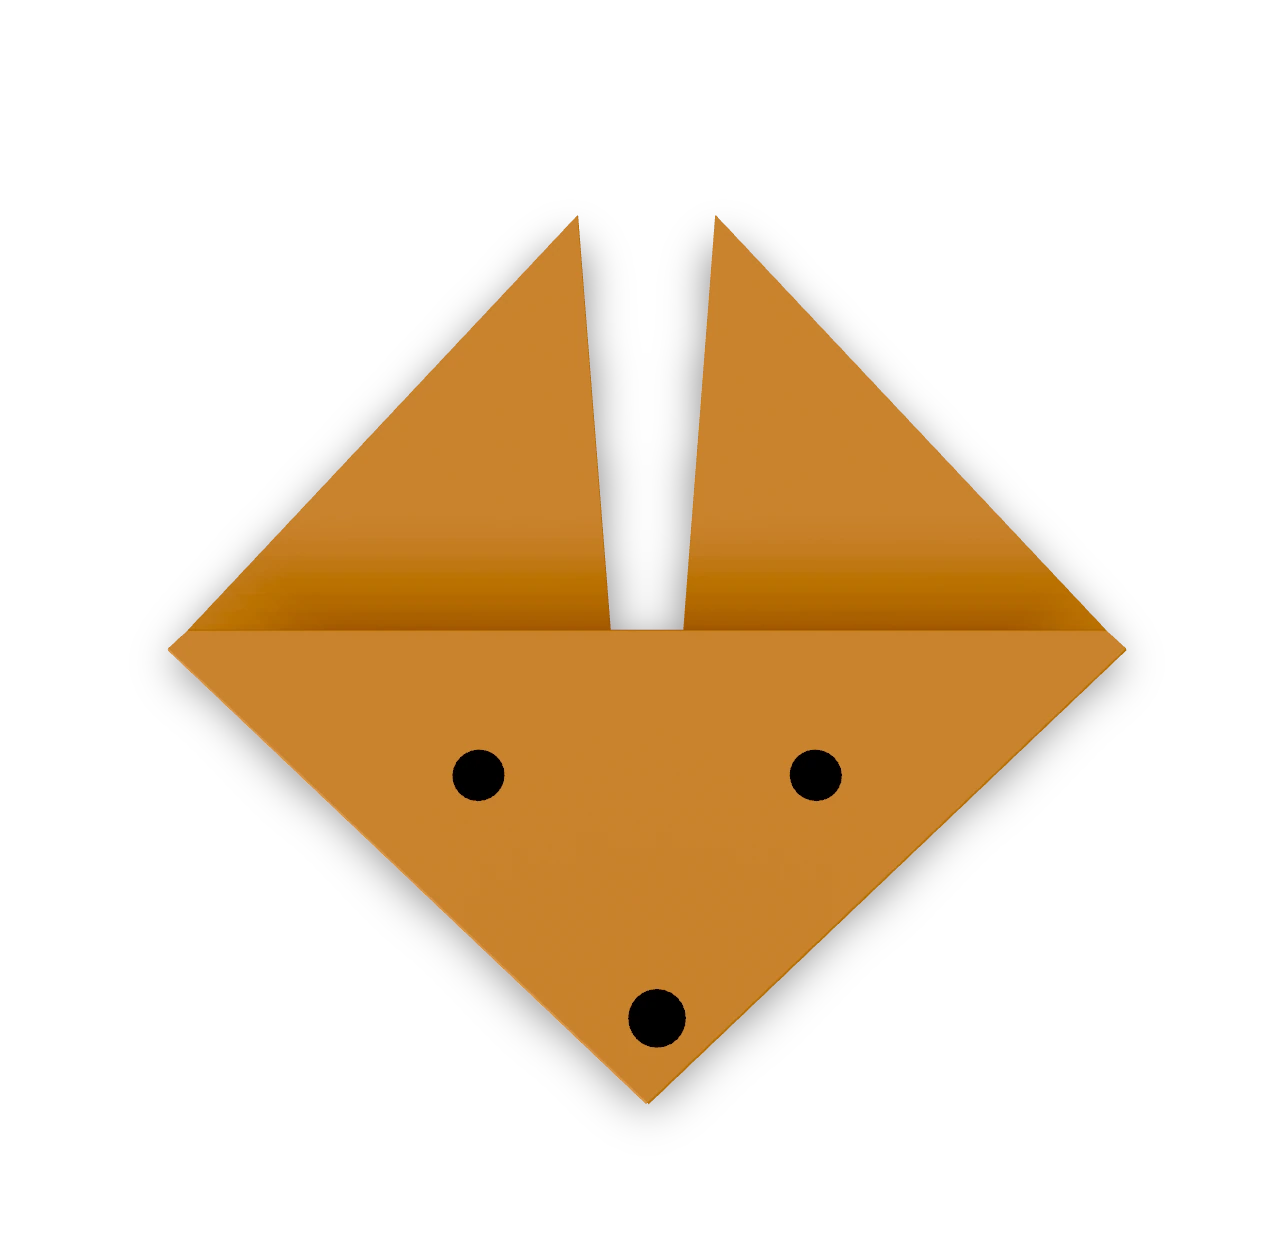
The traditional pointed fox face, recorded in Japan in 1878, with two tall ears.

Simple crow ↗
The traditional simple crow: a long kite-shaped body and a short beak folded over its head.