How to make a paper bat: fold and cut
Paper Bat: try all 5 steps in the 3D player. Turn and replay every move. Print the complete diagram sheet or save it as PDF.
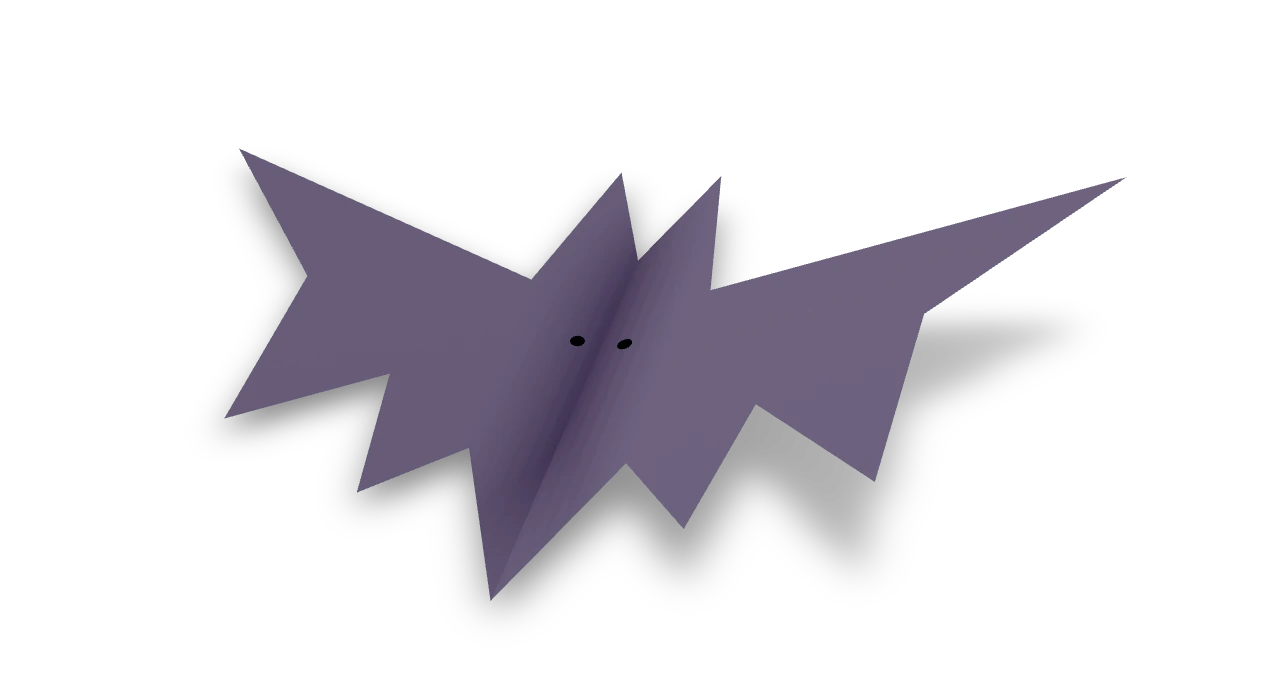
An original Origami Tutor cut-and-fold bat with two pointed ears, matching scalloped wings and a narrow pointed body. Its middle fold gives the wings a shallow V.
- You need
- One square of thin black or purple paper, a pencil, scissors and a pen for the eyes. No glue.
- Start
- Start with a square of black or purple paper, colored side up and an edge at the top. You will cut through both layers while it is folded in half.
- Tips
- Draw the outline lightly before cutting through both layers.
- Leave the folded edge between the head and tail uncut so the two halves stay joined.
- Use a pale pencil for the eyes on black paper.
Your model is ready
Add two small eyes on the head. Your paper bat is ready to hang by a thread or place among your Halloween decorations.

Step-by-step diagrams
- 1
Fold the square in half
Bring the left edge across to the right edge. Match the corners and press the upright fold. Keep the folded edge on the left.
- 2
Cut the ears and upper wing
Draw the upper outline shown: start on the folded edge about a quarter of the way down, rise to one pointed ear, dip beside the head, then run out to the wingtip. Cut through both layers and remove the paper above the line.
- 3
Cut the wing scallops
From the wingtip, cut inward and outward along the three pointed scallops. Finish at the folded edge about two thirds of the way down the square. Keep the head and wing above this line together.
- 4
Open the bat
Open the two layers. The ears and scalloped wings match on both sides of the middle crease.
- 5
Give the wings a shallow bend
Bend the bat gently along its middle crease, bringing the two wings a little toward each other. Keep them spread in a shallow V.
- ✓
Finish
Add two small eyes on the head. Your paper bat is ready to hang by a thread or place among your Halloween decorations.
Fold next
Cat face ↗
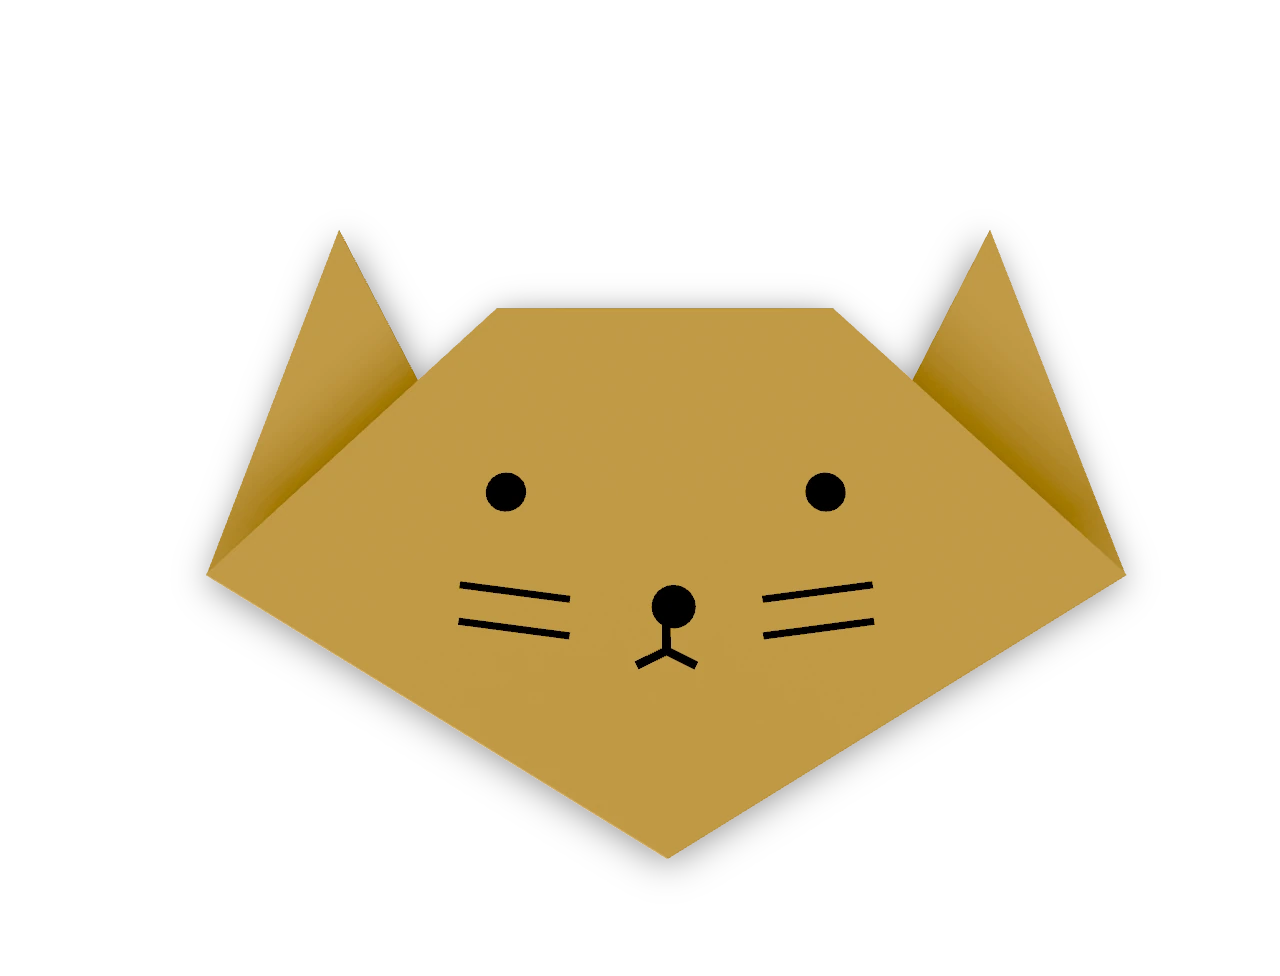
A traditional triangle cat head with two pointed ears and a straight forehead.
Fox face ↗
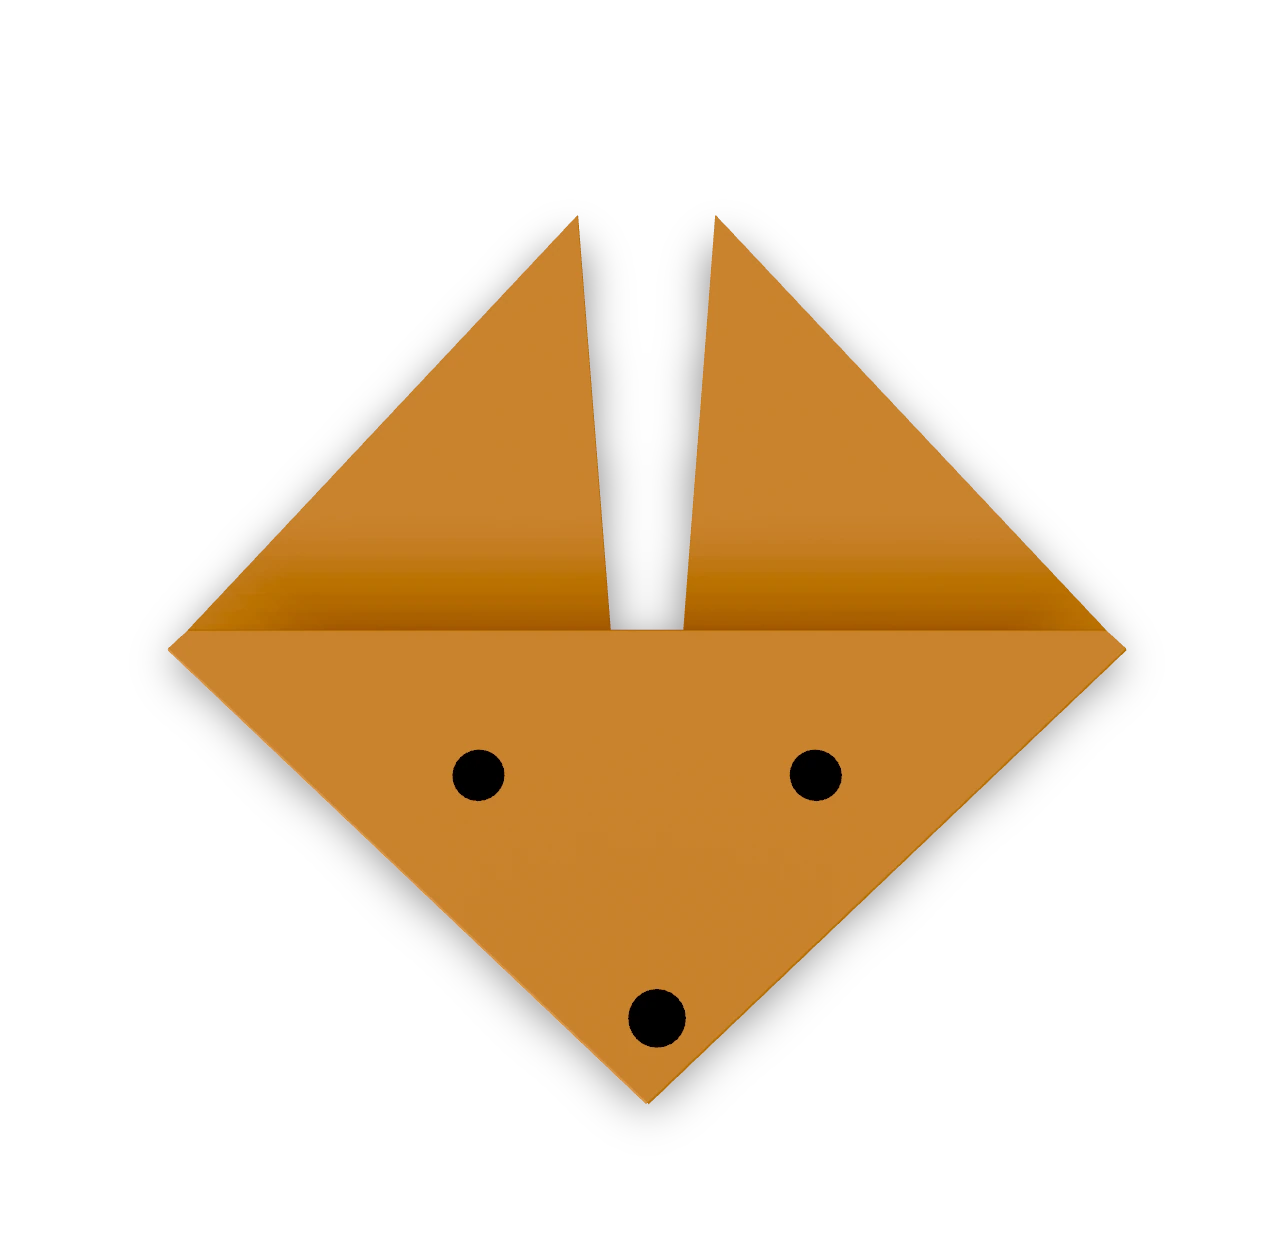
The traditional pointed fox face, recorded in Japan in 1878, with two tall ears.

Simple crow ↗
The traditional simple crow: a long kite-shaped body and a short beak folded over its head.

Pumpkin ↗
An Origami Tutor pumpkin for Halloween: a round orange body with a small stem on top, folded from one square of orange paper. No cuts or glue.