How to make a carrier pigeon paper airplane
Carrier Pigeon Paper Airplane: try all 7 steps in the 3D player. Turn and replay every move. Print the complete diagram sheet or save it as PDF.
The traditional carrier pigeon glider: a short folded nose and two broad wings. It is a flier, not the standing bird of the origami pigeon lesson.
- You need
- One square of origami paper. No glue or scissors.
- Start
- Start white side up, with one corner pointing up. The wings will show the color.
- Tips
- Match the two wing roots so the bird opens evenly.
Your model is ready
Hold the folded middle from underneath and launch the bird gently.

Step-by-step diagrams
- 1
Make a triangle
Bring the bottom corner up to the top corner and press the long fold.
- 2
Fold the nose down
Fold the top point down along the marked line. Its tip goes a little beyond the triangle's long edge.
- 3
Close the body
Fold the left half behind the right half, bringing the two wing corners together.
- 4
Fold the front wing
Fold the front wing over along the slanted line, leaving a narrow strip beside the middle fold for the body.
- 5
Fold the back wing
Fold the remaining wing behind along the same slanted line, matching the front wing.
- 6
Turn along the wing roots
Turn the folded glider around so its body fold is at the left and its slanted wing folds run from top to bottom.
- 7
Spread both wings
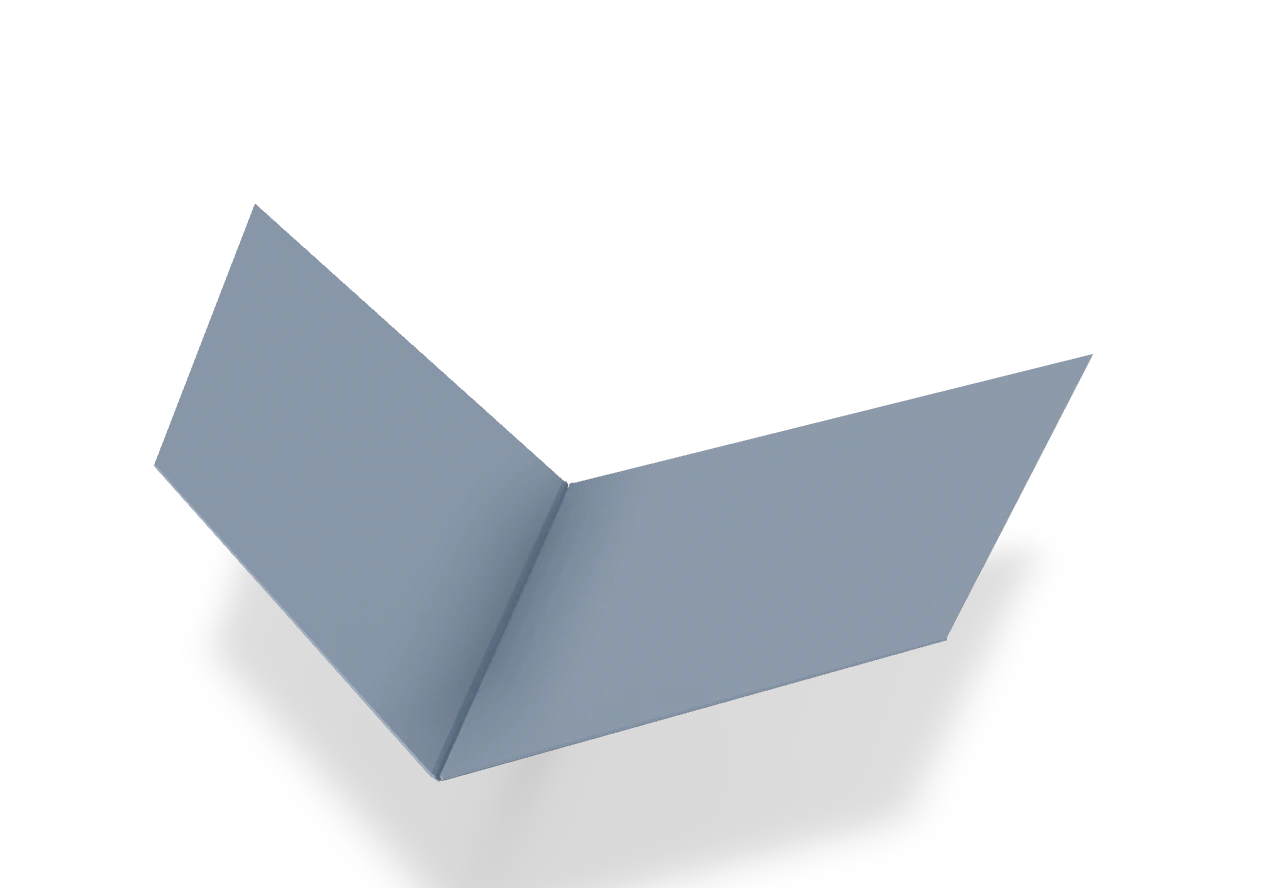
Open both broad wings away from the narrow middle. Leave a shallow V, with the small center triangle standing above the wings and both tips a little higher than their roots. Then turn the plane upright, keel below.
- ✓
Finish
Hold the folded middle from underneath and launch the bird gently.
Fold next
Dog face ↗
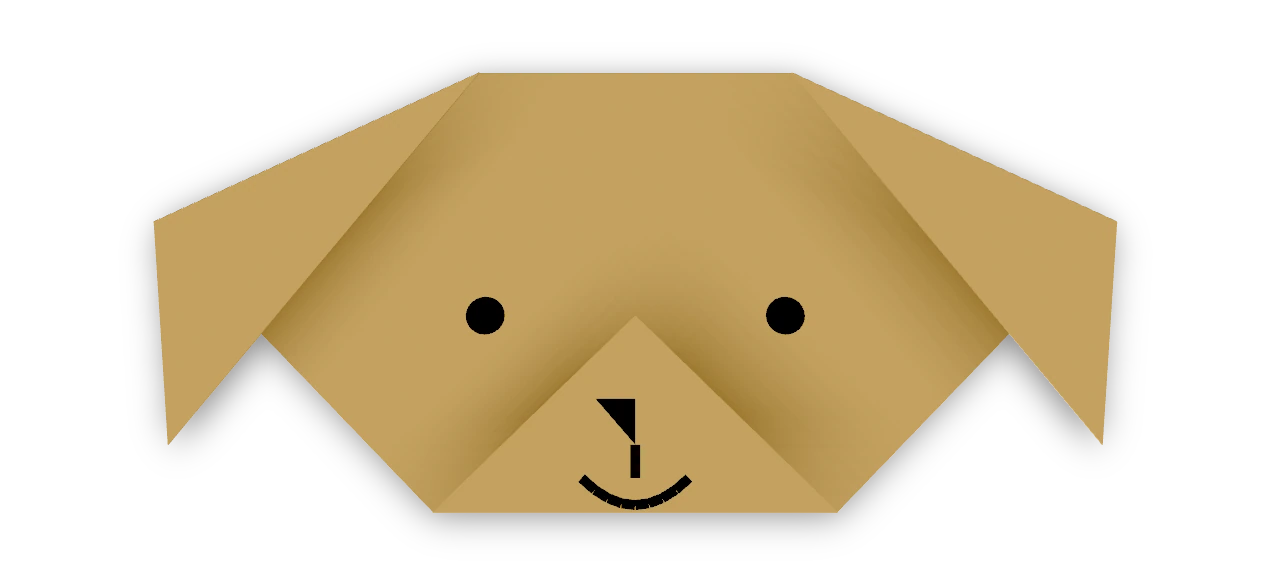
Fold floppy ears and a little muzzle, then give your paper dog a face.
Cat face ↗
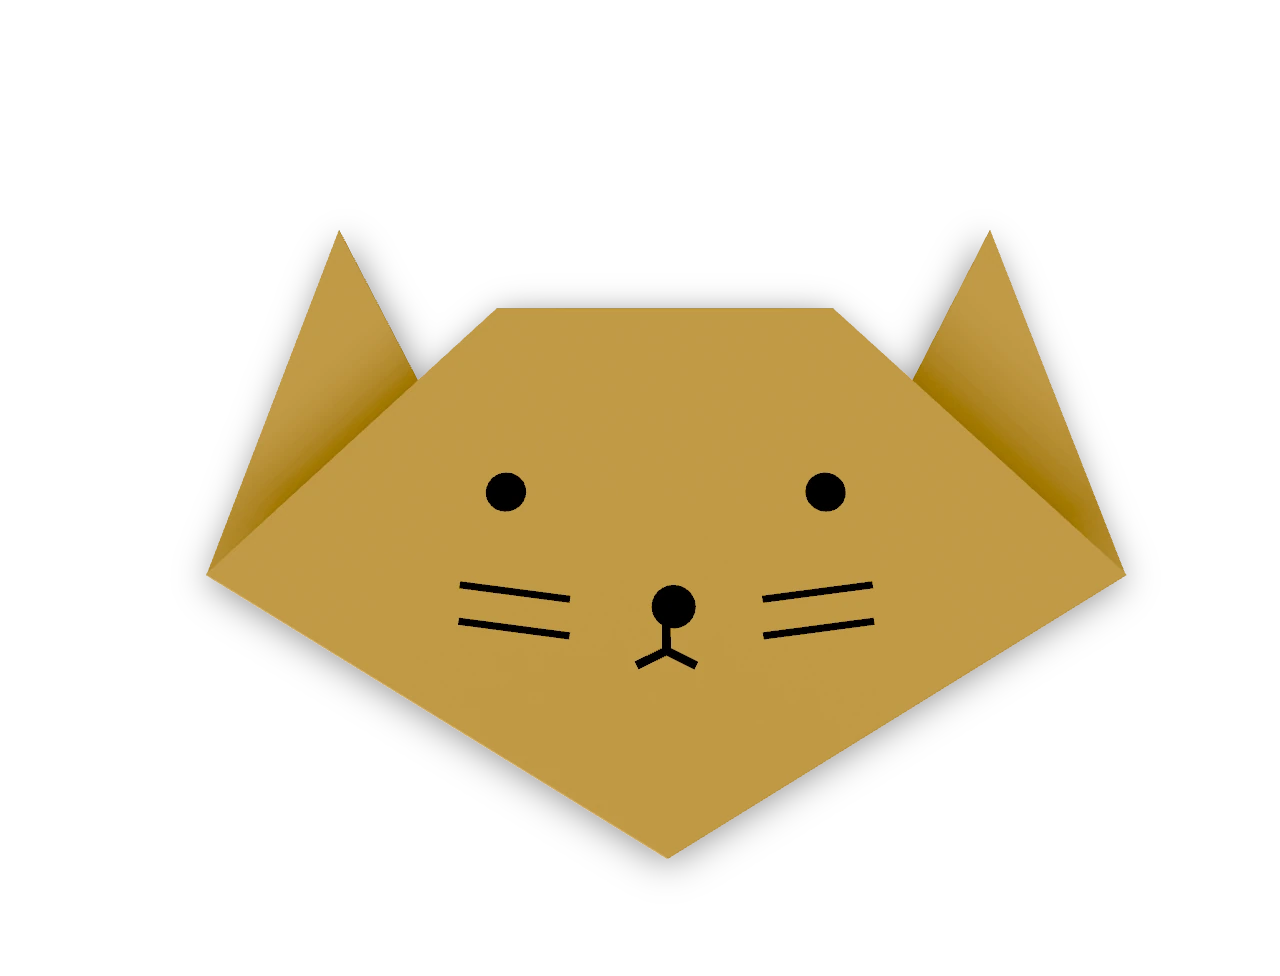
A traditional triangle cat head with two pointed ears and a straight forehead.
Fox face ↗
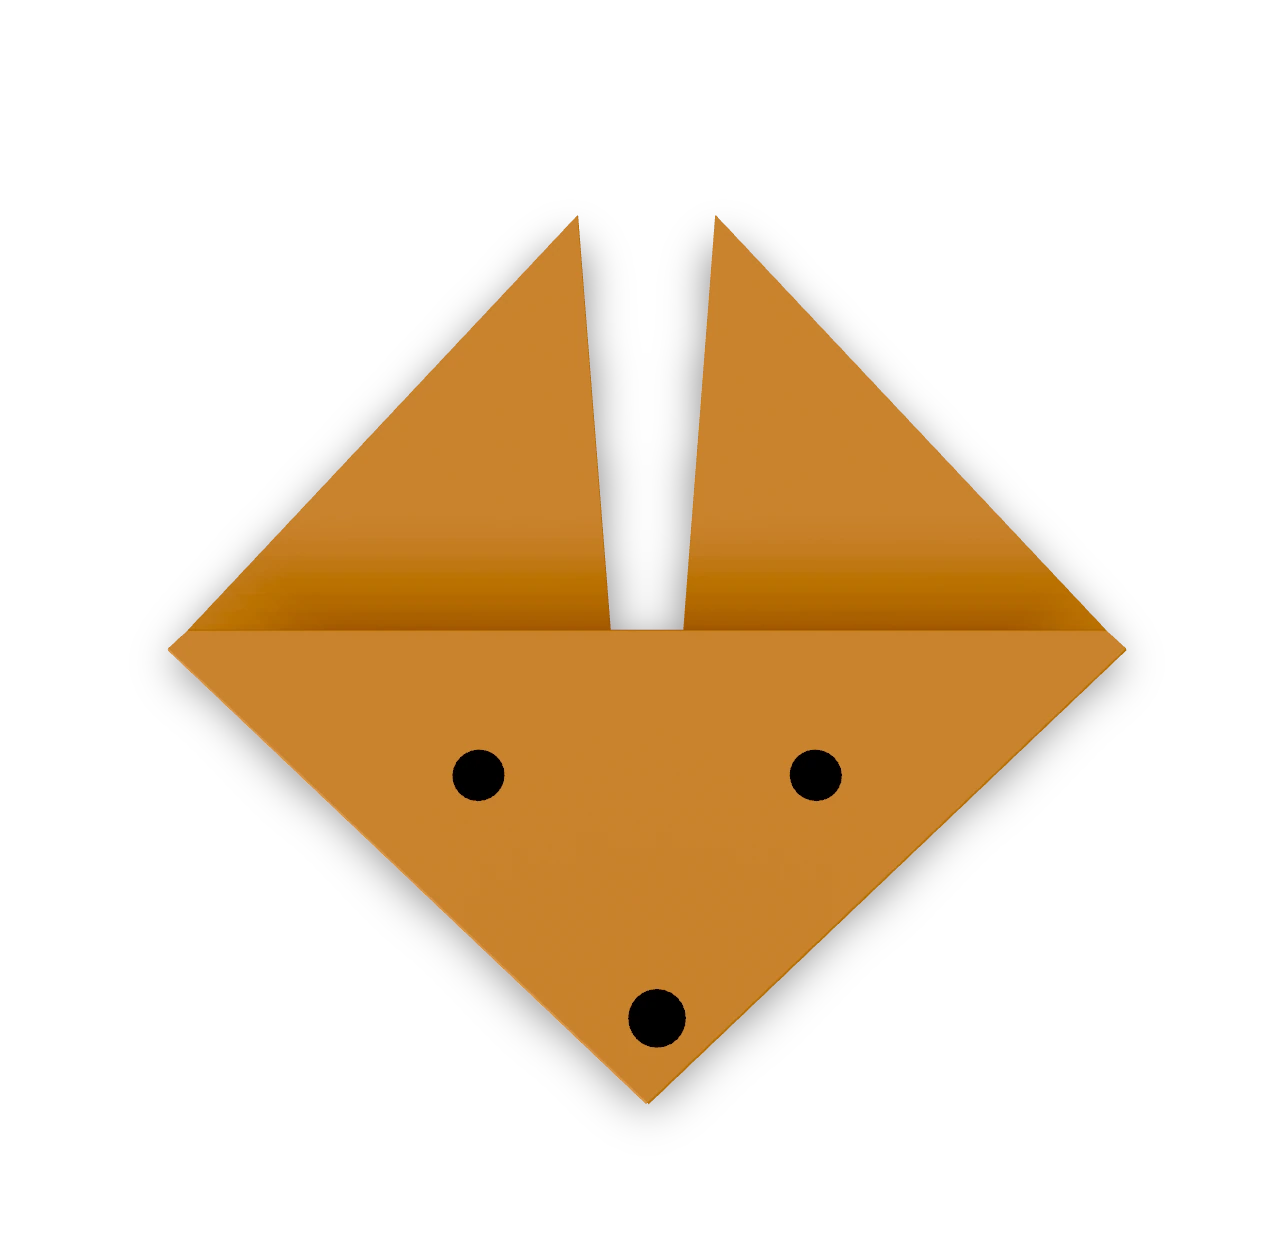
The traditional pointed fox face, recorded in Japan in 1878, with two tall ears.
Turtle ↗
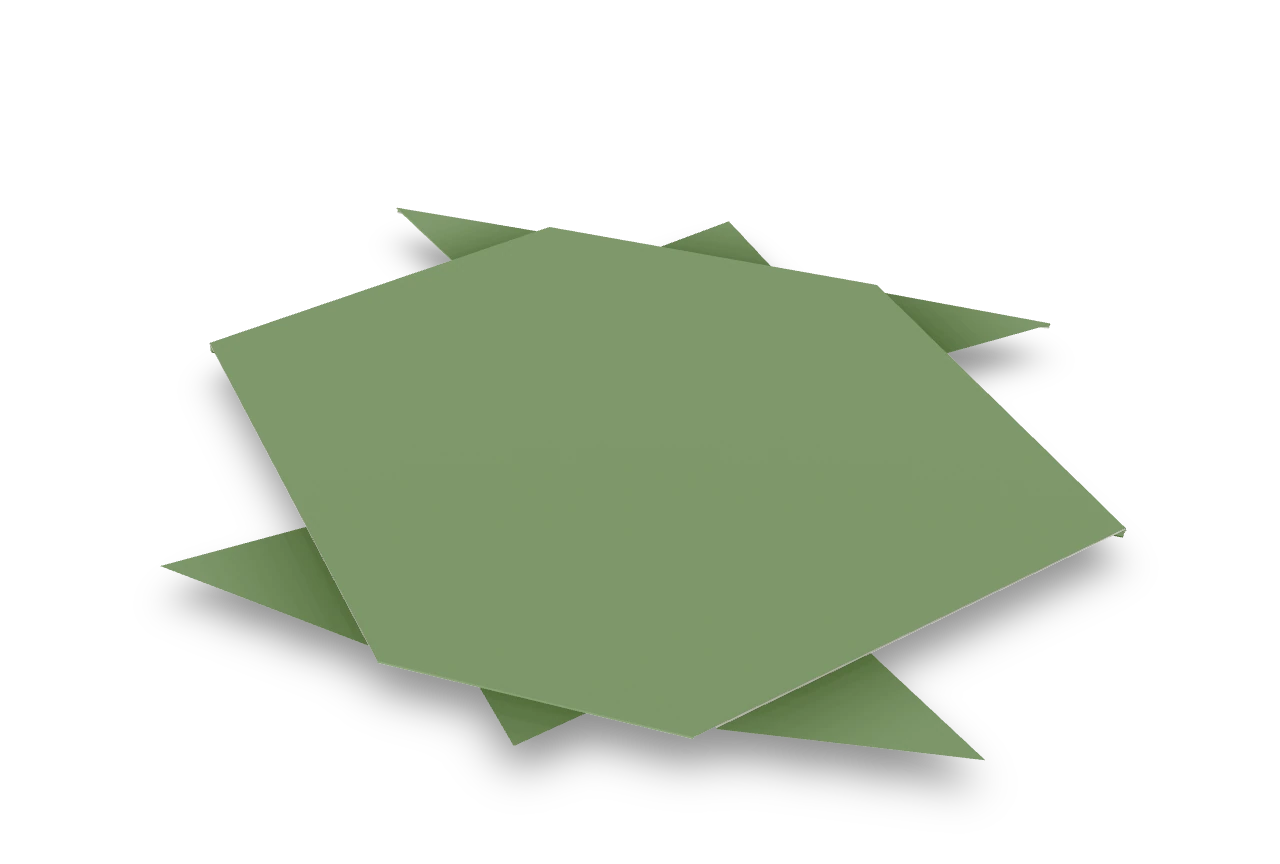
The common cut turtle with four pointed feet, a small head and tail, and a colored shell. One slit divides the rear feet while leaving the shell underneath whole.