How to make an origami caterpillar
Origami Caterpillar: try all 16 steps in the 3D player. Turn and replay every move. Print the complete diagram sheet or save it as PDF.
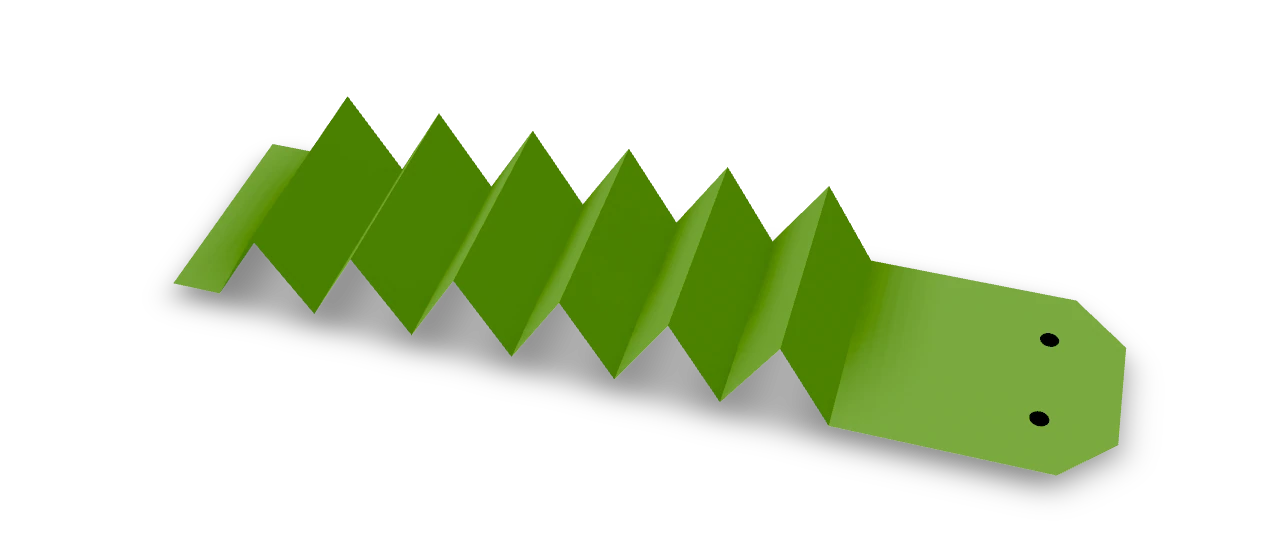
An Origami Tutor caterpillar folded from one long rectangle. The body rises into six accordion humps, and the same sheet continues into the flat head. Two corner folds blunt the nose. Only two small eye dots are drawn; there are no separate face pieces or antennae.
- You need
- One 15 × 2.2 cm rectangle of paper, a ruler and an optional pen for two small eyes. No glue or scissors.
- Start
- Begin with one 15 × 2.2 cm paper rectangle, green on both sides, with a long edge horizontal.
- Tips
- Keep each pair of long body panels equal so the six humps match.
- Do not press the accordion completely flat at Finish.
Finish
Your folded caterpillar has six raised body humps and a flat head from the same strip. Add two small eye dots near its blunt front end.

Step-by-step diagrams
Steps 1–6
- 1
Mark body guide 1
Measure 0.5 cm from the left short edge. Fold straight across the width and reopen. The first band is 5 mm; the following body panels are 1 cm each.
- 2
Mark body guide 2
Measure 1.5 cm from the left short edge. Fold straight across the width and reopen. The first band is 5 mm; the following body panels are 1 cm each.
- 3
Mark body guide 3
Measure 2.5 cm from the left short edge. Fold straight across the width and reopen. The first band is 5 mm; the following body panels are 1 cm each.
- 4
Mark body guide 4
Measure 3.5 cm from the left short edge. Fold straight across the width and reopen. The first band is 5 mm; the following body panels are 1 cm each.
- 5
Mark body guide 5
Measure 4.5 cm from the left short edge. Fold straight across the width and reopen. The first band is 5 mm; the following body panels are 1 cm each.
- 6
Mark body guide 6
Measure 5.5 cm from the left short edge. Fold straight across the width and reopen. The first band is 5 mm; the following body panels are 1 cm each.
Steps 7–12
- 7
Mark body guide 7
Measure 6.5 cm from the left short edge. Fold straight across the width and reopen. The first band is 5 mm; the following body panels are 1 cm each.
- 8
Mark body guide 8
Measure 7.5 cm from the left short edge. Fold straight across the width and reopen. The first band is 5 mm; the following body panels are 1 cm each.
- 9
Mark body guide 9
Measure 8.5 cm from the left short edge. Fold straight across the width and reopen. The first band is 5 mm; the following body panels are 1 cm each.
- 10
Mark body guide 10
Measure 9.5 cm from the left short edge. Fold straight across the width and reopen. The first band is 5 mm; the following body panels are 1 cm each.
- 11
Mark body guide 11
Measure 10.5 cm from the left short edge. Fold straight across the width and reopen. The first band is 5 mm; the following body panels are 1 cm each.
- 12
Mark body guide 12
Measure 11.5 cm from the left short edge. Fold straight across the width and reopen. The first band is 5 mm; the following body panels are 1 cm each.
Steps 13–16
- 13
Mark the head root
Crease straight across 12.5 cm from the left end and reopen. The remaining 2.5 cm panel becomes the head.
- 14
Round the upper head corner
Fold the upper-right corner diagonally behind the head, turning in 5 mm along each edge.
- 15
Round the lower head corner
Fold the lower-right corner behind in the same way. The front end now has two blunt corners.
- 16
Raise the six body humps
Keep the short tail band flat. Fold the body guides alternately up and down to make six equal humps. Return the head along its guide so that it lies level beyond the last hump.
- ✓
Finish
Your folded caterpillar has six raised body humps and a flat head from the same strip. Add two small eye dots near its blunt front end.
Fold next
Dog face ↗
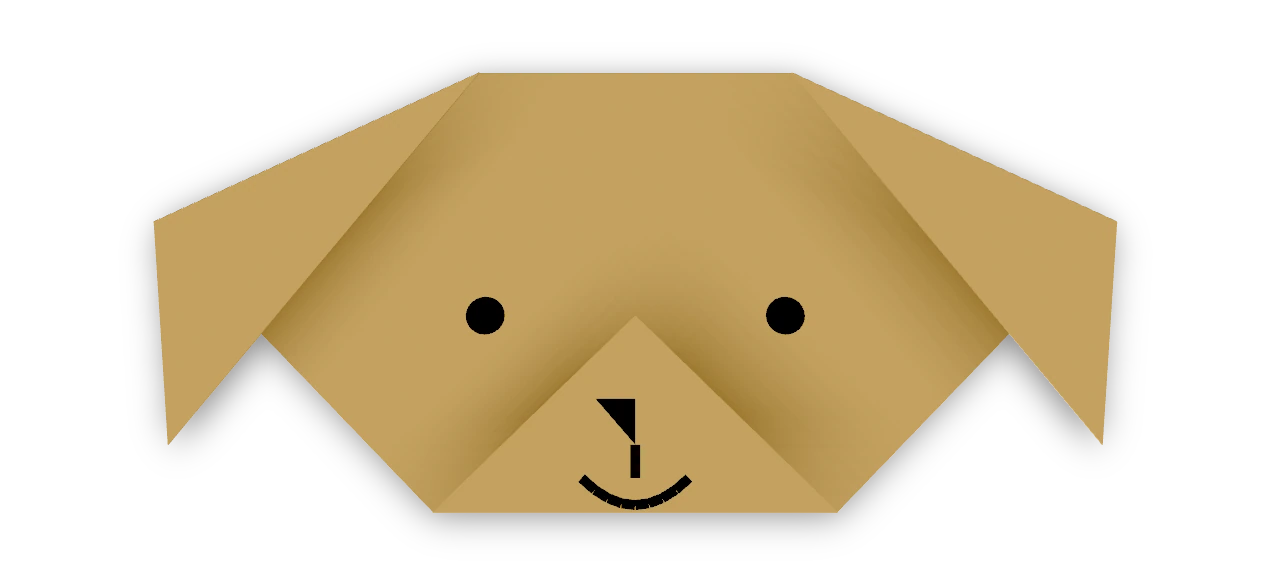
Fold floppy ears and a little muzzle, then give your paper dog a face.
Cat face ↗
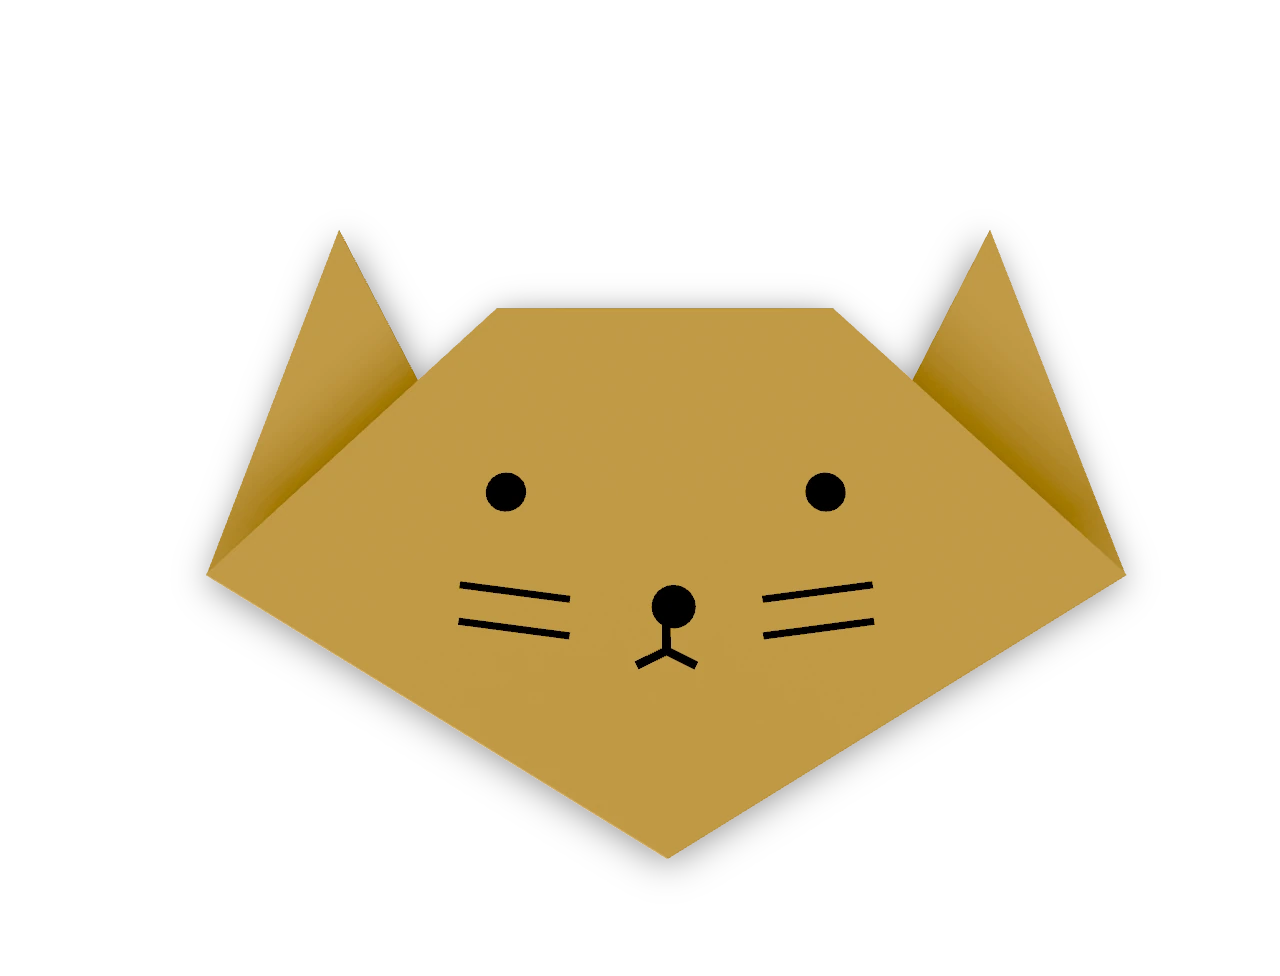
A traditional triangle cat head with two pointed ears and a straight forehead.
Fox face ↗
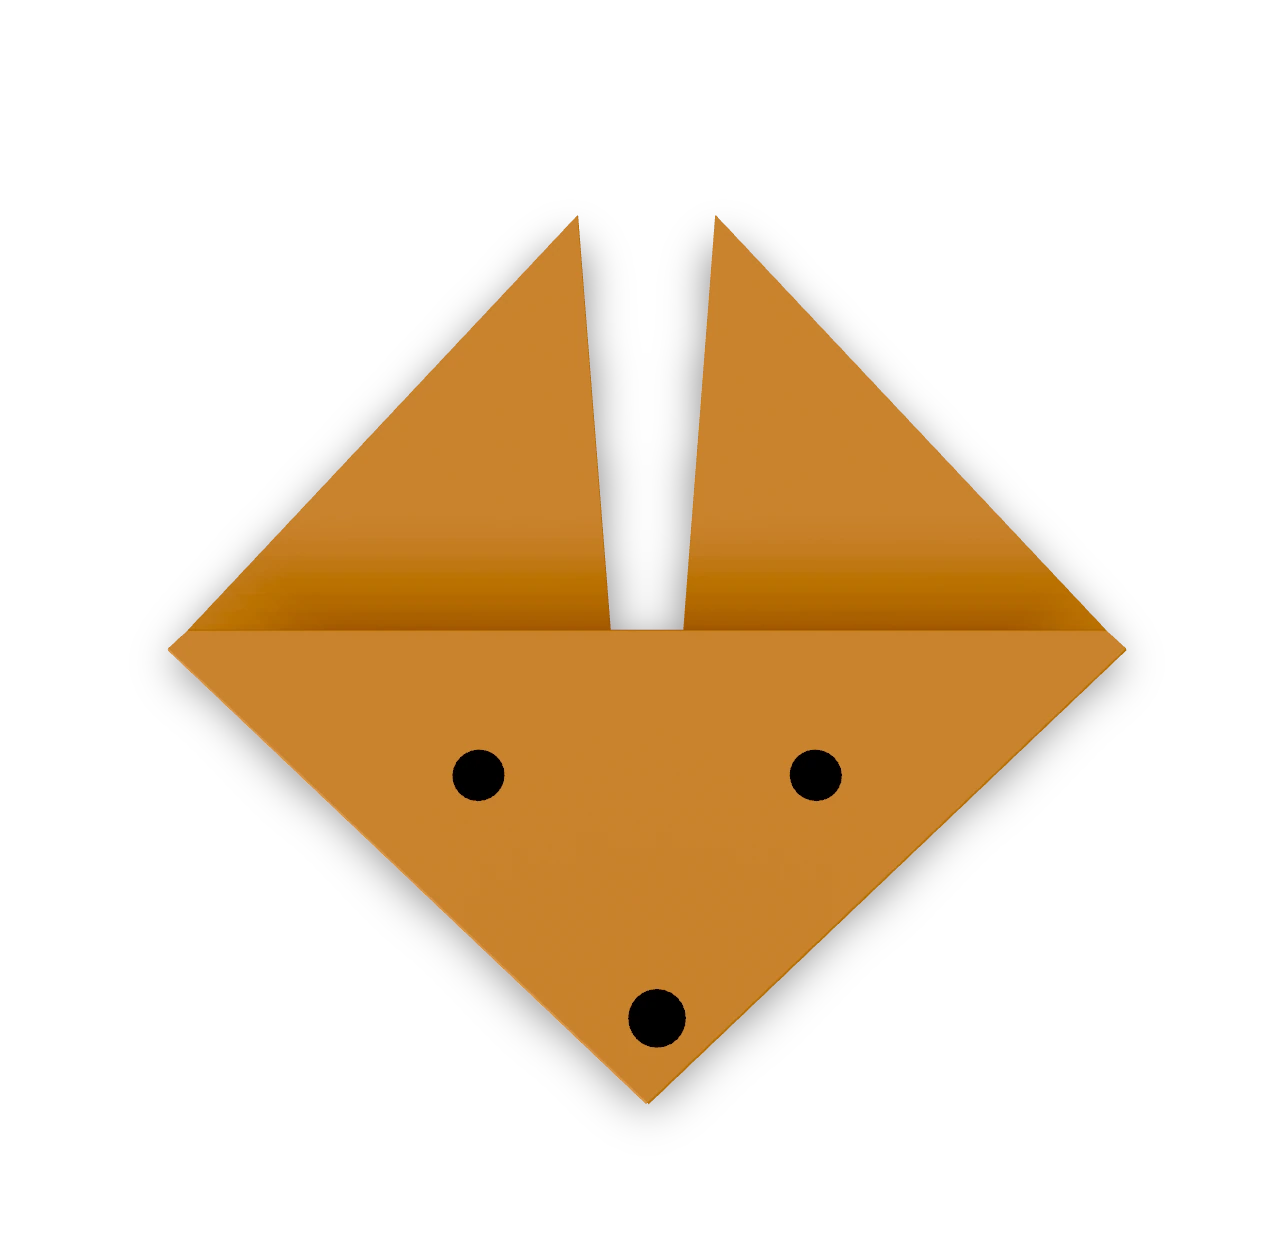
The traditional pointed fox face, recorded in Japan in 1878, with two tall ears.
Turtle ↗
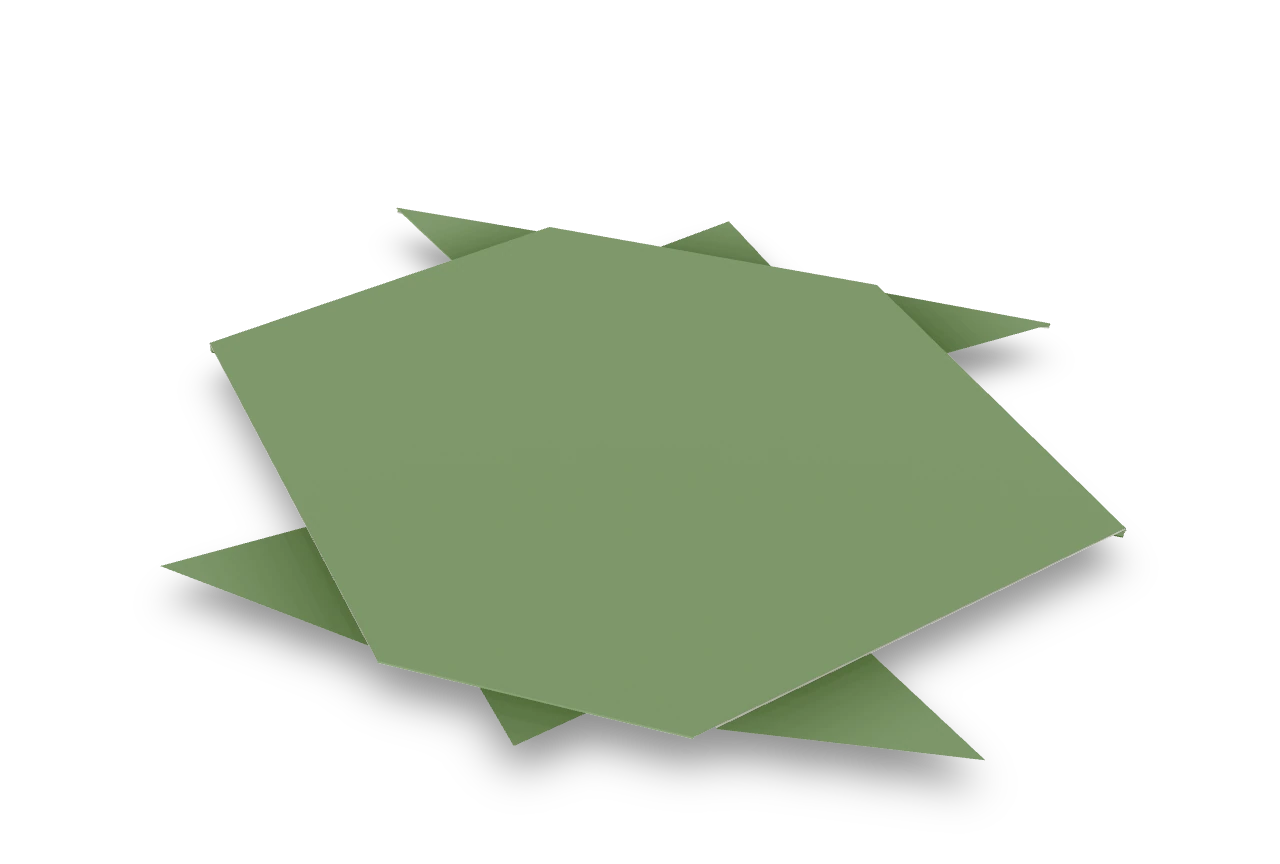
The common cut turtle with four pointed feet, a small head and tail, and a colored shell. One slit divides the rear feet while leaving the shell underneath whole.