How to make an origami cicada
Origami Cicada: try all 10 steps in the 3D player. Turn and replay every move. Print the complete diagram sheet or save it as PDF.
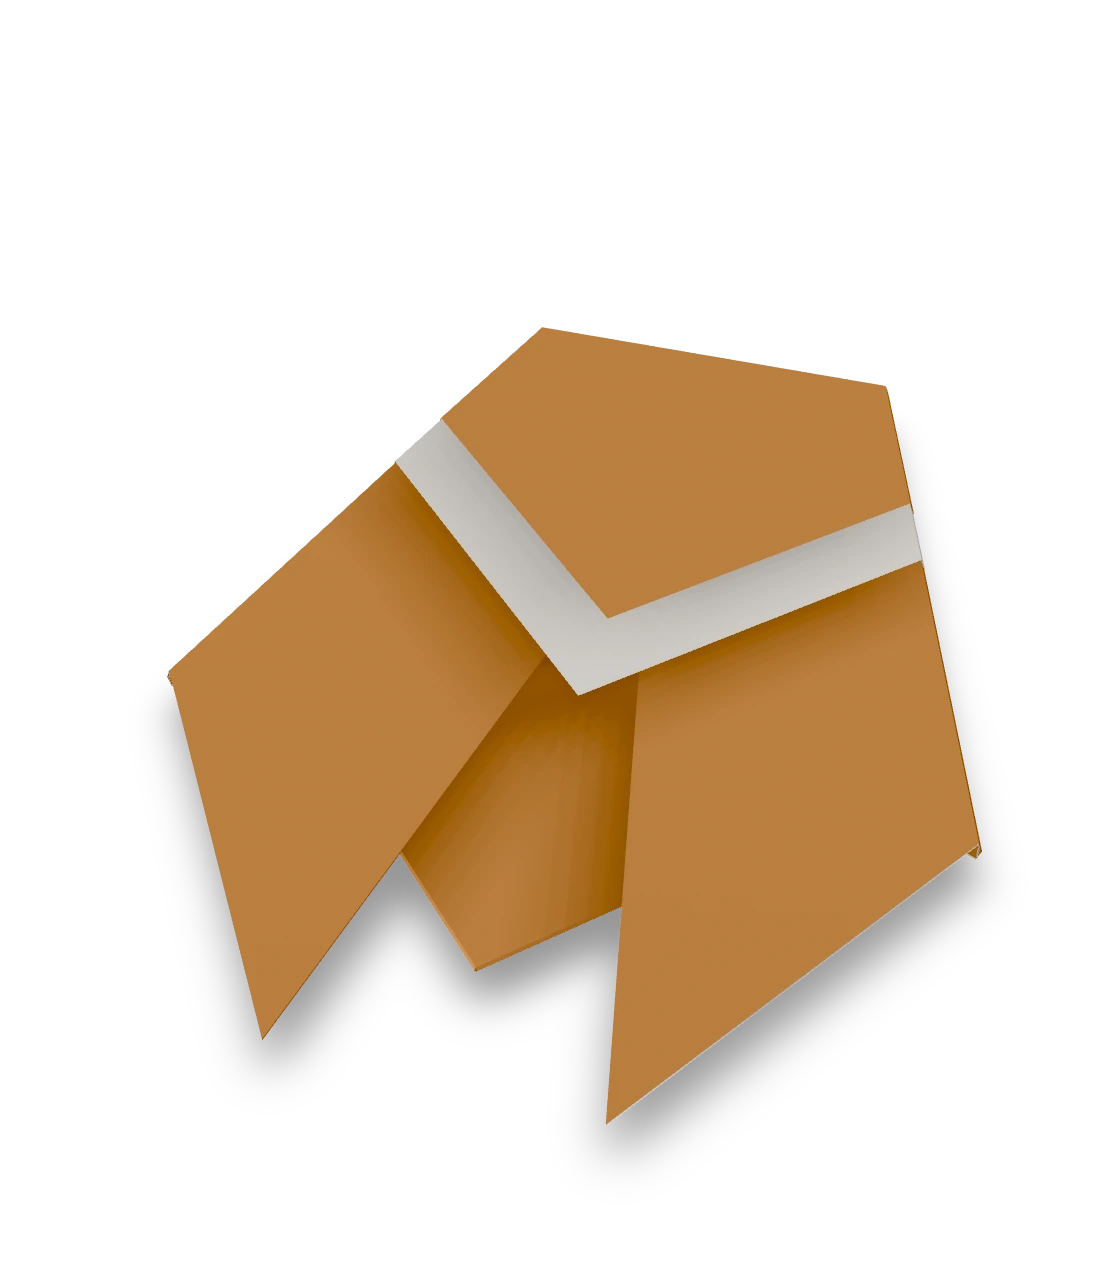
The traditional helmet-base cicada, with two long wings and a white V below its head.
- You need
- One square of two-color origami paper. No glue or scissors.
- Start
- Start white side up, with one corner pointing up. The colored reverse becomes the head and wings.
- Tips
- Match the wing angles before pressing their folds.
- Leave a little white paper showing below the head flap.
Your model is ready
Your cicada is folded. Press the sides flat and draw two small eyes on the head if you like. The finished cicada, with its head above the wings.

Step-by-step diagrams
- 1
Fold a triangle
Fold the bottom corner up to the top corner.
- 2
Mark the middle
Fold the left corner to the right corner, press, and open again.
- 3
Raise the left corner
Fold the left corner up to the top point. Its lower edge meets the middle crease.
- 4
Raise the right corner
Fold the right corner up to the same point, making a small diamond.
- 5
Lower the left wing
Fold the front left point down along the sloping line. Let its tip reach a little to the left of the bottom point.
- 6
Lower the right wing
Fold the front right point down the same way. Match the two wing tips, leaving a narrow gap between them.
- 7
Fold the white chest
Fold just the front layer of the top point down across the wings. Its point stays on the middle crease.
- 8
Fold the colored head
Fold the remaining top point down. Stop a little above the white point, leaving a white V showing below the colored head.
- 9
Narrow the left side
Fold the left side behind along the sloping line, taking the wing's outer edge with it. Keep the head and lower wing tip in place.
- 10
Narrow the right side
Fold the right side behind to match the left side. Press both wings flat.
- ✓
Finish
Your cicada is folded. Press the sides flat and draw two small eyes on the head if you like. The finished cicada, with its head above the wings.
Fold next
Paper airplane ↗
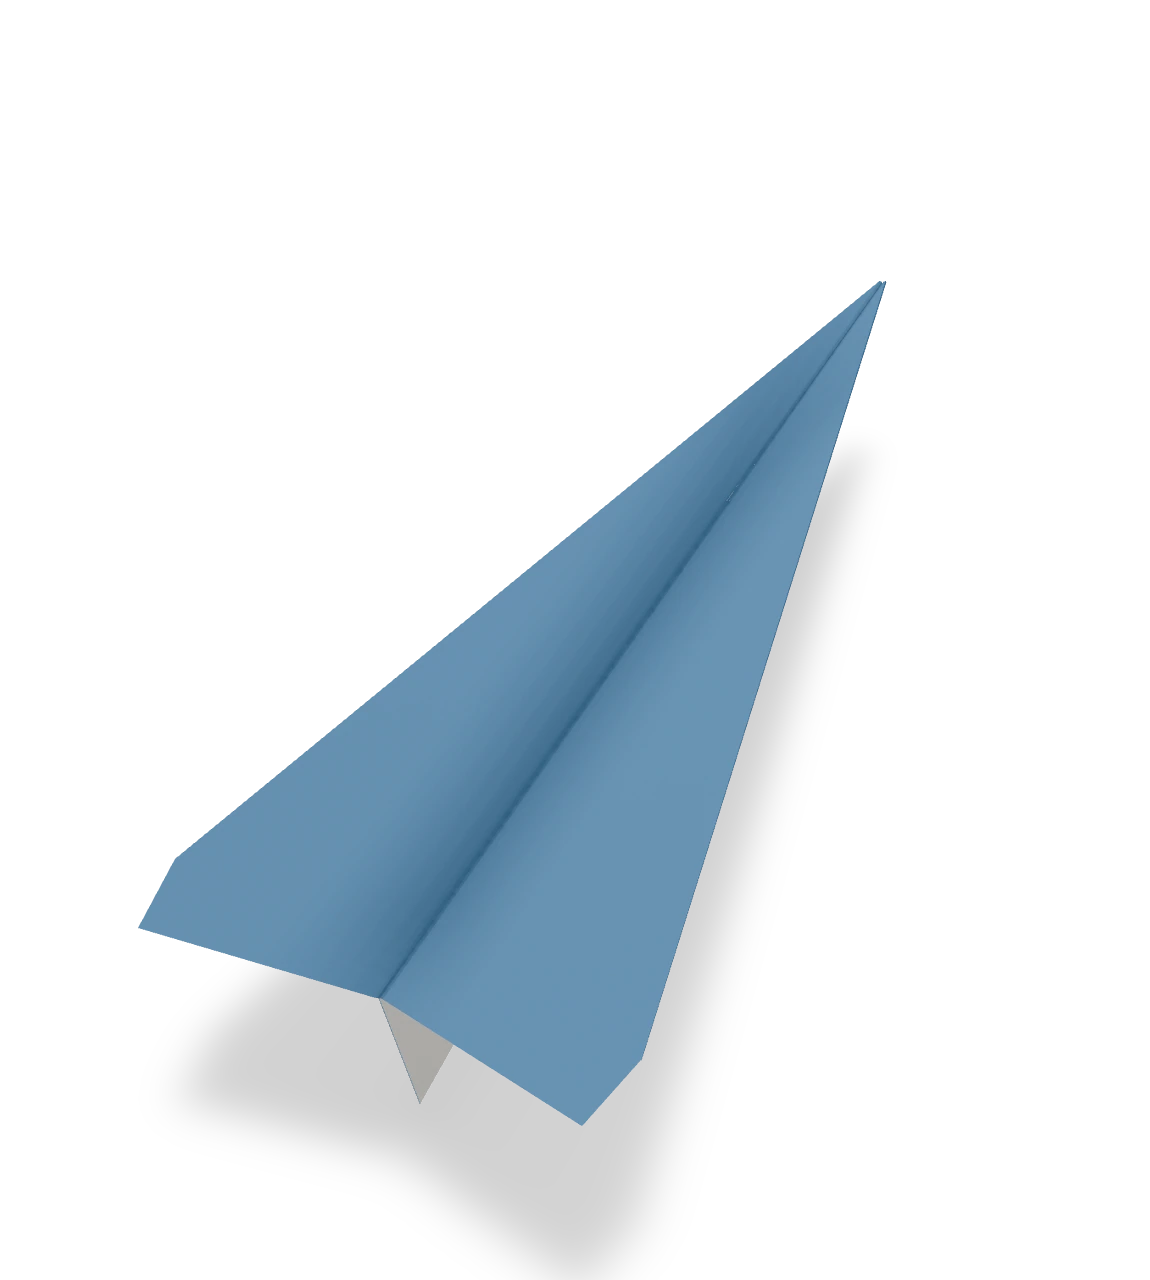
The classic dart: a sheet of letter paper, a sharp nose and two wings, ready to fly across the room.
Newspaper hat ↗
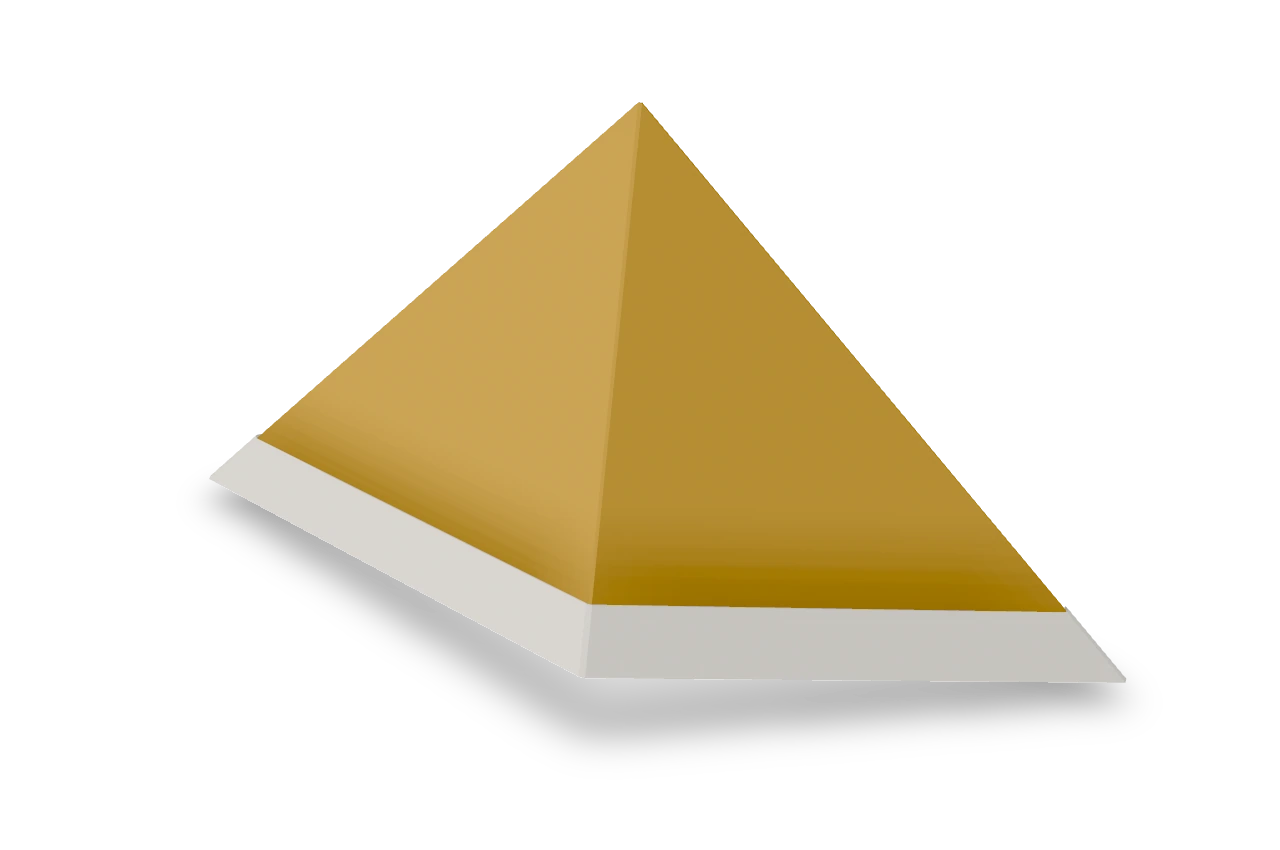
The folded paper hat from a sheet of newspaper: a peak, a brim, and it fits a child's head from a full newspaper page.
Pleated fan ↗
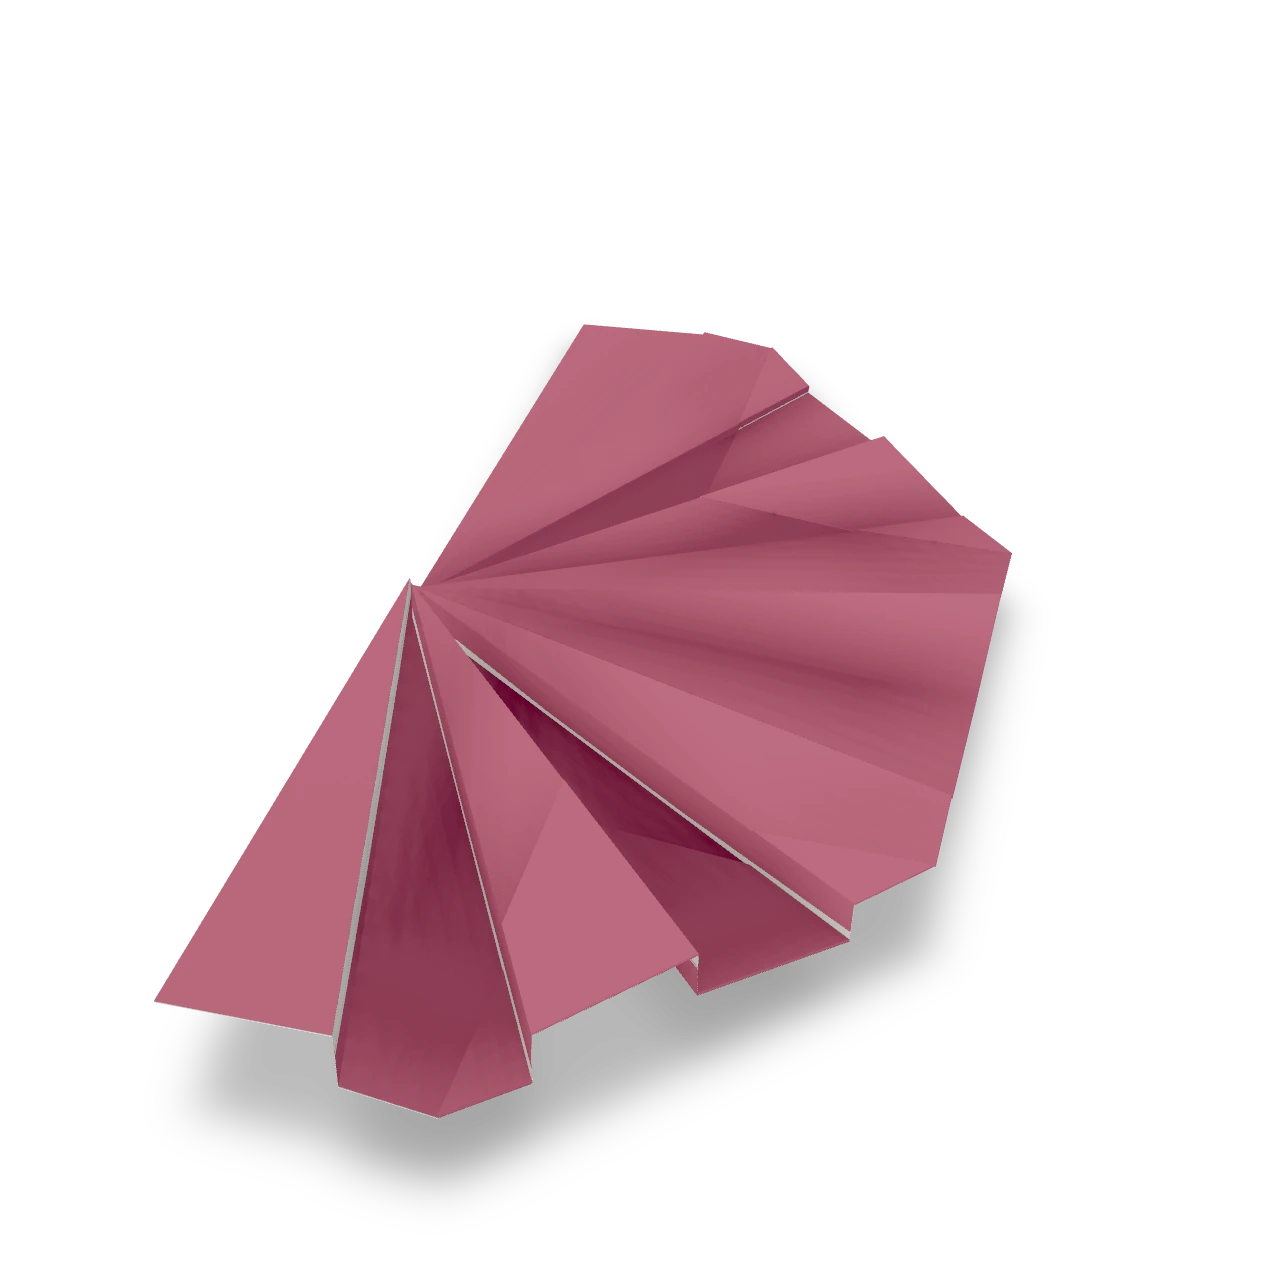
An Origami Tutor paper fan with twelve radial panels and a rounded rim. One square folds into a doubled leaf, gathers into a narrow packet and opens into a broad half-circle, without cuts or glue.
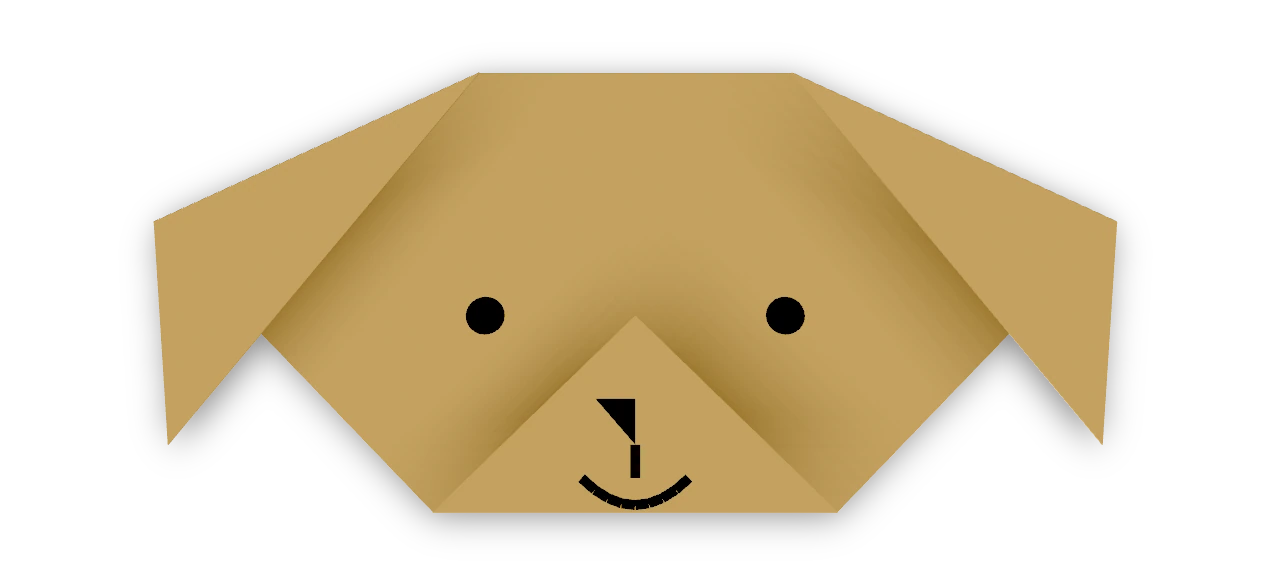
Dog face ↗
Fold floppy ears and a little muzzle, then give your paper dog a face.