How to make an origami crane
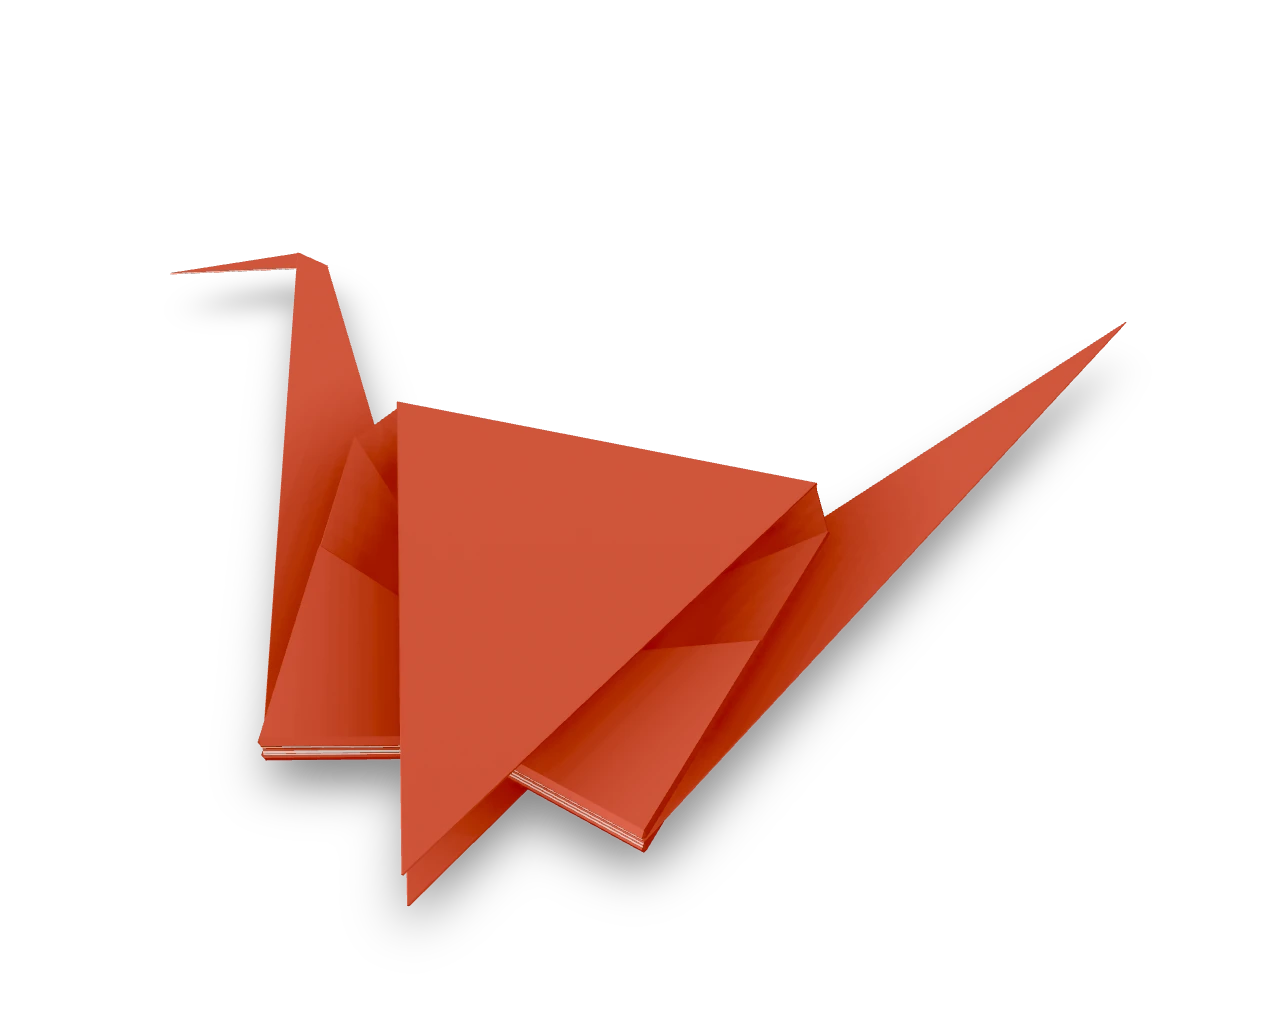
Make the crane's bird base, narrow its body, then reverse-fold the neck, tail and beak. Pause at the petal folds to check which layer lifts.
The crane begins with a square base. Two petal folds turn it into a bird base with separate points for the neck and tail; the broad flaps become the wings. Work through one side of the body before repeating the narrowing folds on the back.
- You need
- A 6-inch square of thin origami paper, colored on one side. Thin paper helps the narrow neck and tail lie flat; no glue or scissors are needed.
- Start
- The paper has a white side and a colored reverse. Start colored side up, with one corner pointing up, so the finished crane shows the color.
- Tips
- Make the bird base crisp: every later fold lines up with its creases.
- For a reverse fold, crease the line both ways first, then open the layers and push the point in.
- The narrowing folds get thick near the bottom. Press them firmly before the reverse folds.
Your model is ready
The crane is folded. Press every fold flat once more, then lift and spread both wings into a shallow V. Turn it round to see it from every side.

Step-by-step diagrams
Square base
- 1
Crease a diagonal
Bring the top corner down to the bottom corner, press, and open.
- 2
Crease the other diagonal
Bring the left corner to the right corner, press, and open.
- 3
Turn over
Turn the paper over, keeping a corner pointing up.
- 4
Crease edge to edge
Fold the bottom-left edge up to the top-right edge, press, and open.
- 5
Crease the other way
Fold the bottom-right edge up to the top-left edge, press, and open.
- 6
Turn back
Turn the paper back over, keeping a corner pointing up.
- 7
Collapse into a square
Hold the bottom corner. Push the left and right corners in and down so the paper collapses along the creases into a small square, open end at the bottom.
Bird base
- 8
Crease the left kite
Fold the lower left edge of the top flap to the center line, press, and open.
- 9
Crease the right kite
Fold the lower right edge of the top flap to the center line, press, and open.
- 10
Crease across the top
Fold the top down along the line joining the tops of the two kite creases, press, and open.
- 11
Petal fold
Lift the bottom corner of the top layer up along the crease across the top. The sides fold in along the kite creases and meet in the middle. Press flat.
- 12
Turn over
Turn the model over, keeping the open end at the bottom.
- 13
Crease the left kite
Fold the lower left edge of the top flap to the center line, press, and open.
- 14
Crease the right kite
Fold the lower right edge of the top flap to the center line, press, and open.
- 15
Crease across the top
Fold the top down along the line joining the tops of the two kite creases, press, and open.
- 16
Petal fold
Lift the bottom corner of the top layer up along the crease across the top. The sides fold in along the kite creases and meet in the middle. Press flat.
Narrow the body
- 17
Narrow the left side (front)
Fold the lower left edge of the front layers to the center line. The fold reaches up into the flap above.
- 18
Narrow the right side (front)
Fold the lower right edge to the center line the same way.
- 19
Turn over
Turn the model over, keeping the split points at the bottom.
- 20
Narrow the left side (back)
Fold the lower left edge of the front layers to the center line. The fold reaches up into the flap above.
- 21
Narrow the right side (back)
Fold the lower right edge to the center line the same way.
Neck, tail and head
- 22
Raise the neck
Inside reverse fold the left point: open the body's front and back layers a little from below, push the point up between them along the line, and press flat. The neck now comes out from between the front and back of the body, under the wings.
- 23
Raise the tail
Inside reverse fold the right point: open the body's front and back layers a little from below, push the point up between them along the line, and press flat. The tail now comes out from between the front and back of the body, under the wings.
- 24
Make the head
Inside reverse fold the tip of the neck: open the neck's layers a little at the tip, push the tip down and forward between them along the line, a short way below the point, and press flat.
Wings
- 25
Fold a wing down
Fold the front wing down along the line across the top of the body.
- 26
Turn over
Turn the crane over.
- 27
Fold the other wing down
Fold the second wing down the same way.
- 28
Turn back
Turn the crane back so the head faces left.
- ✓
Finish
The crane is folded. Press every fold flat once more, then lift and spread both wings into a shallow V. Turn it round to see it from every side.
Fold next
Flapping bird ↗
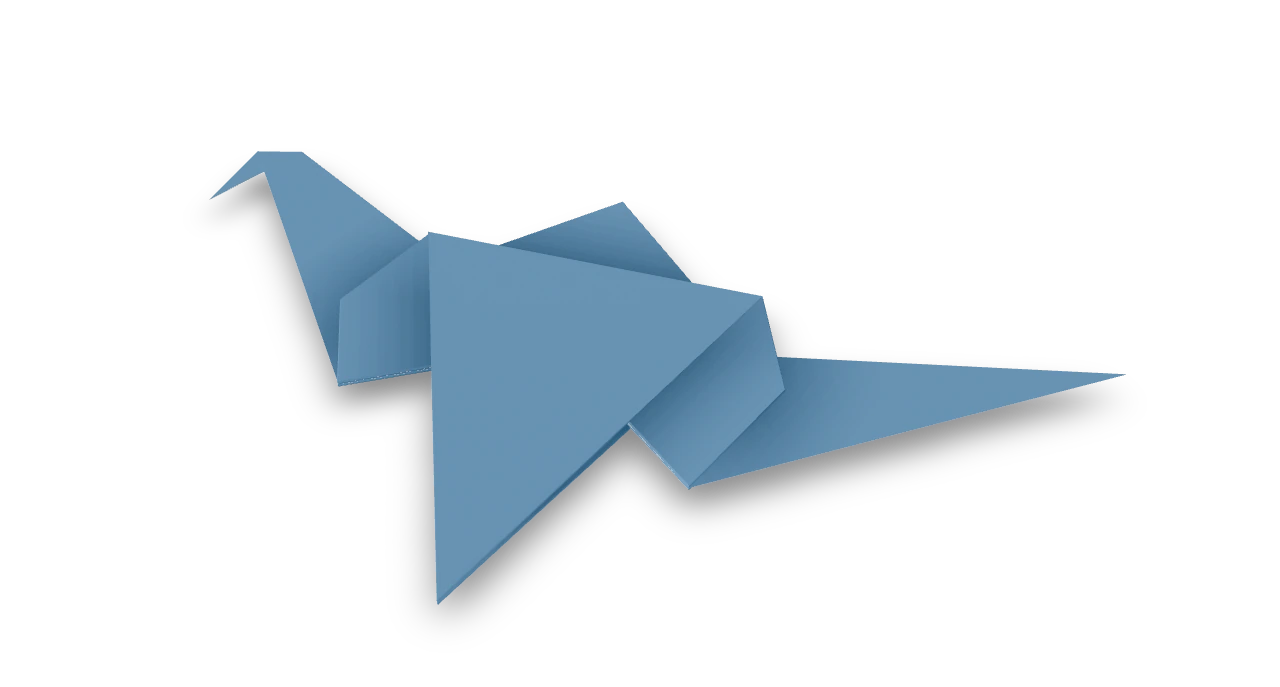
The traditional action bird: broad wings, a downturned beak and a pointed tail that makes the wings flap.

Fan napkin ↗
An Origami Tutor fan napkin with twelve radial panels: a doubled square with folded rim corners, pleated around one pivot and opened into a broad fan. Use a paper napkin that holds a sharp crease.
House ↗
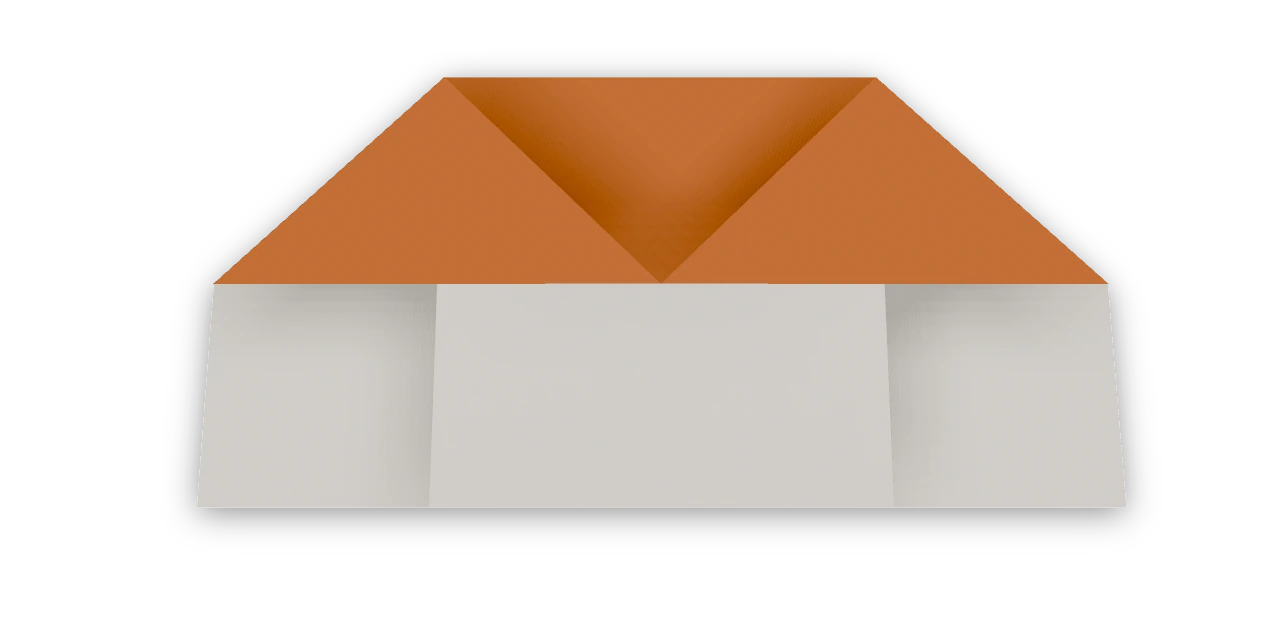
The traditional flat house from Froebel's paper folding, with a long roof and two gate pockets.
Witch's ladder ↗
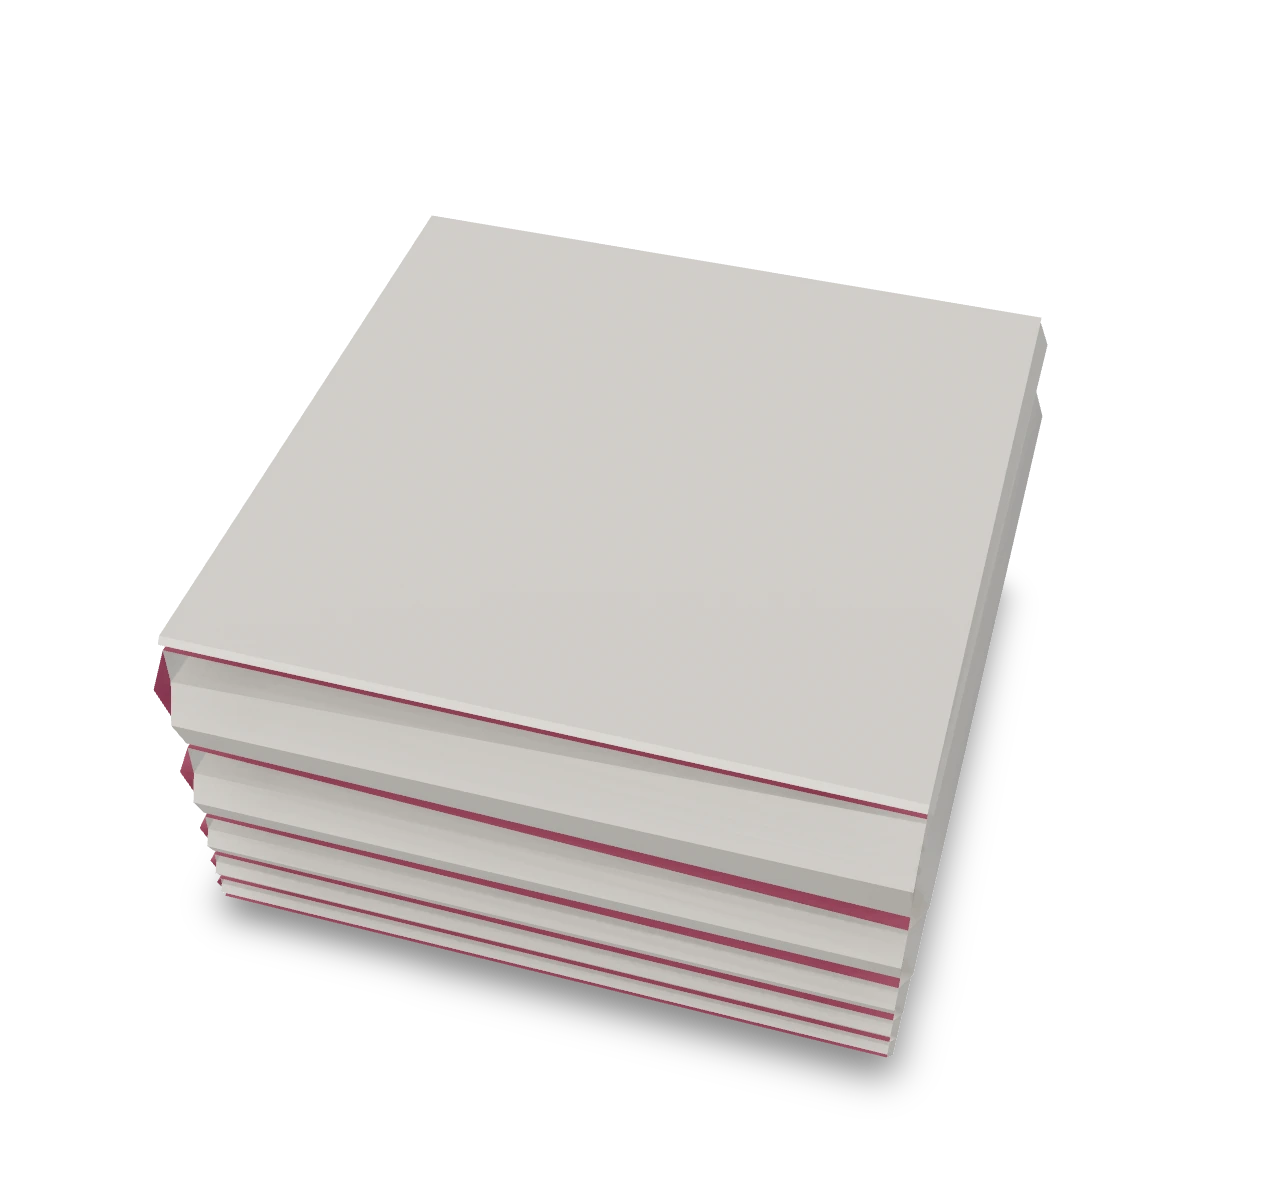
The traditional springy paper ladder, woven by folding two crossed strips over each other.