How to make a paper man (Don Simón)
Paper Man (Don Simón): try all 35 steps in the 3D player. Turn and replay every move. Print the complete diagram sheet or save it as PDF.
An Origami Tutor Don Simón figure with a tall cone coat, sloping sleeves, an oval face and a broad black hat. A small folded tab closes the coat, and three little black paper shapes give the face its eyes and smiling mouth.
- You need
- A prepared paper fan, sleeve rectangle, black hat rectangle, joining tab, cream paper oval and three small black paper shapes; ruler, pencil, protractor, scissors and glue.
- Start
- Prepare a 130° fan with a 10 cm radius, marking every 10° around the rim and joining the fourteen marks with straight lines. Use a 9 × 3 cm arm rectangle, a 5 × 2.5 cm black rectangle, and a 1 × 0.6 cm joining tab. Start the sleeve rectangle white side up and the hat black side up. Cut an 18 × 20 mm oval from cream paper, two black circles about 2.4 mm across and a small black mouth triangle 4 mm wide. Use paper coloured on both sides for every piece.
- Tips
- Keep all thirteen fan wedges equal.
- Fit the joining tab before adding glue.
- Let each glue joint set before adding the next piece.
Your model is ready
Let the glue dry. Your smiling Don Simón is ready, with his black hat above the face and both sleeves hanging beside his cone coat. The finished Don Simón figure: a smiling face below a black hat, sloping sleeves and a tall cone coat.


Step-by-step diagrams
Steps 1–6
- 1
Crease fan ray 1 of 12
From the left straight edge of the fan, measure 10° around the point. Fold and open that ray, from the point to the marked corner on the rim. Keep the fan flat afterward.
- 2
Crease fan ray 2 of 12
From the left straight edge of the fan, measure 20° around the point. Fold and open that ray, from the point to the marked corner on the rim. Keep the fan flat afterward.
- 3
Crease fan ray 3 of 12
From the left straight edge of the fan, measure 30° around the point. Fold and open that ray, from the point to the marked corner on the rim. Keep the fan flat afterward.
- 4
Crease fan ray 4 of 12
From the left straight edge of the fan, measure 40° around the point. Fold and open that ray, from the point to the marked corner on the rim. Keep the fan flat afterward.
- 5
Crease fan ray 5 of 12
From the left straight edge of the fan, measure 50° around the point. Fold and open that ray, from the point to the marked corner on the rim. Keep the fan flat afterward.
- 6
Crease fan ray 6 of 12
From the left straight edge of the fan, measure 60° around the point. Fold and open that ray, from the point to the marked corner on the rim. Keep the fan flat afterward.
Steps 7–12
- 7
Crease fan ray 7 of 12
From the left straight edge of the fan, measure 70° around the point. Fold and open that ray, from the point to the marked corner on the rim. Keep the fan flat afterward.
- 8
Crease fan ray 8 of 12
From the left straight edge of the fan, measure 80° around the point. Fold and open that ray, from the point to the marked corner on the rim. Keep the fan flat afterward.
- 9
Crease fan ray 9 of 12
From the left straight edge of the fan, measure 90° around the point. Fold and open that ray, from the point to the marked corner on the rim. Keep the fan flat afterward.
- 10
Crease fan ray 10 of 12
From the left straight edge of the fan, measure 100° around the point. Fold and open that ray, from the point to the marked corner on the rim. Keep the fan flat afterward.
- 11
Crease fan ray 11 of 12
From the left straight edge of the fan, measure 110° around the point. Fold and open that ray, from the point to the marked corner on the rim. Keep the fan flat afterward.
- 12
Crease fan ray 12 of 12
From the left straight edge of the fan, measure 120° around the point. Fold and open that ray, from the point to the marked corner on the rim. Keep the fan flat afterward.
Steps 13–18
- 13
Cut below the sleeves
On the arm rectangle, cut a shallow notch from one lower corner to the other, rising 1.8 cm at the middle section. Keep the upper band, with longer sleeve ends on both sides.
- 14
Slope the left sleeve
Cut away the upper left corner on a line from 1.8 cm down the left edge to 3 cm along the upper edge. Keep the band through the middle.
- 15
Slope the right sleeve
Remove the matching upper corner at the other end. Both sleeves now slope down from the narrow middle band.
- 16
Cut the hat's left side
On the black rectangle, mark the middle of the upper edge. Cut from the lower left corner up to that mark, removing the upper left corner.
- 17
Cut the hat's right side
Cut from the marked top point down to the lower right corner, removing the upper right corner. Keep the broad black triangle.
- 18
Crease the joining tab
Fold the tiny tab in half across its width, then open it. This middle crease will sit over the coat's seam.
Steps 19–24
- 19
Close the fan into a cone
Turn the prepared rays gently in the same direction until the two straight edges meet. Keep the pointed top closed and the faceted rim level, with the seam at the back.
- 20
Bend the joining tab
Bend the small tab along its middle crease just enough to fit the angle between the two panels at the coat's seam.
- 21
Bridge the coat seam
Set the bent tab over the seam near the lower back of the cone, with one half on each panel.
- 22
Glue the first half of the tab
Glue one half of the joining tab to the coat, keeping the cut edges together.
- 23
Glue the other half of the tab
Glue the second half to the panel beside it. The tab now holds both sides of the cone's seam.
- 24
Set the arms across the chest
Center the sleeve piece across the upper front of the cone, with both sleeve ends pointing down.
Steps 25–30
- 25
Attach the arms
Glue the middle of the sleeve piece to the coat. Leave both ends free.
- 26
Add the oval face
Set the cream oval on the front, between the sleeves and the hat. Keep its longer direction running up the figure.
- 27
Attach the face
Glue the back of the oval where it touches the front of the coat.
- 28
Add the left eye
Put the small black paper shape on the cream face, matching the position shown.
- 29
Fix the eye
Use a tiny dab of glue and press the little black shape flat against the face.
- 30
Add the right eye
Put the small black paper shape on the cream face, matching the position shown.
Steps 31–35
- 31
Fix the eye
Use a tiny dab of glue and press the little black shape flat against the face.
- 32
Add the smiling mouth
Put the small black paper shape on the cream face, matching the position shown.
- 33
Fix the mouth
Use a tiny dab of glue and press the little black shape flat against the face.
- 34
Set the hat at the top
Put the hat on the narrow upper end of the cone, above the arms, with its straight lower edge across the front.
- 35
Attach the hat
Glue the back of the hat where it overlaps the top of the cone.
- ✓
Finish
Let the glue dry. Your smiling Don Simón is ready, with his black hat above the face and both sleeves hanging beside his cone coat. The finished Don Simón figure: a smiling face below a black hat, sloping sleeves and a tall cone coat.
Fold next

Crane ↗
The crane begins with a square base. Two petal folds turn it into a bird base with separate points for the neck and tail; the broad flaps become the wings. Work through one side of the body before repeating the narrowing folds on the back.
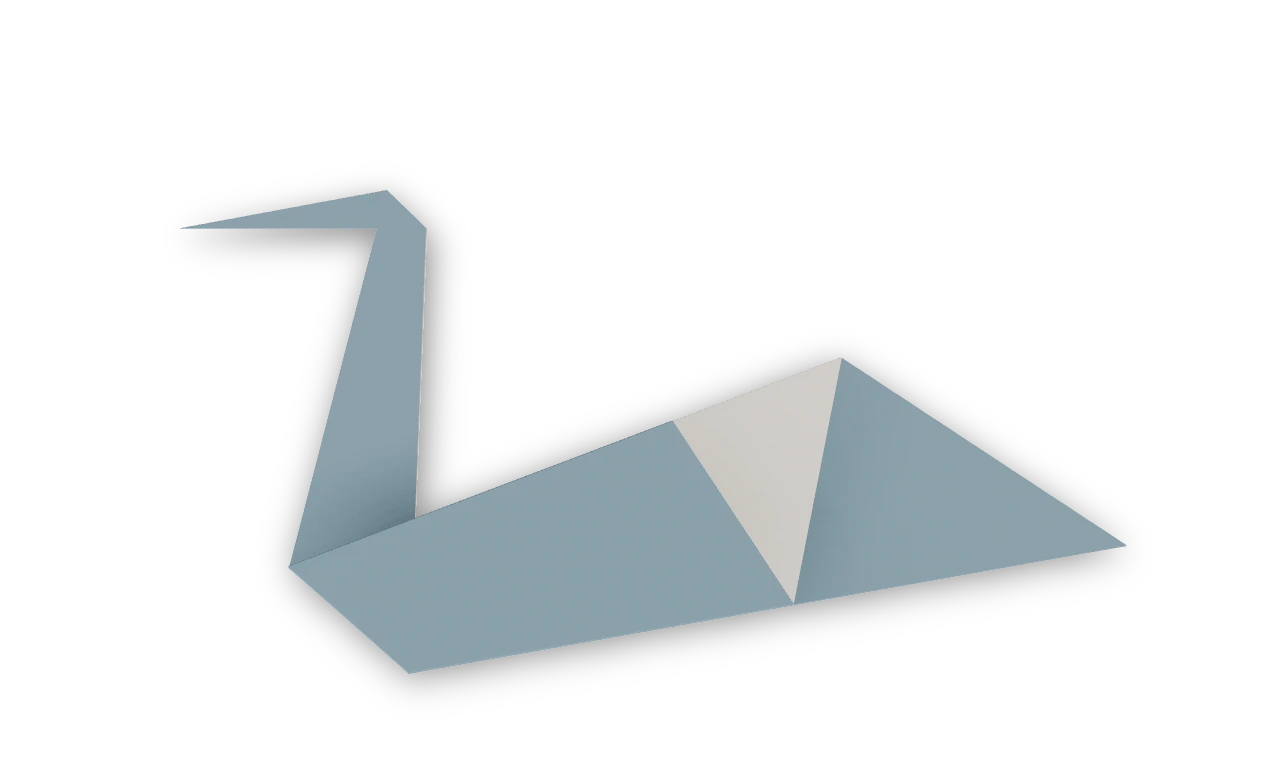
Swan ↗
The traditional kite-base swan, with a pointed tail, a long neck and a small head.
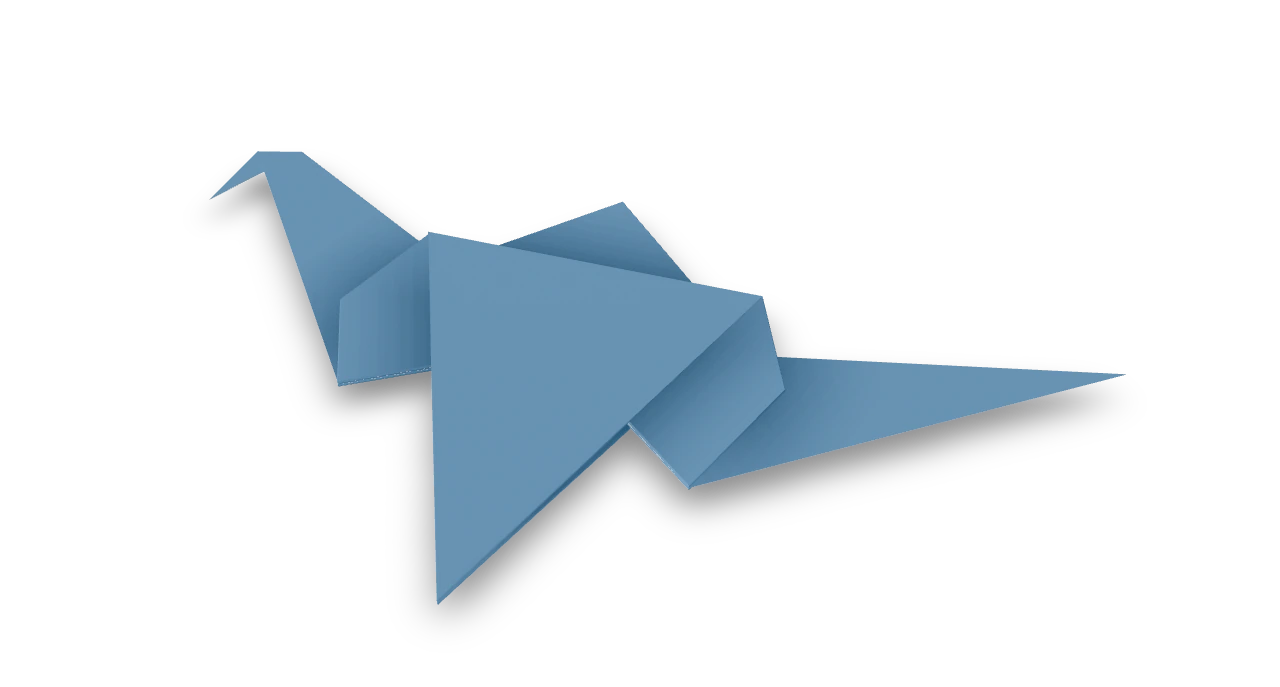
Flapping bird ↗
The traditional action bird: broad wings, a downturned beak and a pointed tail that makes the wings flap.
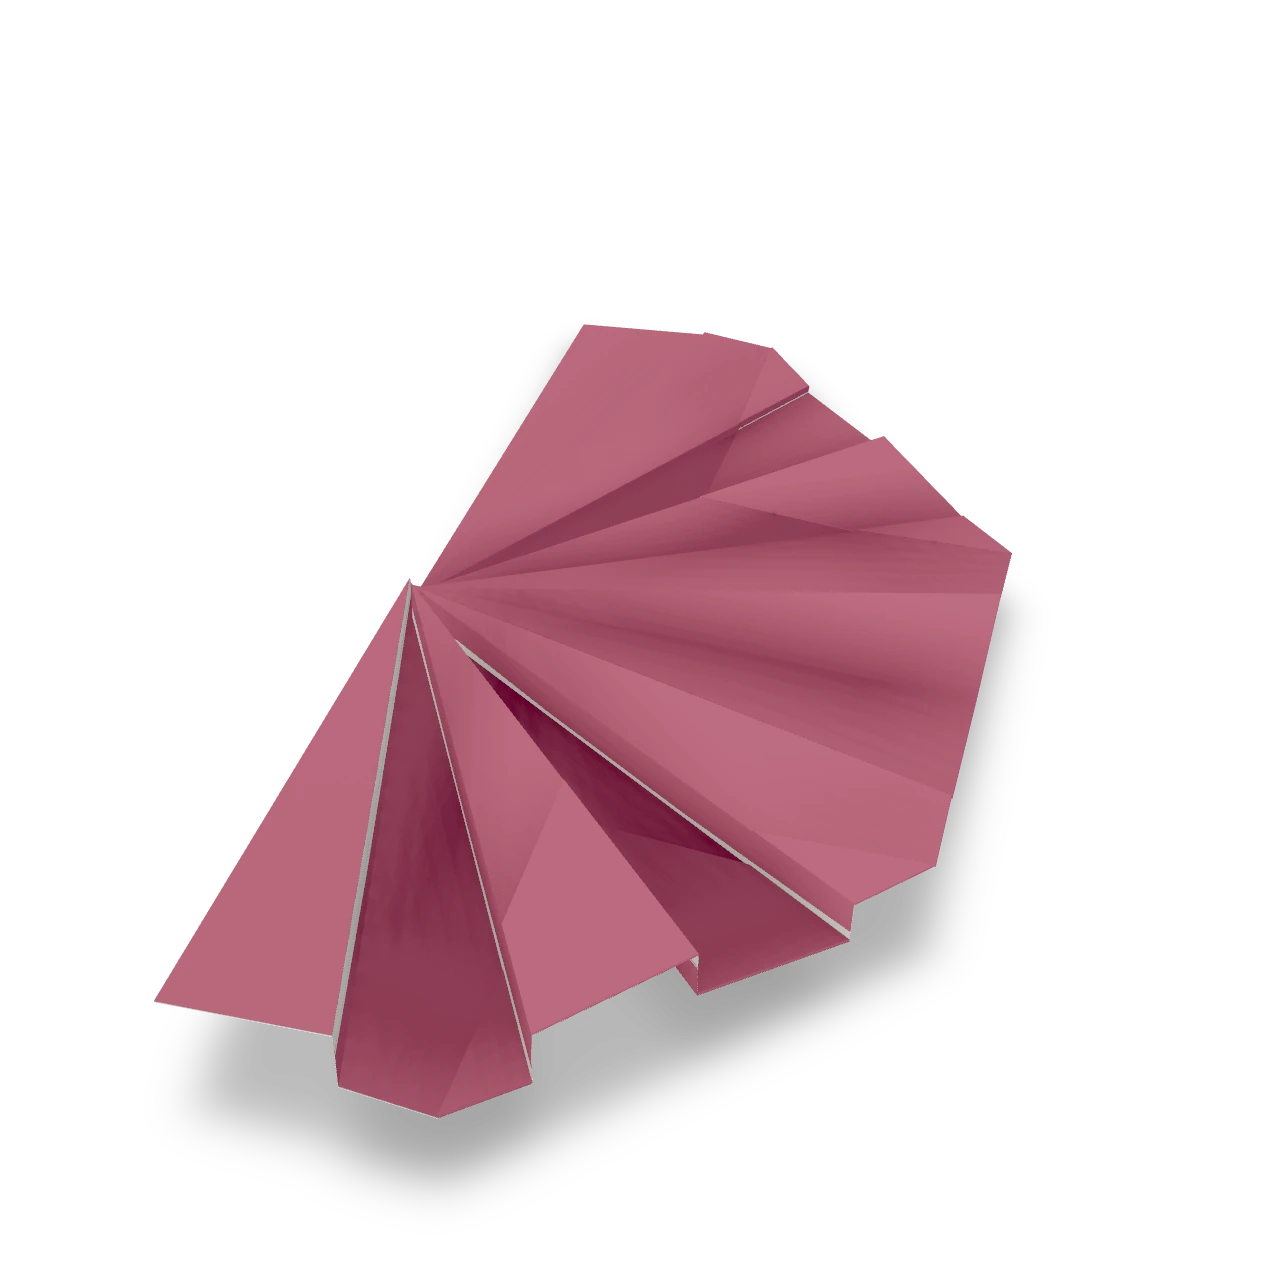
Pleated fan ↗
An Origami Tutor paper fan with twelve radial panels and a rounded rim. One square folds into a doubled leaf, gathers into a narrow packet and opens into a broad half-circle, without cuts or glue.