How to make an origami fish
Origami Fish: try all 6 steps in the 3D player. Turn and replay every move. Print the complete diagram sheet or save it as PDF.
An Origami Tutor fish for young children: a smooth diamond body and a smaller forked tail. Make five folds, then turn it over to show the body. No cuts or glue.
- You need
- One square of origami paper and a pen for the eye. No scissors or glue.
- Start
- Start white side up, with one corner pointing up. Orange or blue paper makes a bright fish.
- Tips
- Keep the tail points close to the body; turn the fish over to show the smooth diamond.
- Make a whole school of fish from different colors.
Draw the fish’s eye
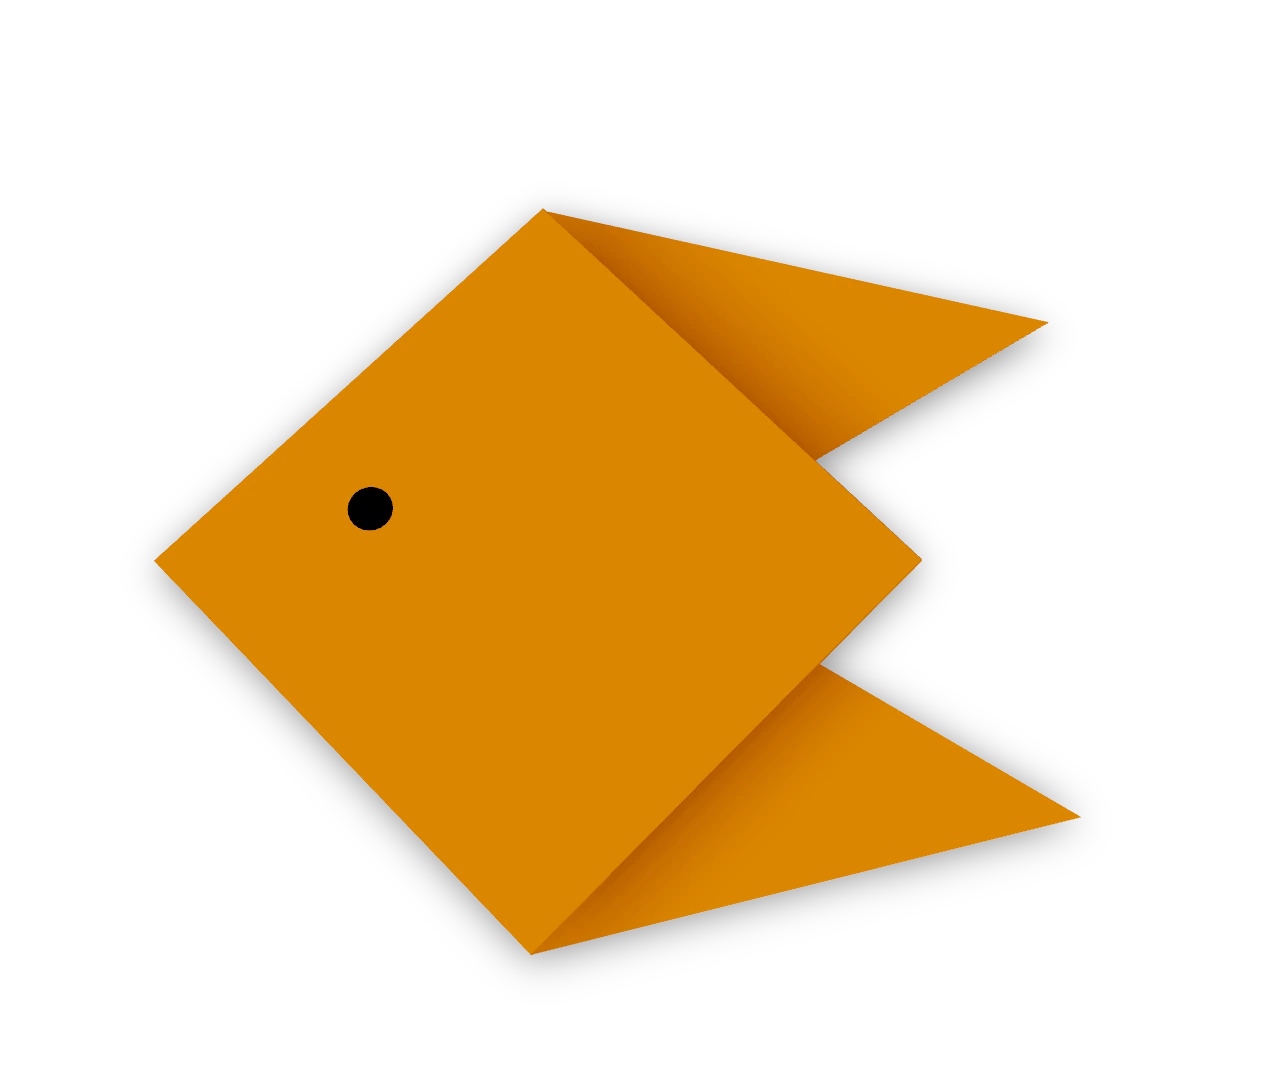
Press the folds flat. Draw one round eye near the pointed nose, clear of the folded edges. The finished fish, with its pointed nose to the left and its forked tail to the right.

Step-by-step diagrams
- 1
Fold in half
Fold the right corner over to the left corner. You have a triangle pointing left.
- 2
Fold the top corner to the point
Fold the top corner down to the left point.
- 3
Fold the bottom corner to the point
Fold the bottom corner up to the left point too. You have a small diamond.
- 4
Make the top tail fin
Fold the point of the top flap back to the right along a slanted line, so it sticks out past the right corner.
- 5
Make the bottom tail fin
Fold the point of the bottom flap back to the right the same way. The two points make the tail.
- 6
Show the smooth body
Turn the fish over from top to bottom, keeping its nose to the left.
- ✓
Finish
Press the folds flat. Draw one round eye near the pointed nose, clear of the folded edges. The finished fish, with its pointed nose to the left and its forked tail to the right.
Fold next
Dog face ↗
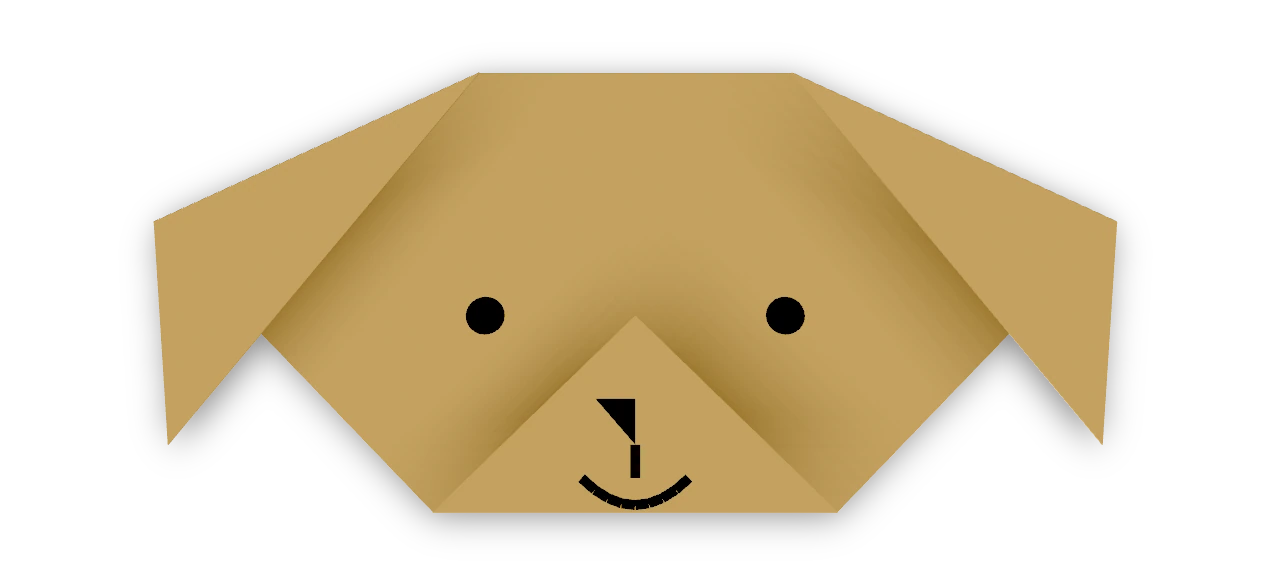
Fold floppy ears and a little muzzle, then give your paper dog a face.
Cat face ↗
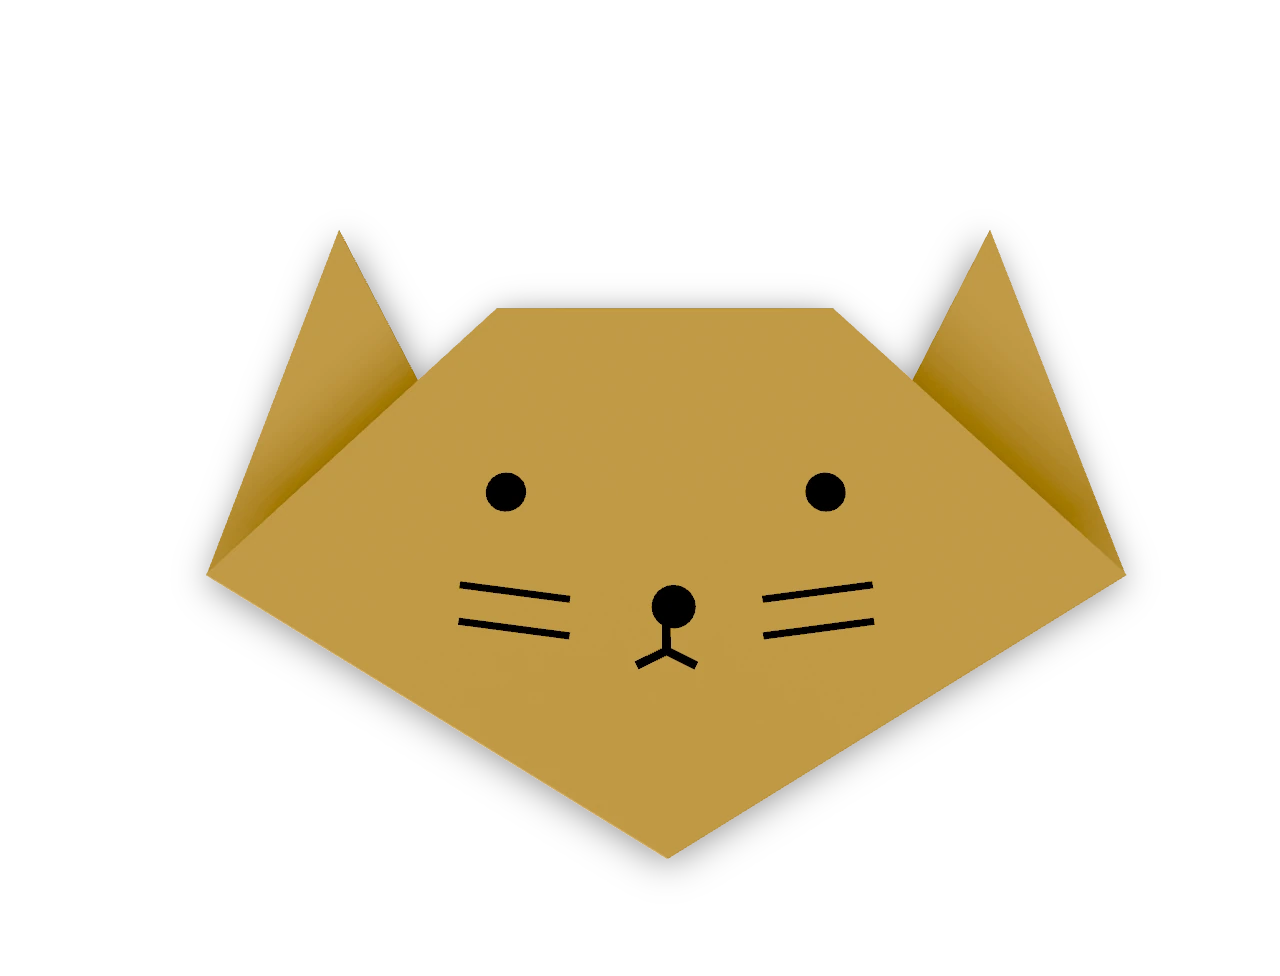
A traditional triangle cat head with two pointed ears and a straight forehead.
Fox face ↗
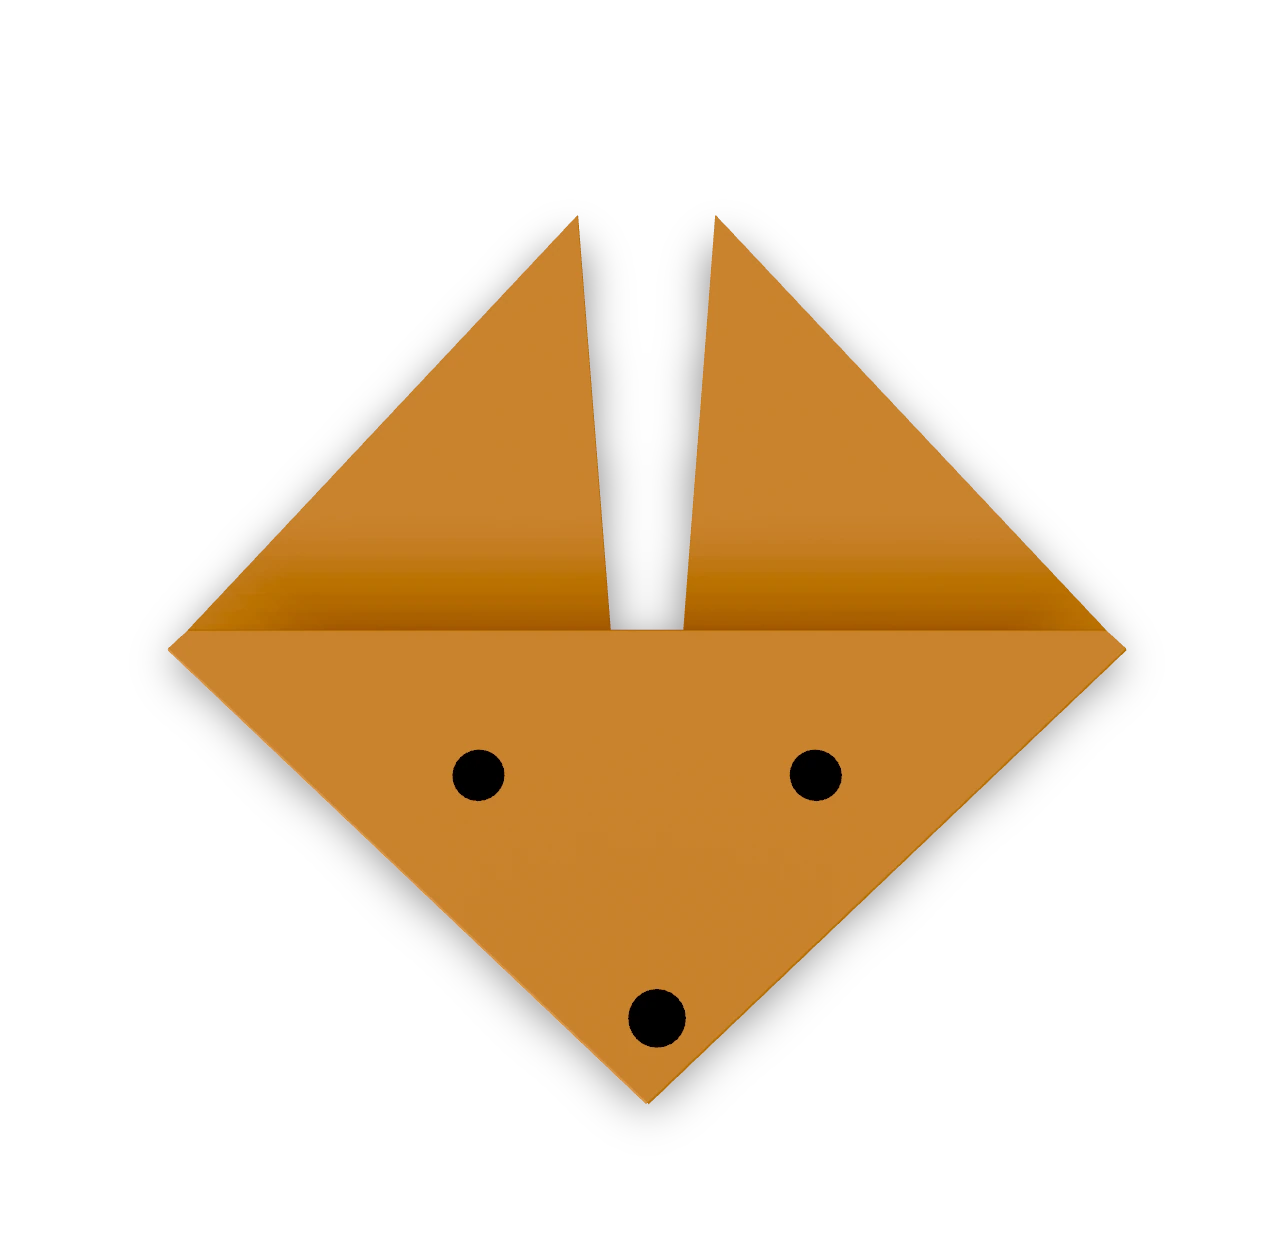
The traditional pointed fox face, recorded in Japan in 1878, with two tall ears.
Turtle ↗
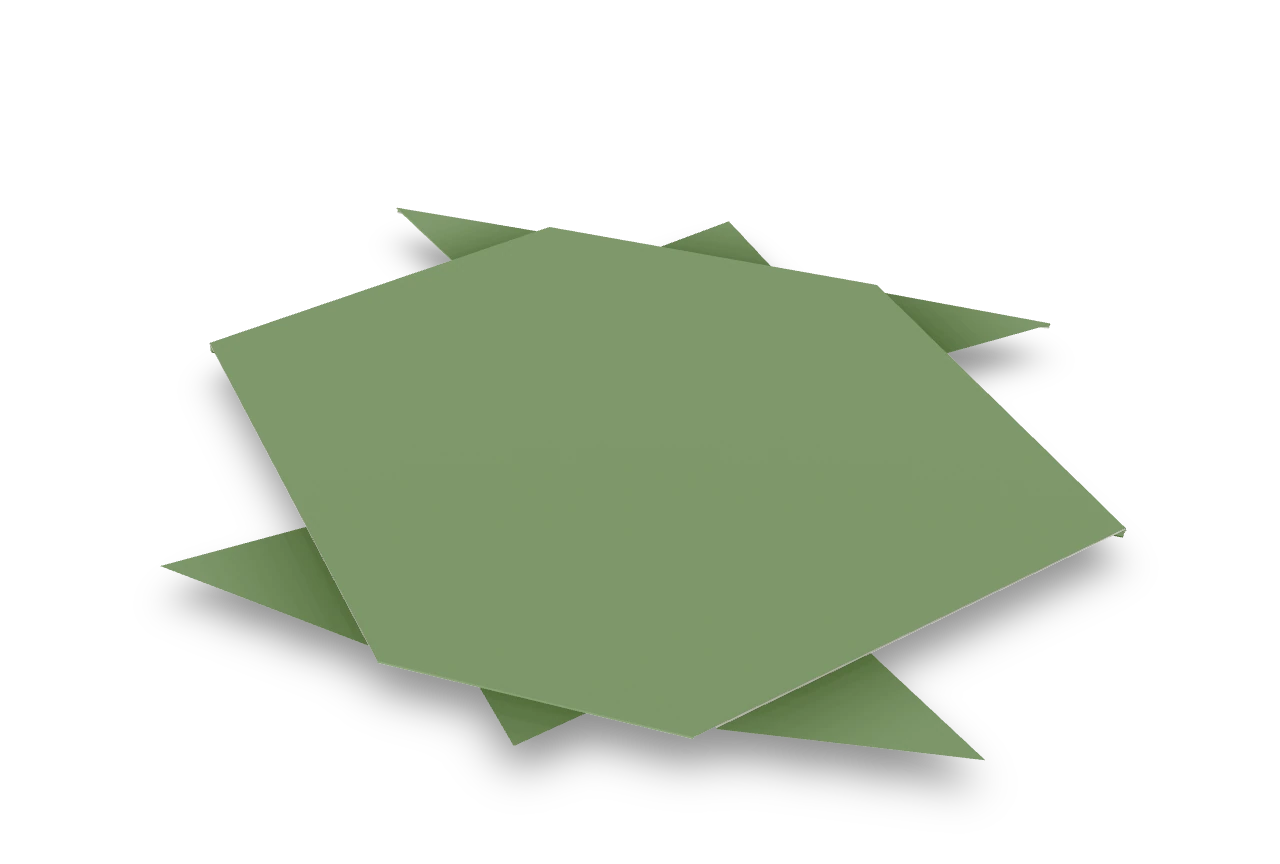
The common cut turtle with four pointed feet, a small head and tail, and a colored shell. One slit divides the rear feet while leaving the shell underneath whole.