How to make an origami flapping butterfly
Origami Flapping Butterfly: try all 11 steps in the 3D player. Turn and replay every move. Print the complete diagram sheet or save it as PDF.
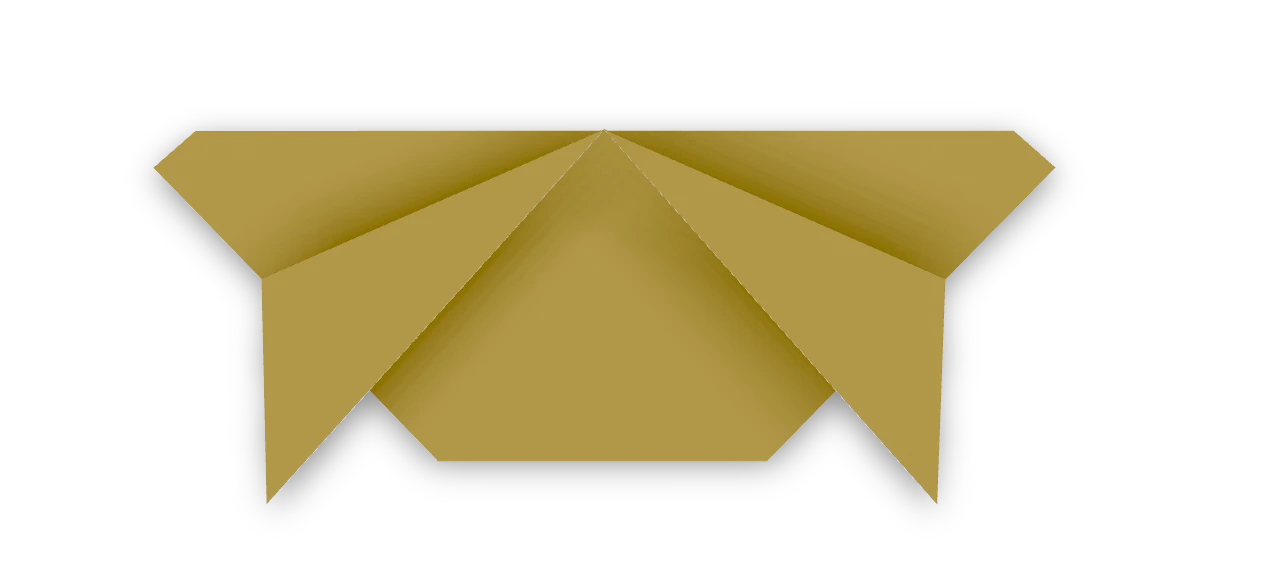
An Origami Tutor butterfly with four separate wing points, a short abdomen and a central body hinge. Gently pinch the body fold to raise and lower its wings. Folded from one square without cuts or glue.
- You need
- One square of thin origami paper. No scissors or glue.
- Start
- Start colored side up, with an edge at the top. Thin, crisp paper makes the small body folds easier.
- Tips
- Keep the back corners still while making the hind wings.
- Keep the body crease straight.
- Move the wings gently from the body fold rather than bending their points.
Your model is ready
Part the wings until all four points show. Pinch the middle body fold and gently squeeze and relax it to raise and lower the wings. Do not pull on the tips.

Step-by-step diagrams
Steps 1–6
- 1
Crease a diagonal
Fold the bottom left corner behind to the top right corner, press, and open.
- 2
Crease the other diagonal
Fold the bottom right corner behind to the top left corner, press, and open.
- 3
Crease across the middle
Bring the top edge down to the bottom edge, press, and open.
- 4
Make the waterbomb base
Push the side middles inward. Bring the top edge down to the bottom edge and press into a triangle.
- 5
Point the triangle down
Turn the triangle so its long edge is at the top. Keep the two front corner flaps facing you.
- 6
Separate the left hind wing
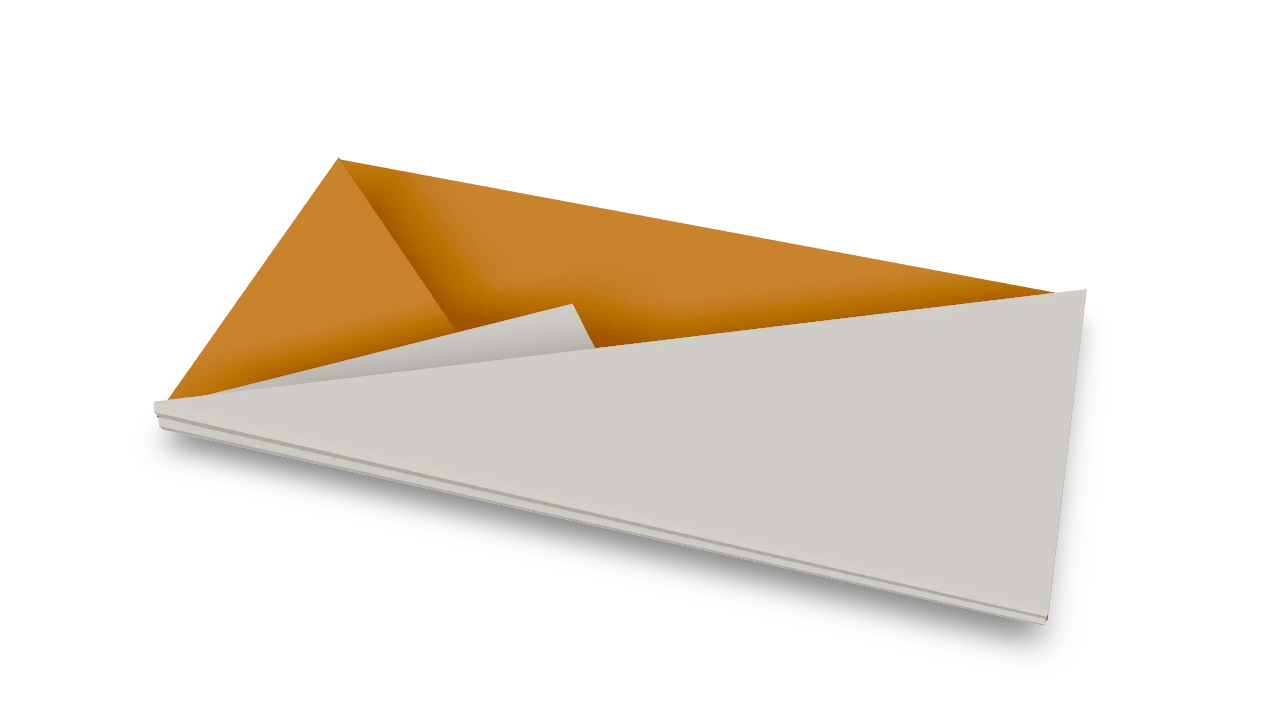
Fold the front two layers of the left corner down along the slanted line. Leave the back corner in place as the broad forewing.
Steps 7–11
- 7
Separate the right hind wing
Fold the front two layers of the right corner down the same way. There are now two broad forewings and two pointed hind wings.
- 8
Soften the left forewing
Fold a small triangle behind the outer left wing tip.
- 9
Soften the right forewing
Fold the matching small triangle behind the right wing tip.
- 10
Shorten the body tip
Fold the bottom point behind along the short horizontal line. Keep the two hind wing points still.
- 11
Crease the body hinge
Fold the left wings over the right wings along the middle line. Press the narrow body fold and open the wings again.
- ✓
Finish
Part the wings until all four points show. Pinch the middle body fold and gently squeeze and relax it to raise and lower the wings. Do not pull on the tips.
Fold next
Flapping bird ↗
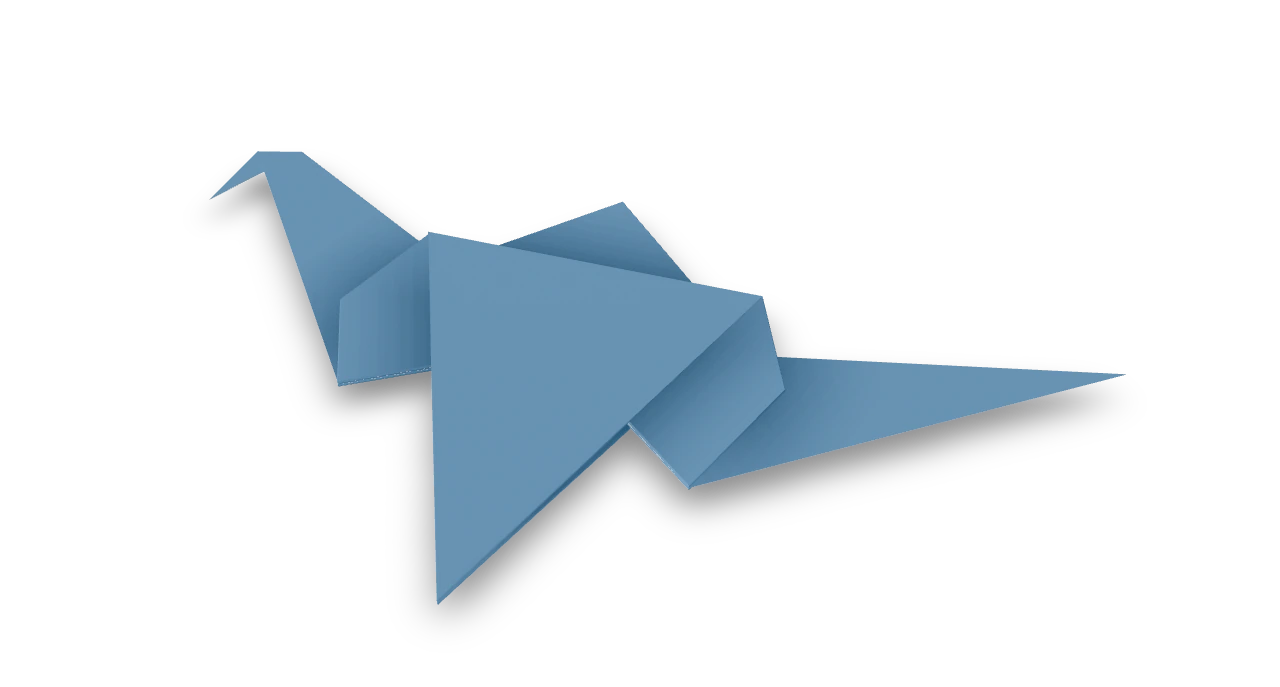
The traditional action bird: broad wings, a downturned beak and a pointed tail that makes the wings flap.
Waterbomb balloon ↗
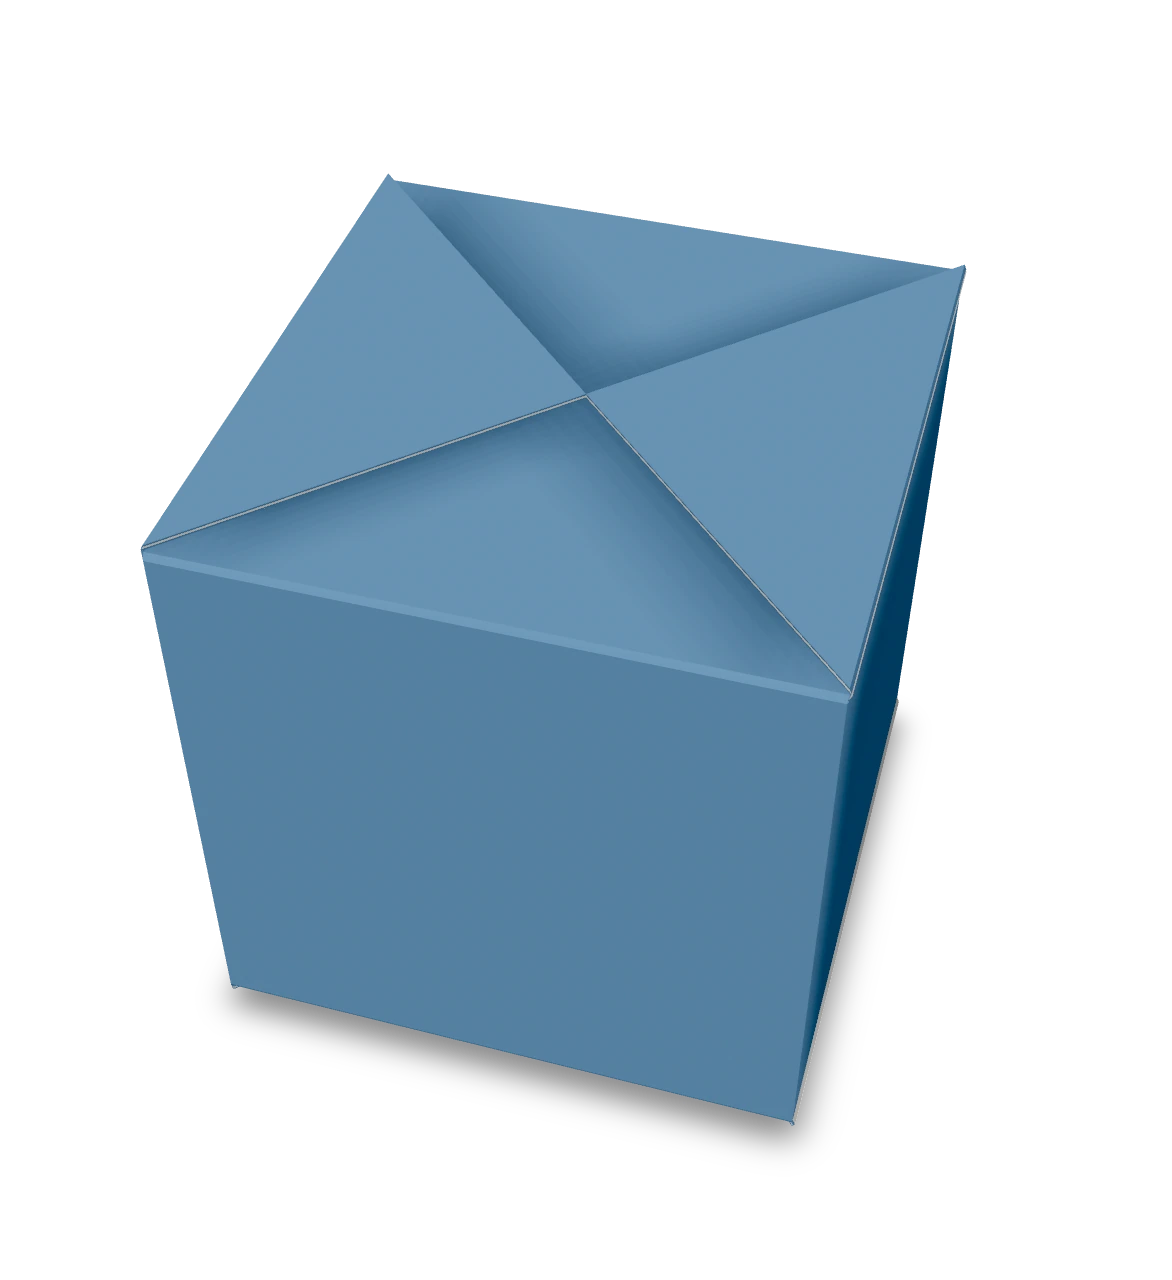
A traditional paper balloon: fold four locking pockets, then blow it up into a hollow cube.
Talking fish ↗
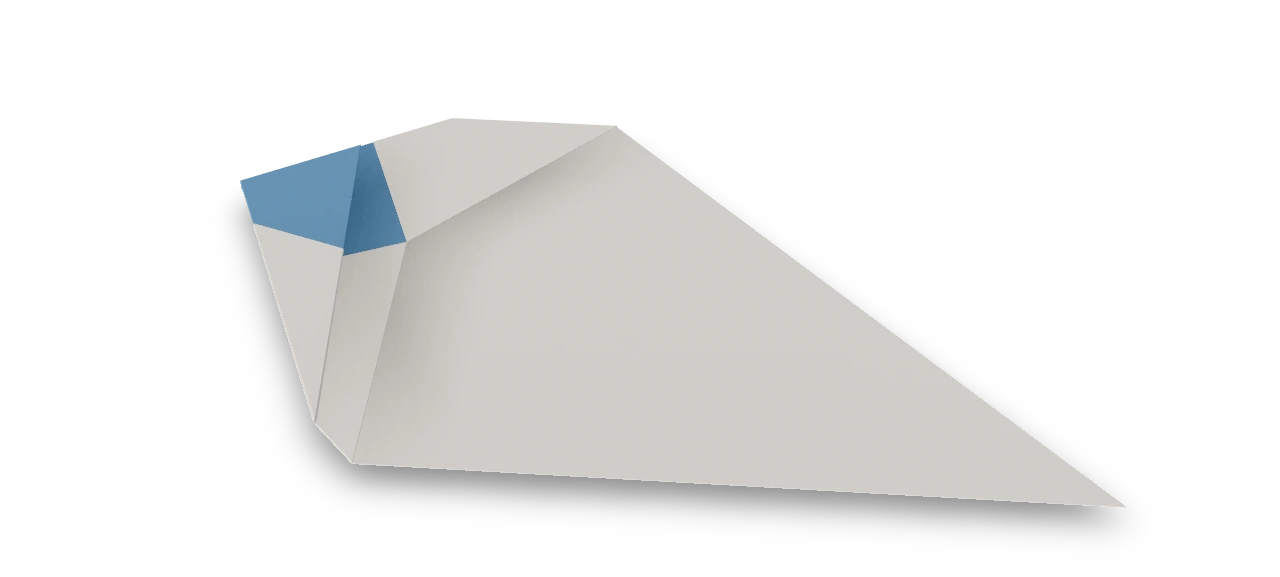
The traditional talking fish: a folded paper fish with an extendable mouth that opens and closes when you move its tail fins.
Fox puppet ↗
The traditional House-derived fox mask, recorded in Japan in 1905, with pointed ears and a movable mouth band.