How to make an origami talking fish
Origami Talking Fish: try all 9 steps in the 3D player. Turn and replay every move. Print the complete diagram sheet or save it as PDF.
The traditional talking fish: a folded paper fish with an extendable mouth that opens and closes when you move its tail fins.
- You need
- One square of thin origami paper. No glue or scissors.
- Start
- Start white side up, with a corner pointing left. The colored reverse will show as the packet turns over.
- Tips
- Keep the two rear kite folds aligned with the middle line.
- Press the two tail fins gently to open and close the mouth; it needs no cuts or inflation.
Your model is ready
Your talking fish is complete! Squeeze and move the tail fins to open and close its wide mouth. Draw an eye on each side near the mouth. The finished talking fish, with its wide mouth to the left and its two working tail fins to the right.

Step-by-step diagrams
- 1
Fold the upper edge behind
Fold the upper left edge behind the sheet, lining it up with the line from the left corner to the right corner.
- 2
Fold the lower edge behind
Fold the lower left edge behind to the same middle line, making a kite.
- 3
Bring the points together
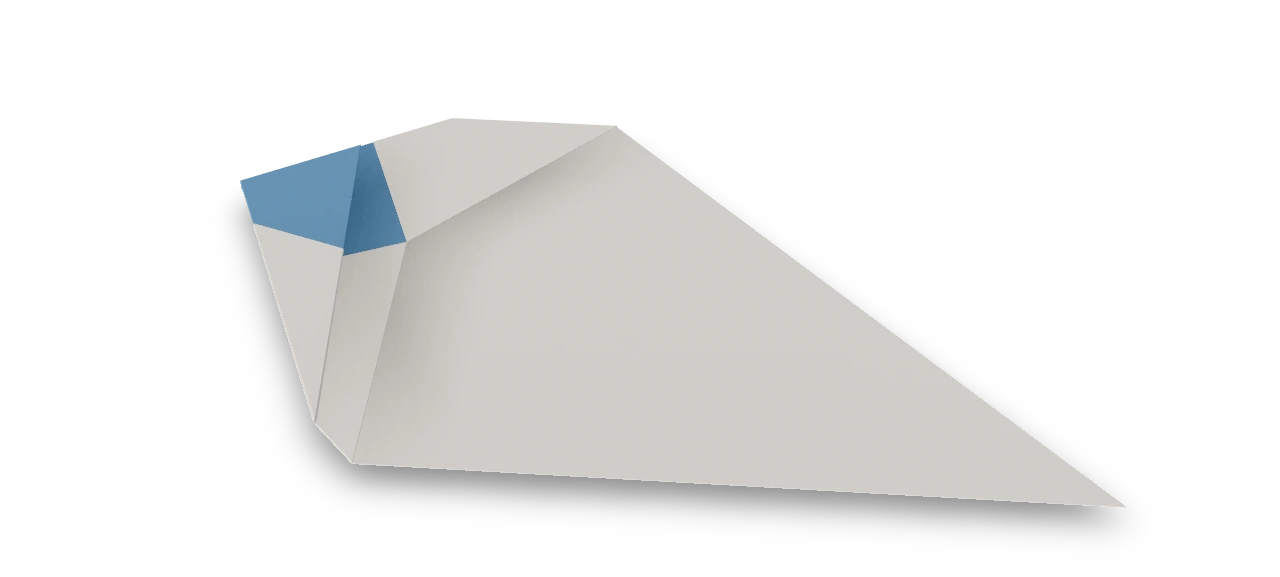
Fold the short right point over to the long left point, taking every layer with it.
- 4
Turn over
Turn the packet over from left to right. Its points now face right.
- 5
Narrow the upper right edge
Fold the upper slanted edge at the right point down to the horizontal middle line.
- 6
Narrow the lower right edge
Fold the lower slanted edge at the right point up to meet it.
- 7
Draw out the mouth
Steady the tail at the right. Let its pocket part as you draw the long packet out to the left, then close the two tail folds and press the body flat again.
- 8
Fold the upper fin
Fold the upper tail corner out along the slanted line to form the upper fin.
- 9
Fold the lower fin
Fold the lower tail corner out along the matching line to form the lower fin.
- ✓
Finish
Your talking fish is complete! Squeeze and move the tail fins to open and close its wide mouth. Draw an eye on each side near the mouth. The finished talking fish, with its wide mouth to the left and its two working tail fins to the right.
Fold next
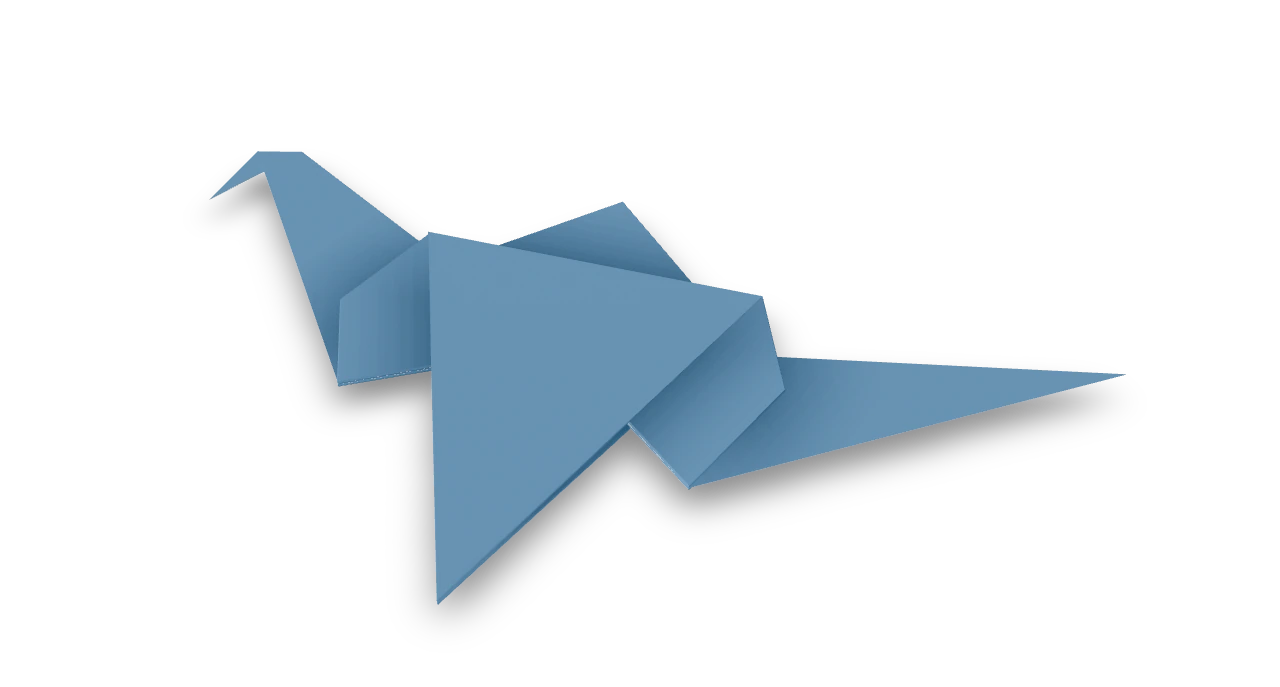
Flapping bird ↗
The traditional action bird: broad wings, a downturned beak and a pointed tail that makes the wings flap.
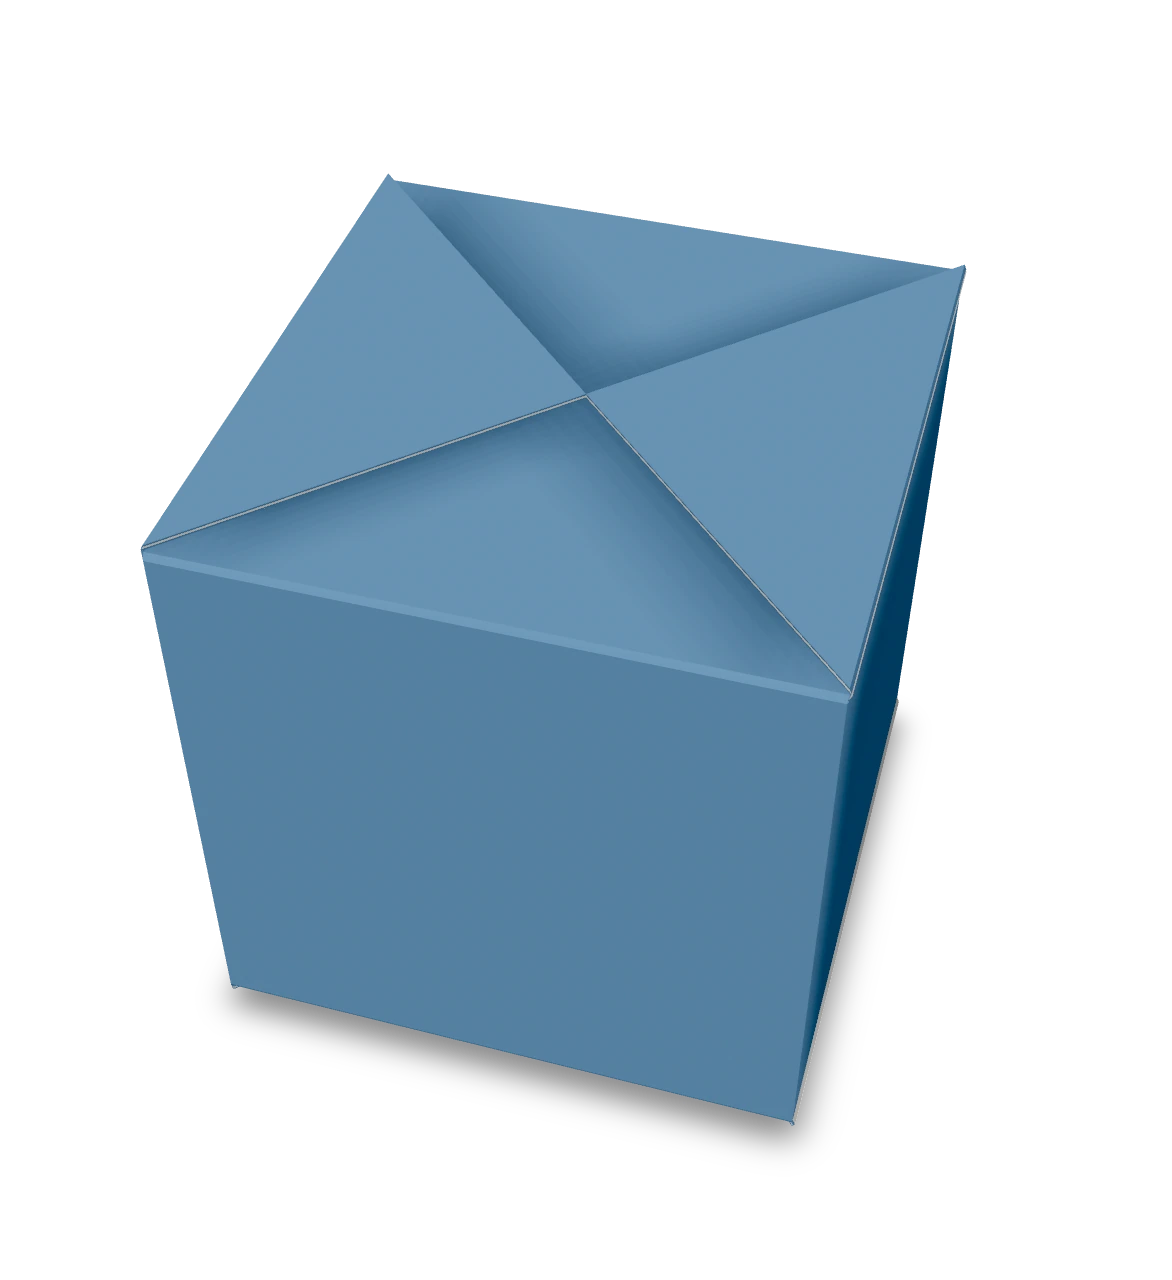
Waterbomb balloon ↗
A traditional paper balloon: fold four locking pockets, then blow it up into a hollow cube.
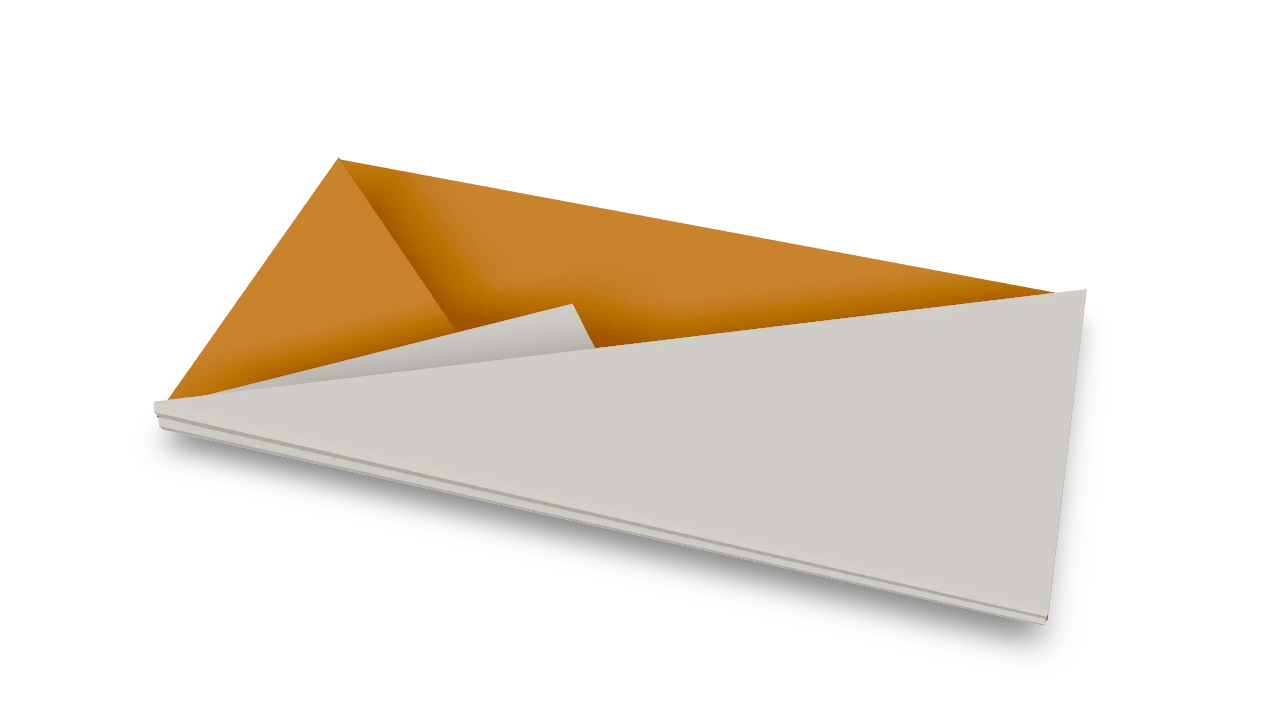
Fox puppet ↗
The traditional House-derived fox mask, recorded in Japan in 1905, with pointed ears and a movable mouth band.
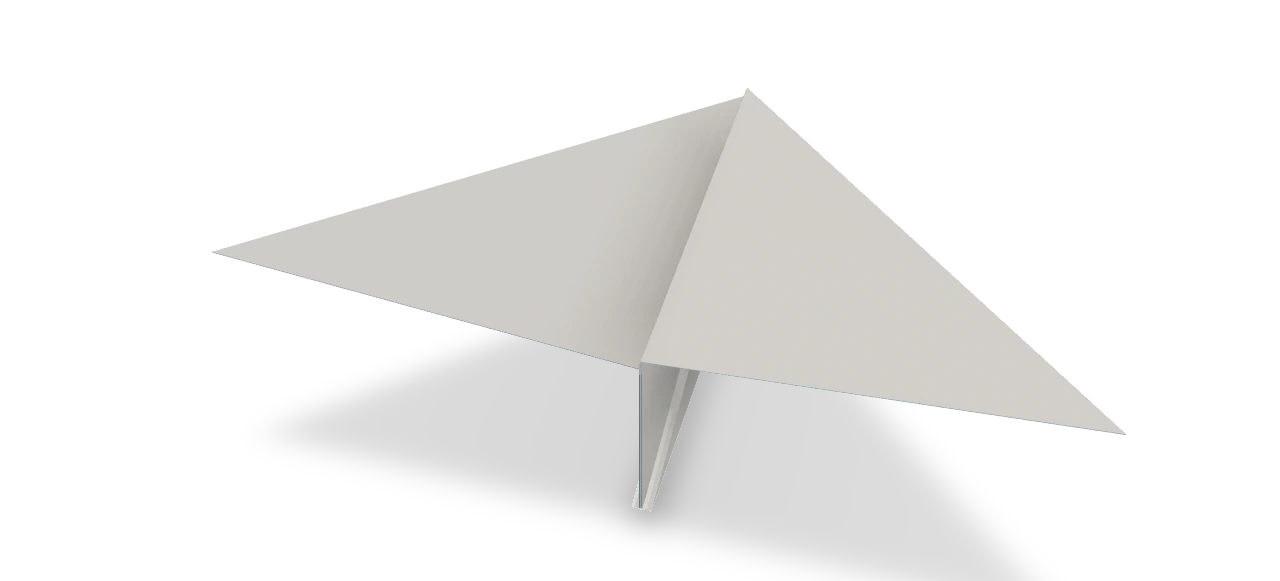
Swallow plane ↗
An Origami Tutor design for the historical Swallow glider: broad triangular wings, a weighted tapered nose, and a central keel for gentle, stable gliding.