How to make a swallow paper airplane
Swallow Paper Airplane: try all 12 steps in the 3D player. Turn and replay every move. Print the complete diagram sheet or save it as PDF.
An Origami Tutor design for the historical Swallow glider: broad triangular wings, a weighted tapered nose, and a central keel for gentle, stable gliding.
- You need
- One square of origami paper. No glue or scissors.
- Start
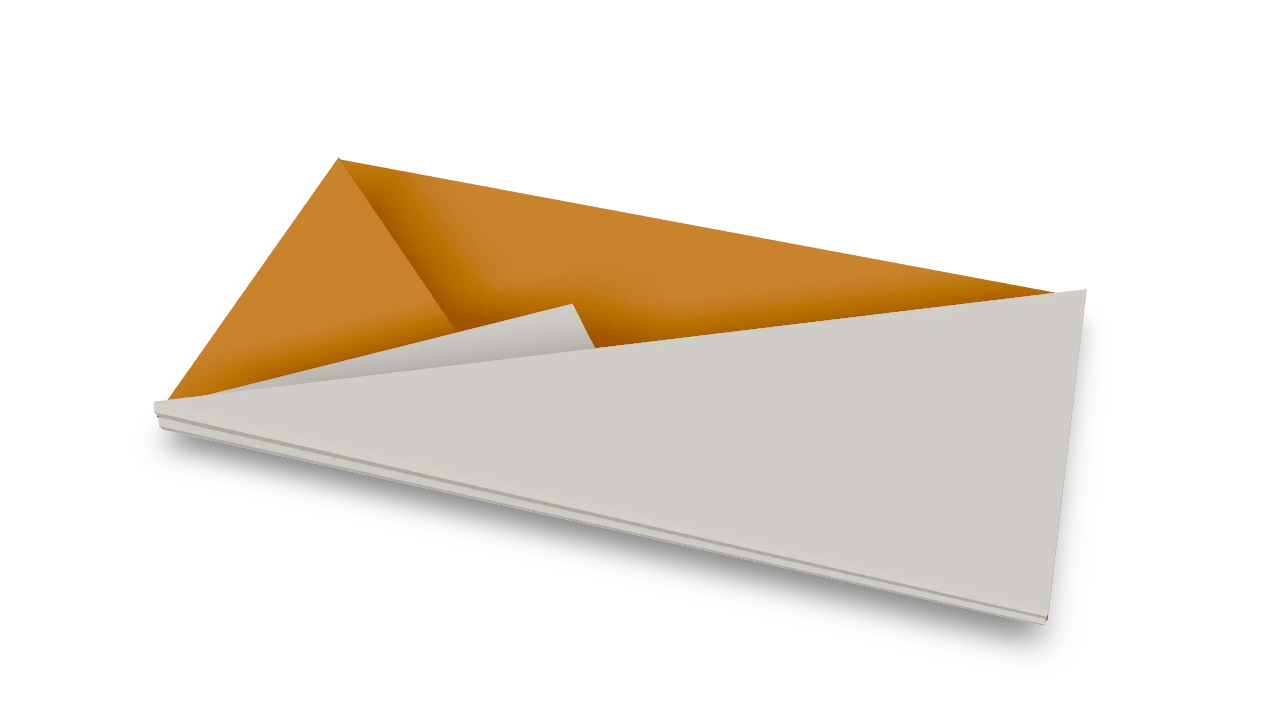
- Start the square sheet white side up, with an edge at the top. Keep the broad rear triangle intact for the wings.
- Tips
- Move only the front corners; the rear triangle supplies the broad wings.
- Launch gently and level for a smooth glide.
Your model is ready
Hold the glider under the nose and throw it gently.

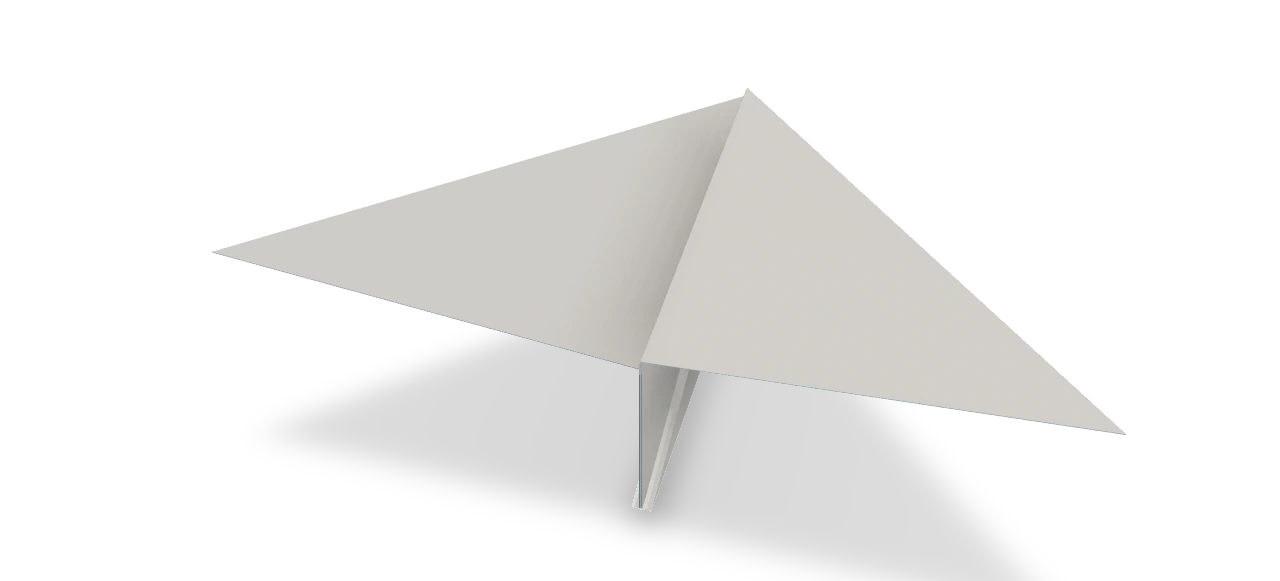
Step-by-step diagrams
Steps 1–7
- 1
Crease a diagonal
Fold the bottom left corner behind to the top right corner, press, and open.
- 2
Crease the other diagonal
Fold the bottom right corner behind to the top left corner, press, and open.
- 3
Crease across the middle
Bring the top edge down to the bottom edge, press, and open.
- 4
Make the waterbomb base
Push the side middles inward. Bring the top edge down to the bottom edge and press into a triangle.
- 5
Raise the front left corner
Fold only the front left corner up to the top point. Leave the broad rear triangle flat for the wings.
- 6
Raise the front right corner
Fold the front right corner up to meet it, keeping the rear triangle flat.
- 7
Narrow the left side of the nose
Fold the lower left sloping edge of the diamond to the vertical center.
Steps 8–12
- 8
Narrow the right side of the nose
Fold the lower right sloping edge to meet it at the center.
- 9
Fold the glider in half
Fold the glider in half along the center crease, with the folds outside.
- 10
Fold the first wing down
Fold the front wing down along a line about half an inch from the center fold, parallel to the body.
- 11
Fold the second wing behind
Fold the rear wing back along the matching line to complete both wings.
- 12
Spread both wings
Open both broad triangular wings away from the keel. Leave a shallow V, with the tips a little higher than their roots, and keep the weighted nose together. Then turn the plane upright, keel below.
- ✓
Finish
Hold the glider under the nose and throw it gently.
Fold next
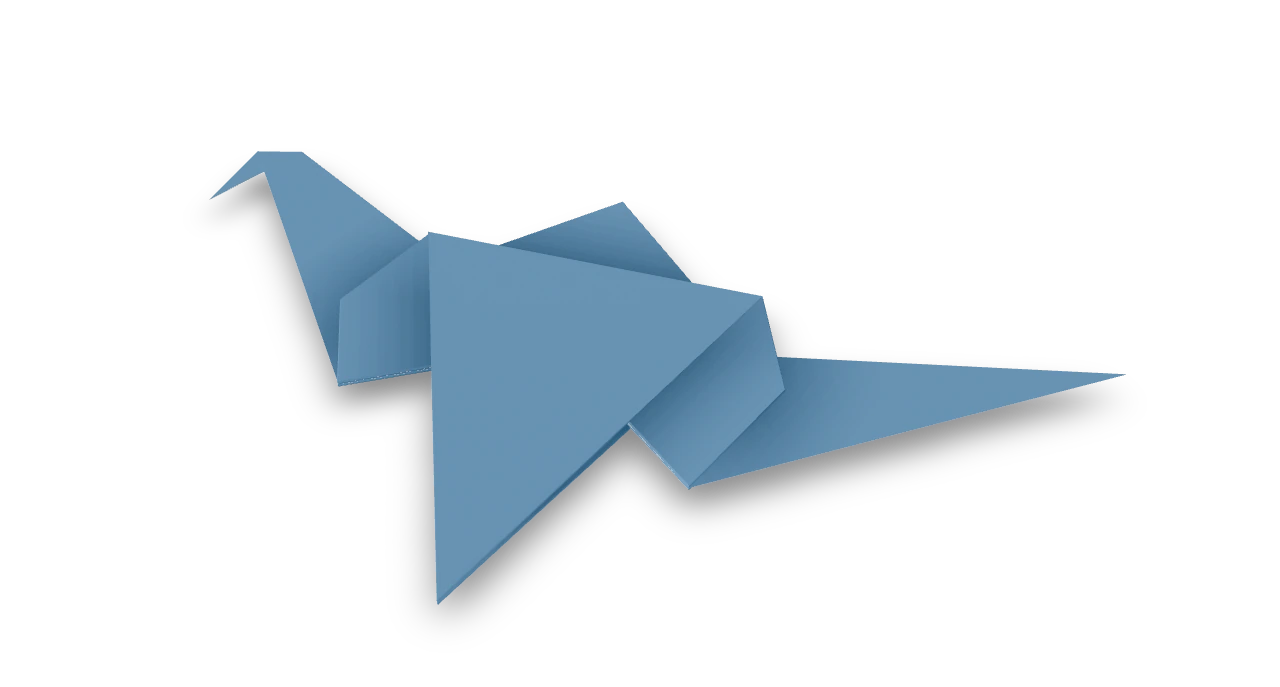
Flapping bird ↗
The traditional action bird: broad wings, a downturned beak and a pointed tail that makes the wings flap.
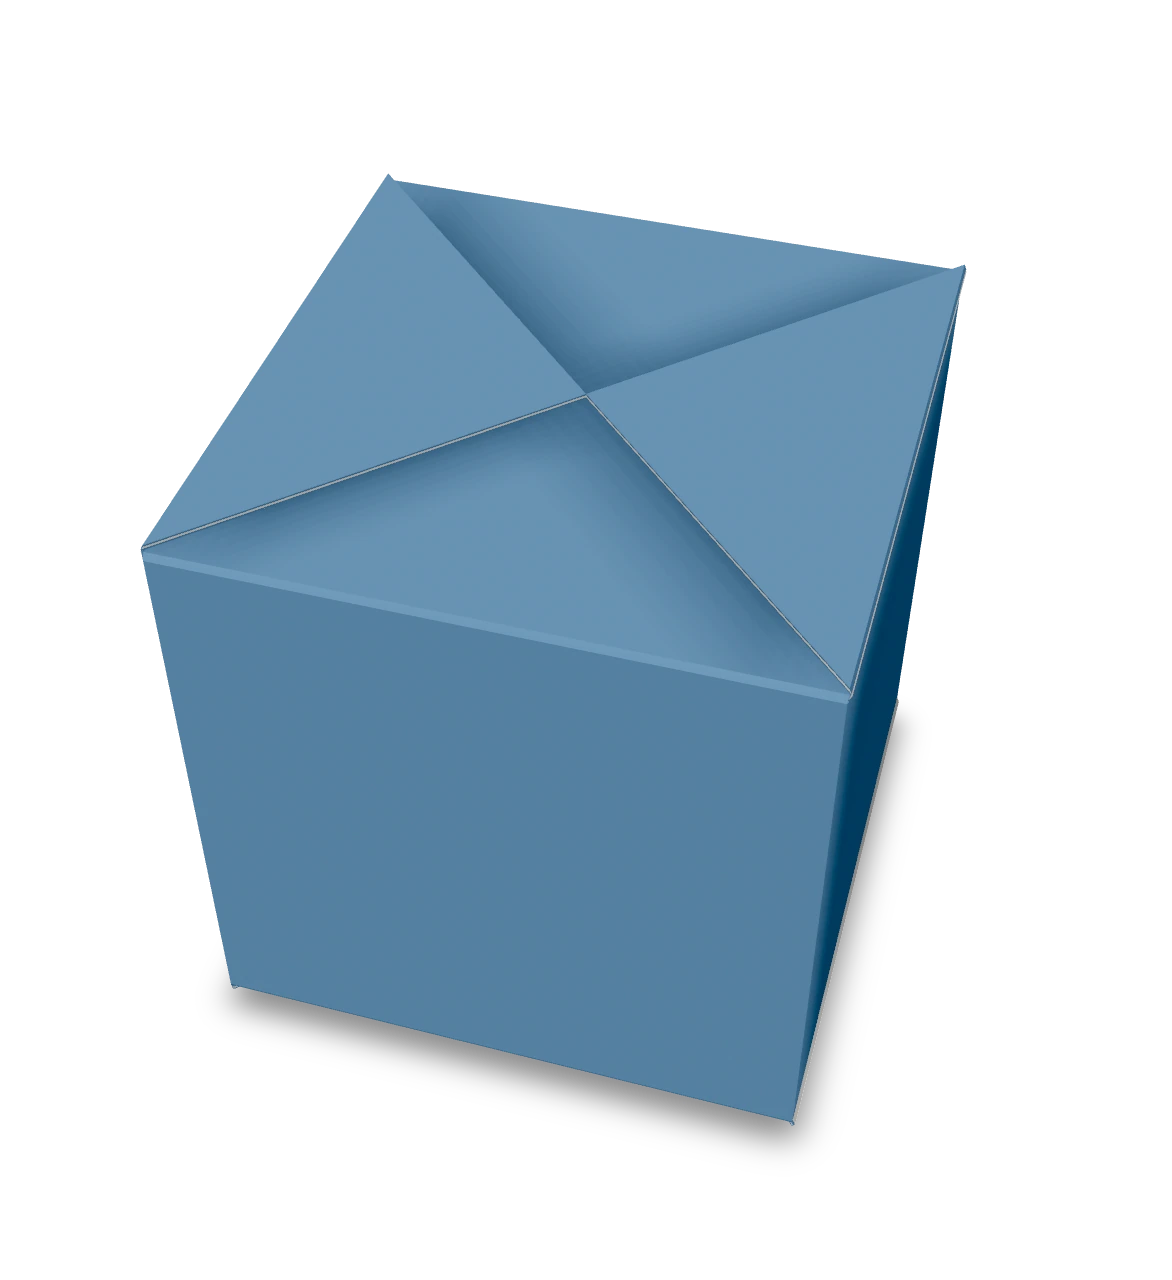
Waterbomb balloon ↗
A traditional paper balloon: fold four locking pockets, then blow it up into a hollow cube.
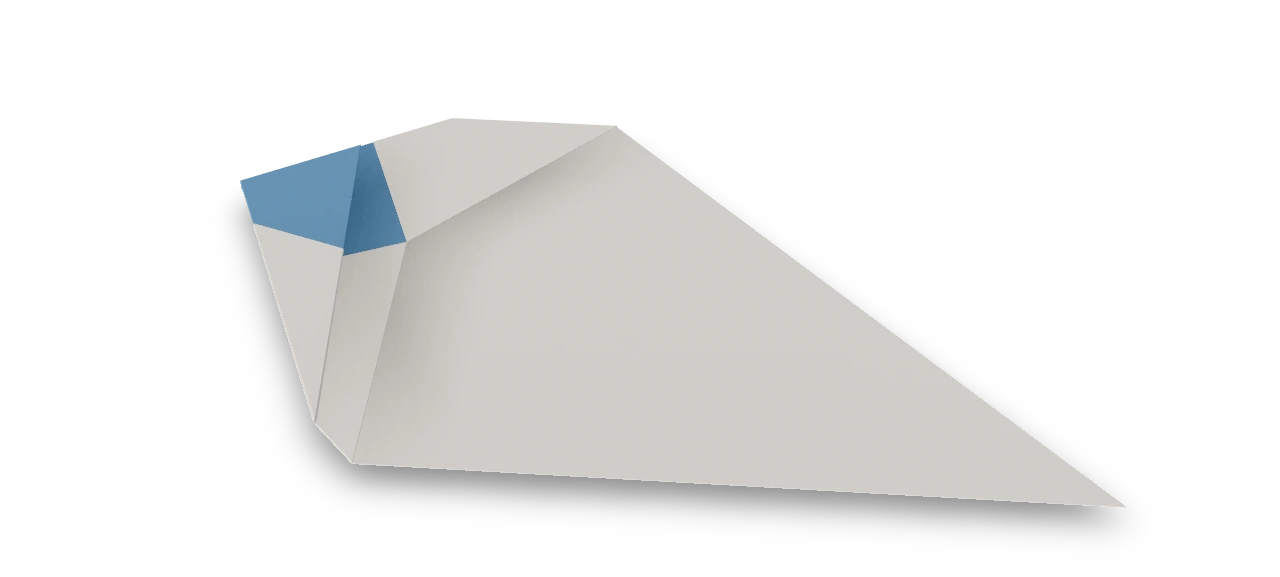
Talking fish ↗
The traditional talking fish: a folded paper fish with an extendable mouth that opens and closes when you move its tail fins.
Fox puppet ↗
The traditional House-derived fox mask, recorded in Japan in 1905, with pointed ears and a movable mouth band.