How to make a paper ice cream cone
Paper Ice Cream Cone: try all 3 steps in the 3D player. Turn and replay every move. Print the complete diagram sheet or save it as PDF.
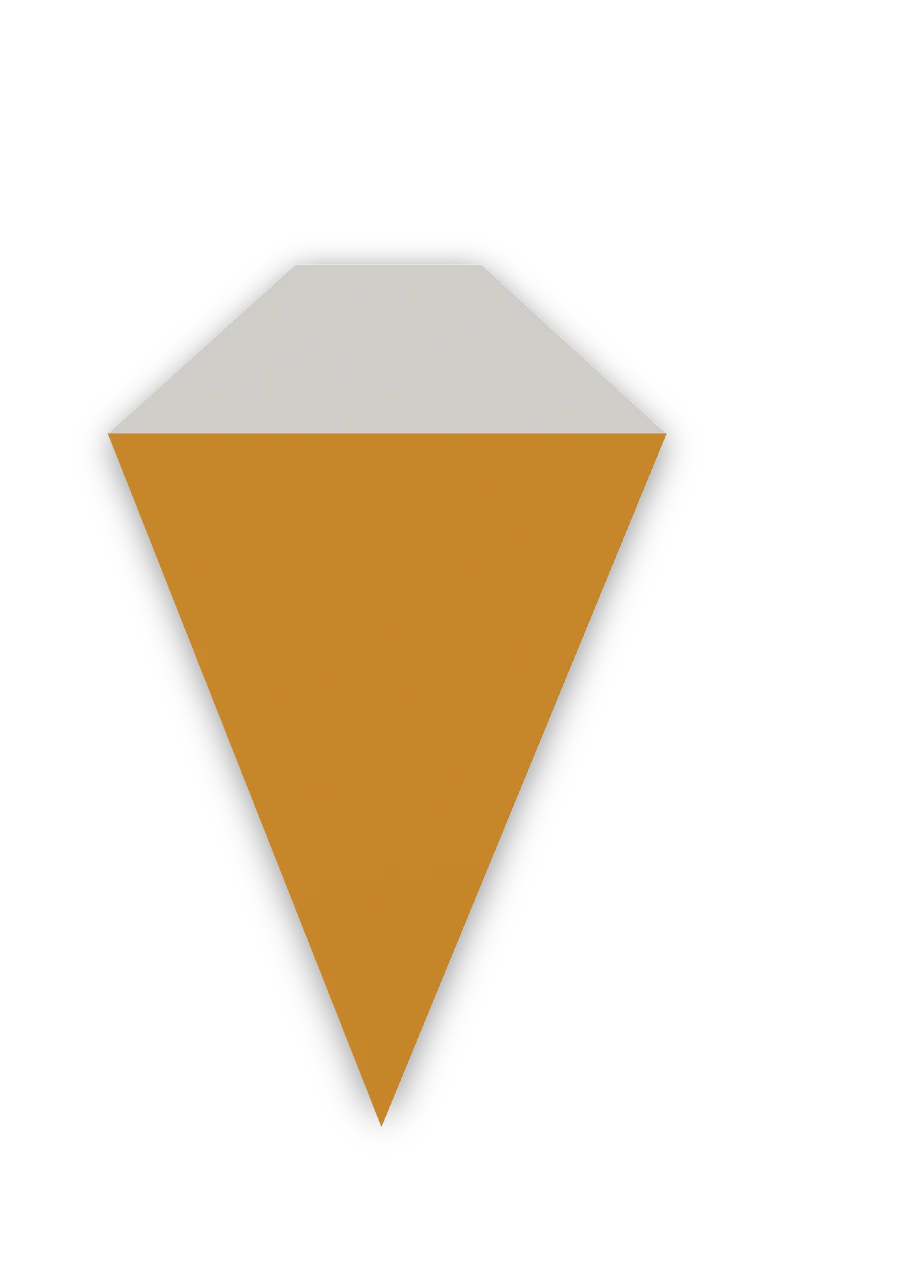
An Origami Tutor ice cream cone in three folds: a white scoop on a colored cone, folded from one square. A quick first model for young children.
- You need
- One square of origami paper, colored on one side, and pens or crayons. No scissors or glue.
- Start
- Start white side up, with one corner pointing up. Brown or orange paper makes the cone; the white side makes the scoop.
- Tips
- Line both edges up exactly in the middle so the cone is straight.
- Color the scoop pink or brown for strawberry or chocolate.
Your model is ready
Press the folds flat. Draw sprinkles or a cherry on the scoop and a crisscross pattern on the cone. The finished ice cream cone, with the white scoop on top.

Step-by-step diagrams
- 1
Fold the left side in
Fold the bottom left edge over so it lies along the middle of the paper. Its colored back is half of the cone.
- 2
Fold the right side in
Fold the bottom right edge over to meet it in the middle. The cone is complete, with the white scoop on top.
- 3
Flatten the scoop
Fold the top point of the scoop behind a little, so the ice cream has a rounder, flat top.
- ✓
Finish
Press the folds flat. Draw sprinkles or a cherry on the scoop and a crisscross pattern on the cone. The finished ice cream cone, with the white scoop on top.
Fold next

Heart ↗
This heart stays flat, so it fits inside a greeting card or on the front of a folded note. The colored side makes the face; small folds hidden behind the left edge, right edge and two top tips soften the outline.

Easy heart ↗
An Origami Tutor heart in three main folds for young children: fold the square in half, then fold each half up across the middle so its corner becomes a lobe. Two small folds round the lobes. The whole heart shows the colored side.

Pocket heart ↗
An Origami Tutor two-color heart with a pocket across its front: slip a folded note or a gift card in behind the colored pocket. Five folds and no glue.

Heart with wings ↗
An Origami Tutor winged heart in three pieces: a red heart folded from a square in five easy folds, and two pointed wings folded from smaller squares. A dab of glue sets the wings behind the heart.