How to make a sliding paper box
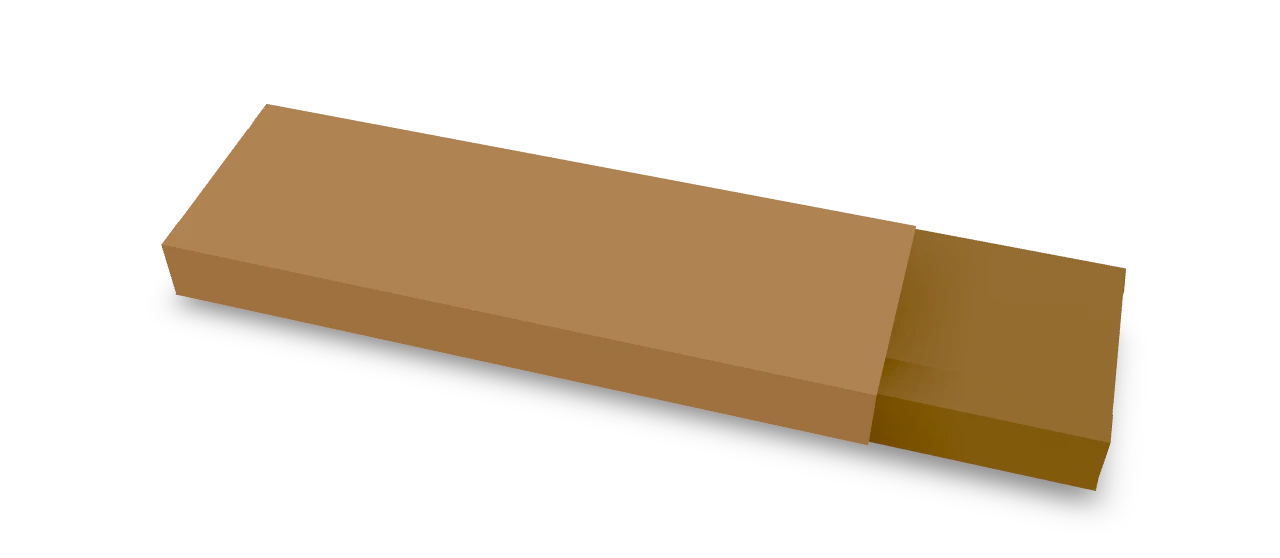
Sliding Paper Box (La Petaca): try all 23 steps in the 3D player. Turn and replay every move. Print the complete diagram sheet or save it as PDF.
An Origami Tutor sliding case inspired by the Spanish la petaca. Fold two squares into slim rectangular pockets, glue their seams, and slide the smaller pocket into the larger one.
- You need
- Two squares of thin paper, 16 × 16 cm and 15.5 × 15.5 cm, a ruler and paper glue.
- Start
- Use two squares of thin paper, 16 × 16 cm and 15.5 × 15.5 cm. Lay both colored side down, with the smaller square to the right. The larger pocket closes at its left edge and the smaller one at its right edge, so their open mouths face each other. Use a ruler to keep the marked corner lines parallel.
- Tips
- Use thin paper and measure the two squares carefully so the inner pocket fits.
- Keep glue inside each seam and away from the open mouths.
- Press the corners square before the glue dries. Slide the halves together gently.
Your model is ready
Your sliding case is ready. Let the glue dry fully, then pull the two halves apart to open it. Slide them together again to close it.

Step-by-step diagrams
Steps 1–6
- 1
Crease the first corner (outer)
On the outer square, fold along the first corner line shown, press it firmly and open it again. Keep the four lines parallel.
- 2
Crease the second corner (outer)
On the outer square, fold along the second corner line shown, press it firmly and open it again. Keep the four lines parallel.
- 3
Crease the third corner (outer)
On the outer square, fold along the third corner line shown, press it firmly and open it again. Keep the four lines parallel.
- 4
Crease the fourth corner (outer)
On the outer square, fold along the fourth corner line shown, press it firmly and open it again. Keep the four lines parallel.
- 5
Crease the closed end (outer)
Fold the narrow strip at the left edge of the outer square in along the bottom line shown, then open it. These short flaps will close this end of the pocket.
- 6
Crease the first corner (inner)
On the inner square, fold along the first corner line shown, press it firmly and open it again. Keep the four lines parallel.
Steps 7–12
- 7
Crease the second corner (inner)
On the inner square, fold along the second corner line shown, press it firmly and open it again. Keep the four lines parallel.
- 8
Crease the third corner (inner)
On the inner square, fold along the third corner line shown, press it firmly and open it again. Keep the four lines parallel.
- 9
Crease the fourth corner (inner)
On the inner square, fold along the fourth corner line shown, press it firmly and open it again. Keep the four lines parallel.
- 10
Crease the closed end (inner)
Fold the narrow strip at the right edge of the inner square in along the bottom line shown, then open it. These short flaps will close this end of the pocket.
- 11
Raise three corners (outer)
Hold the broad middle panel of the outer square still. Raise both narrow sides and bring the first broad back panel over them. Leave the last back panel pointing out.
- 12
Overlap the back panels (outer)
Fold the remaining back panel over the first. The outer pocket is now a rectangular tube with an overlap along its back.
Steps 13–18
- 13
Glue the back seam (outer)
Put a little paper glue between the two overlapping back panels of the outer tube. Press the seam flat and let it set.
- 14
Pleat the bottom corners (outer)
At the left end of the outer tube, fold the narrow side flaps in and bring the back flaps down with them. Pinch each corner into a small triangular pleat. Let the broad front flap swing out of the way.
- 15
Close the bottom flap (outer)
Bring the broad front flap over the left end of the outer pocket. Press its corner triangles flat beneath it. Leave the mouth at the right end open.
- 16
Glue the bottom flap (outer)
Glue the front flap to the small corner triangle beneath it, near the edge shown. Press it flat and let it dry. The outer pocket now has one closed end and one open mouth.
- 17
Raise three corners (inner)
Hold the broad middle panel of the inner square still. Raise both narrow sides and bring the first broad back panel over them. Leave the last back panel pointing out.
- 18
Overlap the back panels (inner)
Fold the remaining back panel over the first. The inner pocket is now a rectangular tube with an overlap along its back.
Steps 19–23
- 19
Glue the back seam (inner)
Put a little paper glue between the two overlapping back panels of the inner tube. Press the seam flat and let it set.
- 20
Pleat the bottom corners (inner)
At the right end of the inner tube, fold the narrow side flaps in and bring the back flaps down with them. Pinch each corner into a small triangular pleat. Let the broad front flap swing out of the way.
- 21
Close the bottom flap (inner)
Bring the broad front flap over the right end of the inner pocket. Press its corner triangles flat beneath it. Leave the mouth at the left end open.
- 22
Glue the bottom flap (inner)
Glue the front flap to the small corner triangle beneath it, near the edge shown. Press it flat and let it dry. The inner pocket now has one closed end and one open mouth.
- 23
Slide the pockets together
Keep the two open mouths facing each other. Line up their sides and slide the smaller pocket straight inside the larger one. Leave a little of it showing so the case is easy to pull apart.
- ✓
Finish
Your sliding case is ready. Let the glue dry fully, then pull the two halves apart to open it. Slide them together again to close it.
Fold next

Crane ↗
The crane begins with a square base. Two petal folds turn it into a bird base with separate points for the neck and tail; the broad flaps become the wings. Work through one side of the body before repeating the narrowing folds on the back.
Swan ↗
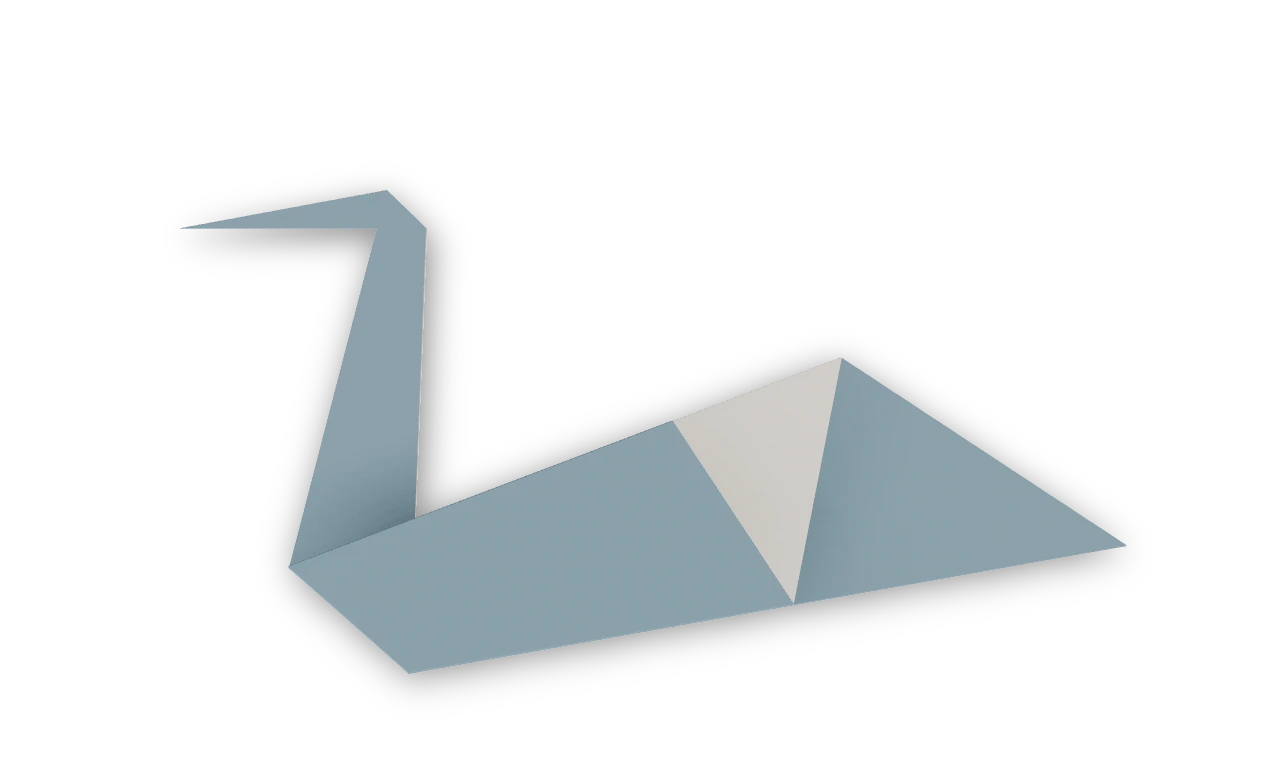
The traditional kite-base swan, with a pointed tail, a long neck and a small head.

Flapping bird ↗
The traditional action bird: broad wings, a downturned beak and a pointed tail that makes the wings flap.
Pleated fan ↗
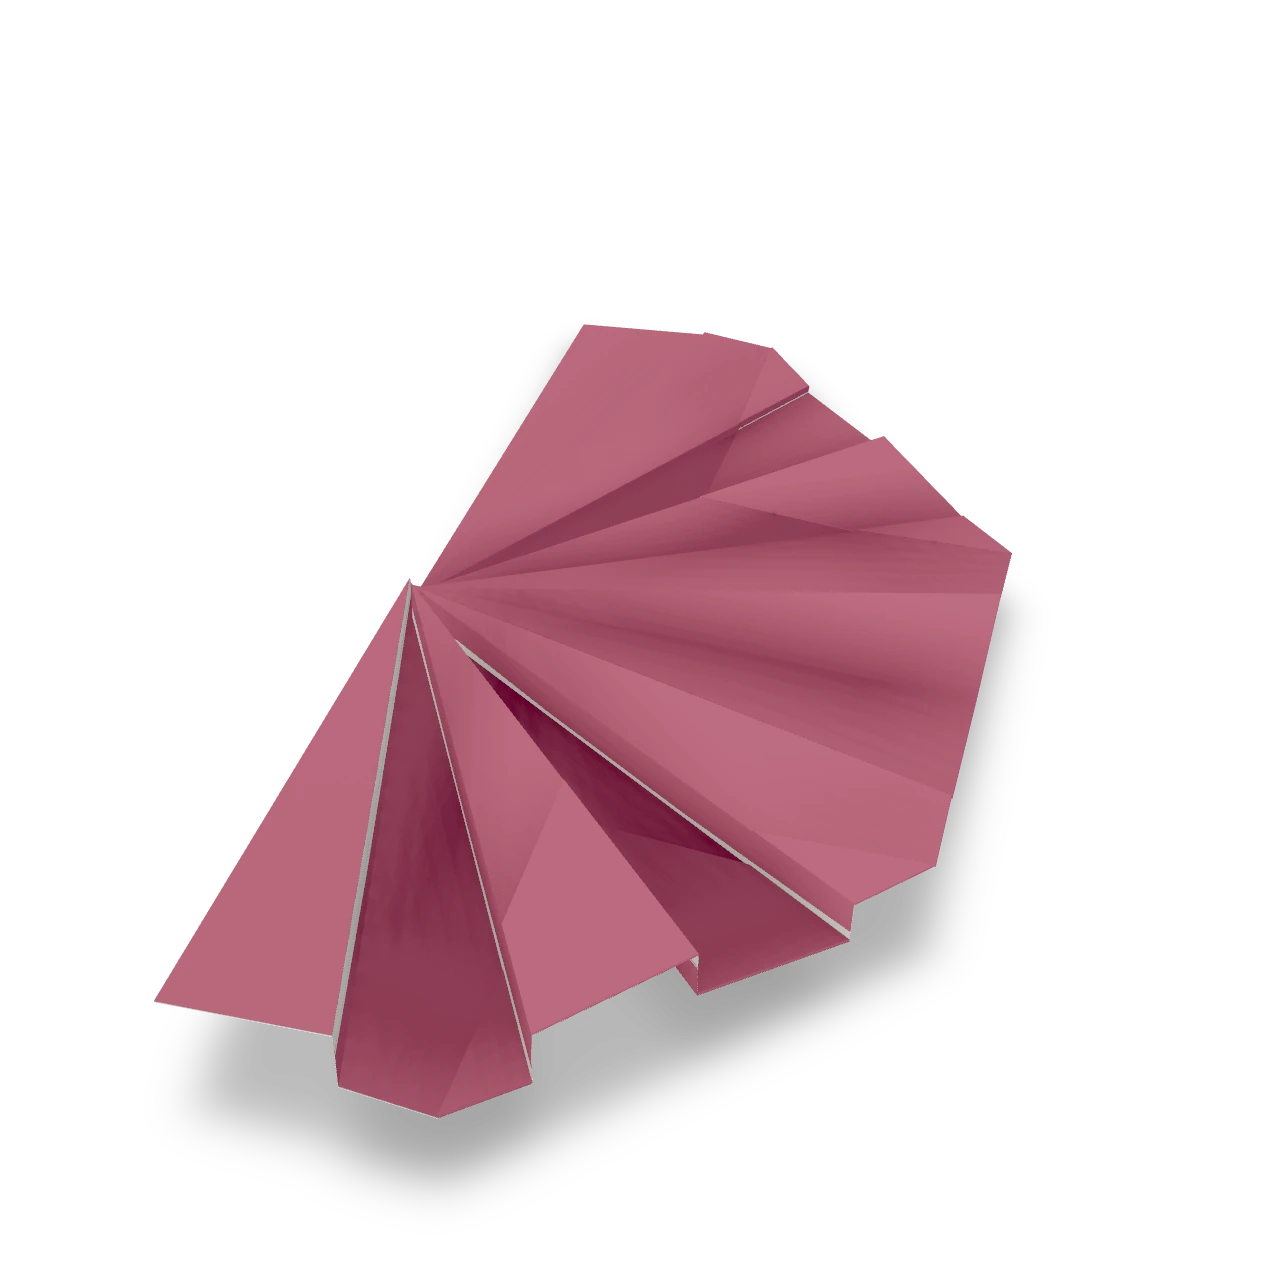
An Origami Tutor paper fan with twelve radial panels and a rounded rim. One square folds into a doubled leaf, gathers into a narrow packet and opens into a broad half-circle, without cuts or glue.