How to make a lighthouse bookmark
Lighthouse Paper Bookmark: try all 13 steps in the 3D player. Turn and replay every move. Print the complete diagram sheet or save it as PDF.
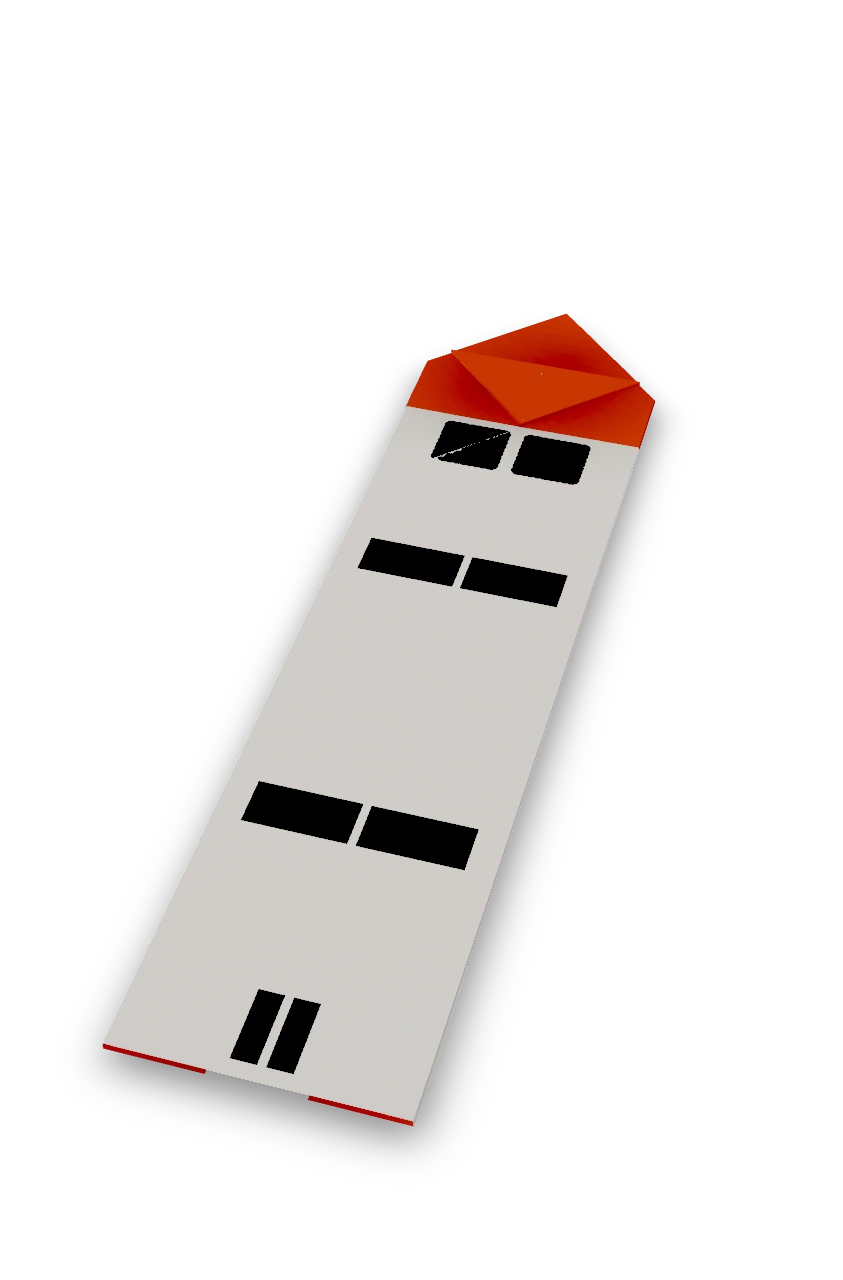
An Origami Tutor lighthouse bookmark with a folded colored roof above a white stem, finished with dark lantern windows, two bands and a small door.
- You need
- One 6 × 18 cm strip of thin paper, colored on one side, and a dark marker. Prepare the strip before folding. No glue or cuts during folding.
- Start
- Use a strip three times as long as it is wide. Start colored side up, with a short edge at the top. The finished stem will be white and the roof colored.
- Tips
- Keep the two small roof folds even on both sides.
- Use thin paper so the stem sits neatly between the pages.
Your model is ready
Draw two dark lantern panes just below the colored roof, two broad bands across the white stem and a small door near the bottom. Leave a fine uninked line on the middle crease. Slide the stem between the pages of your book, with the roof above the top edge. The finished lighthouse bookmark, with its pointed roof and slender stem.

Step-by-step diagrams
Steps 1–7
- 1
Crease the first diagonal
Bring the top left corner down to the right edge, lining the top edge up with that side. Press and open.
- 2
Crease the other diagonal
Bring the top right corner down to the left edge the same way. Press and open.
- 3
Crease through the crossing
Fold the top edge behind the strip along a line through the crossing of the diagonal creases. Press and open.
- 4
Collapse the top into a triangle
Push the sides inward at the crossing crease and lower the top edge behind the strip. Flatten the top into a triangle.
- 5
Turn over
Turn the strip over, keeping the triangle pointing up. Its two front corner flaps are now free.
- 6
Lift the left flap
Fold only the front left corner of the triangle up to its top point.
- 7
Lift the right flap
Fold the front right corner up to the same top point.
Steps 8–13
- 8
Fold the left point down
Fold the left flap tip down in half to the base.
- 9
Fold the right point down
Fold the right flap tip down in half to the base, matching the small fold on the left.
- 10
Turn over
Turn the bookmark over to narrow the stem from behind.
- 11
Fold the left side of the stem in
Fold the left edge of the stem inward along a vertical line below the roof.
- 12
Fold the right side of the stem in
Fold the right edge of the stem inward the same way to narrow the bookmark.
- 13
Turn back
Turn the bookmark back over to see the finished lighthouse.
- ✓
Finish
Draw two dark lantern panes just below the colored roof, two broad bands across the white stem and a small door near the bottom. Leave a fine uninked line on the middle crease. Slide the stem between the pages of your book, with the roof above the top edge. The finished lighthouse bookmark, with its pointed roof and slender stem.
Fold next

Pleated fan ↗
An Origami Tutor paper fan with twelve radial panels and a rounded rim. One square folds into a doubled leaf, gathers into a narrow packet and opens into a broad half-circle, without cuts or glue.
Paper wallet ↗
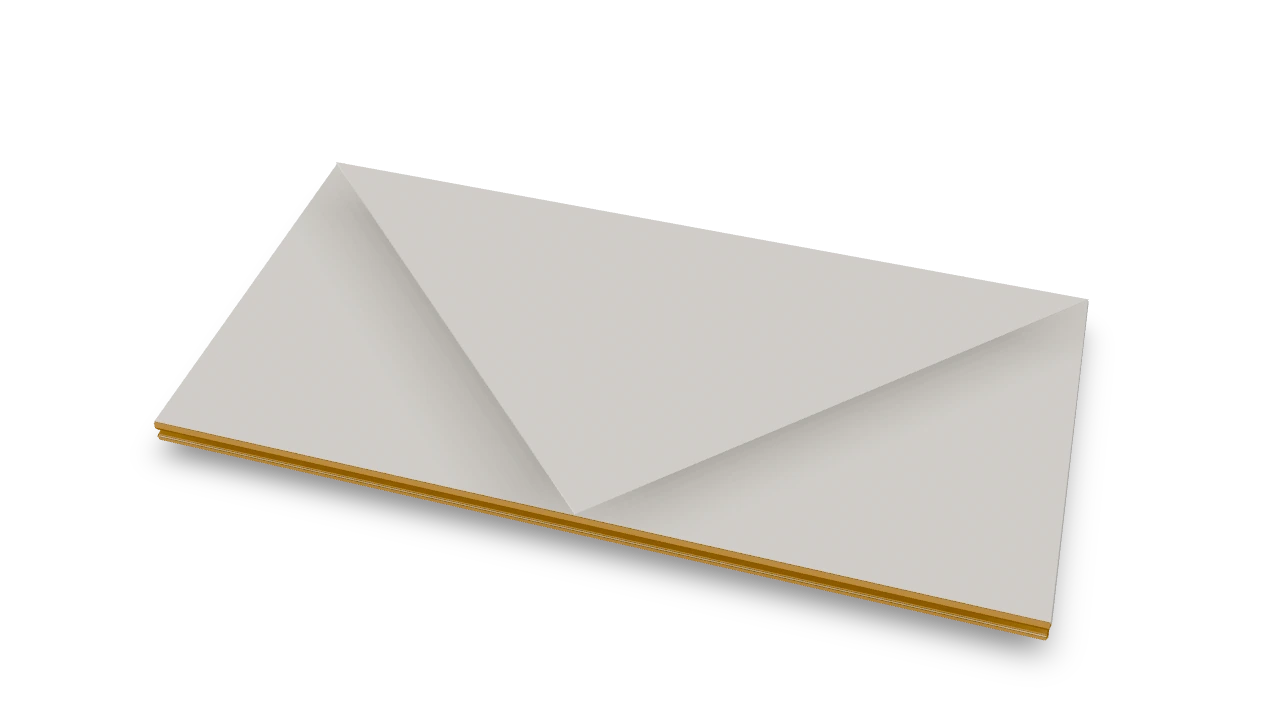
The old kindergarten wallet recorded in 1876, with two pockets and a triangular closing flap.
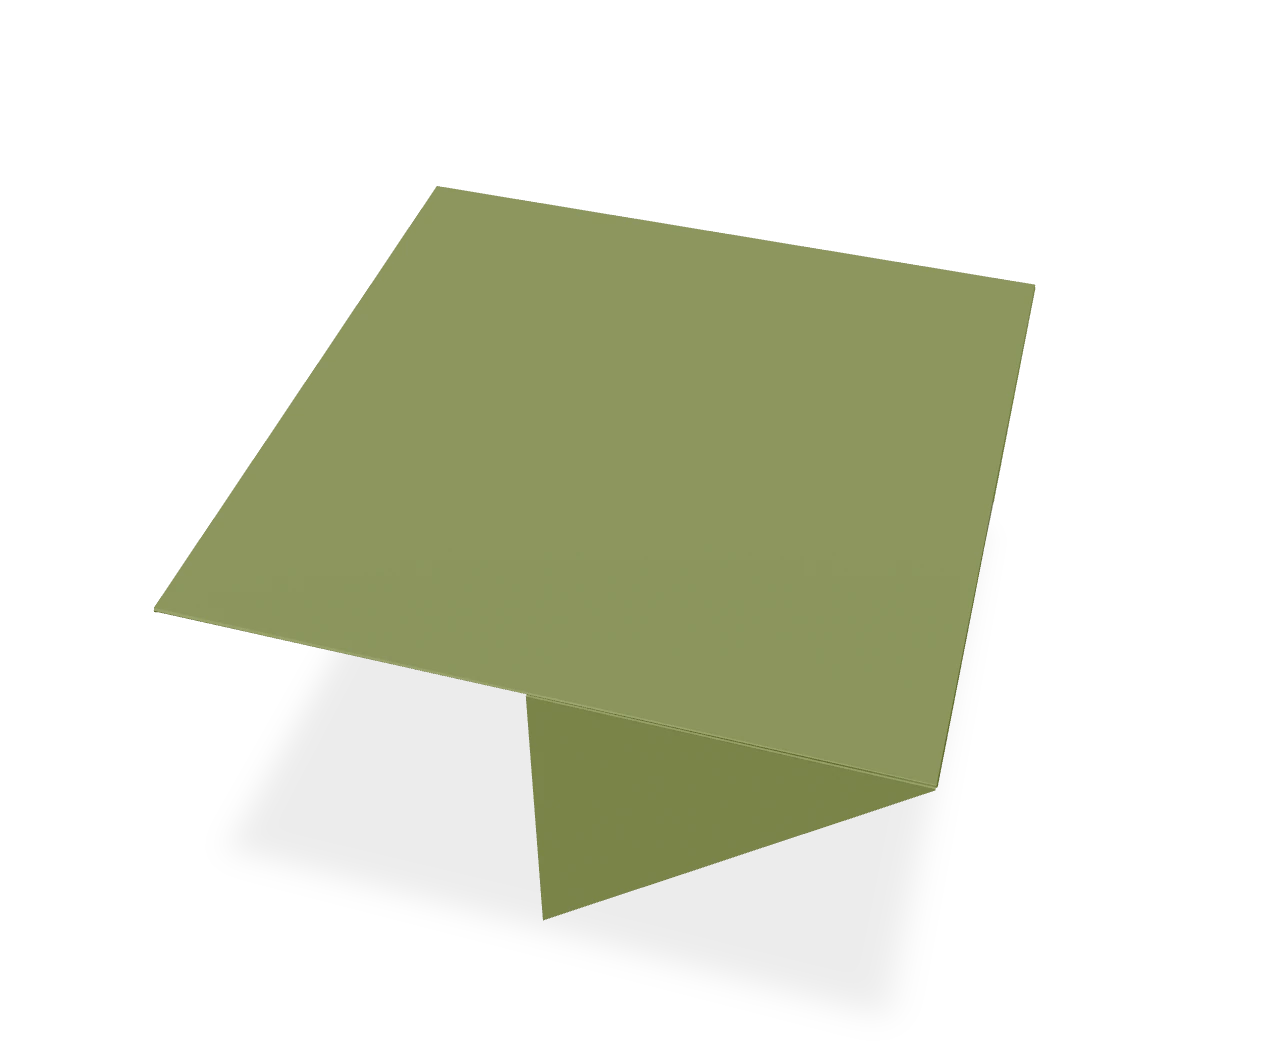
Table ↗
Fold a traditional windmill-base table, with a square top and four triangular legs.
Chair ↗
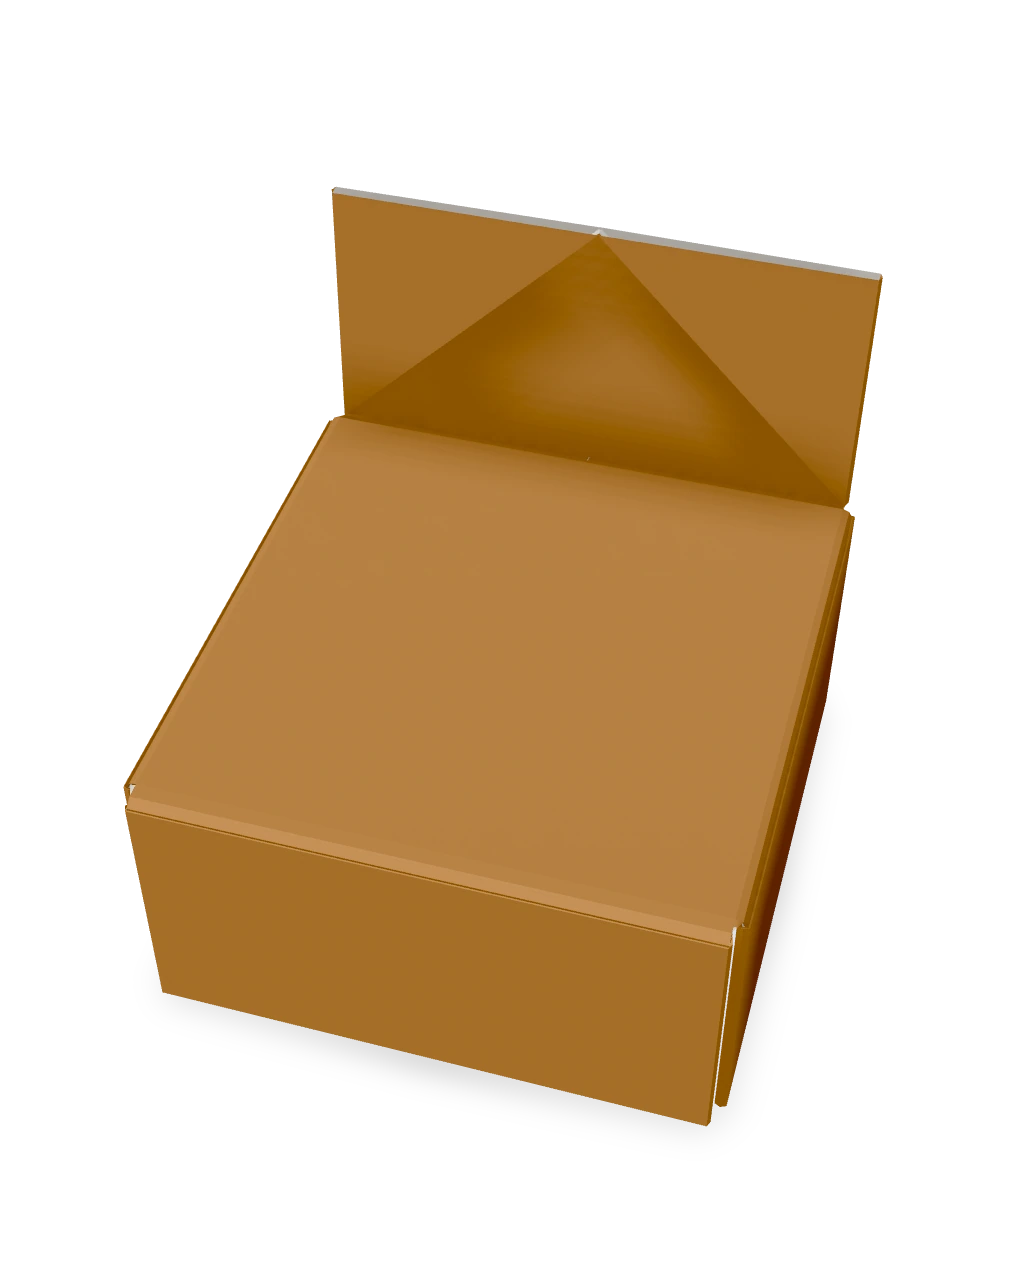
A lantern-base paper chair with a rectangular backrest, a level square seat and three broad panel legs.