How to make a paper wallet
Paper Wallet: try all 16 steps in the 3D player. Turn and replay every move. Print the complete diagram sheet or save it as PDF.
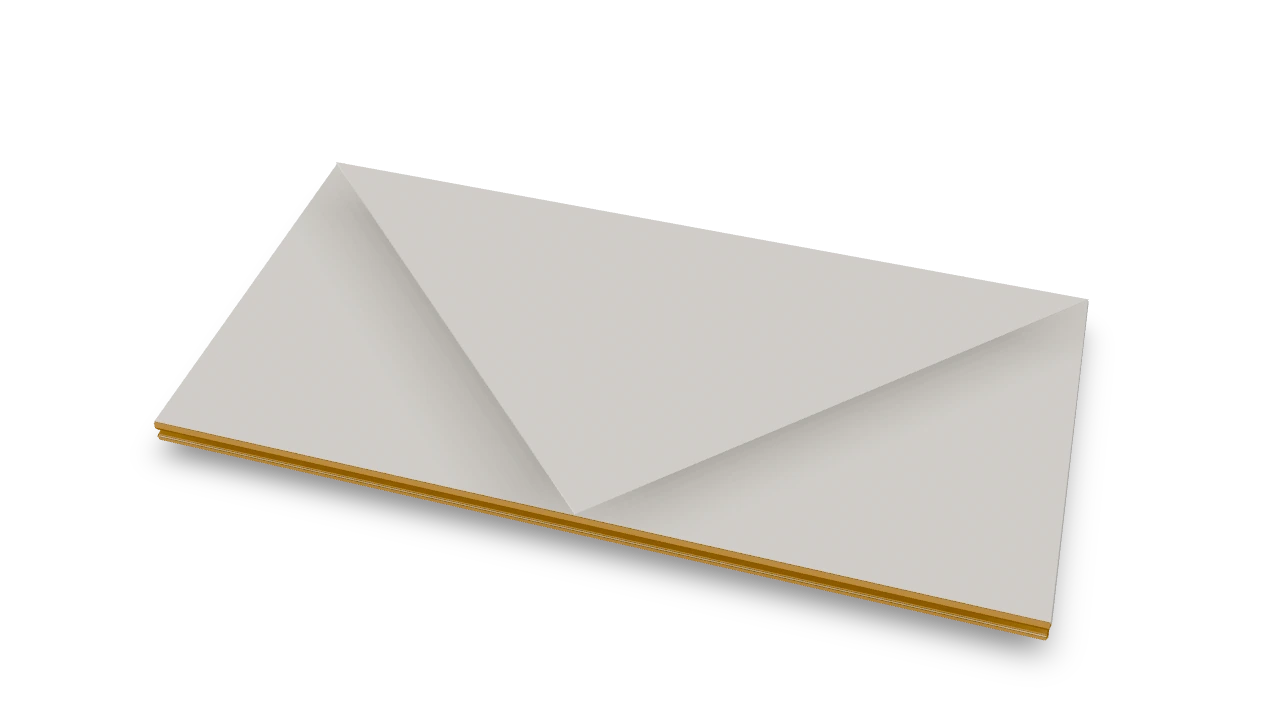
The old kindergarten wallet recorded in 1876, with two pockets and a triangular closing flap.
- You need
- One 8 × 12 in rectangle of thin paper. No glue or scissors.
- Start
- Start colored side up with a short edge at the top. Use a rectangle half as long again as it is wide.
- Tips
- Thin paper makes the folded bands easier to press.
- Keep the two side bands the same width.
Your model is ready
The wallet is ready. Lift the triangular flap to reach the two pockets, and fold it down again to close them. The finished wallet, with its triangular flap resting over the front.

Step-by-step diagrams
Steps 1–6
- 1
Mark the middle
Bring the left edge to the right edge, press, and open.
- 2
Mark the upper third
Fold the upper third down along the marked line, press, and open. This section is half the sheet's width deep.
- 3
Mark the lower third
Fold the lower third up to meet the first crease, press, and open.
- 4
Fold the upper left corner
Fold the upper left corner to the middle at the first third crease.
- 5
Fold the upper right corner
Fold the upper right corner to meet it.
- 6
Fold the lower left corner
Fold the lower left corner to the middle at the lower third crease.
Steps 7–12
- 7
Fold the lower right corner
Fold the lower right corner to meet it.
- 8
Lower the upper tip
Fold the upper triangular tip down to the first third crease.
- 9
Raise the lower tip
Fold the lower triangular tip up to the lower third crease.
- 10
Fold the upper band behind
Fold the whole upper band behind along the first third crease.
- 11
Fold the lower band behind
Fold the lower band behind along the lower third crease.
- 12
Fold the left side behind
Fold the left edge behind to the middle line, taking its layers with it.
Steps 13–16
- 13
Fold the right side behind
Fold the right edge behind to meet it, making a small square.
- 14
Close the wallet in half
Fold the upper half of the square down onto the lower half.
- 15
Draw out the closing flap
Ease open the cover and side bands, draw the hidden upper triangle out, then close the bands around it again.
- 16
Close the triangular flap
Fold the released triangle down over the front of the wallet.
- ✓
Finish
The wallet is ready. Lift the triangular flap to reach the two pockets, and fold it down again to close them. The finished wallet, with its triangular flap resting over the front.
Fold next
Corner bookmark ↗
Make a folded pocket that slips over the corner of your book page.
Shirt ↗
The traditional square-sheet shirt or jacket with two downward sleeves. Folded from alternating corner blintzes with rectangular sleeves and a neat collar.

Heart ↗
This heart stays flat, so it fits inside a greeting card or on the front of a folded note. The colored side makes the face; small folds hidden behind the left edge, right edge and two top tips soften the outline.

Paper airplane ↗
The classic dart: a sheet of letter paper, a sharp nose and two wings, ready to fly across the room.