How to make an origami bookmark
Origami Bookmark: try all 10 steps in the 3D player. Turn and replay every move. Print the complete diagram sheet or save it as PDF.
Make a folded pocket that slips over the corner of your book page.
- You need
- One square of thin paper. No glue or scissors.
- Start
- The paper has a white side and a colored reverse. Start colored side up, with one corner pointing up, so the finished front shows the color.
- Tips
- In the pocket step, fold a single layer, leaving the point underneath in place.
- Open the pocket slightly before sliding each corner inside.
Your model is ready
Slip the open pocket over a page corner. The folded side sits on the front of the page.

Step-by-step diagrams
- 1
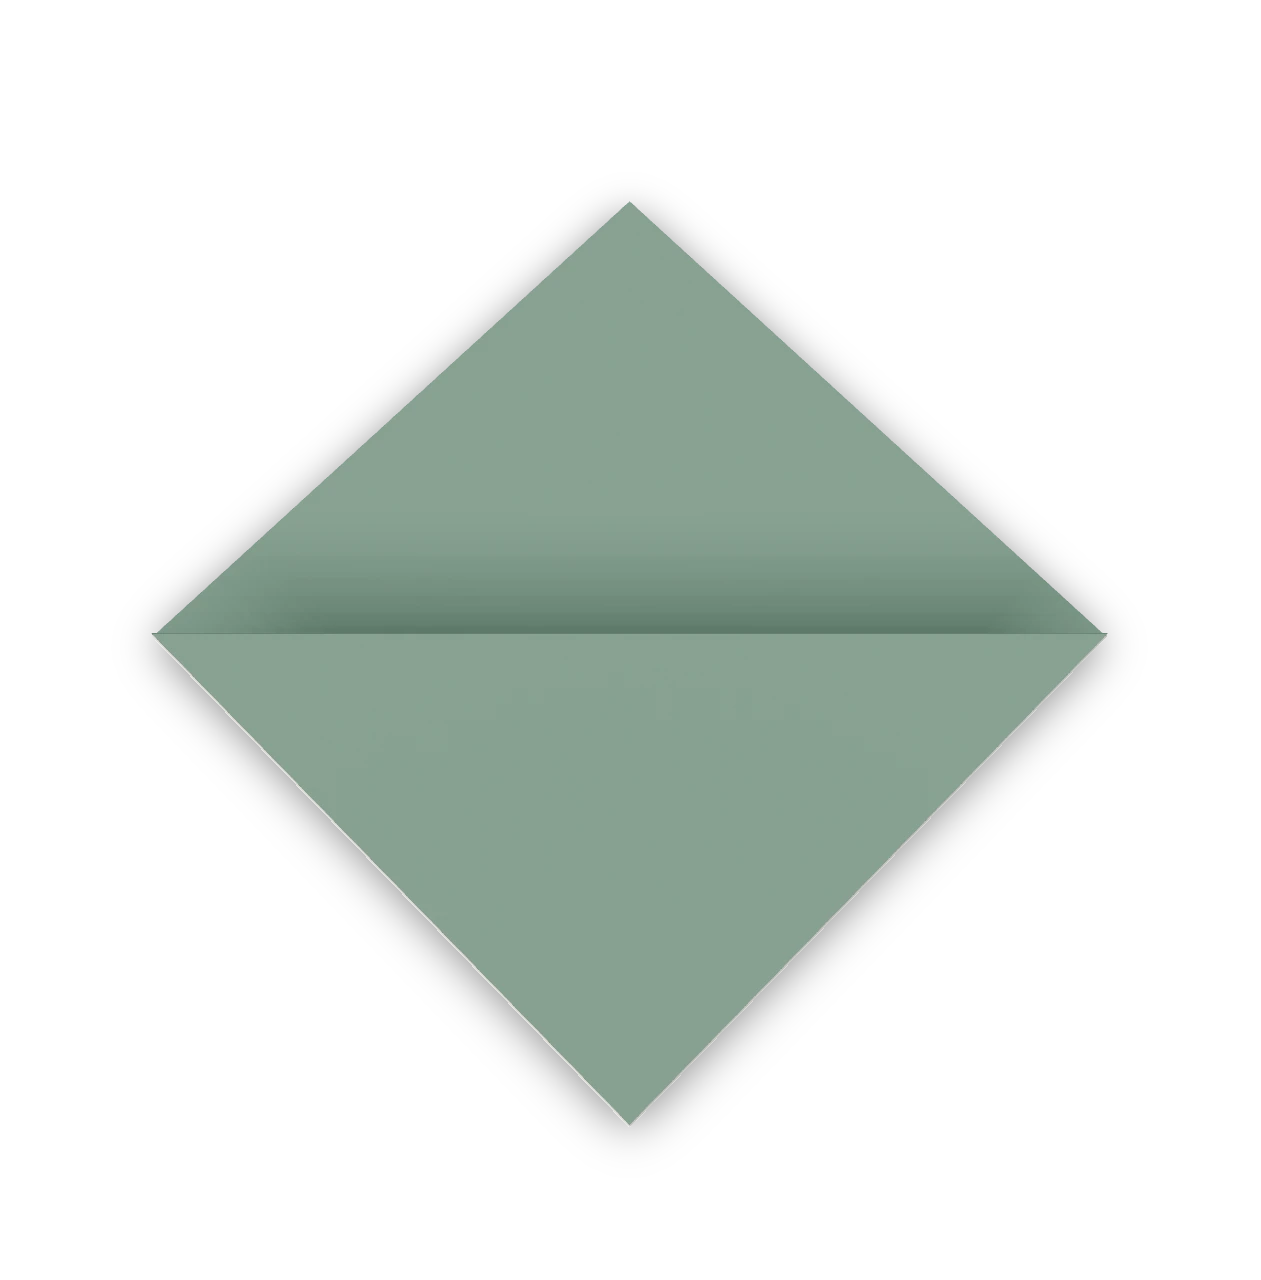
Make a triangle
Bring the bottom point up to the top point. Match the corners.
- 2
Crease the right corner
Bring the right corner up to the top point, press, and open it again.
- 3
Crease the left corner
Do the same with the left corner, then open it.
- 4
Make the pocket
Fold only the top layer of the top point down to the middle of the bottom edge.
- 5
Lift the right corner
Fold the right corner back up along its crease, over the pocket.
- 6
Fold its tip down
Fold the tip of that corner down along the top edge of the pocket.
- 7
Tuck it in
Lift the pocket flap and slide the folded corner underneath it.
- 8
Lift the left corner
Fold the left corner up along its crease, over the pocket.
- 9
Fold its tip down
Fold its tip down along the top edge of the pocket.
- 10
Tuck it in
Slide the second corner under the pocket flap too.
- ✓
Finish
Slip the open pocket over a page corner. The folded side sits on the front of the page.
Fold next
Paper wallet ↗
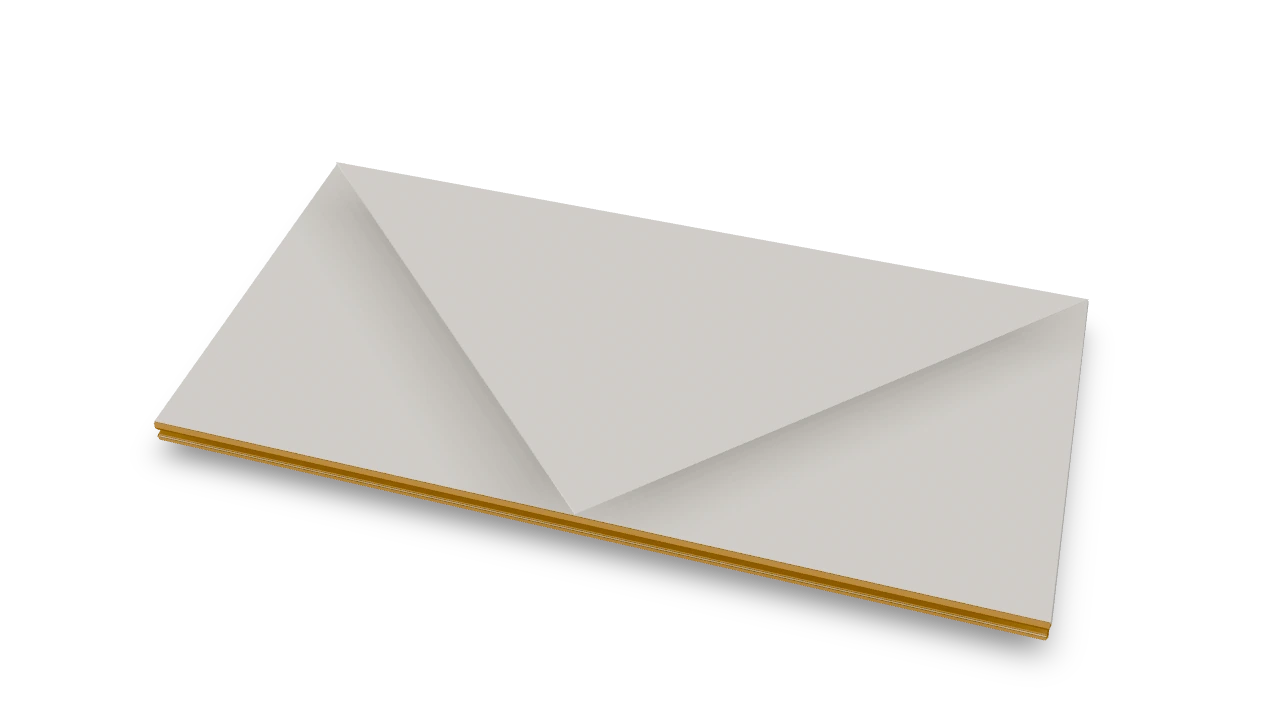
The old kindergarten wallet recorded in 1876, with two pockets and a triangular closing flap.

Heart ↗
This heart stays flat, so it fits inside a greeting card or on the front of a folded note. The colored side makes the face; small folds hidden behind the left edge, right edge and two top tips soften the outline.

Paper airplane ↗
The classic dart: a sheet of letter paper, a sharp nose and two wings, ready to fly across the room.
Newspaper hat ↗
The folded paper hat from a sheet of newspaper: a peak, a brim, and it fits a child's head from a full newspaper page.