How to make a paper booklet
Paper Booklet: try all 7 steps in the 3D player. Turn and replay every move. Print the complete diagram sheet or save it as PDF.
A pocket-sized book with eight pages and a cover from one sheet of letter paper. One short cut and a few pleats, with no glue or staples.
- You need
- One sheet of letter paper, 8.5 × 11 in, and scissors.
- Start
- Lay a sheet of letter paper on its long side, white side up. If you want to write or draw in the book, do it on the eight panels first, before any folding: the pleats turn some pages upside down.
- Tips
- Press every crease flat with a fingernail or a ruler edge before you fold on it.
- Cut slowly and stop exactly at the quarter marks. A slit that is too long leaves the cover loose.
- Use thick paper for a book that stands up. Thin paper makes a floppy one.
Your model is ready
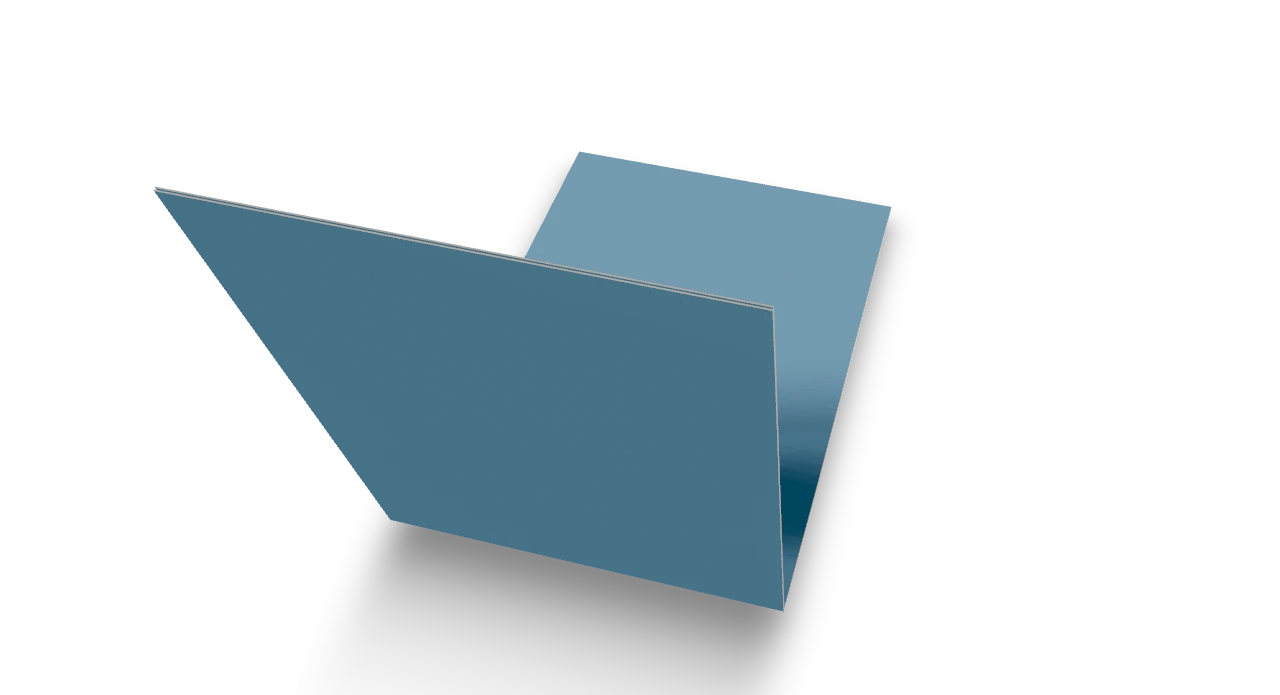
Your mini book is open, with its pages gathered at the folded spine. Close it along the same fold when you finish reading.

Step-by-step diagrams
- 1
Crease across the middle
Fold the top edge down to the bottom edge, press the crease firmly, and open the sheet flat again.
- 2
Cut the slit
Measure a quarter of the way along the crease from the left edge, and three quarters of the way. Cut along the crease between the two marks. The first and last quarters of the crease stay uncut.
- 3
Fold the left quarter over
Fold the left quarter of the sheet over onto the second quarter. Press the fold from the top edge to the bottom edge.
- 4
Fold the stack behind
Fold the thick left stack back behind the third quarter, along the middle line of the sheet.
- 5
Fold the stack forward
Fold the stack forward over the last quarter, along the line three quarters of the way across. The sheet is now one tall strip made of four layers.
- 6
Fold the strip in half
Fold the bottom of the strip up to the top. The slit lets the two middle layers fold up without catching on the outer two.
- 7
Open the book
Hold one half of the book and gently open the other at the short-edge spine. Keep the folded page edges together.
- ✓
Finish
Your mini book is open, with its pages gathered at the folded spine. Close it along the same fold when you finish reading.
Fold next
Corner bookmark ↗
Make a folded pocket that slips over the corner of your book page.

Cup ↗
The old folded paper cup: a few folds and it holds water for a quick drink.
House ↗
The traditional flat house from Froebel's paper folding, with a long roof and two gate pockets.

Piano ↗
An Origami Tutor paper piano using a house-base fold, a raised white keyboard and nine small black paper keys.