How to make an origami noshi
Origami Noshi: try all 3 steps in the 3D player. Turn and replay every move. Print the complete diagram sheet or save it as PDF.
The traditional red-and-white folded wrapper for a noshi, an auspicious Japanese paper decoration attached to celebratory gifts.
- You need
- One square of thin origami paper, red on one side and white on the other. No glue or scissors.
- Start
- Start with the red side up and one corner pointing up. This sheet supplies the red lining and white outer face.
- Tips
- Keep a little red visible along the first fold; it gives the white wrapper its border.
- Press each fold sharply to keep the wrapper flat and neat.
Your model is ready
Your noshi gift wrapper is folded, showing its white face and contrasting red border. In traditional Japanese gift-giving, a strip of dried abalone or yellow paper is placed inside the wrapper and tied with a mizuhiki cord. The finished noshi wrapper, with its long point below, showing the contrasting red border and inner fold.


Step-by-step diagrams
- 1
Fold the right corner across
Fold the right corner to the left, stopping a little short of the left corner. Leave a narrow red border beside the white triangle.
- 2
Fold the left side over
Fold the left side to the right along the slanting line. Keep the bottom point narrow and let the flap spread wider above it.
- 3
Fold the front flap back
Fold only the front flap back to the left along the upright line, exposing its red reverse. Keep the tall white panel behind it.
- ✓
Finish
Your noshi gift wrapper is folded, showing its white face and contrasting red border. In traditional Japanese gift-giving, a strip of dried abalone or yellow paper is placed inside the wrapper and tied with a mizuhiki cord. The finished noshi wrapper, with its long point below, showing the contrasting red border and inner fold.
Fold next
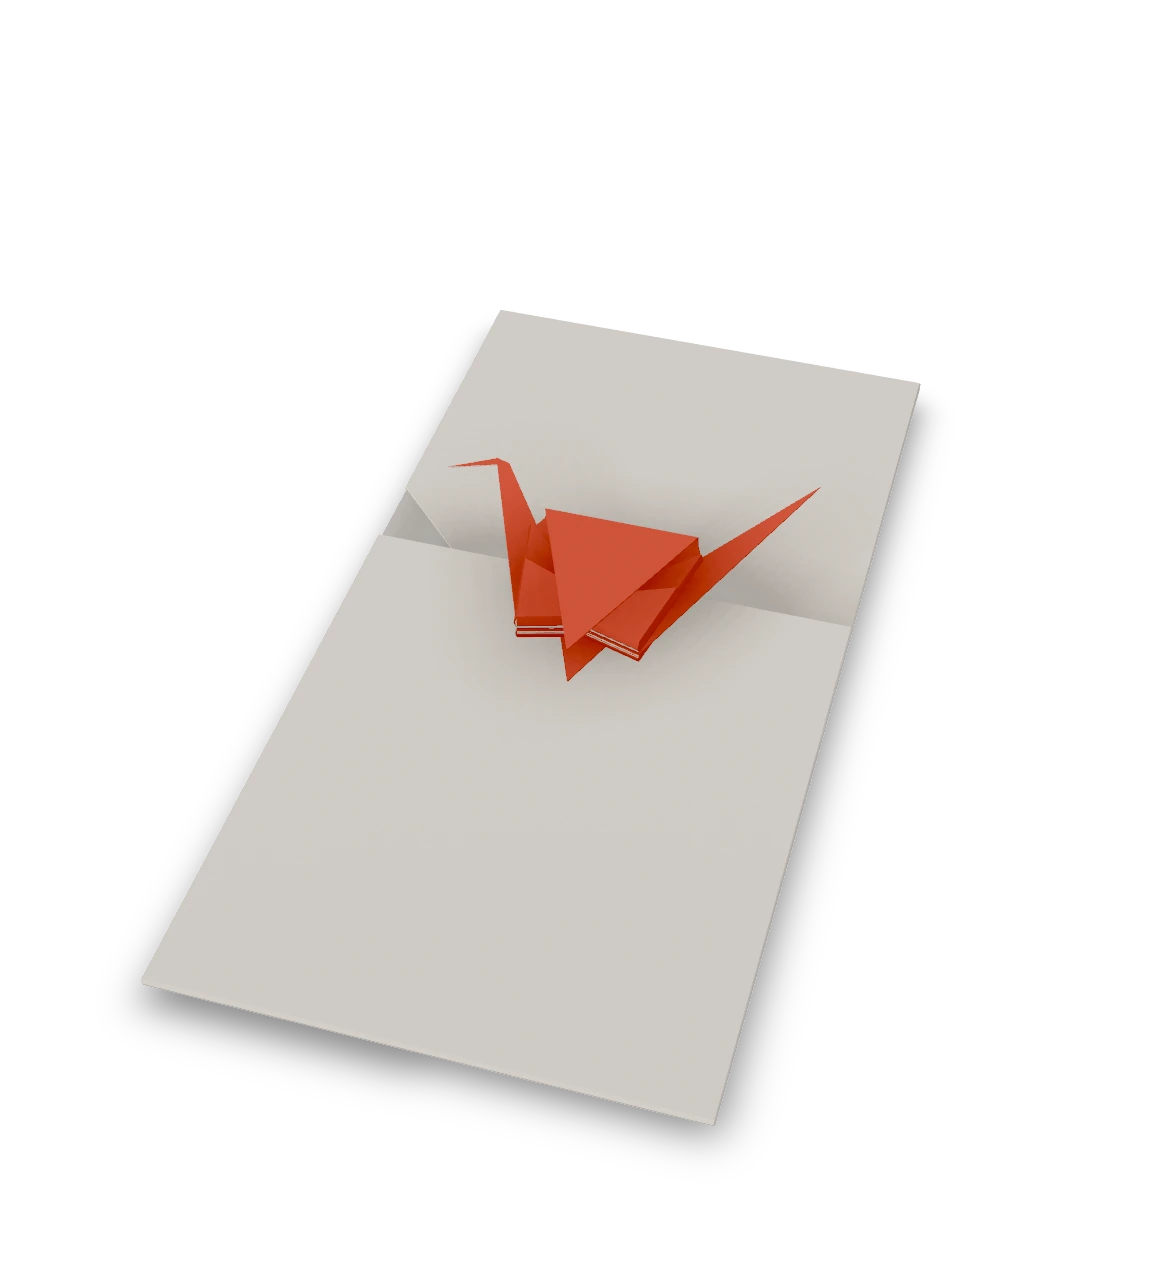
Crane envelope ↗
An Origami Tutor gift envelope decorated with a separate paper crane. A long neck, bent beak, pointed tail and a raised wing make the ornament recognisable.
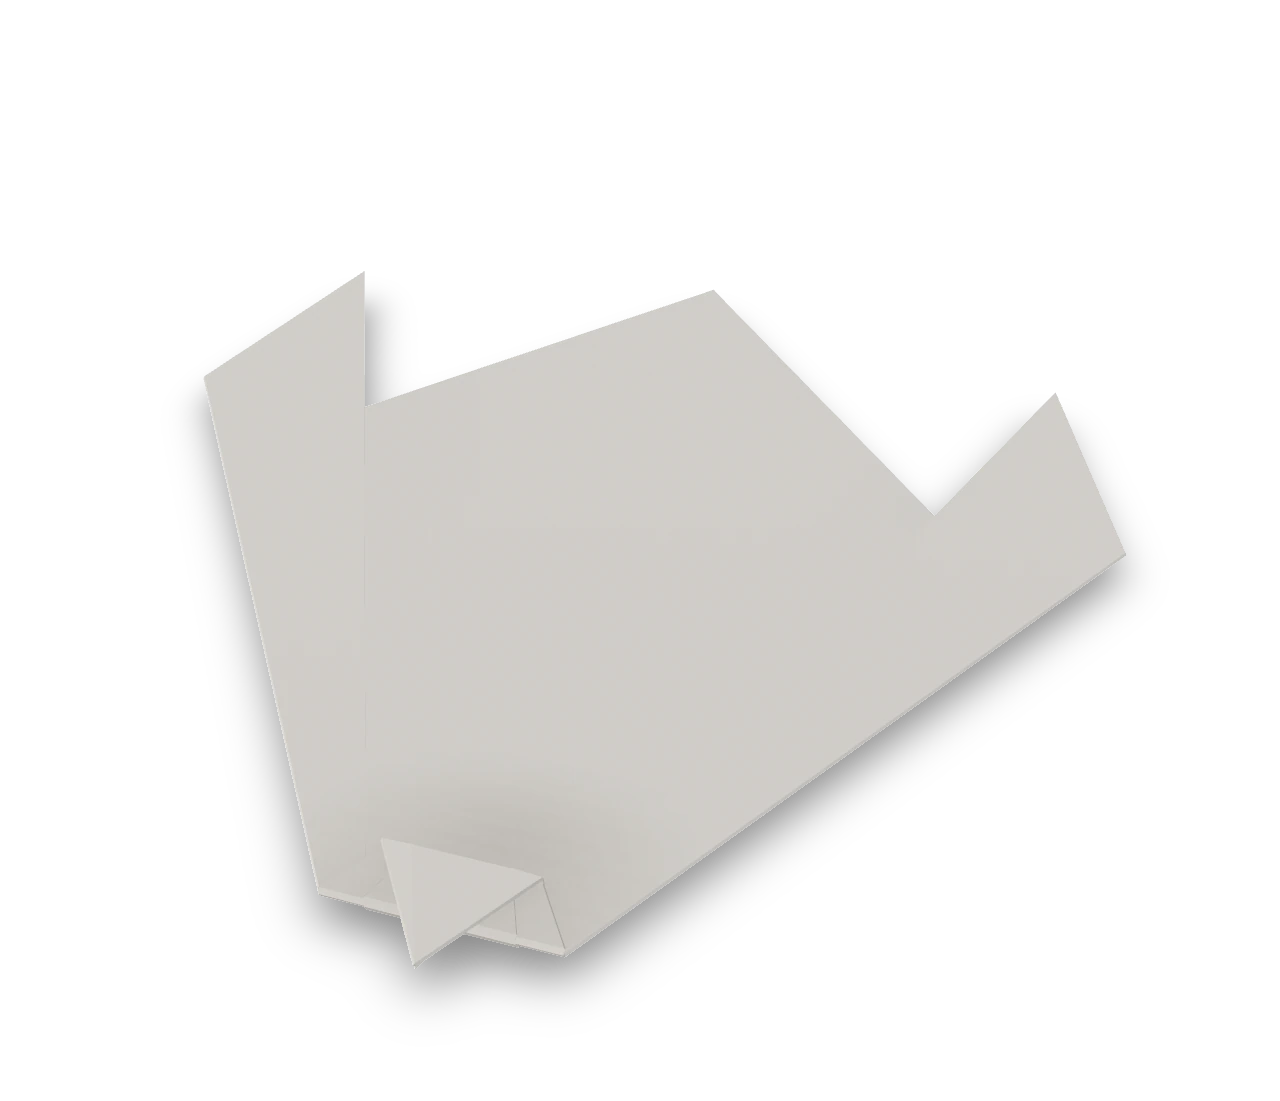
Ocho and Mecho ↗
Fold the ceremonial butterfly pair: Ocho, the male, has wing pleats in front; Mecho, the female, has them behind. Both have the same small folded head.

Heart ↗
This heart stays flat, so it fits inside a greeting card or on the front of a folded note. The colored side makes the face; small folds hidden behind the left edge, right edge and two top tips soften the outline.
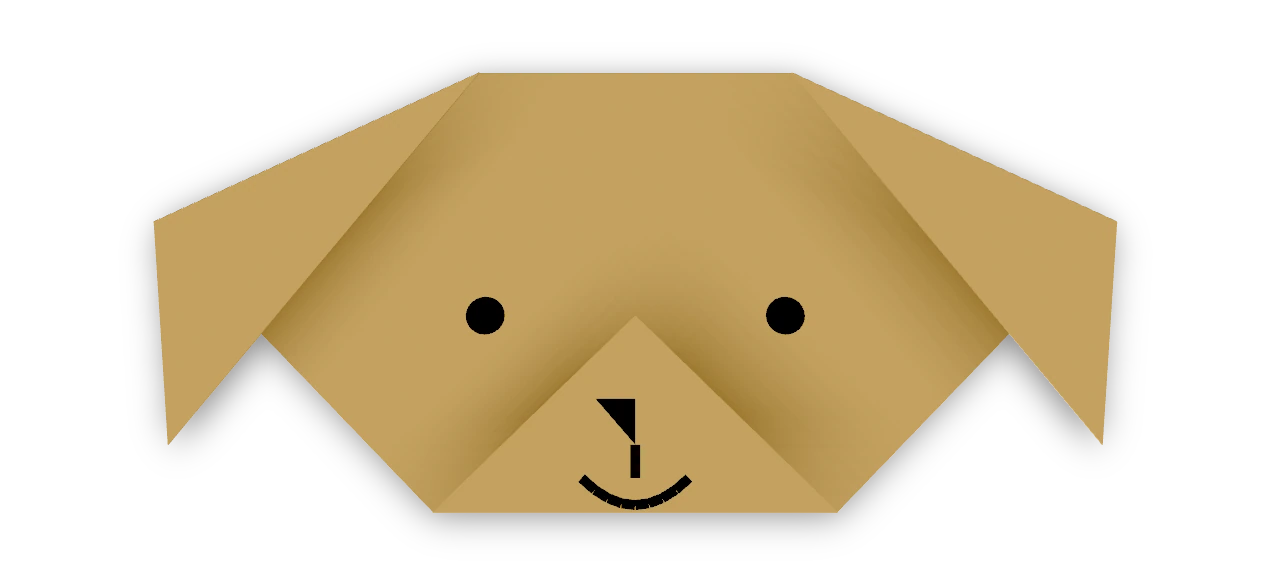
Dog face ↗
Fold floppy ears and a little muzzle, then give your paper dog a face.