How to make a Shugi-Bukuro crane envelope
Shugi-Bukuro Crane Envelope: try all 36 steps in the 3D player. Turn and replay every move. Print the complete diagram sheet or save it as PDF.
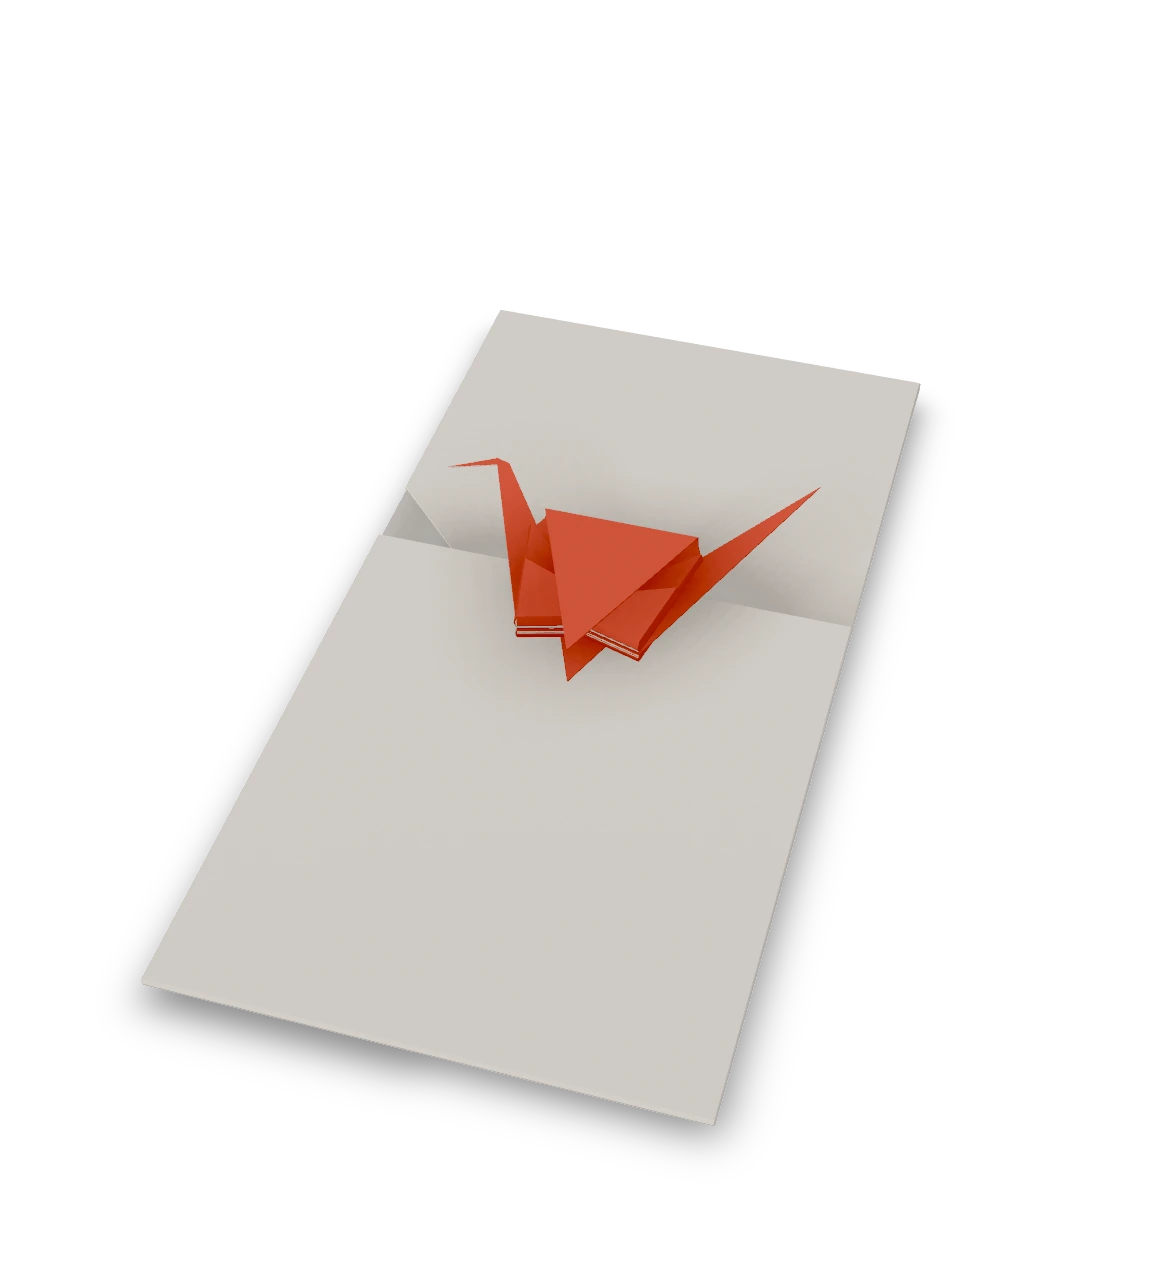
An Origami Tutor gift envelope decorated with a separate paper crane. A long neck, bent beak, pointed tail and a raised wing make the ornament recognisable.
- You need
- One 9 × 13 in sheet for the wrapper, and one 4 × 4 in square for the crane. A little paper glue to attach the rear wing.
- Start
- Use a 9 × 13 in rectangular sheet for the wrapper, and a smaller 4 × 4 in square for the ceremonial crane. Start the wrapper white side up with a short edge at the top, and the crane square colored side up.
- Tips
- Fold the wrapper flaps straight and crisp so the envelope holds its ceremonial proportions.
- Glue only the rear wing; leave the head, tail and front wing free.
Your model is ready
The crane envelope is ready. Slip a note inside the wrapper before closing its end flaps. Lift the front wing away from the wrapper, leaving the glued rear wing in place.

Step-by-step diagrams
Steps 1–7
- 1
Mark the wrapper middle
Fold the left edge to the right edge, press, and open.
- 2
Fold the decorative corner
Bring the upper left corner down to the middle crease, creating a diagonal ceremonial lapel.
- 3
Fold the left third in
Fold the left side inward over the middle third.
- 4
Fold the right third in
Fold the right side inward over the left flap.
- 5
Fold the top flap down
Fold the top flap down over the back.
- 6
Fold the bottom flap up
Fold the bottom flap up over the front to close the envelope.
- 7
Crease a diagonal
Bring the top corner down to the bottom corner, press, and open.
Steps 8–14
- 8
Crease the other diagonal
Bring the left corner to the right corner, press, and open.
- 9
Turn over
Turn the paper over, keeping a corner pointing up.
- 10
Crease edge to edge
Fold the bottom-left edge up to the top-right edge, press, and open.
- 11
Crease the other way
Fold the bottom-right edge up to the top-left edge, press, and open.
- 12
Turn back
Turn the paper back over, keeping a corner pointing up.
- 13
Collapse into a square
Hold the bottom corner. Push the left and right corners in and down so the paper collapses along the creases into a small square, open end at the bottom.
- 14
Crease the left kite
Fold the lower left edge of the top flap to the center line, press, and open.
Steps 15–21
- 15
Crease the right kite
Fold the lower right edge of the top flap to the center line, press, and open.
- 16
Crease across the top
Fold the top down along the line joining the tops of the two kite creases, press, and open.
- 17
Petal fold
Lift the bottom corner of the top layer up along the crease across the top. The sides fold in along the kite creases and meet in the middle. Press flat.
- 18
Turn over
Turn the model over, keeping the open end at the bottom.
- 19
Crease the left kite
Fold the lower left edge of the top flap to the center line, press, and open.
- 20
Crease the right kite
Fold the lower right edge of the top flap to the center line, press, and open.
- 21
Crease across the top
Fold the top down along the line joining the tops of the two kite creases, press, and open.
Steps 22–28
- 22
Petal fold
Lift the bottom corner of the top layer up along the crease across the top. The sides fold in along the kite creases and meet in the middle. Press flat.
- 23
Narrow the left side (front)
Fold the lower left edge of the front layers to the center line. The fold reaches up into the flap above.
- 24
Narrow the right side (front)
Fold the lower right edge to the center line the same way.
- 25
Turn over
Turn the model over, keeping the split points at the bottom.
- 26
Narrow the left side (back)
Fold the lower left edge of the front layers to the center line. The fold reaches up into the flap above.
- 27
Narrow the right side (back)
Fold the lower right edge to the center line the same way.
- 28
Raise the neck
Inside reverse fold the left point: open the body's front and back layers a little from below, push the point up between them along the line, and press flat. The neck now comes out from between the front and back of the body, under the wings.
Steps 29–35
- 29
Raise the tail
Inside reverse fold the right point: open the body's front and back layers a little from below, push the point up between them along the line, and press flat. The tail now comes out from between the front and back of the body, under the wings.
- 30
Make the head
Inside reverse fold the tip of the neck: open the neck's layers a little at the tip, push the tip down and forward between them along the line, a short way below the point, and press flat.
- 31
Fold a wing down
Fold the front wing down along the line across the top of the body.
- 32
Turn over
Turn the crane over.
- 33
Fold the other wing down
Fold the second wing down the same way.
- 34
Turn back
Turn the crane back so the head faces left.
- 35
Position the crane on the envelope
Lay the folded crane across the front of the wrapper, with its head on the left and its body near the middle.
Step 36
- 36
Secure the rear wing
Put a small dot of glue between the rear wing and the wrapper. Keep the front wing free so it can lift away from the envelope.
- ✓
Finish
The crane envelope is ready. Slip a note inside the wrapper before closing its end flaps. Lift the front wing away from the wrapper, leaving the glued rear wing in place.
Fold next
Ocho and Mecho ↗
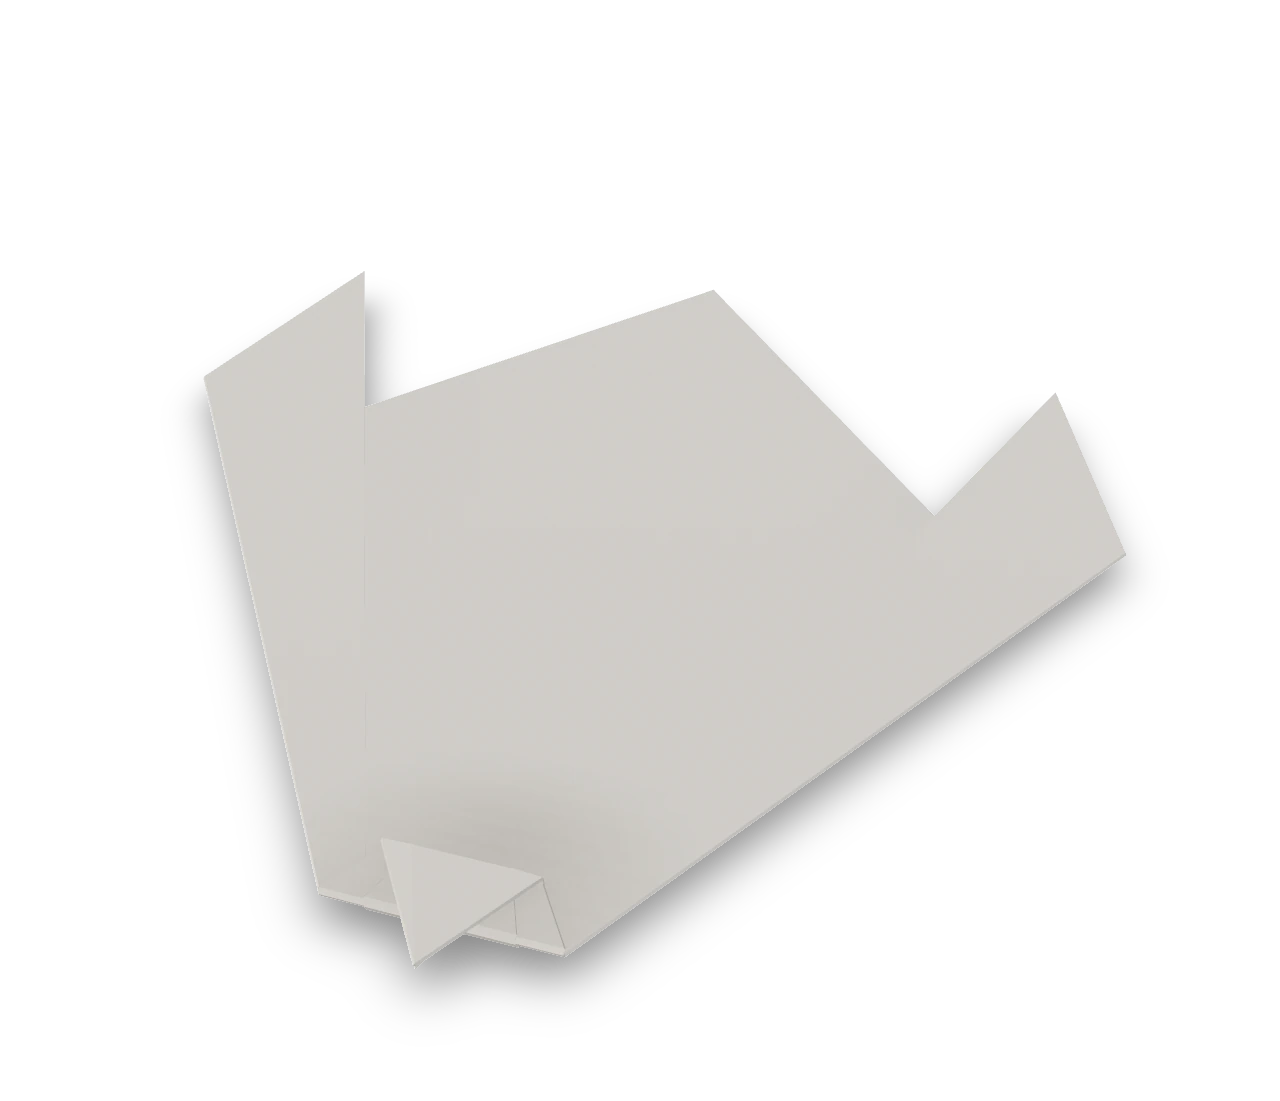
Fold the ceremonial butterfly pair: Ocho, the male, has wing pleats in front; Mecho, the female, has them behind. Both have the same small folded head.

Noshi ↗
The traditional red-and-white folded wrapper for a noshi, an auspicious Japanese paper decoration attached to celebratory gifts.
Crane ↗
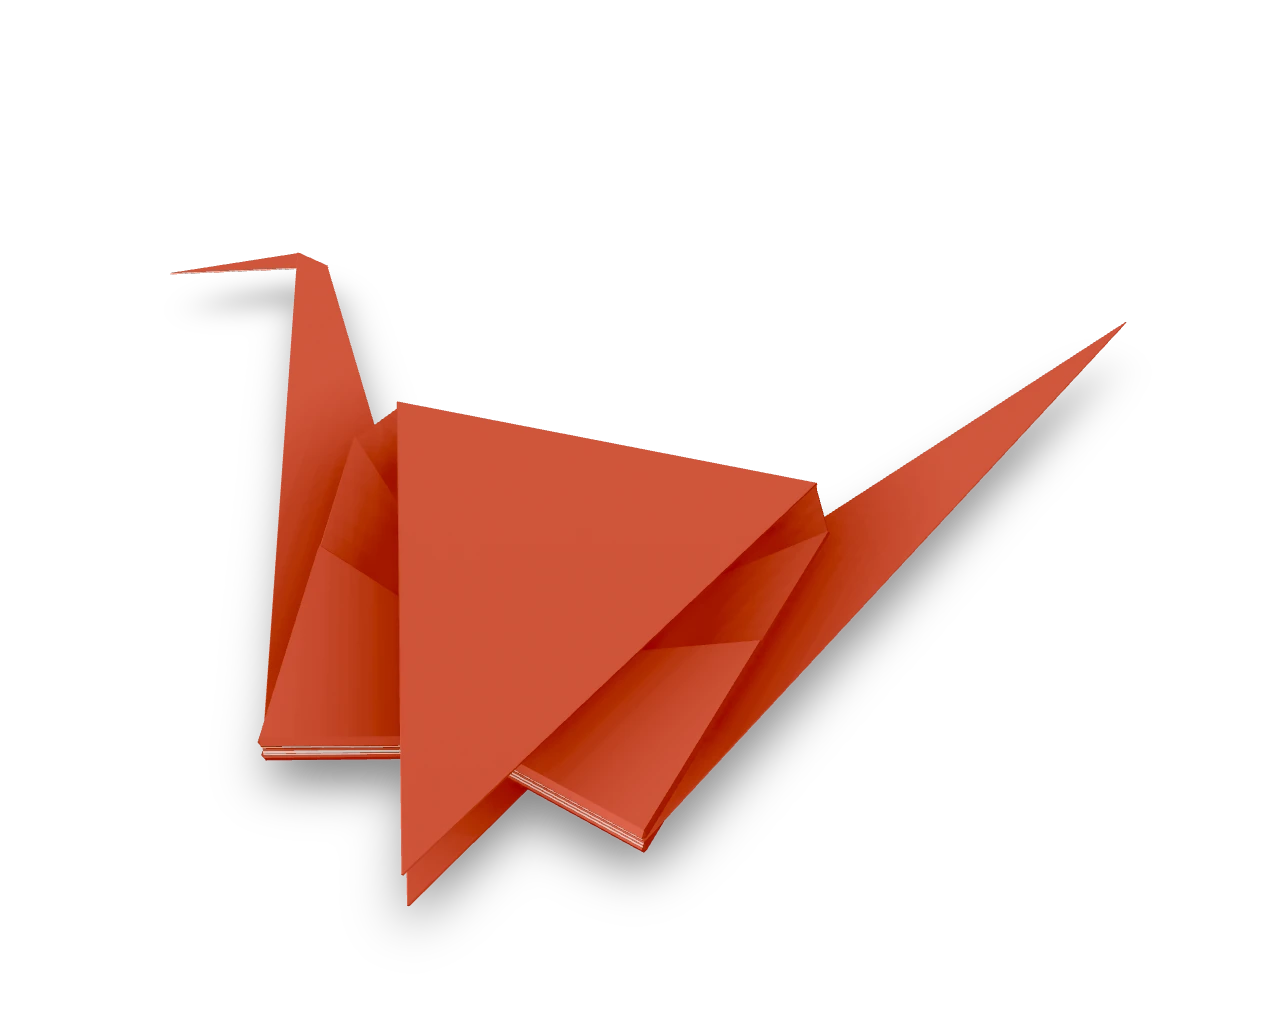
The crane begins with a square base. Two petal folds turn it into a bird base with separate points for the neck and tail; the broad flaps become the wings. Work through one side of the body before repeating the narrowing folds on the back.
Swan ↗
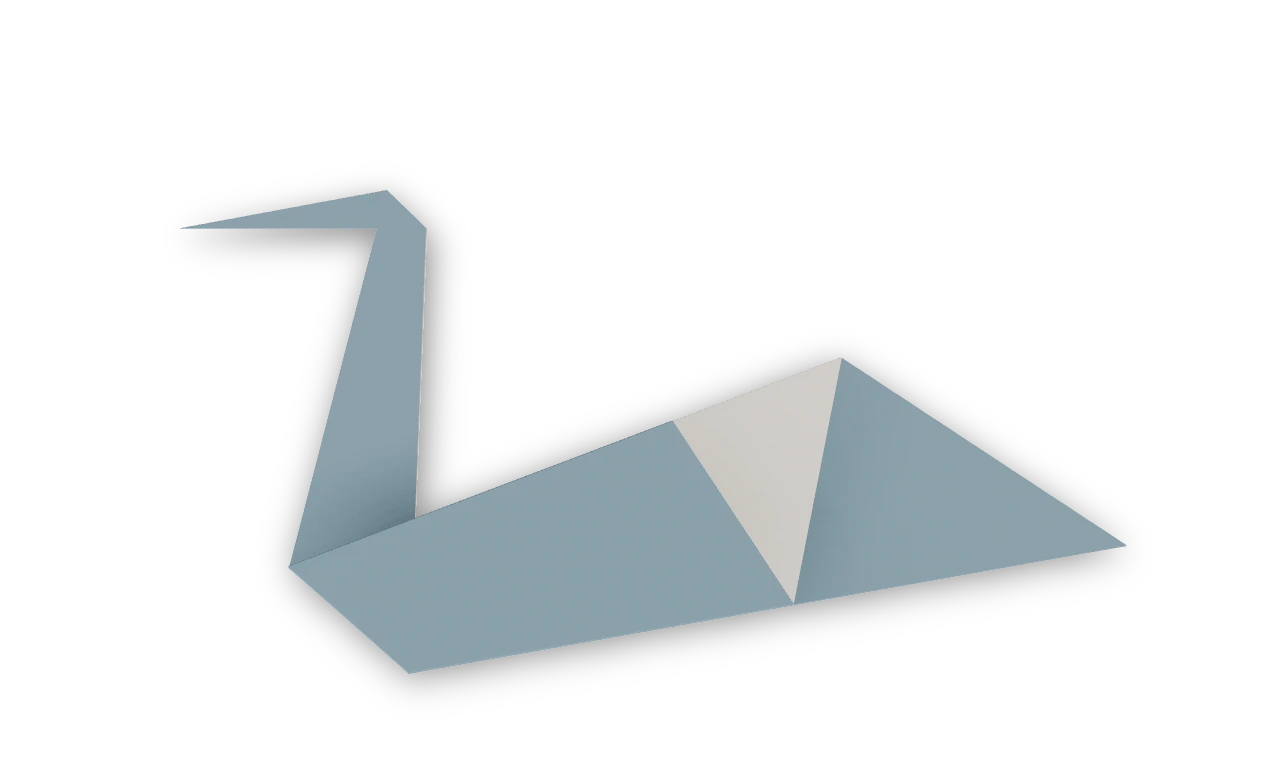
The traditional kite-base swan, with a pointed tail, a long neck and a small head.